2022 TOYOTA HIGHLANDER stop start
[x] Cancel search: stop startPage 375 of 568
3755-5. Using the other interior features
5
Interior features
charger will be memorized.
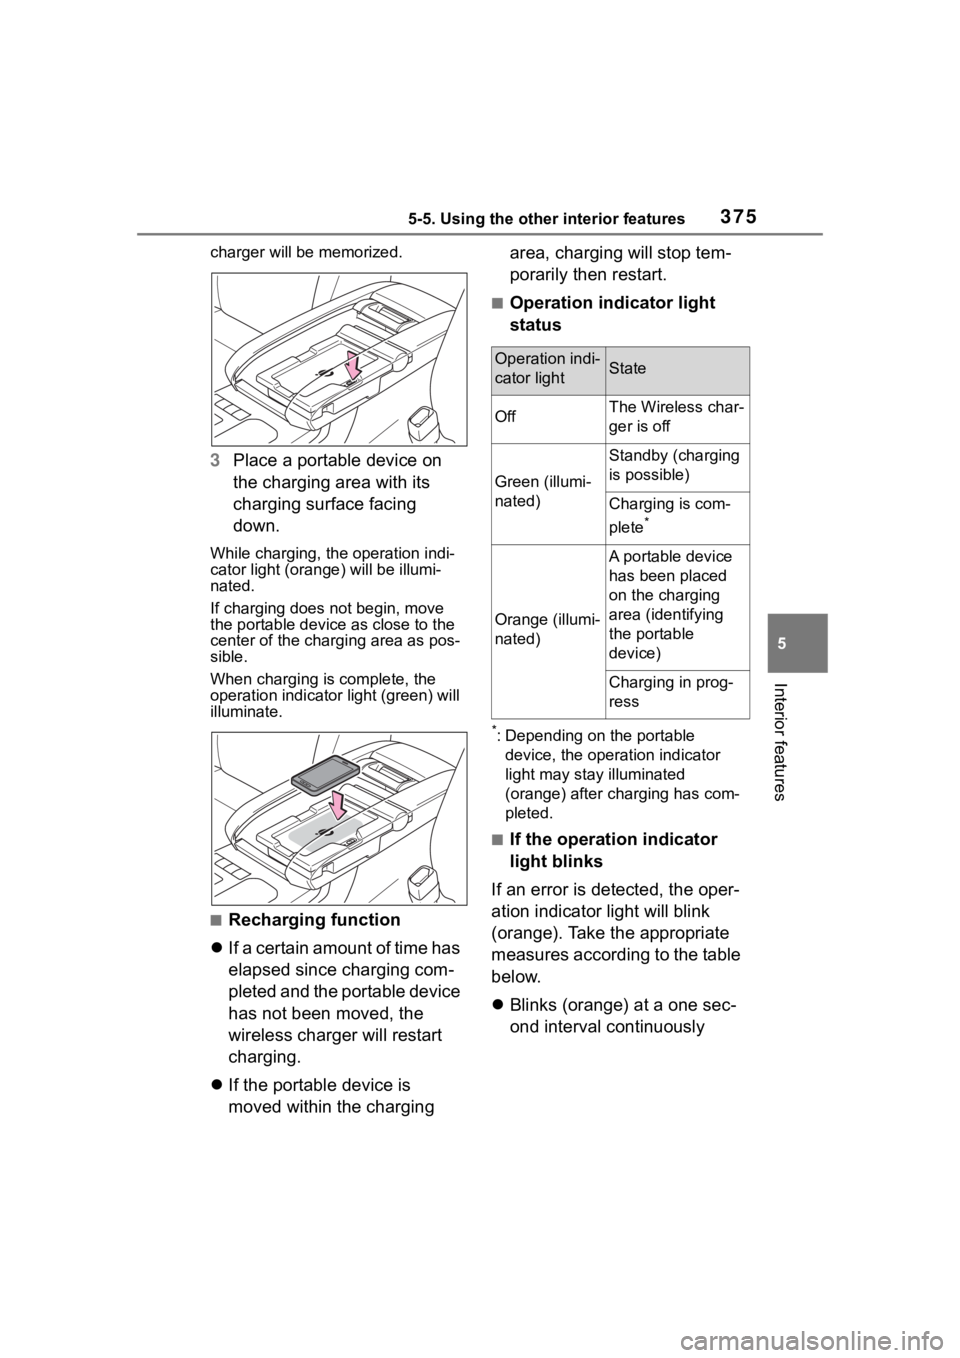
3Place a portable device on
the charging area with its
charging surface facing
down.
While charging, the operation indi-
cator light (orang e) will be illumi-
nated.
If charging does not begin, move
the portable device as close to the
center of the charging area as pos-
sible.
When charging is complete, the
operation indicator light (green) will
illuminate.
■Recharging function
If a certain amount of time has
elapsed since charging com-
pleted and the portable device
has not been moved, the
wireless charger will restart
charging.
If the portable device is
moved within the charging area, charging will stop tem-
porarily then restart.
■Operation indicator light
status
*: Depending on the portable
device, the operation indicator
light may stay illuminated
(orange) after charging has com-
pleted.
■If the operation indicator
light blinks
If an error is detected, the oper-
ation indicator light will blink
(orange). Take the appropriate
measures according to the table
below.
Blinks (orange) at a one sec-
ond interval continuously
Operation indi-
cator lightState
OffThe Wireless char-
ger is off
Green (illumi-
nated)
Standby (charging
is possible)
Charging is com-
plete
*
Orange (illumi-
nated)
A portable device
has been placed
on the charging
area (identifying
the portable
device)
Charging in prog-
ress
Page 383 of 568
3835-5. Using the other interior features
5
Interior features
■The power outlet can be used
when
12 V
The engine switch is in ACC or ON.
120 VAC (if equipped)
The engine switch is in ON.
■Using the power outlet (vehi-
cles with Stop & Start system)
When the engine restarts after hav-
ing been stopped by the Stop &
Start system, the power outlets may
be temporarily unusable, but this is
not a malfunction.
■When turning the engine switch
off
Disconnect electrical devices with
charging functions, such as mobile
battery packs.
If such devices are left connected,
the engine switch may not be turned
off normally.
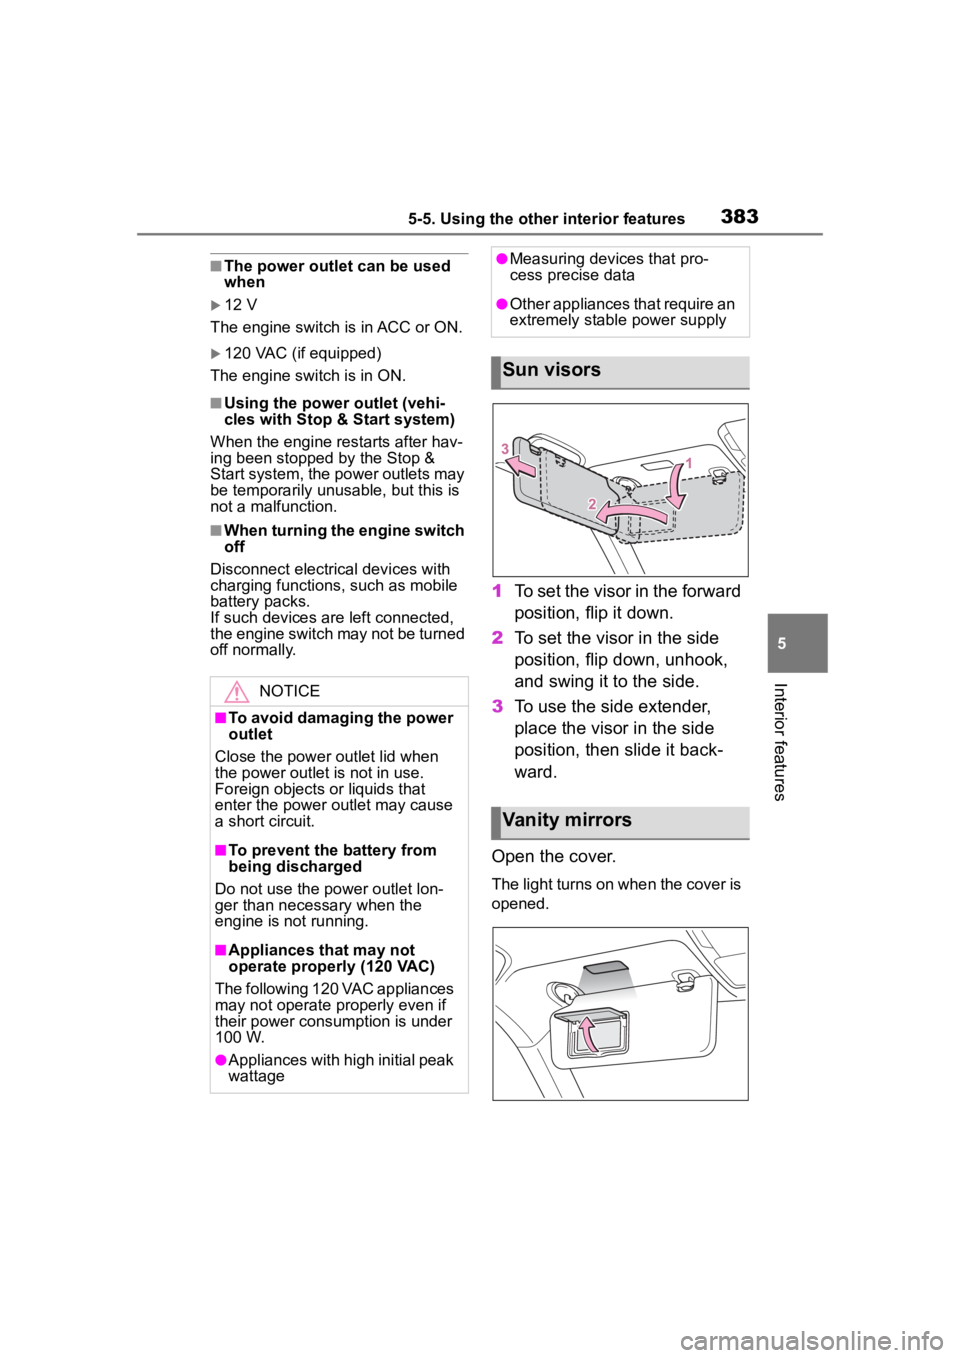
1 To set the visor in the forward
position, flip it down.
2 To set the visor in the side
position, flip down, unhook,
and swing it to the side.
3 To use the side extender,
place the visor in the side
position, then slide it back-
ward.
Open the cover.
The light turns on when the cover is
opened.
NOTICE
■To avoid damaging the power
outlet
Close the power outlet lid when
the power outlet is not in use.
Foreign objects or liquids that
enter the power outlet may cause
a short circuit.
■To prevent the battery from
being discharged
Do not use the power outlet lon-
ger than necessary when the
engine is not running.
■Appliances that may not
operate properly (120 VAC)
The following 120 VAC appliances
may not operate properly even if
their power consumption is under
100 W.
●Appliances with high initial peak
wattage
●Measuring devices that pro-
cess precise data
●Other appliances that require an
extremely stable power supply
Sun visors
Vanity mirrors
Page 390 of 568

3905-5. Using the other interior features
Vehicles with Digital Rearview
Mirror
■Enabling 2-way communi-
cation with a garage door
(only available for compati-
ble devices)
When enabled, 2-way communi-
cation allows you to check the
status of the opening and clos-
ing of a garage door through
indicators in your vehicle.
2-way communication is only
available if the garage door
opener motor used is a compati-
ble device. (To check device
compatibility, refer to
www.homelink.com.)
1 Within 5 seconds after pro-
gramming the garage door
opener has been completed,
if the garage door opener
motor is trained to Home-
Link
®, both garage door
operation indicators will flash
rapidly (green) and the light
on the garage door opener
motor will blink twice, indicat-
ing that 2-way communica-
tion is enabled.
If the indicators do not flash, per- form
2 and 3 within the first 10
presses of the HomeLink
® button
after programming has been com-
pleted.
2 Press a programmed Home-
Link
® button to operate a
garage door.
3 Within 1 minute of pressing
the HomeLink
® button, after
the garage door operation
has stopped, press the
“Learn” or “Smart” button on
the garage door opener
motor. Within 5 seconds of
the establishment of 2-way
communication with the
garage door opener, both
garage door operation indica-
tors in the vehicle will flash
rapidly (green) and the light
on the garage door opener
motor will blink twice, indicat-
ing that 2-way communica-
tion is enabled.
■Reprogramming a single
HomeLink
® button
When the following procedure is
performed, buttons which
already have devices registered
to them can be overwritten:
1 Press and hold the desired
HomeLink
® button.
2 When the HomeLink
® indica-
tor starts flashing orange,
release the HomeLink
® but-
ton and perform “Program-
ming HomeLink
®” 1 (it takes
20 seconds for the Home-
Page 447 of 568
447
7
7
When trouble arises
When trouble arises
.7-1. Essential informationEmergency flashers .... 448
If your vehicle has to be stopped in an emergency.................................. 448
If the vehicle is submerged or water on the road is ris-
ing ............................. 449
7-2. Steps to take in an emer- gency
If your vehicle needs to be towed......................... 451
If you think something is wrong ........................ 454
Fuel pump shut off system .................................. 455
If a warning light turns on or a warning buzzer sounds.................................. 456
If a warning message is dis- played........................ 467
If you have a flat tire.... 471
If the engine will not start .................................. 485
If you lose your keys ... 486
If the fuel filler door cannot be opened ................. 487
If the electronic key does not operate properly .. 488
If the vehicle battery is dis- charged ..................... 490
If your vehicle overheats .................................. 494If the vehicle becomes stuck
.................................. 496
Page 452 of 568
4527-2. Steps to take in an emergency
The following may indicate a
problem with your transmission.
Contact your Toyota dealer or
commercial towing service
before towing.
The engine is running but the
vehicle does not move.
The vehicle makes an abnor-
mal sound.
WARNING
■While towing
When towing using cables or
chains, avoid sudden starts, etc.
which place excessive stress on
the towing eyelets, cables or
chains. The towing eyelets,
cables or chains may become
damaged, broken debris may hit
people, and cause serious dam-
age.
NOTICE
■To prevent damage to the
vehicle when towing using a
wheel-lift type truck
When raising the vehicle, ensure
adequate ground clearance for
towing at the opposite end of the
raised vehicle. Without adequate
clearance, the vehicle could be
damaged while being towed.
■To prevent damage to the
vehicle when towing with a
sling-type truck
Do not tow with a sling-type truck,
either from the front or rear.
■To prevent damage to the
vehicle during emergency
towing
Do not secure cables or chains to
the suspension components.
■When towing a vehicle
equipped with a Stop & Start
system (if equipped)
If it is necessary to tow the vehicle
with all 4 wheels on the ground,
perform the following procedure
before towing the vehicle, in order
to protect t he system.
Turn the engine switch off and
then start the engine or turn the
engine switch to ON.
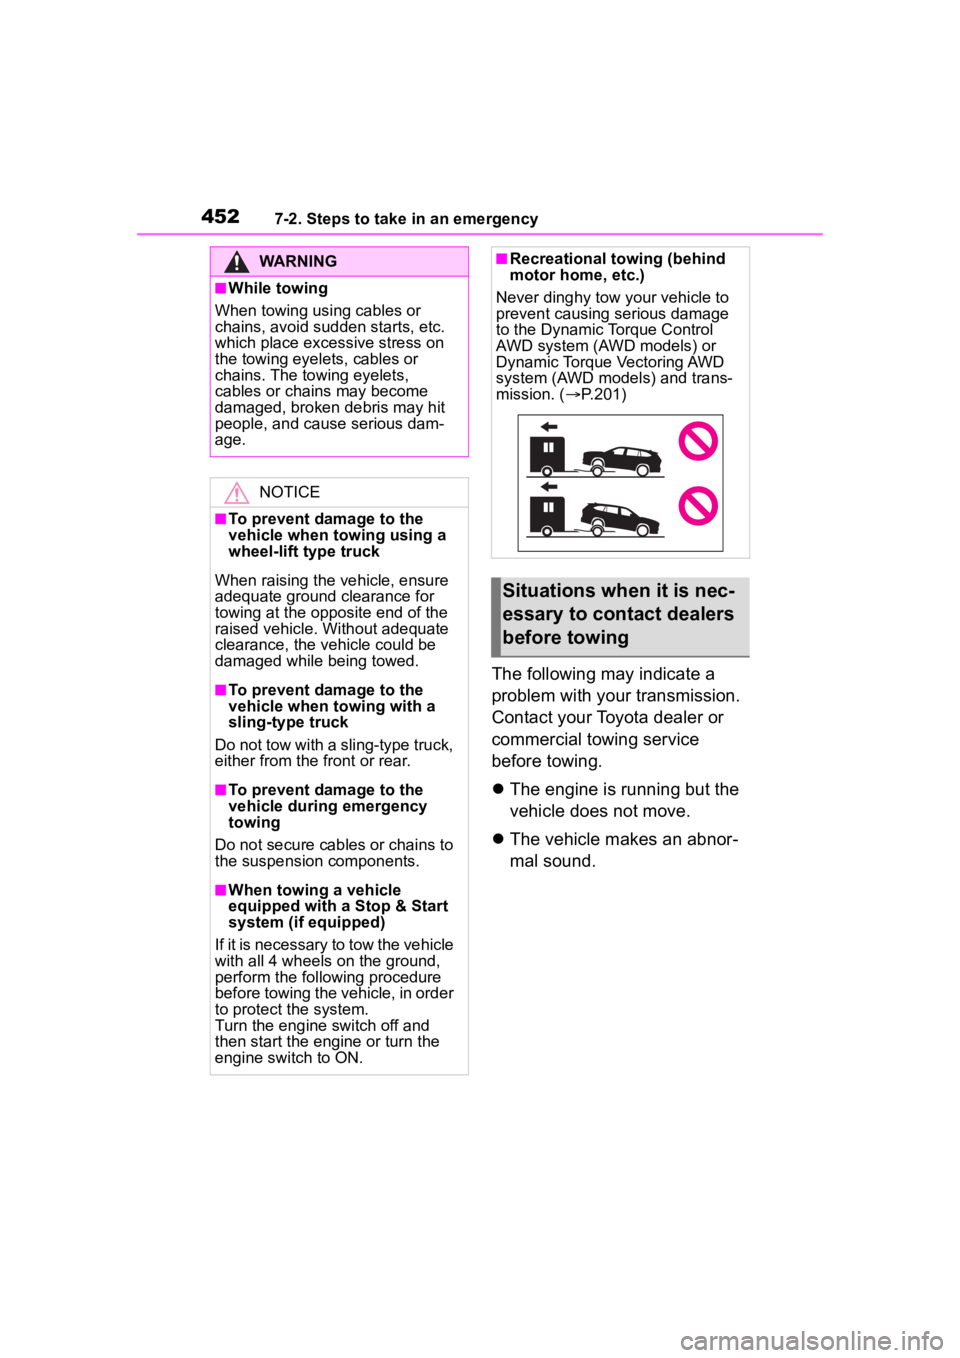
■Recreational towing (behind
motor home, etc.)
Never dinghy tow your vehicle to
prevent causing serious damage
to the Dynamic Torque Control
AWD system (AWD models) or
Dynamic Torque Vectoring AWD
system (AWD models) and trans-
mission. ( P.201)
Situations when it is nec-
essary to contact dealers
before towing
Page 455 of 568
4557-2. Steps to take in an emergency
7
When trouble arises
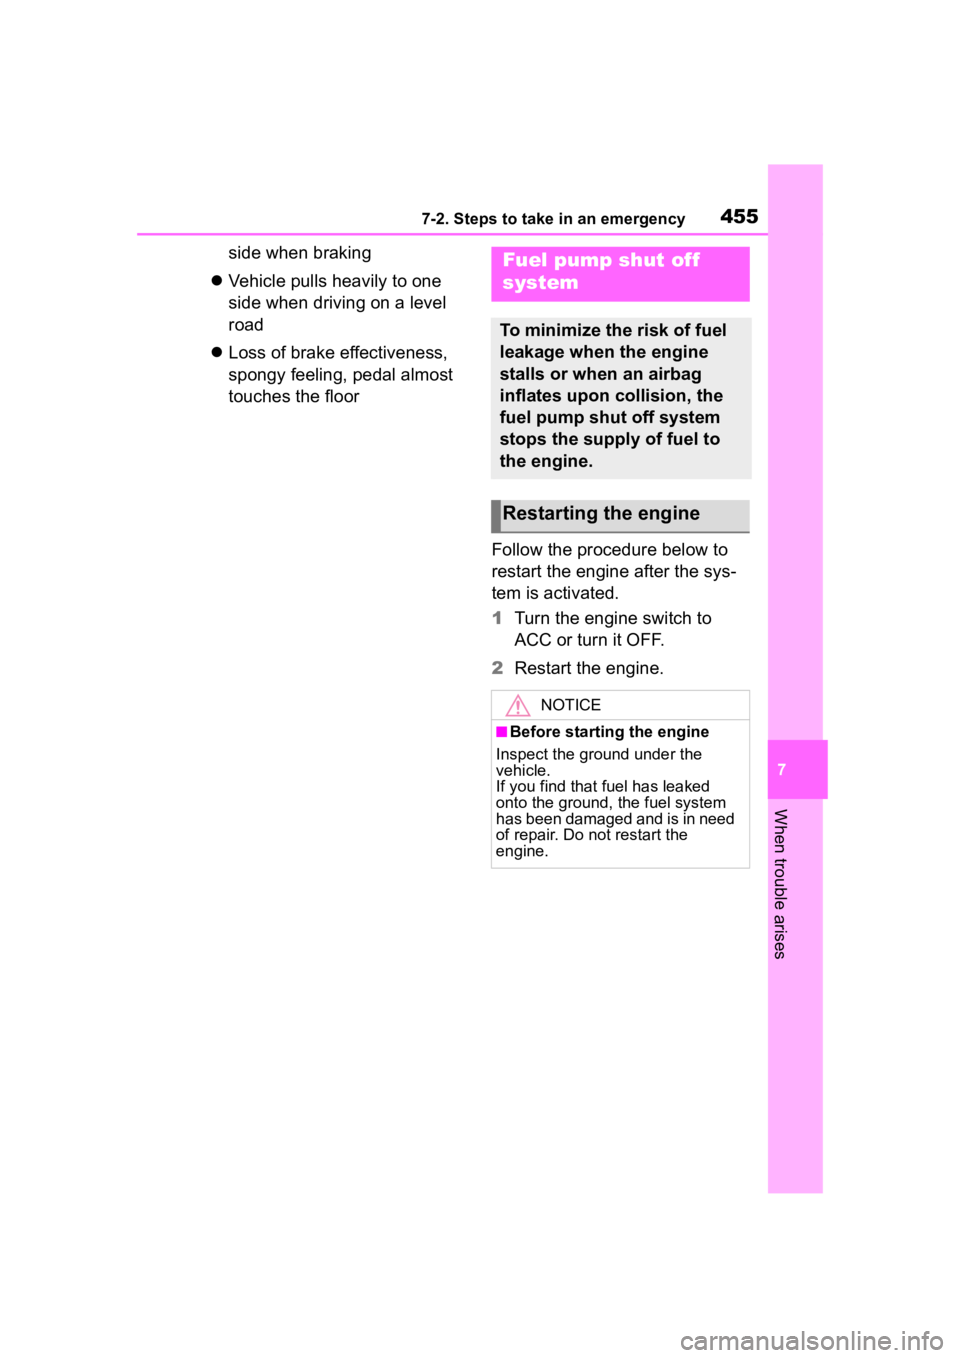
side when braking
Vehicle pulls heavily to one
side when driving on a level
road
Loss of brake effectiveness,
spongy feeling, pedal almost
touches the floor
Follow the procedure below to
restart the engine after the sys-
tem is activated.
1Turn the engine switch to
ACC or turn it OFF.
2 Restart the engine.Fuel pump shut off
system
To minimize the risk of fuel
leakage when the engine
stalls or when an airbag
inflates upon collision, the
fuel pump shut off system
stops the supply of fuel to
the engine.
Restarting the engine
NOTICE
■Before starting the engine
Inspect the ground under the
vehicle.
If you find that fuel has leaked
onto the ground, the fuel system
has been damaged and is in need
of repair. Do not restart the
engine.
Page 460 of 568
4607-2. Steps to take in an emergency
seat belt is fastened and unfast ened and the vehicle reaches a certain
speed.
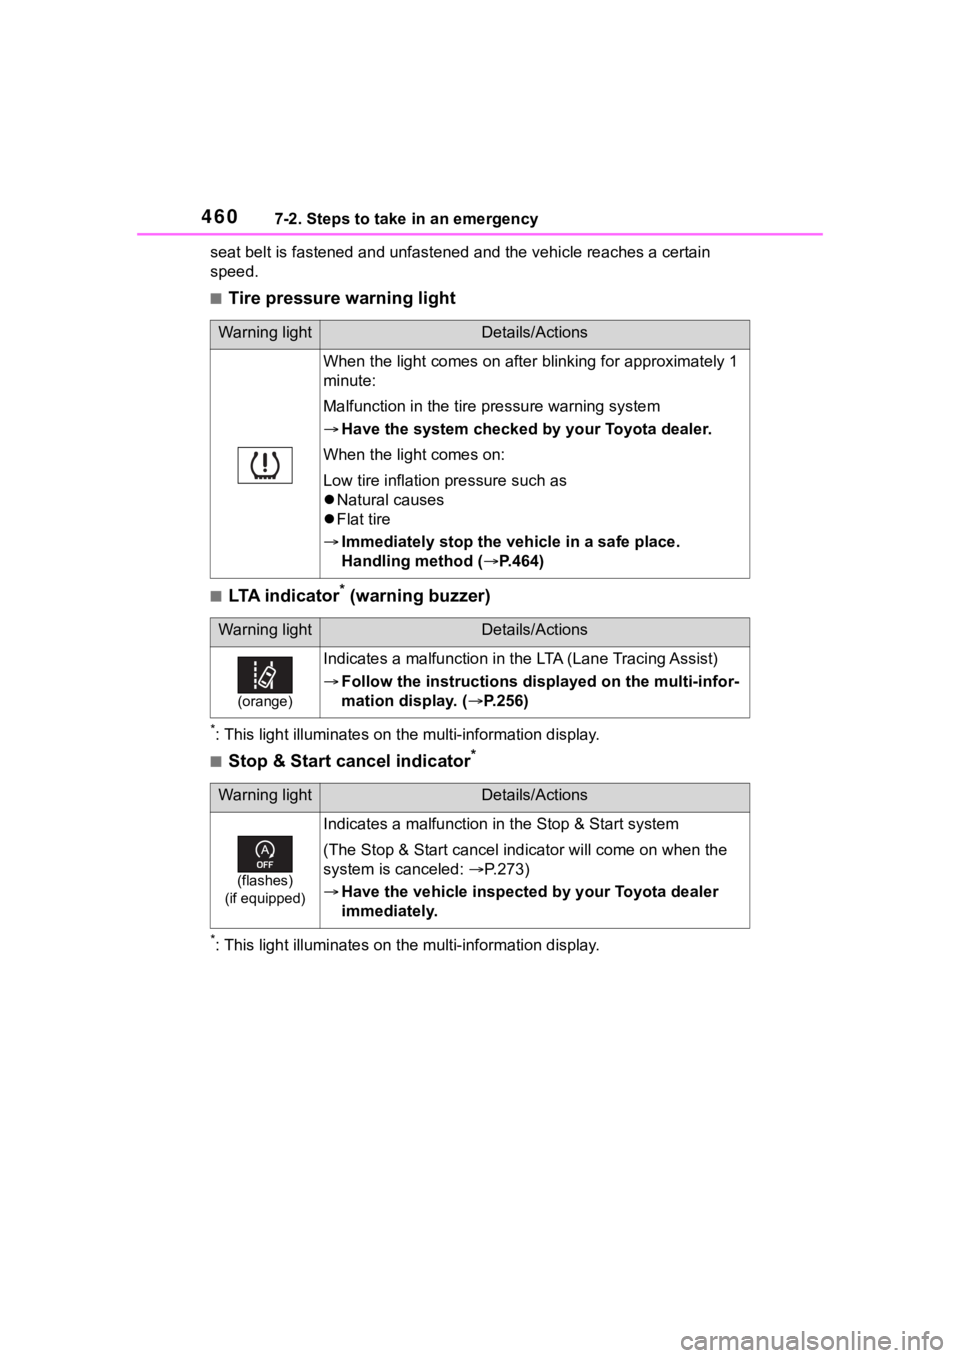
■Tire pressure warning light
■LTA indicator* (warning buzzer)
*: This light illuminat es on the multi-information display.
■Stop & Start cancel indicator*
*: This light illuminates on the multi-information display.
Warning lightDetails/Actions
When the light comes on after blinking for approximately 1
minute:
Malfunction in the tire pressure warning system
Have the system checked by your Toyota dealer.
When the light comes on:
Low tire inflation pressure such as
Natural causes
Flat tire
Immediately stop the vehicle in a safe place.
Handling method ( P.464)
Warning lightDetails/Actions
(orange)
Indicates a malfunction in the LTA (Lane Tracing Assist)
Follow the instructions di splayed on the multi-infor-
mation display. ( P.256)
Warning lightDetails/Actions
(flashes)
(if equipped)
Indicates a malfunction in the Stop & Start system
(The Stop & Start cancel ind icator will come on when the
system is canceled: P.273)
Have the vehicle inspected by your Toyota dealer
immediately.
Page 468 of 568

4687-2. Steps to take in an emergency
■If “Engine Stopped Steering
Power Low” is displayed
This message is displayed if the
engine is stopped while driving.
When steering wheel operations are
heavier than usual, grip the steering
wheel firmly and operate it using
more force th an usual.
■If “Shift to P when Parked” is
displayed
This message is displayed when the
driver’s door is opened without turn-
ing the engine switch off with the
shift lever in any position other than
P. Change the shift lever to P.
■If “Auto Power OFF to Conserve
Battery” is displayed
Power was cut off due to the auto-
matic power off function. Next time
when starting the engine, increase
the engine speed slightly and main-
tain that level for approximately 5
minutes to recha rge the battery.
■If “Headlight System Malfunc-
tion Visit Your Dealer” is dis-
played
The following systems may be mal-
functioning. Have the vehicle
inspected by your Toyota dealer
immediately.
●The LED headlight system (if AFS
[Adaptive Front-lighting System]
equipped)
●AFS (Adaptive Fr ont-lighting Sys-
tem) (if equipped)
●The automatic headlight leveling
system (if equipped)
●Automatic High Beam
■If “Radar Cruise Control
Unavailable” is displayed
The dynamic radar cruise control
with full-speed range system cannot
be used temporarily. Use the system
when it becomes available again.
■If a message that indicates the
malfunction of front camera is
displayed
The following systems may be sus-
pended until the problem shown in
the message is resolved. (P.233,
462)
●PCS (Pre-Collision system)
●LTA (Lane Tracing Assist)
●Automatic High Beam
●RSA (Road Sign Assist) (if
equipped)
●Dynamic radar cruise control with
full-speed range
■If a message that indicates the
malfunction of radar sensor is
displayed
The following systems may be sus-
pended until the problem shown in
the message is resolved. (P.233,
462)
●PCS (Pre-Collision system)
●LTA (Lane Tracing Assist)
●Dynamic radar cruise control with
full-speed range
■If “AWD System Overheated
Switching to 2WD Mode” or
“AWD System Overheated 2WD
Mode Engaged” is displayed
This message may be displayed
when driving under extremely high
load conditions.
Drive the vehicle at low speeds or
stop the vehicle in a safe place with
the engine running until the mes-
sage is cleared.
If the message is not cleared, have
the vehicle inspected by your Toyota
dealer.
■If “Check Fuel Cap” is dis-
played
The fuel tank cap is not properly
installed. Correctly install the fuel
tank cap.