Page 27 of 356
272-1. QUICK REFERENCE
2
QUICK REFERENCE
Press button P.
Activate the manual mode:
Press the selector lever to the
left from selector lever position
D.
Manual mode:
• To shift down: press the selector lever forward.
• To shift up: pull the selector lever rearwards.
End the manual mode:
Push the selector lever to the
right. Push the lever forward or pull it
backward.
• High beams on, arrow 1. The
high beams light up when the
low beams are switched on.
• High beams off/headlight flasher, arrow 2.
1 Right turn
2 Lane change to the right
(movethe lever partway and
release it)
The right hand signals will flash 3
times.
Automatic transmission,
manual mode
High beams, headlight
flasher, turn signal
High beams, headlight
flasher
Turn signal
2 1
3 4
Page 28 of 356
282-1. QUICK REFERENCE
3Lane change to the left
(movethe lever partway and
release it)
The left hand signals will flash 3
times.
4Left turn
The wipers can be operated in
the standby state.
■Switching on
Press the lever up until the
desired position is reached.
• Resting position of the wipers: position 0.
• Rain sensor: position 1.
• Normal wiper speed: position 2.
• Fast wiper speed: position 3.
■Brief wipe and switching off
Press the lever down.
• Switching off: press the lever down until it reaches its stan-
dard position (position 0).
• Brief wipe: press the lever down from the standard posi-
tion (position 0).
Lights and lighting
Light functions
SymbolFunction
Lights off.
Daytime running lights.
Parking lights.
Automatic headlight control.
Low beams.
Instrument lighting.
Right roadside parking light.
Left roadside parking light.
Washer/wiper system
Switching the wipers on/off
and brief wipe
Page 37 of 356

373-1. CONTROLS
3
CONTROLS
Automatic high-beam P.156 Low beams P.154
Instrument lighting
P.158
Right roadside parking
light P.154
Left roadside parking
light P.154
5 Steering column stalk, left
Turn signal P.121
High beams, headlight
flasher P.122
Automatic high-beam
P.156
Onboard Computer
P.133
6 Shift paddle P.129
7 Steering wheel buttons, left
Cruise control on/off
P.199
Dynamic radar cruise
control on/off P.203
Cruise control: store
speed
Speed Limit Assist: take over
suggested speed P.211
Continuing cruise con-
trol/Pausing cruise control P. 1 9 9
Dynamic radar cruise
control: increase distance
P. 1 9 9
Dynamic radar cruise
control: reduce distance
P. 1 9 9
Cruise control rocker switch
P. 1 9 9
8 Instrument cluster P.133
9 Steering wheel buttons, right
Selection lists P.145
Volume, see Owner's
Manual for Navigation, Enter-
tainment and Communication
Voice activation system
P. 5 7
Telephone, see
Owner's Manual for Naviga-
tion, Entertainment and Com-
munication
Thumbwheel for selection
lists P.145
10Shift paddle P.129
11Steering column stalk, right
Wiper P.122
Rain sensor P.123
Clean the windshield
P. 1 2 4
12Adjust the steering wheel P. 1 0 7
Page 43 of 356

433-1. CONTROLS
3
CONTROLS
This chapter describes all stan-
dard, country-specific and
optional features offered with
the series. It also describes fea-
tures and functions that are not
necessarily available in your
vehicle, e.g., due to the selected
options or country versions. This
also applies to safety-related
functions and systems. When
using these functions and sys-
tems, the applicable laws and
regulations must be observed.
Depending on the situation, the
vehicle is in one of the three
states:
• Idle state.
• Standby state.
• Drive-ready state.
If the vehicle is in idle state, it is
switched off.
The vehicle is in idle state prior
to opening from the outside and after exiting and locking.
For instance, the idle state is
automatically established under
the following conditions:
• After several minutes, if no
operation takes place on the
vehicle.
• If the charge state of the vehi- cle battery is low.
• Depending on the setting via Toyota Supra Command:
when one or both front doors
are opened after driving when
exiting the vehicle.
In some situations, the idle state
is not set automatically, for
instance during a phone call or
when the low beams are
switched on.
After a trip, the sleep mode can
be established by opening the
front doors. For this purpose,
the driver and front passenger
must exit the vehicle.
Via Toyota Supra Command:
1 "My Vehicle"
2 "Vehicle settings"
3 "Doors/Key"
4 "Turn off after door opening"
Operating state of the
vehicle
Vehicle features and
options
General information
Idle state
Principle
General information
Automatic idle state
Establishing idle state
when opening the front
doors
Page 122 of 356

1223-1. CONTROLS
Lightly tap the lever up or down.
The triple turn signal duration
can be adjusted.
Via Toyota Supra Command:
1"My Vehicle"
2 "Vehicle settings"
3 "Exterior lighting"
4 "One-touch turn signal"
5 Select the desired setting.
Press the lever to the resistance
point and hold it there for as
long as you want the turn signal
to flash.
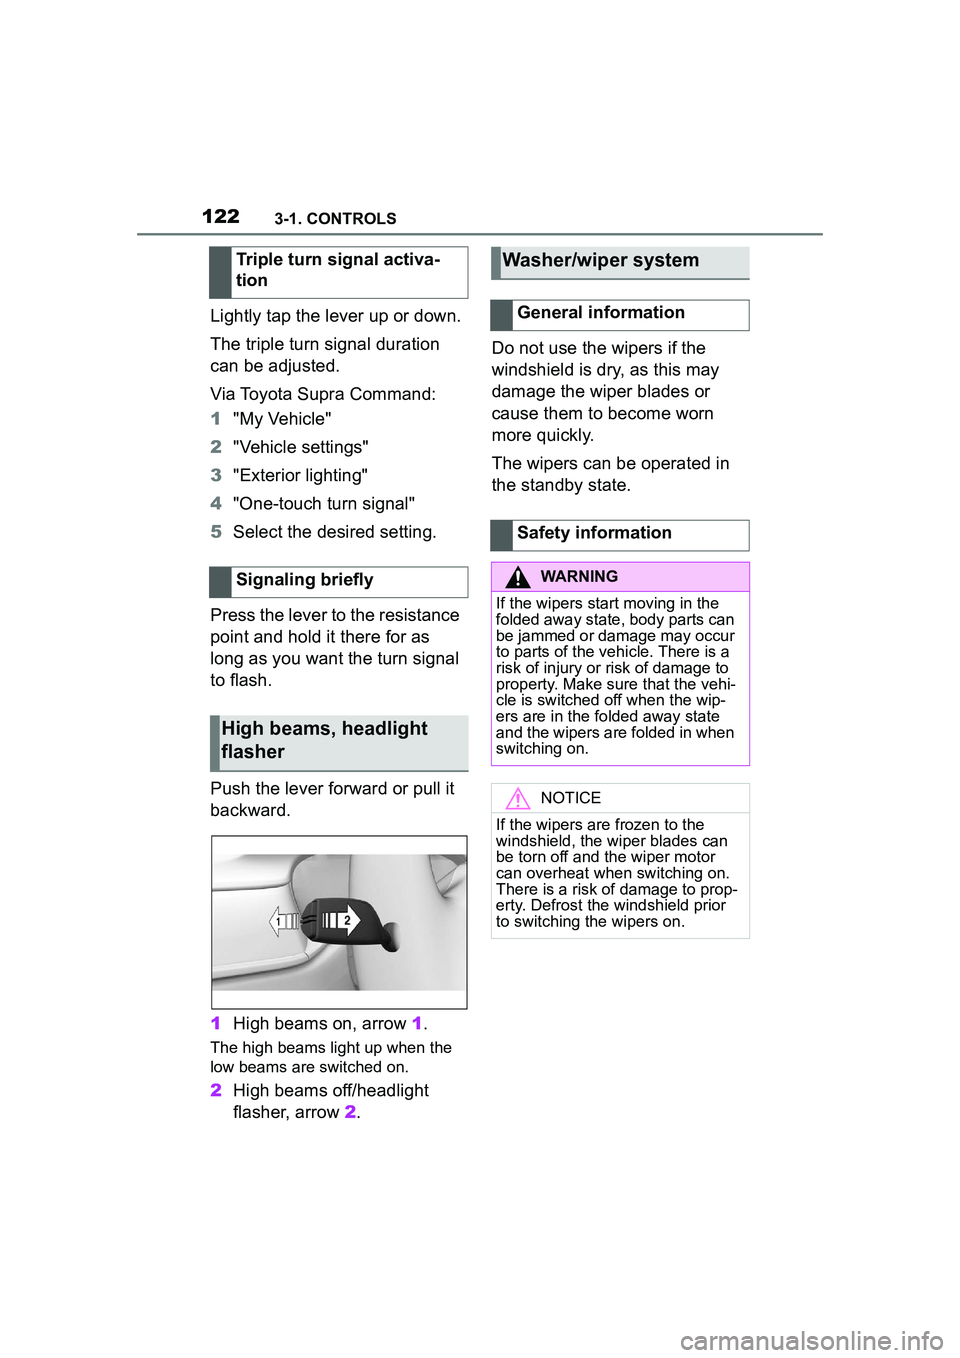
Push the lever forward or pull it
backward.
1 High beams on, arrow 1.
The high beams light up when the
low beams are switched on.
2High beams off/headlight
flasher, arrow 2. Do not use the wipers if the
windshield is dry, as this may
damage the wiper blades or
cause them to become worn
more quickly.
The wipers can be operated in
the standby state.
Triple turn signal activa-
tion
Signaling briefly
High beams, headlight
flasher
Washer/wiper system
General information
Safety information
WARNING
If the wipers start moving in the
folded away state, body parts can
be jammed or damage may occur
to parts of the vehicle. There is a
risk of injury or risk of damage to
property. Make sure that the vehi-
cle is switched off when the wip-
ers are in the folded away state
and the wipers are folded in when
switching on.
NOTICE
If the wipers are frozen to the
windshield, the wiper blades can
be torn off and the wiper motor
can overheat when switching on.
There is a risk of damage to prop-
erty. Defrost the windshield prior
to switching the wipers on.
Page 138 of 356

1383-1. CONTROLS
Steering system
Steering system may
not be working.
Have the system
checked by your Toyota
dealer.
Emissions
The warning light
lights up:
Emissions are deterio-
rating. Have the vehi-
cle checked as soon
as possible.
The warning light
flashes under certain
circumstances:
This indicates that
there is excessive mis-
firing in the engine.
Reduce the vehicle
speed and have the
system checked imme-
diately; otherwise, seri-
ous engine misfiring
within a brief period
can seriously damage
emission control com-
ponents, in particular
the catalytic converter.
Socket for Onboard
Diagnosis, refer to page
302.
Green lights
Turn signal
Turn signal switched
on.
Unusually rapid flash-
ing of the indicator light
indicates that a turn sig-
nal bulb has failed.
Turn signal, refer to
page 121.
Parking lights
Parking lights are
switched on.
Parking lights/low
beams, refer to page
153.
Low beams
Low beams are
switched on.
Parking lights/low
beams, refer to page
153.
Lane departure warning
The indicator light lights
up: the system is acti-
vated. A lane marking
was detected on at
least one side of the
vehicle and warnings
can be issued.
Lane departure warn-
ing, refer to page 182.
Page 139 of 356

1393-1. CONTROLS
3
CONTROLS
The current fill level of the fuel
tank is displayed.
Vehicle tilt position may cause
the display to vary.
Information on refueling, refer to
page 262.Always avoid engine speeds in
the red warning field. In this
range, the fuel supply is reduced
to protect the engine.
Depending on the vehicle equip-
ment, the shift position indica-
tors on the instrument cluster
indicates the maximum shift
point at which the best possible
acceleration can be achieved.
When the selected driving mode
is sport mode, a shift light will be
displayed.
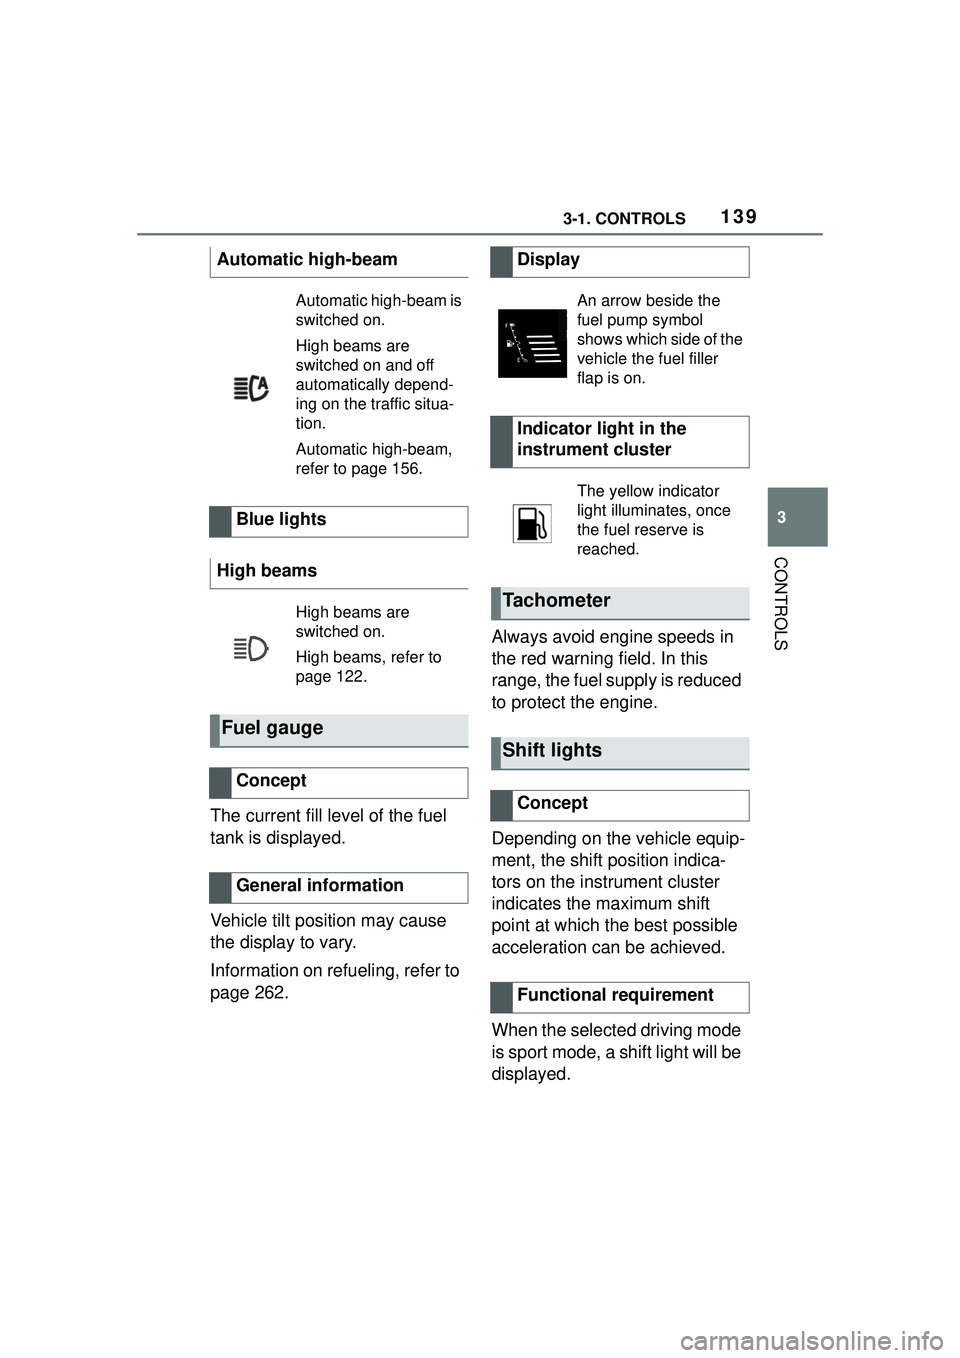
Automatic high-beam
Automatic high-beam is
switched on.
High beams are
switched on and off
automatically depend-
ing on the traffic situa-
tion.
Automatic high-beam,
refer to page 156.
Blue lights
High beams
High beams are
switched on.
High beams, refer to
page 122.
Fuel gauge
Concept
General information
Display
An arrow beside the
fuel pump symbol
shows which side of the
vehicle the fuel filler
flap is on.
Indicator light in the
instrument cluster
The yellow indicator
light illuminates, once
the fuel reserve is
reached.
Tachometer
Shift lights
Concept
Functional requirement
Page 151 of 356

1513-1. CONTROLS
3
CONTROLS
Vehicle messages.
Selection list in the instrument
cluster.
Driver assistance systems.
Some of this information is only
displayed briefly as needed.
Various views are available for
the Head-up Display.
Via Toyota Supra Command:
1 "My vehicle"
2 "System settings"
3 "Displays"
4 "Head-up display"
5 Select the desired setting.
The brightness is automatically
adjusted to the ambient bright-
ness.
The basic setting can be
adjusted manually.
Via Toyota Supra Command:
1 "My vehicle"
2 "System settings"
3 "Displays"
4 "Head-up display"
5 "Brightness"
6 Turn the Controller until the
desired brightness is set.
7 Press the Controller.
When the low beams are switched on, the brightness of
the Head-up Display can be
additionally influenced using the
instrument lighting.
Via Toyota Supra Command:
1
"My vehicle"
2 "System settings"
3 "Displays"
4 "Head-up display"
5 "Height"
6 Turn the Controller until the
desired height is reached.
7 Press the Controller.
The height of the Head-up Dis-
play can also be stored using
the memory function, refer to
page 107.
The Head-up Display view can
be rotated.
Via Toyota Supra Command:
1 "My vehicle"
2 "System settings"
3 "Displays"
4 "Head-up display"
5 "Rotation"
6 Turn the Controller until the
desired setting is selected.
7 Press the Controller.
Selecting the view
Setting the brightness
Adjusting the height
Setting the rotation