2022 TOYOTA GR SUPRA battery
[x] Cancel search: batteryPage 92 of 356
923-1. CONTROLS
3"Doors/Key"
4 "Turn off after door opening"
Opening the front doors establishes
the idle state, refer to page 43.
When the vehicle is locked, the
vehicle alarm system reacts to
the following changes:
• Opening a door, the hood or
the trunk lid.
• Movements in the car's inte- rior.
• Changes in the vehicle tilt, e. g., during attempts at stealing
a wheel or when towing the
vehicle.
• Disconnected battery voltage.
• Improper use of the socket for OBD Onboard Diagnosis.
• Locking the vehicle while a device is connected to the
socket for the OBD Onboard-
Diagnosis. For socket for the
OBD Onboard Diagnosis,
refer to page 302.
The alarm system signals the
following changes visually and
acoustically:
• Acoustic alarm: Depending on local regulations, the acoustic
alarm may be suppressed.
• Visual alarm: By flashing of the hazard warning system
and headlights, where
required. Do not modify the system to
ensure function of the alarm
system.
When you unlock and lock the
vehicle, either with the remote
control or with Comfort entry, the
alarm system is switched off and
on at the same time.
The alarm system is triggered
when a door is opened if the
door was unlocked using the
integrated key in the door lock.
Switching off the alarm, refer to
page 94.
The trunk lid can be opened
even when the alarm system is
switched on.
After the trunk lid is closed, it is
locked and monitored again pro-
vided the doors are locked. The
hazard warning system flashes
once.
You can trigger the alarm sys-
tem if you find yourself in a dan-
Alarm system
General information
Switching on/off
Opening the doors with
the alarm system switched
on
Opening the trunk lid with
the alarm system switched
on
Panic mode
Page 117 of 356
1173-1. CONTROLS
3
CONTROLS
■General information
The engine is not switched off
automatically in the following sit-
uations:
In case of a steep downhill
grade.
Brake not engaged strongly
enough.
The external temperature is
high and automatic air condi-
tioning is running.
The car's interior has not yet
been heated or cooled to the
required level.
Where there is a risk of win-
dow condensation when the
automatic air conditioning is
switched on.
Engine or other parts not at
operating temperature.
Engine cooling is required.
The wheels are at a sharp angle or the steering wheel is
being turned.
Vehicle battery is heavily dis-
charged.
At higher elevations.
The hood is unlocked.
The parking assistant is acti-
vated.
Stop-and-go traffic.
Selector lever position in N or
R.
After driving in reverse.
Use of fuel with high ethanol
content.
The engine starts automatically
under the following precondi-
tions:
By releasing the brake pedal.
After the engine starts, acceler-
ate as usual.
After the engine switches off
automatically, it will not start
again automatically if any one of
the following conditions are met:
The driver's safety belt is
unbuckled and the driver's
Displays in the instrument
cluster
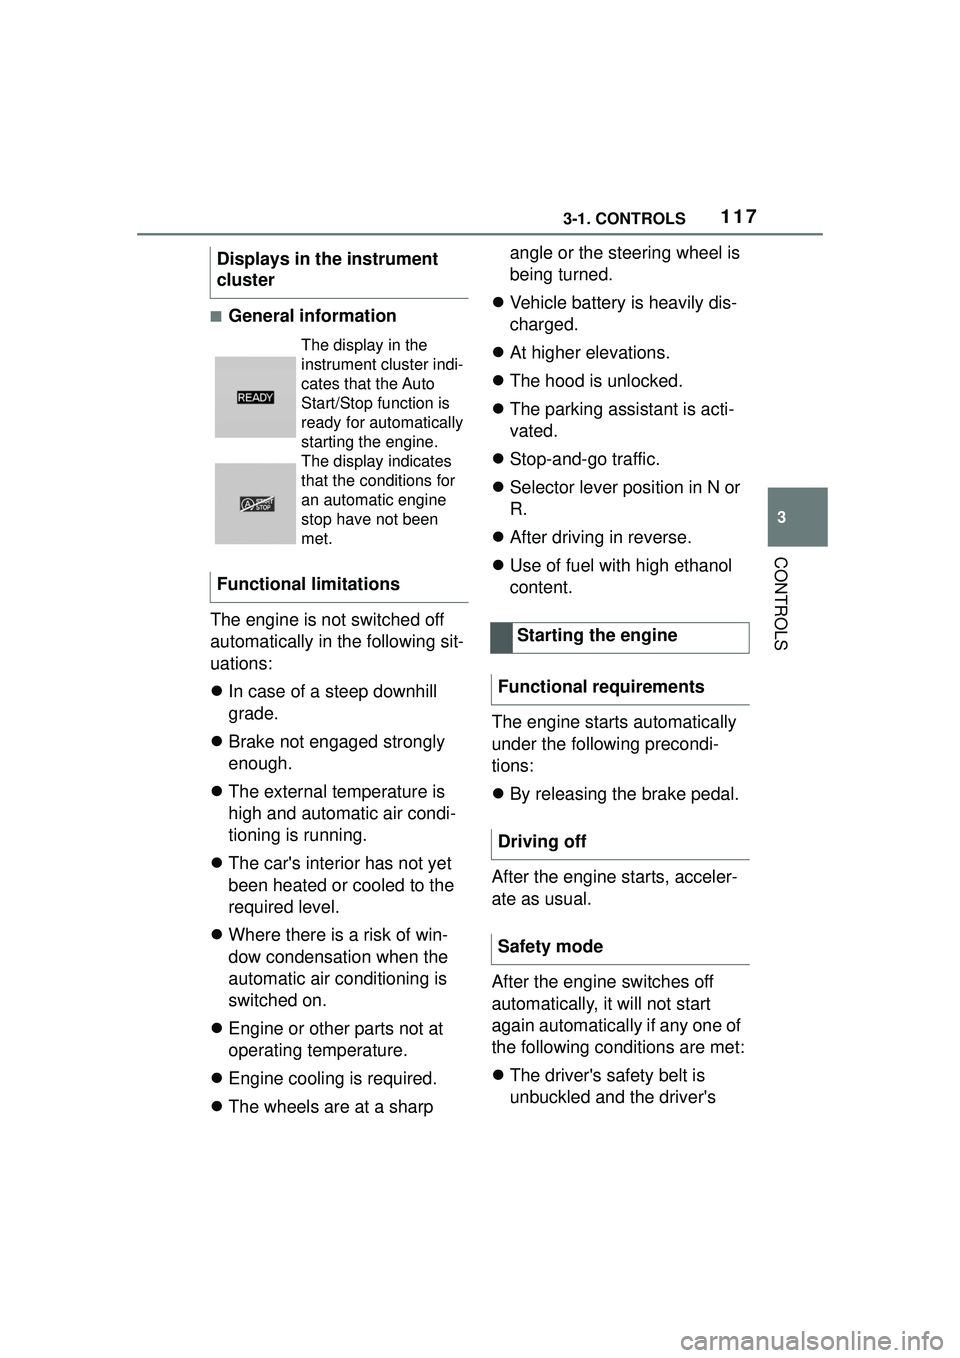
The display in the
instrument cluster indi-
cates that the Auto
Start/Stop function is
ready for automatically
starting the engine.
The display indicates
that the conditions for
an automatic engine
stop have not been
met.
Functional limitations
Starting the engine
Functional requirements
Driving off
Safety mode
Page 118 of 356

1183-1. CONTROLS
door is open.
The hood was unlocked.
Some indicator lights light up for
a varied length of time.
The engine can only be started
via the Start/Stop button.
Even if driving off was not
intended, the deactivated
engine starts up automatically in
the following situations:
Excessive warming of the
car's interior when the air con-
ditioning is switched on.
Excessive cooling of the car's
interior when the heating is
switched on.
Where there is a risk of win-
dow condensation when the
automatic air conditioning is
switched on.
The steering wheel is turned.
Change from selector lever
position D to N or R.
Change from selector lever
position P to N, D, or R.
Vehicle battery is heavily dis-
charged.
Start of an oil level measure-
ment.
Depending on the vehicle equip- ment and country-specific ver-
sion, the vehicle features a
variety of sensors for assessing
the traffic situation. The Auto
Start/Stop function uses this
information to adapt to various
traffic situations in a proactive
manner.
For instance, this applies to the
following situations:
If a situation is detected in
which the stopping time is
expected to be very short, the
engine is not switched off
automatically. A message
appears on the Control Dis-
play, depending on the situa-
tion.
If a situation is detected in
which the vehicle needs to
drive off immediately, the
engine is started automati-
cally.
The function may be restricted if
the navigation data is invalid,
outdated or not available, for
example.
The engine is not automatically
switched off.
The engine is started during an
automatic engine stop.
System limits
Additional functions Auto
Start/Stop
Activating/deactivating the
system manually
Concept
Page 154 of 356
1543-1. CONTROLS
The parking lights can only be
switched on in the low speed
range.
The vehicle is illuminated on all
sides.
Do not use the parking lights for
extended periods; otherwise,
they might drain the battery and
it would then be impossible to
switch on drive-ready state.
After the drive-ready state is
switched on, the automatic
headlight control will be acti-
vated.The low beams illuminate when
drive-ready state is switched on.
Press the button again to switch
on the low beams when the
standby state is switched on.
Depending on the country vari-
ant, the low beams can be
switched off in the low speed
range.
Depending on the surrounding
conditions, the low beam head-
lights may not be able to be
turned off.
When the vehicle is parked, a
one-sided roadside parking light
can be switched on.
Parking lights
General information
Switching on
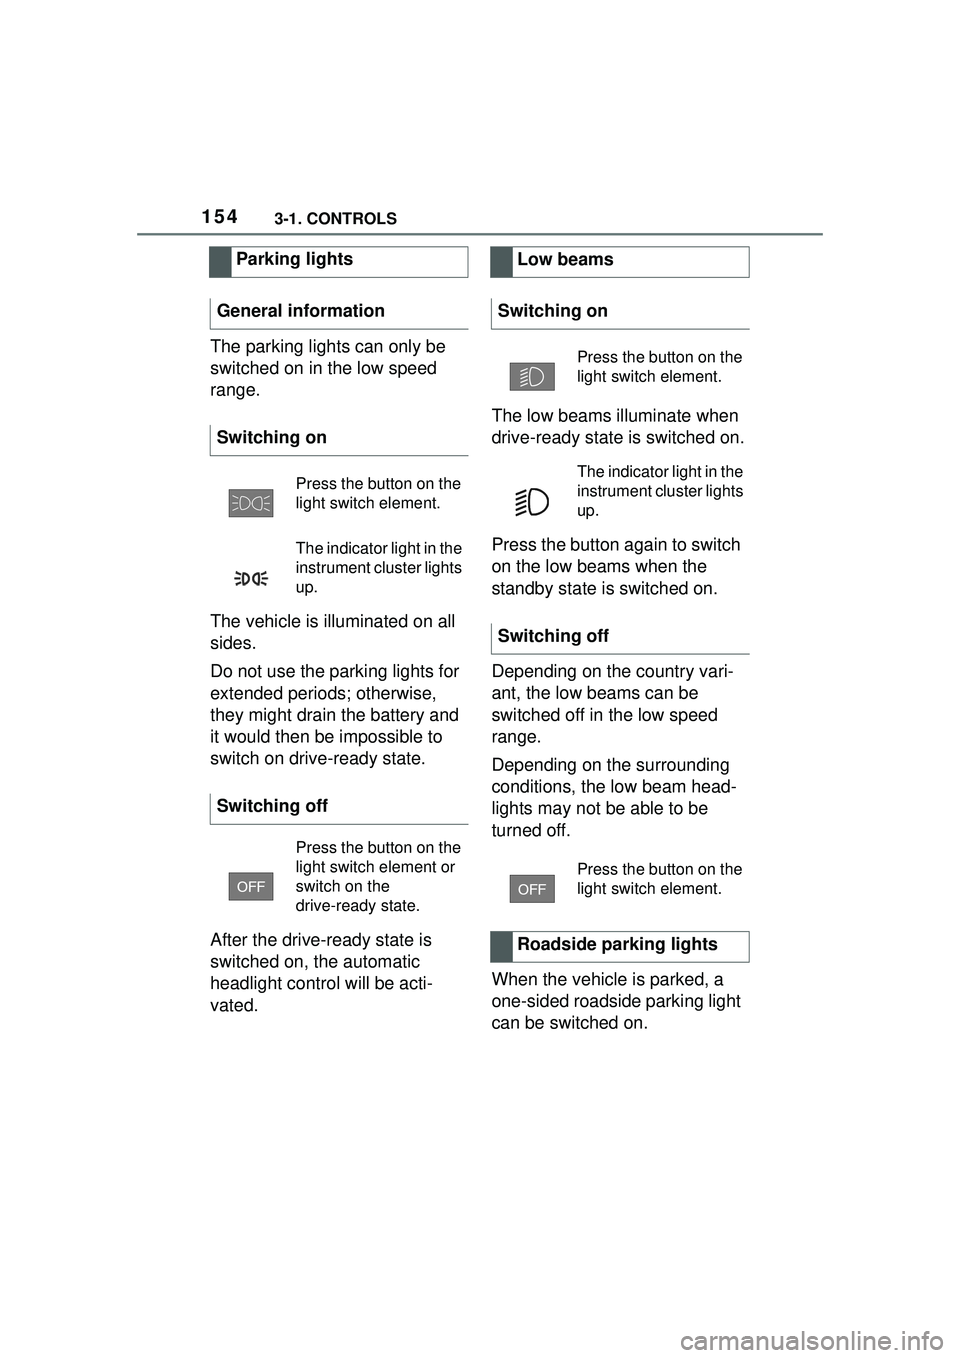
Press the button on the
light switch element.
The indicator light in the
instrument cluster lights
up.
Switching off
Press the button on the
light switch element or
switch on the
drive-ready state.
Low beams
Switching on
Press the button on the
light switch element.
The indicator light in the
instrument cluster lights
up.
Switching off
Press the button on the
light switch element.
Roadside parking lights
Page 230 of 356
2303-1. CONTROLS
recirculated.
To prevent window fogging,
recirculated-air mode switches
off automatically after a certain
amount of time, depending on
the environmental conditions.
With constant recirculated-air
mode, the air quality in the car's
interior deteriorates and the fog-
ging of the windows increases.
If there is window condensation,
switch off recirculated-air mode
or defog the windows, refer to
page 230.
The air flow for climate control
can be adjusted manually.
To manually adjust air flow
switch off AUTO program first.
The selected air flow is shown
on the climate control display.
The air flow may be reduced
automatically to save battery
power.The air distribution for climate
control can be adjusted manu-
ally.
Windows, upper body region,
and floor area.
Upper body region and floor
area.
Floor area.
Windows and floor area.
Windows.
Windows and upper body.
Upper body region.
The selected air distribution is
shown on the climate control
display.
If there is window condensation,
defog the windows, refer to
page P.230.
Ice and condensation are
Controlling the air flow
manually
Concept
General information
Operation
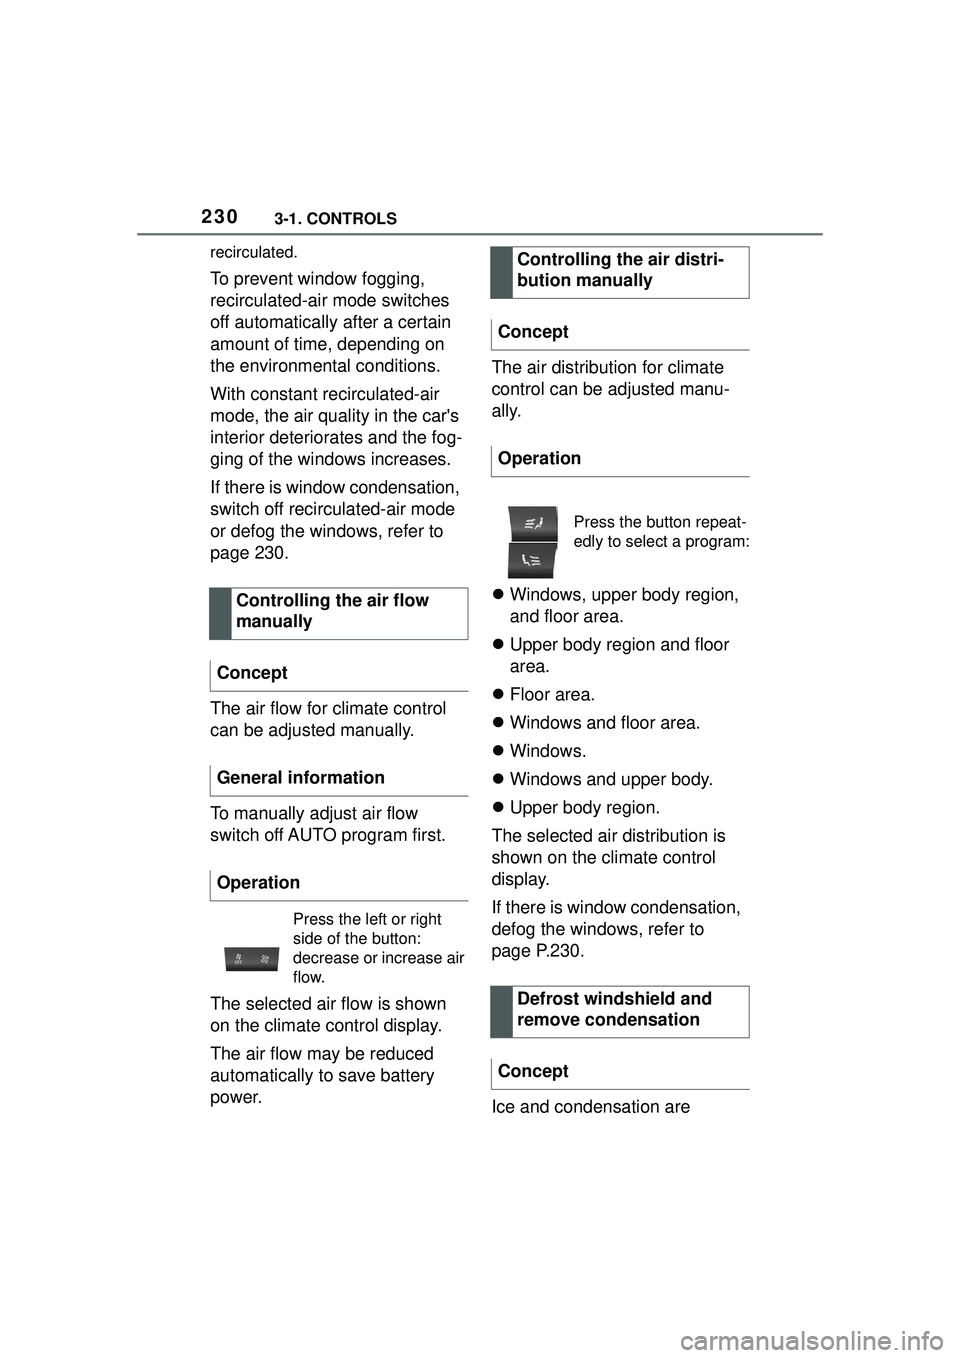
Press the left or right
side of the button:
decrease or increase air
flow.
Controlling the air distri-
bution manually
Concept
Operation
Press the button repeat-
edly to select a program:
Defrost windshield and
remove condensation
Concept
Page 232 of 356
2323-1. CONTROLS
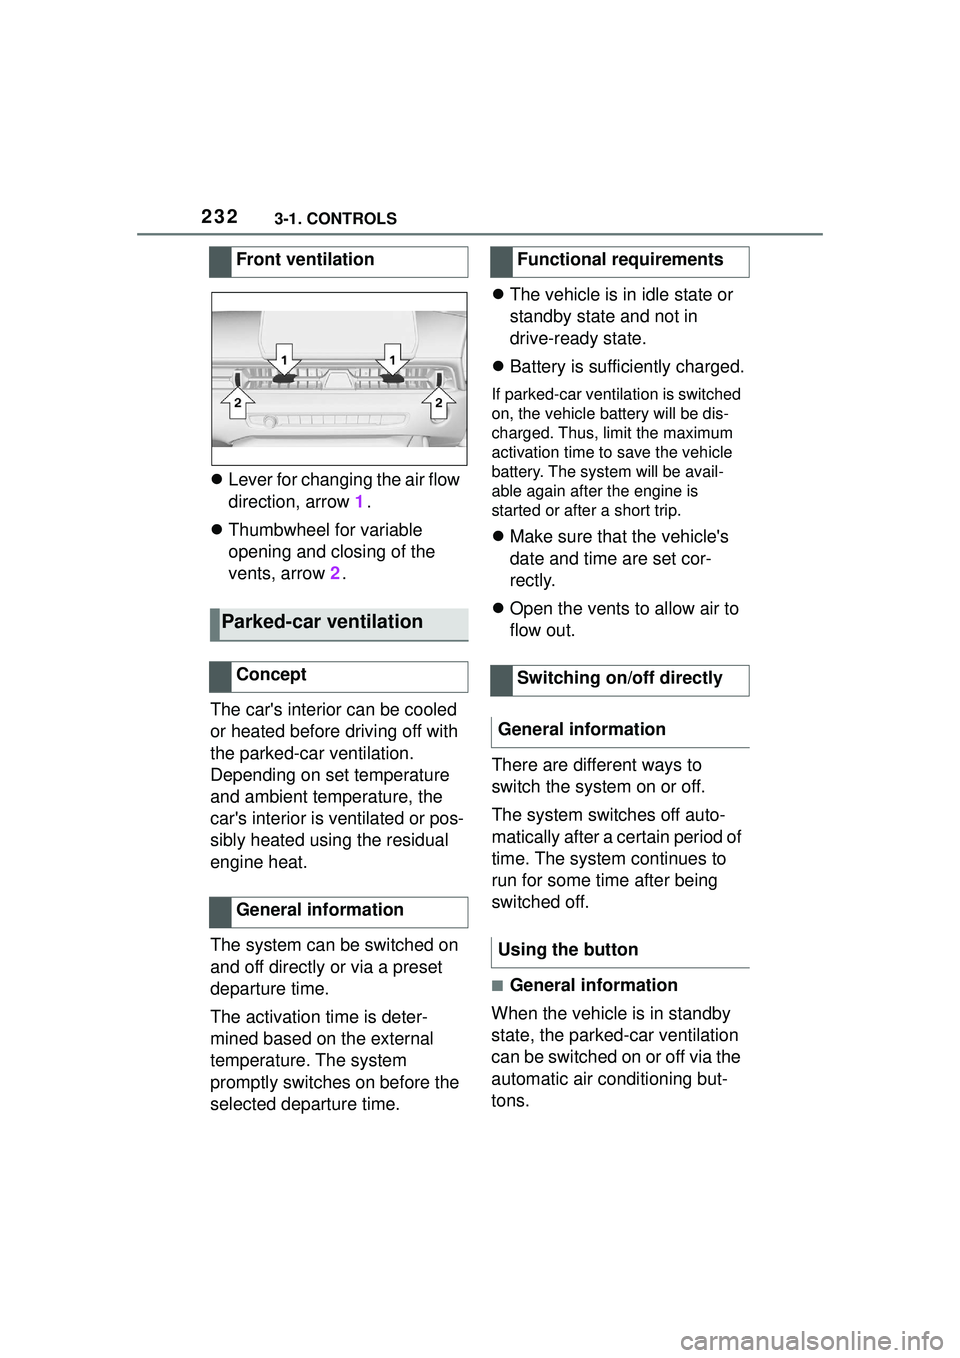
Lever for changing the air flow
direction, arrow 1.
Thumbwheel for variable
opening and closing of the
vents, arrow 2.
The car's interior can be cooled
or heated before driving off with
the parked-car ventilation.
Depending on set temperature
and ambient temperature, the
car's interior is ventilated or pos-
sibly heated using the residual
engine heat.
The system can be switched on
and off directly or via a preset
departure time.
The activation time is deter-
mined based on the external
temperature. The system
promptly switches on before the
selected departure time.
The vehicle is in idle state or
standby state and not in
drive-ready state.
Battery is sufficiently charged.
If parked-car ventilation is switched
on, the vehicle battery will be dis-
charged. Thus, limit the maximum
activation time to save the vehicle
battery. The system will be avail-
able again after the engine is
started or after a short trip.
Make sure that the vehicle's
date and time are set cor-
rectly.
Open the vents to allow air to
flow out.
There are different ways to
switch the system on or off.
The system switches off auto-
matically after a certain period of
time. The system continues to
run for some time after being
switched off.
■General information
When the vehicle is in standby
state, the parked-car ventilation
can be switched on or off via the
automatic air conditioning but-
tons.
Front ventilation
Parked-car ventilation
Concept
General information
Functional requirements
Switching on/off directly
General information
Using the button
Page 235 of 356
2353-1. CONTROLS
3
CONTROLS
desired functions. The
hand-held transmitter for the
particular system is required in
order to program the remote
control.
Before selling the vehicle, delete
the stored functions for the sake
of security.
If possible, do not install the
antenna of the remote-con-
trolled system, e.g. the garage
door drive, near metal objects to
ensure the best possible opera-
tion.Additional questions are
answered by:
Your Toyota dealer.
www.homelink.com on the
Internet.
HomeLink is a registered trade-
mark of Gentex Corporation.
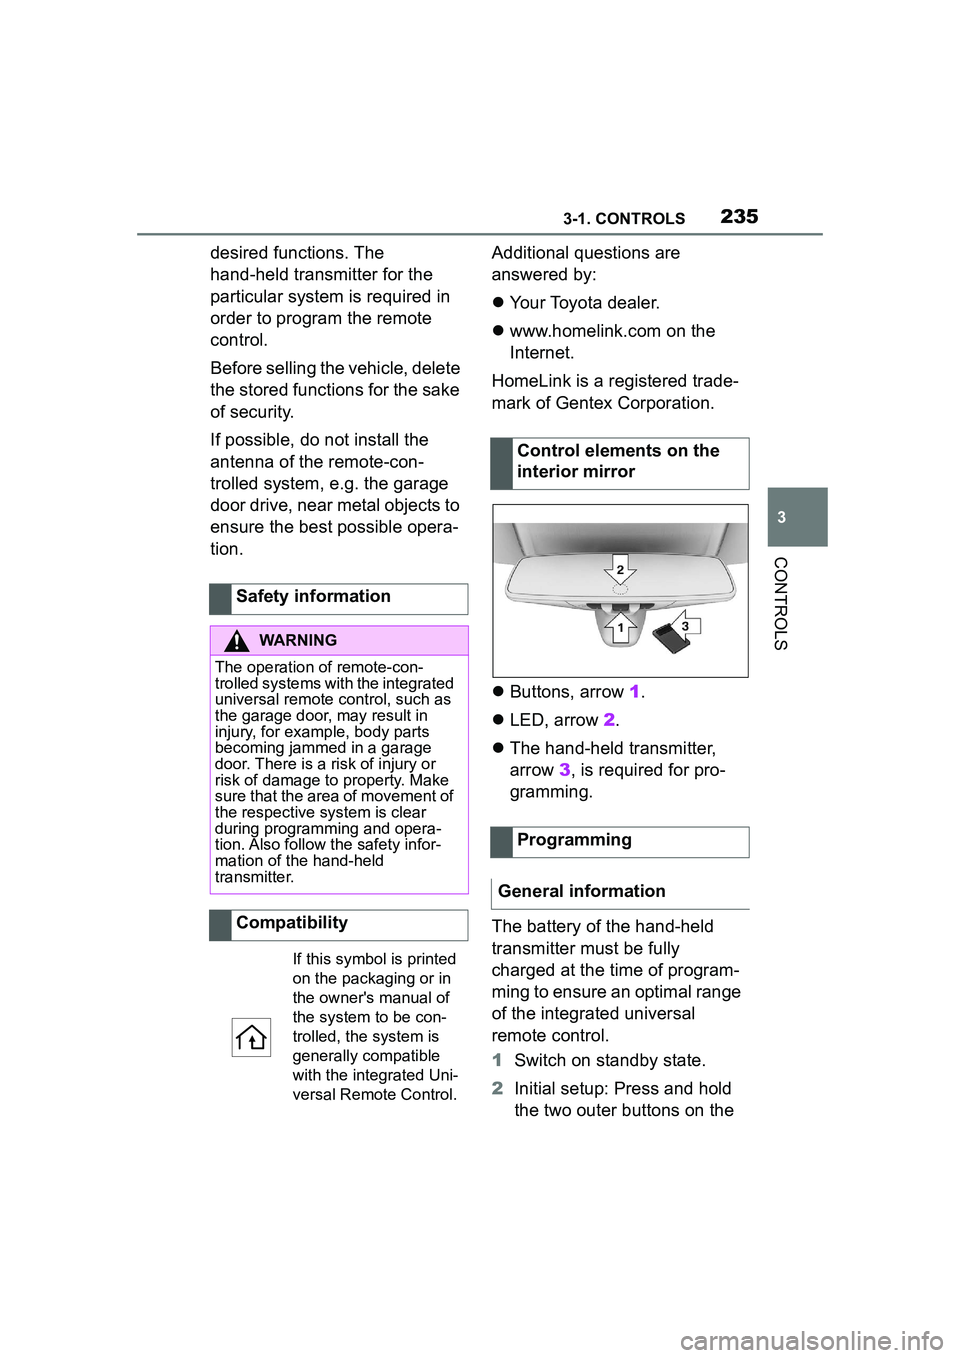
Buttons, arrow 1.
LED, arrow 2.
The hand-held transmitter,
arrow 3, is required for pro-
gramming.
The battery of the hand-held
transmitter must be fully
charged at the time of program-
ming to ensure an optimal range
of the integrated universal
remote control.
1 Switch on standby state.
2 Initial setup: Press and hold
the two outer buttons on the
Safety information
WARNING
The operation of remote-con-
trolled systems with the integrated
universal remote control, such as
the garage door, may result in
injury, for example, body parts
becoming jammed in a garage
door. There is a risk of injury or
risk of damage to property. Make
sure that the area of movement of
the respective system is clear
during programming and opera-
tion. Also follow the safety infor-
mation of the hand-held
transmitter.
Compatibility
If this symbol is printed
on the packaging or in
the owner's manual of
the system to be con-
trolled, the system is
generally compatible
with the integrated Uni-
versal Remote Control.
Control elements on the
interior mirror
Programming
General information
Page 239 of 356
2393-1. CONTROLS
3
CONTROLS
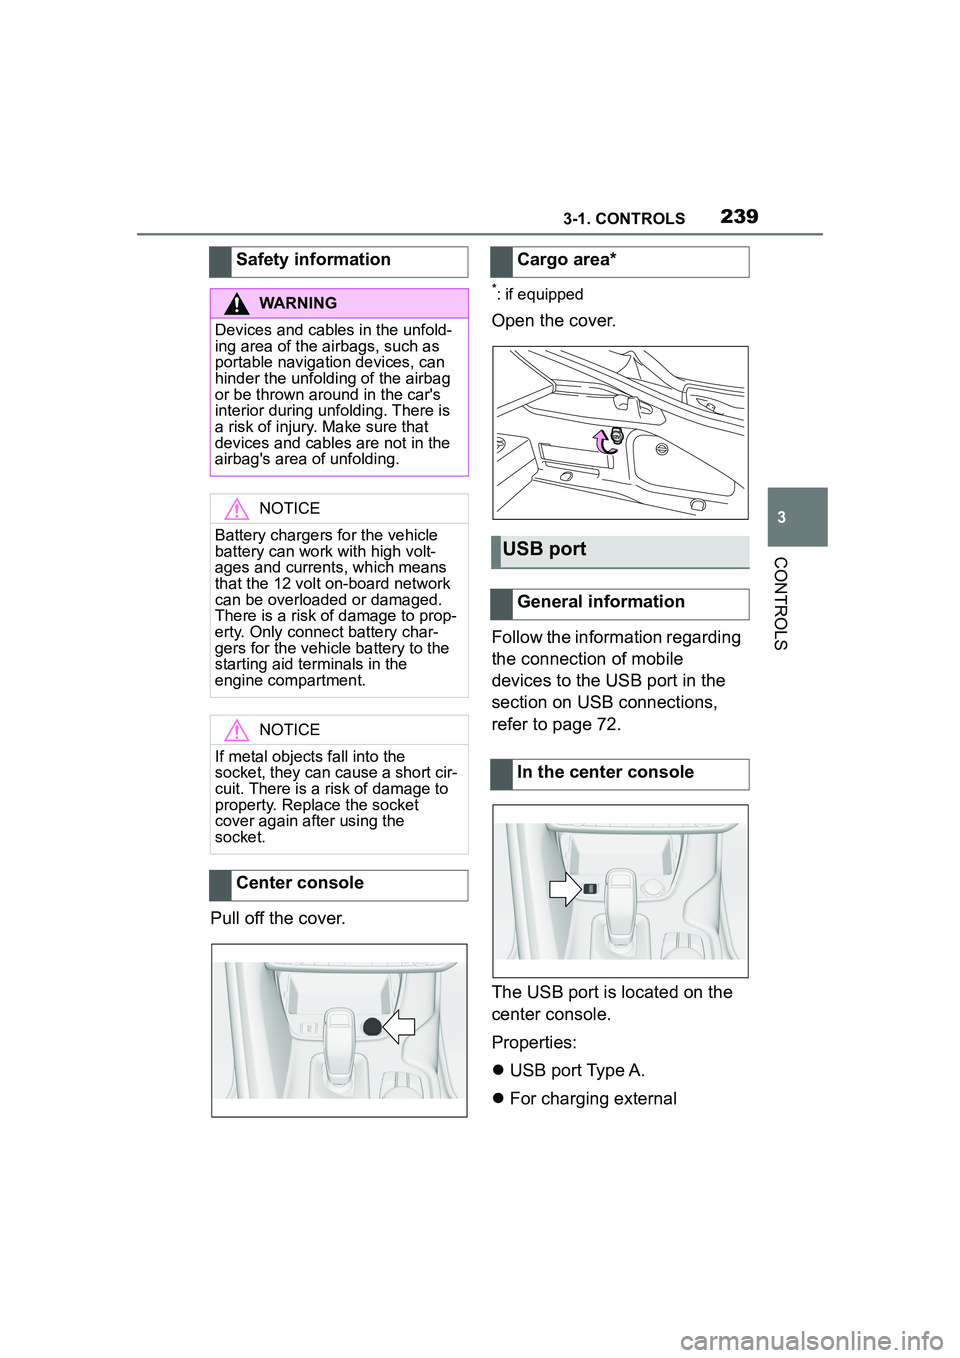
Pull off the cover.
*: if equipped
Open the cover.
Follow the information regarding
the connection of mobile
devices to the USB port in the
section on USB connections,
refer to page 72.
The USB port is located on the
center console.
Properties:
USB port Type A.
For charging external
Safety information
WARNING
Devices and cables in the unfold-
ing area of the airbags, such as
portable navigation devices, can
hinder the unfolding of the airbag
or be thrown around in the car's
interior during unfolding. There is
a risk of injury. Make sure that
devices and cables are not in the
airbag's area of unfolding.
NOTICE
Battery chargers for the vehicle
battery can work with high volt-
ages and currents, which means
that the 12 volt on-board network
can be overloaded or damaged.
There is a risk of damage to prop-
erty. Only connect battery char-
gers for the vehicle battery to the
starting aid terminals in the
engine compartment.
NOTICE
If metal objects fall into the
socket, they can cause a short cir-
cuit. There is a risk of damage to
property. Replace the socket
cover again after using the
socket.
Center console
Cargo area*
USB port
General information
In the center console