Page 13 of 356

131-1. NOTES
1
NOTES
The vehicle identification num-
ber can also be found behind
the windshield.Windshield
Other Precautions
WARNING
Do not modify the vehicle.
Do not modify the vehicle with any
parts (ex. batteries, electrical
components, etc.) other than Toy-
ota genuine parts and accesso-
ries or Toyota approved parts, as
doing so may cause an unex-
pected malfunction or an acci-
dent. For information on Toyota
genuine parts and accessories,
contact a Toyota dealer.
WARNING
Do not install any accessories to
the windshield.
If an accessory is installed to the
windshield or the rear view mirror,
it may block your vision of the
road or become a distraction, pos-
sibly leading to an accident. Also,
if an object such as a suction cup
is attached to the windshield, it
may act as a lens and possibly
cause a fire. Do not install a wide
view mirror to the rear view mirror
as it may come loose in a collision
and cause injury.
WARNING
■When the vehicle is parked
●Do not leave glasses, cigarette
lighters, spray cans, or soft
drink cans in the vehicle when it
is in the sun. Doing so may
result in the following:
• Gas may leak from a cigarette lighter or spray can, and may
lead to a fire.
• The temperature inside the vehicle may cause the plastic
lenses and plastic material of
glasses to deform or crack.
• Soft drink cans may fracture, causing the contents to spray
over the interior of the vehicle,
and may also cause a short cir-
cuit in the vehicle’s electrical
components.
Page 18 of 356

182-1. QUICK REFERENCE
around the vehicle for small
children and low objects
before driving.
When backing up (reversing),
if you cannot see the area
behind the vehicle suffi-
ciently, exit the vehicle and
check the area before pro-
ceeding.
Refrain from driving when you
are fatigued or not feeling well.
Also, if driving for a long time, be
sure to stop and rest periodi-
cally.
1 Unlocking
2 Locking
3 Unlocking the trunk lid
4 Panic mode, pathway lighting Depending on the settings,
either only the driver's door or all
vehicle access points are
unlocked.
If only the driver's door is
unlocked, press the button on
the remote control again to
unlock the other vehicle access
points.
1
Close the driver's door.
2 Press the button on the
remote control.
All vehicle access points are
locked.
Buttons for the central locking
system.
When in poor physical
condition
Opening and closing
Buttons on the remote
control
Unlocking the vehicle
Press the button on the
remote control.
Locking the vehicle
Buttons for the central
locking system
Overview
Page 19 of 356
192-1. QUICK REFERENCE
2
QUICK REFERENCE
The fuel filler flap remains
unlocked.
You can trigger the alarm sys-
tem if you find yourself in a dan-
gerous situation.
• Press the button on the remote control and hold for at
least 3 seconds.
• Briefly press the button on the remote control three times in
succession.
To switch off the alarm: press
any button.
The vehicle can be accessed
without operating the vehicle
key.
Carrying the vehicle key with
you, e.g., in your pants pocket,
is sufficient. The vehicle automatically
detects the remote control when
it is in close proximity or in the
car's interior.
Grasp the handle of a vehicle
door completely.
With the doors closed, touch the
indentation (lock sensor) on the
door handle with a finger for
approximately 1 second.
Locking
Pressing the button
locks the vehicle if the
front doors are closed.
Unlocking
Pressing the button
unlocks the vehicle.
Panic mode
Smart Key System
Concept
Unlocking the vehicle
Locking the vehicle
Page 20 of 356
202-1. QUICK REFERENCE
Close the trunk lid manually.
1Wipers
2 Instrument cluster
3 Turn signal indicator, high
beams
4 Light switch element
The indicator/warning lights can light up in a variety of combina-
tions and colors.
Several of the lights are
checked for proper functioning
and light up temporarily when
the engine is started or standby
state is switched on.
1
Exterior mirrors
2 Power windows
3 Central locking system
4 Unlocking the trunk lid
1 Selector lever
2 Controller
3 Auto Start/Stop cancel button
4 Sport mode button
5 Park Assistant button
Trunk lid
Opening
Press and hold the but-
ton on the remote con-
trol for approximately 1
second. Depending on
the setting, the doors
may also unlock, refer
to page 78.
Closing
Displays and control ele-
ments
In the vicinity of the steer-
ing wheel
Indicator/warning lights
1
2
3
4
Driver's door
Switch console
321
4
Page 26 of 356

262-1. QUICK REFERENCE
The LED and indicator light go
out.
The parking brake is released.
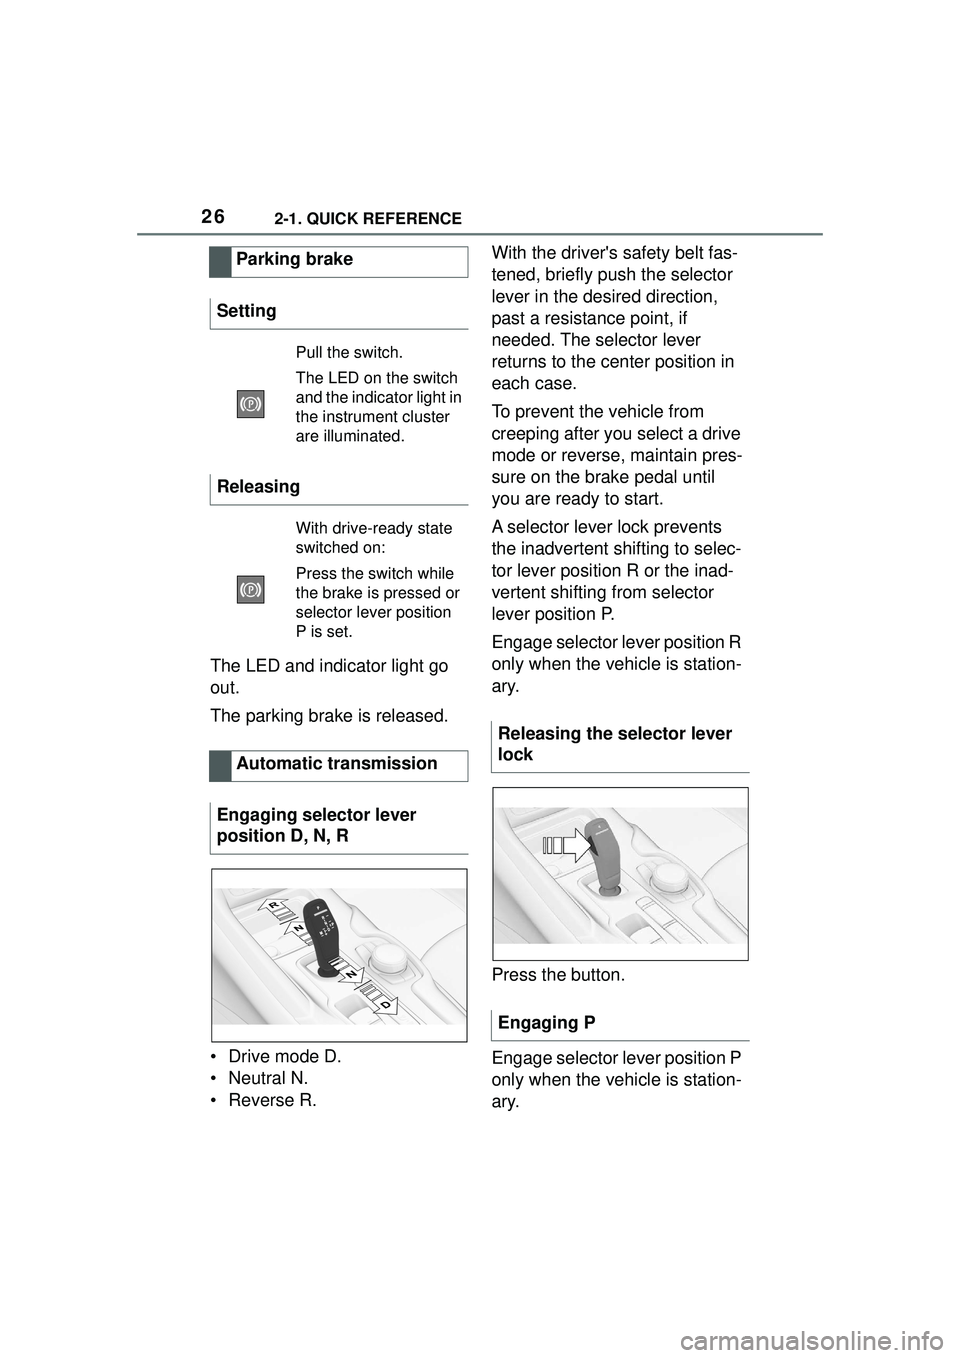
• Drive mode D.
• Neutral N.
•Reverse R.With the driver's safety belt fas-
tened, briefly push the selector
lever in the desired direction,
past a resistance point, if
needed. The selector lever
returns to the center position in
each case.
To prevent the vehicle from
creeping after you select a drive
mode or reverse, maintain pres-
sure on the brake pedal until
you are ready to start.
A selector lever lock prevents
the inadvertent shifting to selec-
tor lever position R or the inad-
vertent shifting from selector
lever position P.
Engage selector lever position R
only when the vehicle is station-
ary.
Press the button.
Engage selector lever position P
only when the vehicle is station-
ary.
Parking brake
Setting
Pull the switch.
The LED on the switch
and the indica tor light in
the instrument cluster
are illuminated.
Releasing
With drive-ready state
switched on:
Press the switch while
the brake is pressed or
selector lever position
P is set.
Automatic transmission
Engaging selector lever
position D, N, R
Releasing the selector lever
lock
Engaging P
Page 30 of 356

302-1. QUICK REFERENCE
1Press the rear edge of the
fuel filler flap to open it.
2 Turn the fuel cap counter-
clockwise.
3 Place the fuel cap in the
bracket attached to the fuel
filler flap.
For the best fuel efficiency, the gasoline should be sulfur-free or
very low in sulfur content.
Fuels that are marked on the
gas pump as containing metal
must not be used.
P. 2 9 3
The tire inflation pressure speci-
fications can be found in the tire
inflation pressure table in the
printed Owner's Manual.
With Tire Pressure Monitor
TPM:
The corrected tire inflation pres-
sures are applied automatically.
Make sure that the correct tire
settings have been made.
With tires that cannot be found
in the tire pressure values on
the Control Display, reset the
Tire Pressure Monitor TPM.
Regularly check the tire inflation
pressure and correct it as
needed:
• At least twice a month.
• Before embarking on an extended trip.
Seat heating.
Climate control opera- tion.
Air flow, manual.
Refueling
Refueling
Fuel cap
Gasoline
ButtonFunction
Wheels and tires
Tire inflation pressure speci-
fications
After correcting the tire infla-
tion pressure
Checking the tire inflation
pressure
Page 32 of 356

322-1. QUICK REFERENCE
Via Toyota Supra Command:
1"Toyota Supra Connect"
2 "Toyota Supra Assistance"
3 "Roadside assistance"
A voice connection is established.
The Concierge offers informa-
tion on events, gas stations or
hotels, and provides phone
numbers and addresses. Many
hotels can be booked directly by
the Concierge.
Via Toyota Supra Command:
1"Toyota Supra Connect"
2 "Toyota Supra Assistance"
3 "Concierge"
A voice connection to the Con-
cierge is established.
Remote maintenance are ser-
vices that help to maintain vehi-
cle mobility.
Remote maintenance can com-
prise the following services:
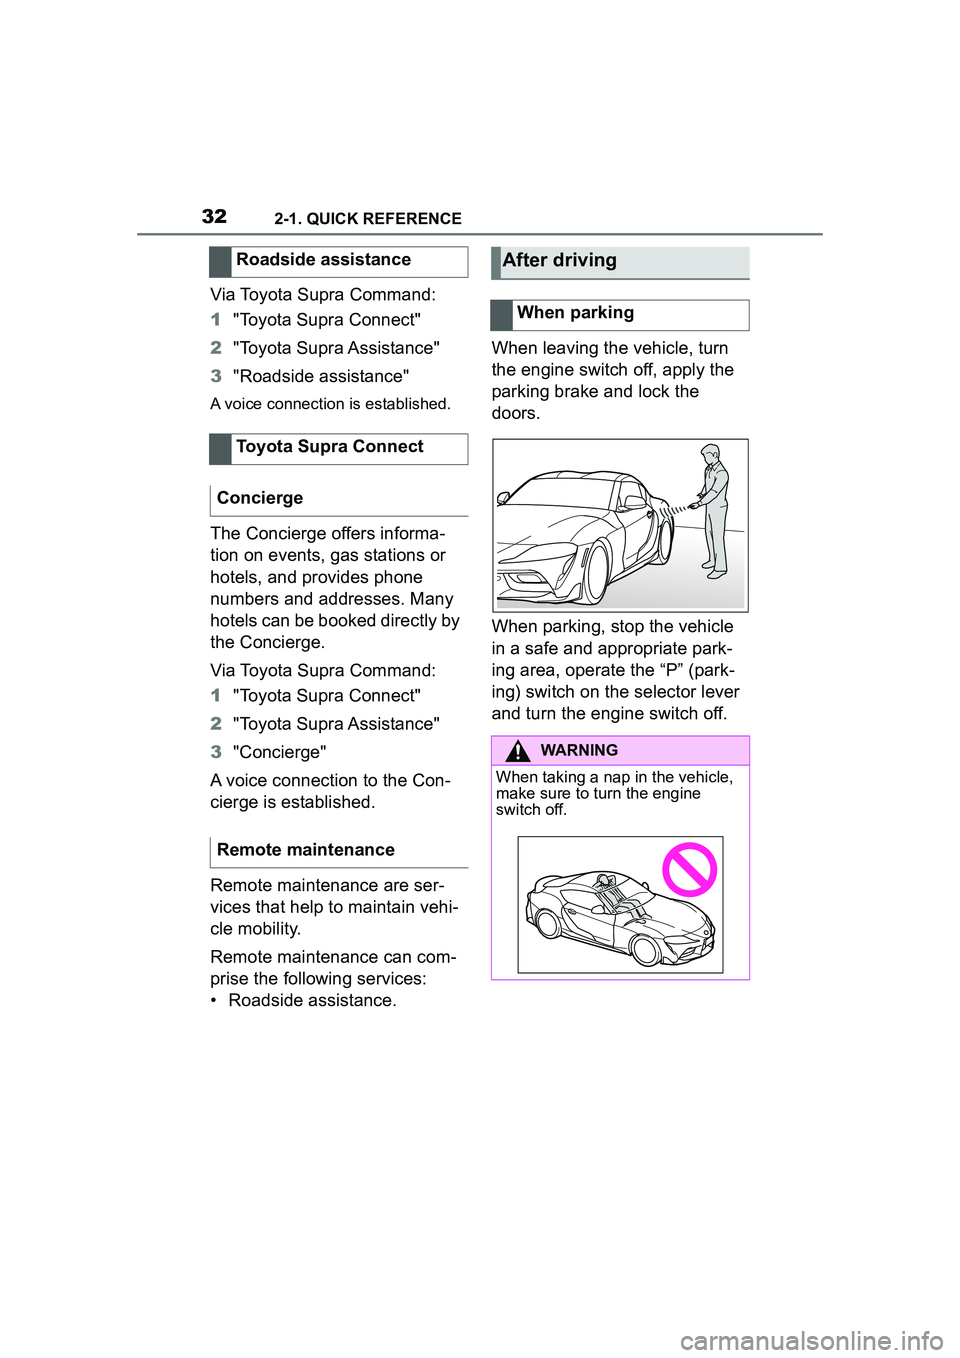
• Roadside assistance. When leaving the vehicle, turn
the engine switch off, apply the
parking brake and lock the
doors.
When parking, stop the vehicle
in a safe and appropriate park-
ing area, operate the “P” (park-
ing) switch on the selector lever
and turn the engine switch off.
Roadside assistance
Toyota Supra Connect
Concierge
Remote maintenance
After driving
When parking
WARNING
When taking a nap in the vehicle,
make sure to turn the engine
switch off.
Page 36 of 356
363-1. CONTROLS
3-1.CONTROLS
This chapter describes all stan-
dard, country-specific and
optional features offered with
the series. It also describes fea-
tures and functions that are not
necessarily available in your
vehicle, e.g., due to the selected options or country versions. This
also applies to safety-related
functions and systems. When
using these functions and sys-
tems, the applicable laws and
regulations must be observed.
1 Central locking system
Unlock P.85
Lock P.85
2 Power windows P.94
3 Exterior mirror operation
P.105 4
Lights
Lights off P.152
Daytime running lights P.155
Parking lights P.154
Automatic headlight
control P.153
Cockpit
Vehicle features and options
In the vicinity of the steering wheel