Page 163 of 584

1633-3. Adjusting the seats
3
Operation of each component
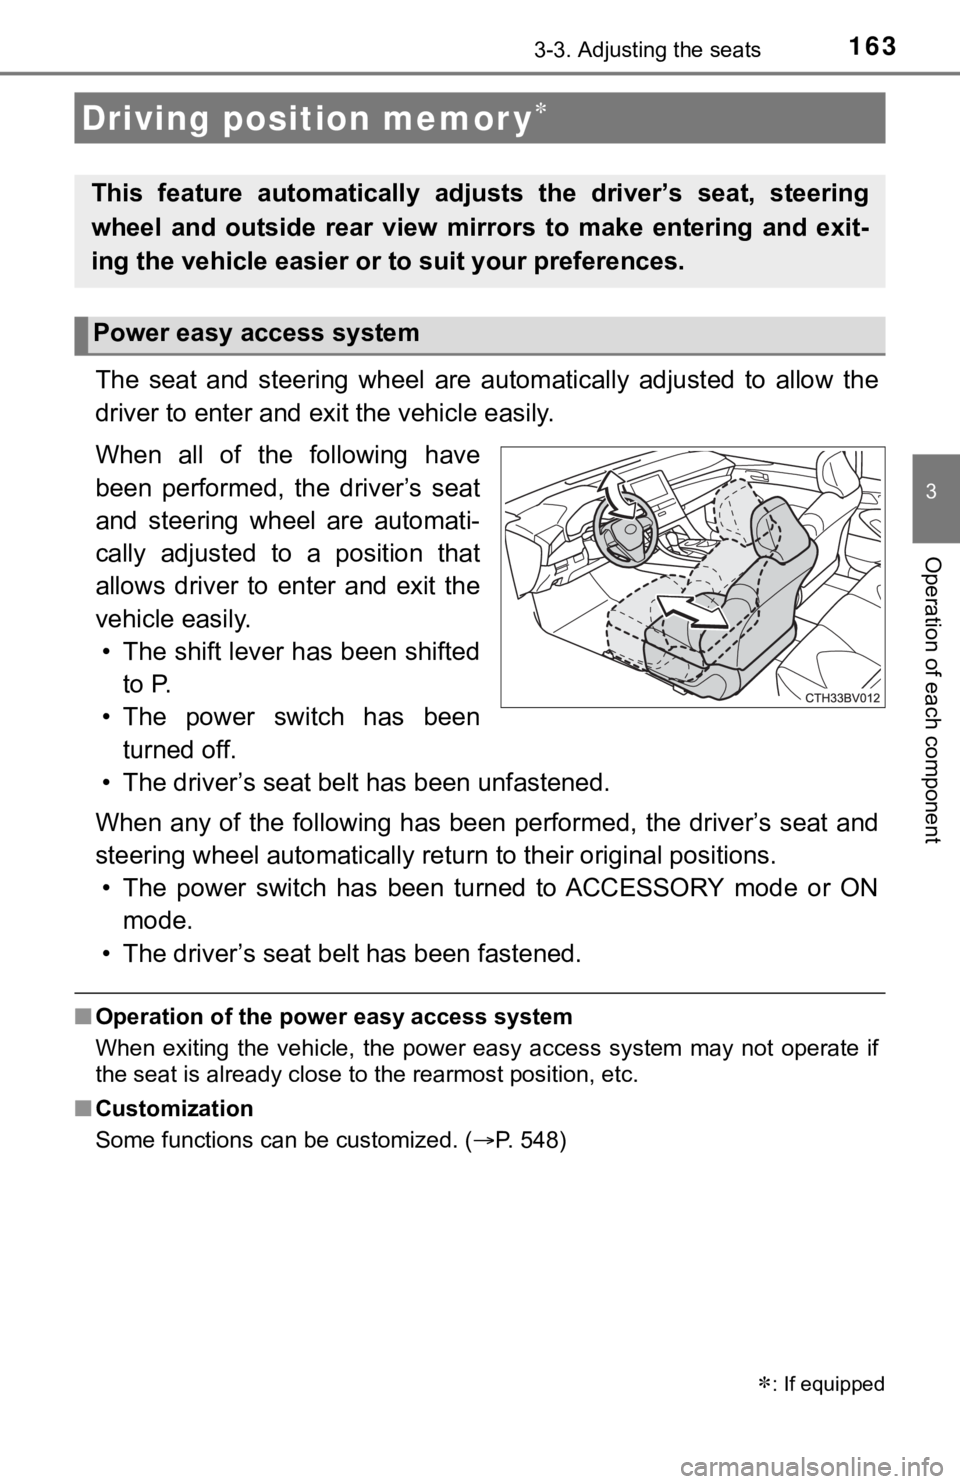
The seat and steering wheel are automatically adjusted to allow the
driver to enter and exi t the vehicle easily.
When all of the following have
been performed, the driver’s seat
and steering wheel are automati-
cally adjusted to a position that
allows driver to enter and exit the
vehicle easily. • The shift lever has been shifted to P.
• The power switch has been turned off.
• The driver’s seat belt has been unfastened.
When any of the following has be en performed, the driver’s seat and
steering wheel automatically ret urn to their original positions.
• The power switch has been turned to ACCESSORY mode or ON mode.
• The driver’s seat belt has been fastened.
■ Operation of the power easy access system
When exiting the vehicle, the power easy access system may not operate if
the seat is already close to the rearmost position, etc.
■ Customization
Some functions can be customized. ( P. 548)
Driving position memor y
: If equipped
This feature automatically adjusts the driver’s seat, steering
wheel and outside rear view mirrors to make entering and exit-
ing the vehicle easier or to suit your preferences.
Power easy access system
Page 165 of 584

1653-3. Adjusting the seats
3
Operation of each component
■To stop the position recall operation part-way through
Perform any of the following operations:
●Press the “SET” button.
● Press button “1” or “2”.
● Operate any of the seat adjustment switches (only cancels seat position
recall).
● Operate the tilt and telescopic steering control switch (only cancels steering
wheel position recall).
■ Seat positions that can be memorized ( P. 159)
The adjusted positions other than the position adjusted by lumb ar support
switch can be recorded.
■ Operating the driving position memory after turning the power s witch off
Recorded seat positions can be activated up to 180 seconds after the driver’s
door is opened and another 60 seconds after it is closed again.
■ When the recorded seat pos ition cannot be recalled
The seat position may not be recalled in some situations when t he seat posi-
tion is recorded in a certain range. For details, contact your Toyota dealer.
■ In order to correctly use the dr iving position memory function
If a seat position is already in the furthest possible position and the seat is
operated in the same direction, the recorded position may be sl ightly different
when it is recalled.
Page 166 of 584

1663-3. Adjusting the seats
Each electronic key can be registered to recall your preferred driving
position.
■Registering procedure
Record your driving position to button 1 or 2 before performing the
following:
Carry only the key you want to register, and then close the dri ver’s
door.
If 2 or more keys are in the vehicle, the driving position cann ot be
recorded properly.
Check that the shift lever is in P.
Turn the power switch to ON mode.
Recall the driving position that you want to record.
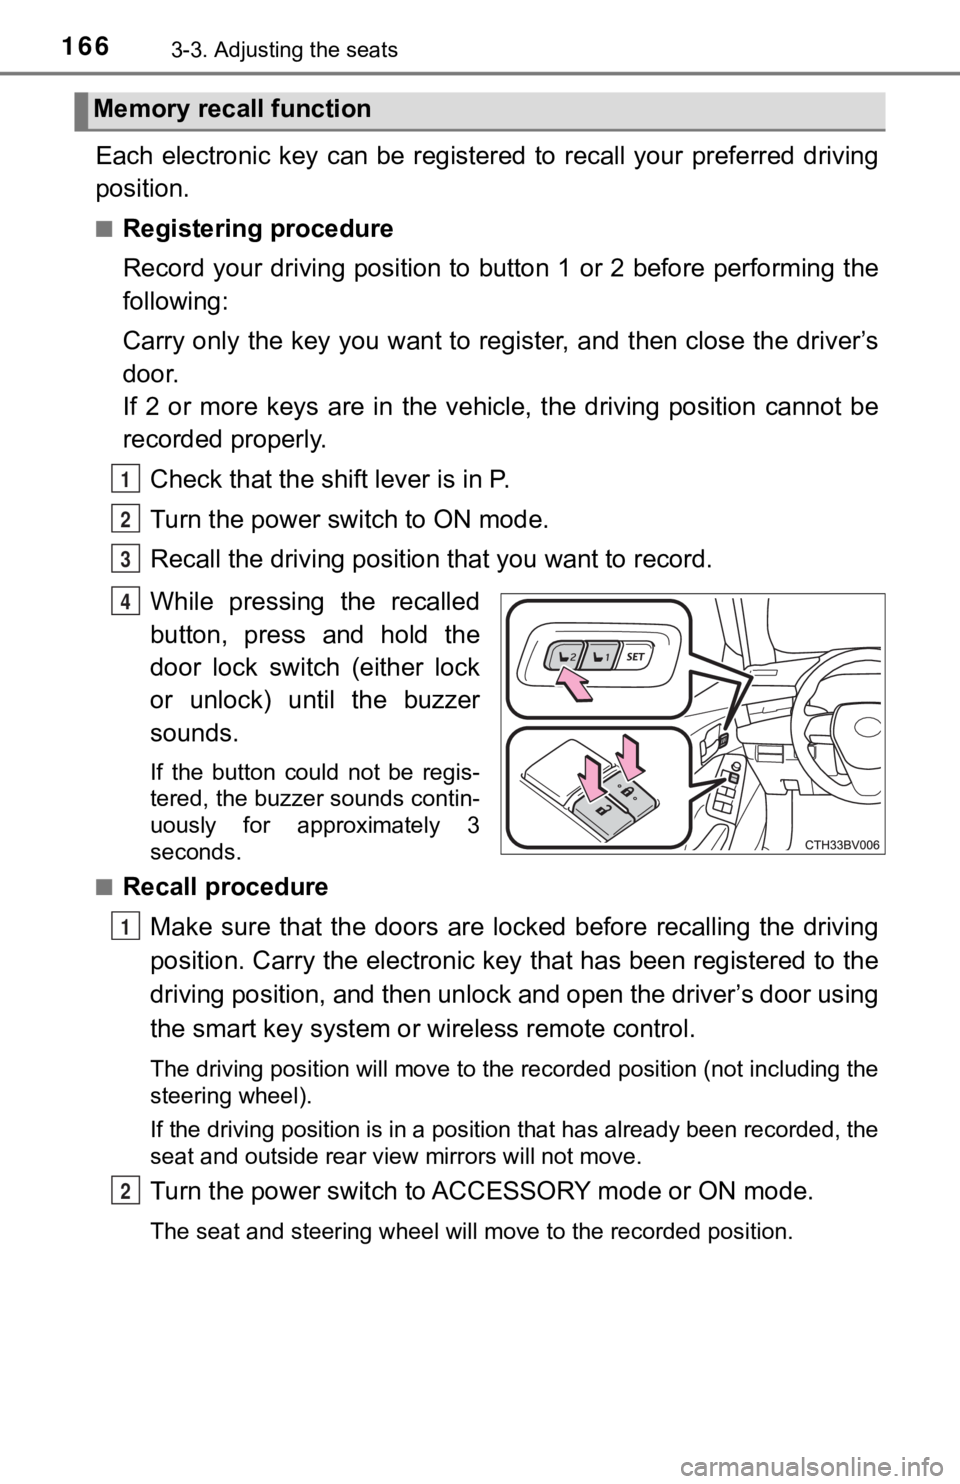
While pressing the recalled
button, press and hold the
door lock switch (either lock
or unlock) until the buzzer
sounds.
If the button could not be regis-
tered, the buzzer sounds contin-
uously for approximately 3
seconds.
■
Recall procedure
Make sure that the doors are locked before recalling the drivin g
position. Carry the electronic ke y that has been registered to the
driving position, and then unlock and open the driver’s door using
the smart key system or wireless remote control.
The driving position will move to the recorded position (not in cluding the
steering wheel).
If the driving position is in a position that has already been recorded, the
seat and outside rear view mirrors will not move.
Turn the power switch to ACCESSORY mode or ON mode.
The seat and steering wheel will move to the recorded position.
Memory recall function
1
2
3
4
1
2
Page 167 of 584

1673-3. Adjusting the seats
3
Operation of each component
■Cancelation procedure
Carry only the key you want to cancel and then close the driver’s
door.
If 2 or more keys are in the vehicle, the driving position cann ot be
canceled properly.
Turn the power switch to ON mode.
While pressing the “SET” button, press and hold the door lock
switch (either lock or unlock) until the buzzer sounds twice.
If it button could not be canceled, the buzzer sounds continuously for
approximately 3 seconds.
■Recalling the driving position u sing the memory recall function
● Different driving positions can be registered for each electronic key. There-
fore, the driving position that is recalled may be different de pending on the
key being carried.
● If a door other than the driver’s door is unlocked with the smart key system,
the driving position cannot be recalled. In this case, press the driving posi-
tion button which has been set.
■ Customization
Some functions can be customized. ( P. 548)
WARNING
■ Seat adjustment caution
Take care during seat adjustment so that the seat does not stri ke the rear
passenger or squeeze your body against the steering wheel.
1
2
Page 170 of 584
1703-4. Adjusting the steering wheel and mirrors
Manual type
Hold the steering wheel and
push the lever down.
Adjust to the ideal position by
moving the steering wheel hori-
zontally and vertically.
After adjustment, pull the lever up
to secure the steering wheel.
Power type
Operating the switch moves the steering wheel in the following direc-
tions:
Up
Down
Toward the driver
Away from the driver
Steering wheel
Adjustment procedure
1
2
1
2
3
4
Page 171 of 584

1713-4. Adjusting the steering wheel and mirrors
3
Operation of each component
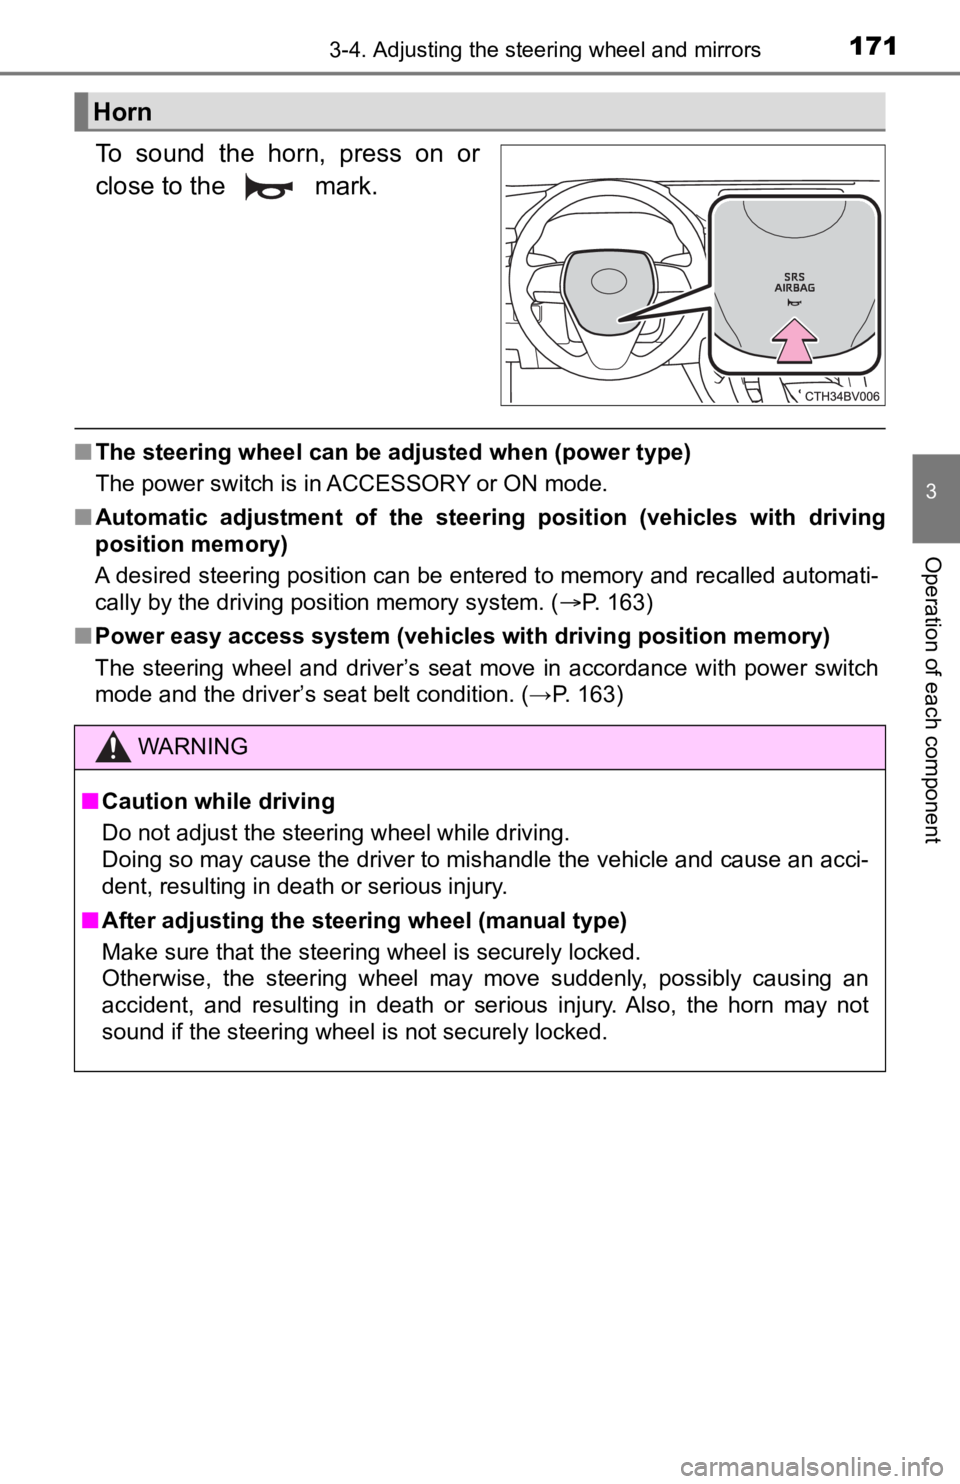
To sound the horn, press on or
close to the mark.
■The steering wheel can be ad justed when (power type)
The power switch is in ACCESSORY or ON mode.
■ Automatic adjustment of the steering position (vehicles with dr iving
position memory)
A desired steering position can be entered to memory and recall ed automati-
cally by the driving position memory system. ( P. 163)
■ Power easy access system (vehicles with driving position memory )
The steering wheel and driver’s seat move in accordance with po wer switch
mode and the driver’s seat belt condition. (→P. 163)
Horn
WARNING
■ Caution while driving
Do not adjust the steering wheel while driving.
Doing so may cause the driver to mishandle the vehicle and caus e an acci-
dent, resulting in death or serious injury.
■ After adjusting the steering wheel (manual type)
Make sure that the steering wheel is securely locked.
Otherwise, the steering wheel may move suddenly, possibly causi ng an
accident, and resulting in death or serious injury. Also, the horn may not
sound if the steering wheel is not securely locked.
Page 172 of 584
1723-4. Adjusting the steering wheel and mirrors
The height of the rear view mirror can be adjusted to suit your driving
posture.
Adjust the height of the rear view
mirror by moving it up and down.
Responding to the level of brightness of the headlights of vehi cles
behind, the reflected light is automatically reduced.
Changing automatic anti- glare function mode
On/off
When the automatic anti-glare function is in ON mode, the indic ator illumi-
nates.
The function will set to ON mode each time the power switch is turned to
ON mode.
Pressing the button turns the function to OFF mode. (The indicator also
turns off.)
Inside rear view mirror
The rear view mirror’s position ca n be adjusted to enable suffi-
cient confirmation of the rear view.
Adjusting the height of rear view mirror
Anti-glare function
Vehicles with garage door
openerVehicles without garage door
opener
Indicator
Indicator
Page 173 of 584
1733-4. Adjusting the steering wheel and mirrors
3
Operation of each component
■To prevent sensor error
Vehicles without garage door opener
Vehicles with garage door opener
To ensure that the sensors operate prop-
erly, do not touch or cover them.
To ensure that the sensors operate prop-
erly, do not touch or cover them.
WARNING
Do not adjust the position of the mirror while driving.
Doing so may lead to mishandling of the vehicle and cause an accident,
resulting in death or serious injury.