Page 109 of 248
Immediately after initiating Smart Summon in either
mode, hazard lights
briefly flash, mirrors fold, and Model
3 shifts into the appropriate driving gear (Drive or
Reverse).
Model 3 then slowly moves to within 3 feet (1
meter) of you (COME TO ME) or your chosen destination
(GO TO TARGET), navigating obstacles as needed. As
Model 3 moves, the corresponding red arrow on the map
also moves to show the vehicle
Page 142 of 248
About the Security System
If Model 3 does not detect an authenticated phone, key
fob, or key card and a locked door or trunk is opened, an
alarm sounds and the headlights and turn signals
flash.
To deactivate the alarm, press any button on the mobile
app or tap your key card or key fob against the card reader located
just below the Autopilot camera on the
driver
Page 156 of 248
Opening the Charge Port
The charge port is located on the left side of Model 3,
behind a door that is part of the rear tail light assembly.
Park
Model 3 to ensure that the charge cable easily
reaches the charge port.
With Model 3 unlocked (or an authenticated phone is
within range) and in Park, press and release the button on the Tesla charge cable to open the charge port door.
NOTE: The following image is provided for
demonstration purposes only. Depending on market
region, your charge port may be slightly different.
You can also open the charge port door using any of these methods:
Page 163 of 248

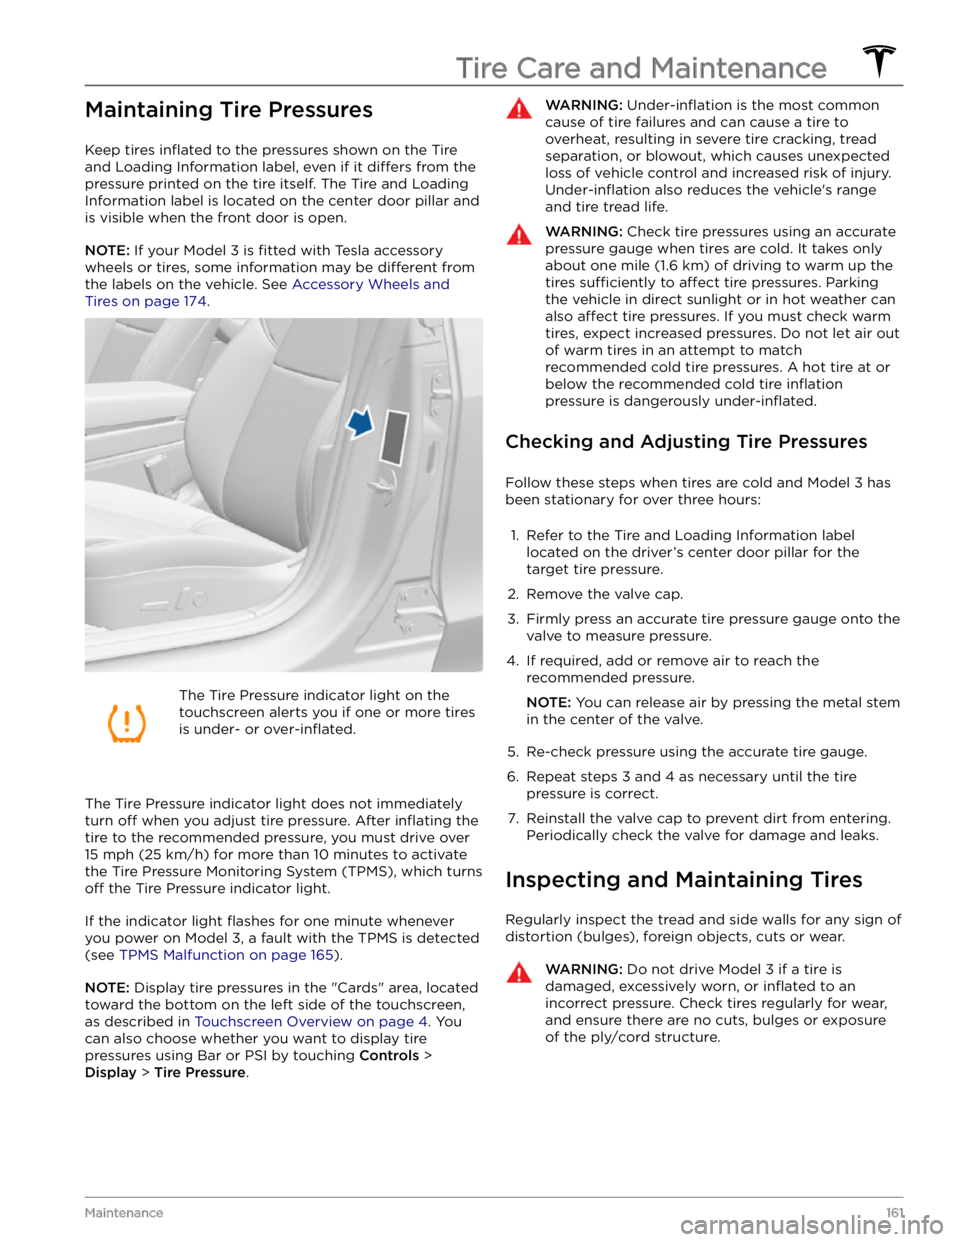
Maintaining Tire Pressures
Keep tires inflated to the pressures shown on the Tire
and Loading Information label, even if it
differs from the
pressure printed on the tire itself. The Tire and Loading
Information label is located on the center door pillar and
is visible when the front door is open.
NOTE: If your Model 3 is fitted with Tesla accessory
wheels or tires, some information may be
different from
the labels on the vehicle.
See Accessory Wheels and
Tires on page 174.
The Tire Pressure indicator light on the
touchscreen alerts you if one or more tires
is under-
or over-inflated.
The Tire Pressure indicator light does not immediately
turn off when you adjust tire pressure. After inflating the
tire to the recommended pressure, you must drive over
15 mph (25 km/h) for more than 10 minutes to activate
the Tire Pressure Monitoring System (TPMS), which turns
off the Tire Pressure indicator light.
If the indicator light flashes for one minute whenever
you power on
Model 3, a fault with the TPMS is detected
(see
TPMS Malfunction on page 165).
NOTE: Display tire pressures in the "Cards" area, located
toward the bottom on the left side of the touchscreen
,
as described in Touchscreen Overview on page 4. You
can also choose whether you want to display tire pressures using Bar or PSI by touching
Controls >
Display > Tire Pressure.
WARNING: Under-inflation is the most common
cause of tire failures and can cause a tire to
overheat, resulting in severe tire cracking, tread
separation, or blowout, which causes unexpected
loss of vehicle control and increased risk of injury.
Under-inflation also reduces the vehicle
Page 165 of 248
NOTE: Installing winter tires with aggressive compound
and tread design may result in temporarily-reduced regenerative braking power. However, your vehicle is
designed to continuously recalibrate itself, and after changing tires it will increasingly restore regenerative
braking power after some moderate-torque straight-line accelerations. For most drivers this occurs after a short period of normal driving, but drivers who normally
accelerate lightly may need to use slightly harder accelerations while the recalibration is in progress.WARNING: For your safety, use only tires and
wheels that match the original specification. Tires
that do not match the original specification can
affect the operation of the TPMS.
WARNING: Never exceed the speed rating of your
vehicle
Page 224 of 248

(CP_a054)
Charge port latch not engaged
Fully insert charge cable or check for obstruction
The charge port latch is unable to latch the charge cable in the charge port inlet. If the latch is not engaged, AC charging (for example, charging with a Tesla Mobile Connector or Wall Connector) will be limited to 16A and DC Fast
Charging / Supercharging will be unavailable.
The charge port light will pulse amber if this alert appears during AC charging and will be solid amber if this alert appears when attempting to DC Fast Charge / Supercharge.
If your vehicle begins charging and the charge port light pulses green, the charge cable may not have been fully
inserted before. The latch may not have engaged during previous attempts because the cable was not fully inserted.
AC charging should no longer be limited, and DC Fast Charging / Supercharging should be available.
If charging is still limited or the vehicle will not charge at all, inspect the charge port inlet and the charge cable
connector for any obstructions (use a
flashlight as needed). Debris and/or foreign objects in the charge port inlet or
the charge cable connector can prevent you from fully inserting the charge cable. If the cable is not fully inserted,
the charge port latch will not engage.
It is recommended that any debris / foreign objects be removed. Afterward, try re-inserting the cable into the charge port inlet. AC charging should no longer be limited, and DC Fast Charging / Supercharging should be available.
As this alert is usually specific to external charging equipment and power sources, and it does not typically indicate
an issue with your vehicle that can be resolved by scheduling service, it is recommended that you:
Page 232 of 248
(PCS_a017)
Charging stopped - Power lost while charging
Check power source and charging equipment
Power has been lost during charging. This could result from the charging equipment losing power from the source
(for example, a wall outlet) or from an issue with the charging equipment.
This alert is often accompanied by other alerts that can help you identify and troubleshoot the issue. Start by
investigating any other displayed alerts that relate to charging issues.
Alternatively, you can check Mobile Connector or Wall Connector status lights to confirm power to the device, and
also refer to the product owner
Page 234 of 248
For more information on troubleshooting Mobile Connector or Wall Connector status lights, refer to the product