2022 SUBARU FORESTER page 99
[x] Cancel search: page 99Page 94 of 156
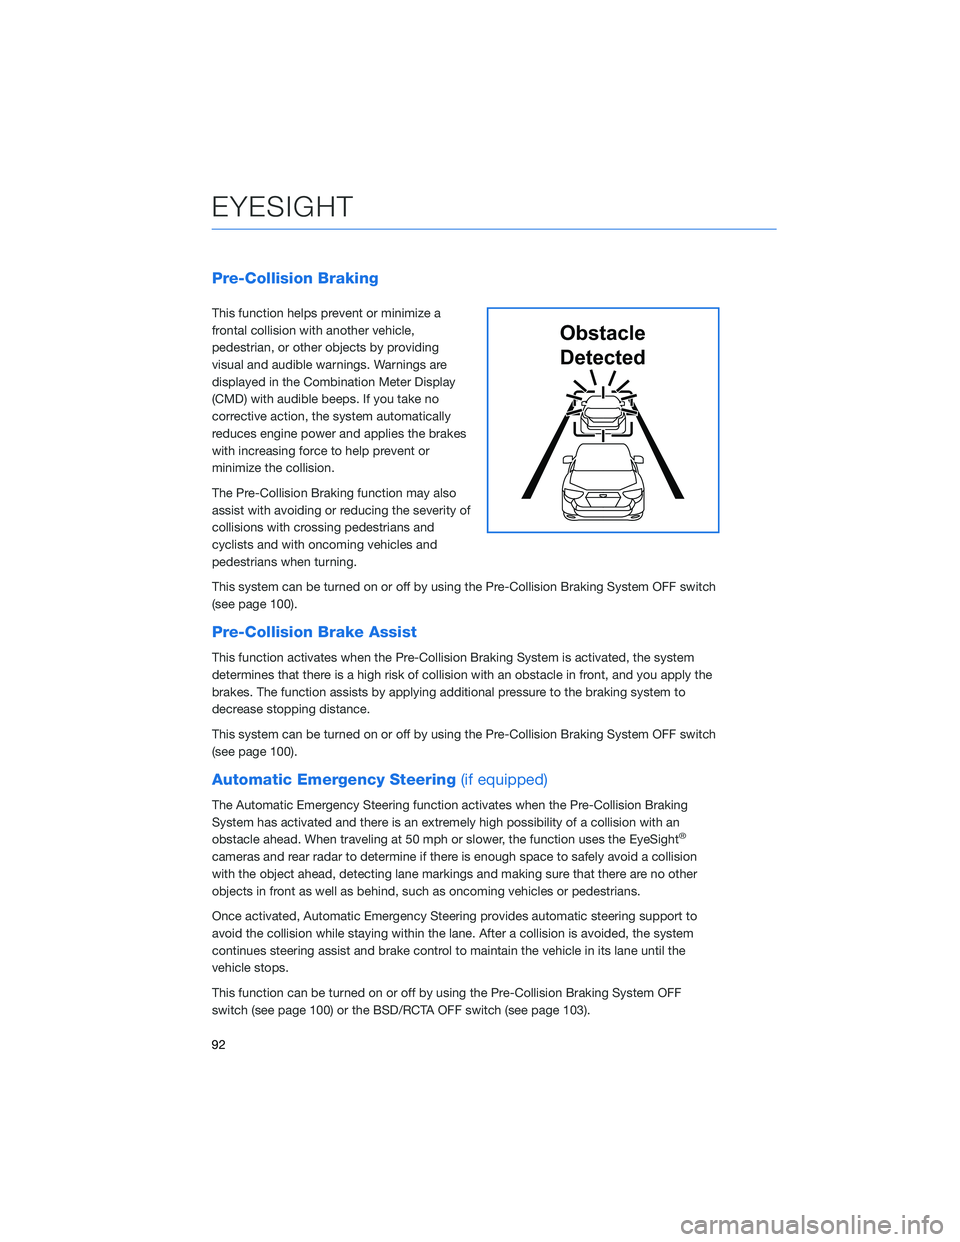
Pre-Collision Braking
This function helps prevent or minimize a
frontal collision with another vehicle,
pedestrian, or other objects by providing
visual and audible warnings. Warnings are
displayed in the Combination Meter Display
(CMD) with audible beeps. If you take no
corrective action, the system automatically
reduces engine power and applies the brakes
with increasing force to help prevent or
minimize the collision.
The Pre-Collision Braking function may also
assist with avoiding or reducing the severity of
collisions with crossing pedestrians and
cyclists and with oncoming vehicles and
pedestrians when turning.
This system can be turned on or off by using the Pre-Collision Braking System OFF switch
(see page 100).
Pre-Collision Brake Assist
This function activates when the Pre-Collision Braking System is activated, the system
determines that there is a high risk of collision with an obstacle in front, and you apply the
brakes. The function assists by applying additional pressure to the braking system to
decrease stopping distance.
This system can be turned on or off by using the Pre-Collision Braking System OFF switch
(see page 100).
Automatic Emergency Steering(if equipped)
The Automatic Emergency Steering function activates when the Pre-Collision Braking
System has activated and there is an extremely high possibility of a collision with an
obstacle ahead. When traveling at 50 mph or slower, the function uses the EyeSight
®
cameras and rear radar to determine if there is enough space to safely avoid a collision
with the object ahead, detecting lane markings and making sure that there are no other
objects in front as well as behind, such as oncoming vehicles or pedestrians.
Once activated, Automatic Emergency Steering provides automatic steering support to
avoid the collision while staying within the lane. After a collision is avoided, the system
continues steering assist and brake control to maintain the vehicle in its lane until the
vehicle stops.
This function can be turned on or off by using the Pre-Collision Braking System OFF
switch (see page 100) or the BSD/RCTA OFF switch (see page 103).
Obstacle
Detected
EYESIGHT
92
Page 95 of 156
Pre-Collision Throttle Management
This function is designed to help prevent you from unintentionally accelerating into a
stopped vehicle or other obstacle by reducing engine power. Warnings are displayed in the
Combination Meter Display (CMD) with audible beeps.
Pre-Collision Throttle Management is helpful when:
• You unintentionally place the select lever in the “D” position instead of the “R” positionand start to accelerate toward a parked car, wall or parking structure.
• While you are at a stop, the vehicle ahead of you accelerates, but then suddenly slows down or stops as you begin to accelerate.
This system can be turned on or off by using the Pre-Collision Braking System OFF switch
(see page 100).
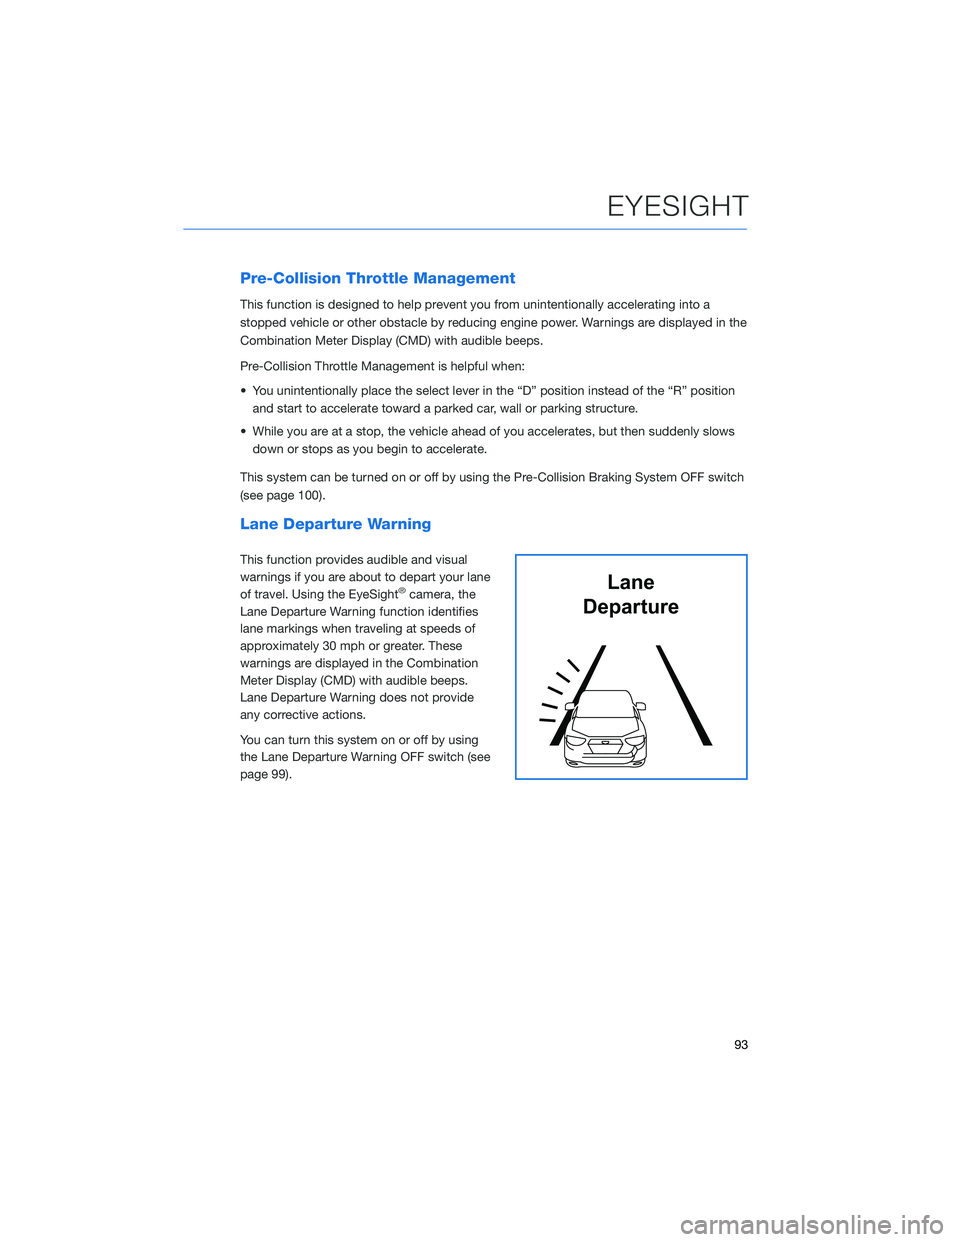
Lane Departure Warning
This function provides audible and visual
warnings if you are about to depart your lane
of travel. Using the EyeSight
®camera, the
Lane Departure Warning function identifies
lane markings when traveling at speeds of
approximately 30 mph or greater. These
warnings are displayed in the Combination
Meter Display (CMD) with audible beeps.
Lane Departure Warning does not provide
any corrective actions.
You can turn this system on or off by using
the Lane Departure Warning OFF switch (see
page 99).Lane
Departure
EYESIGHT
93
Page 96 of 156
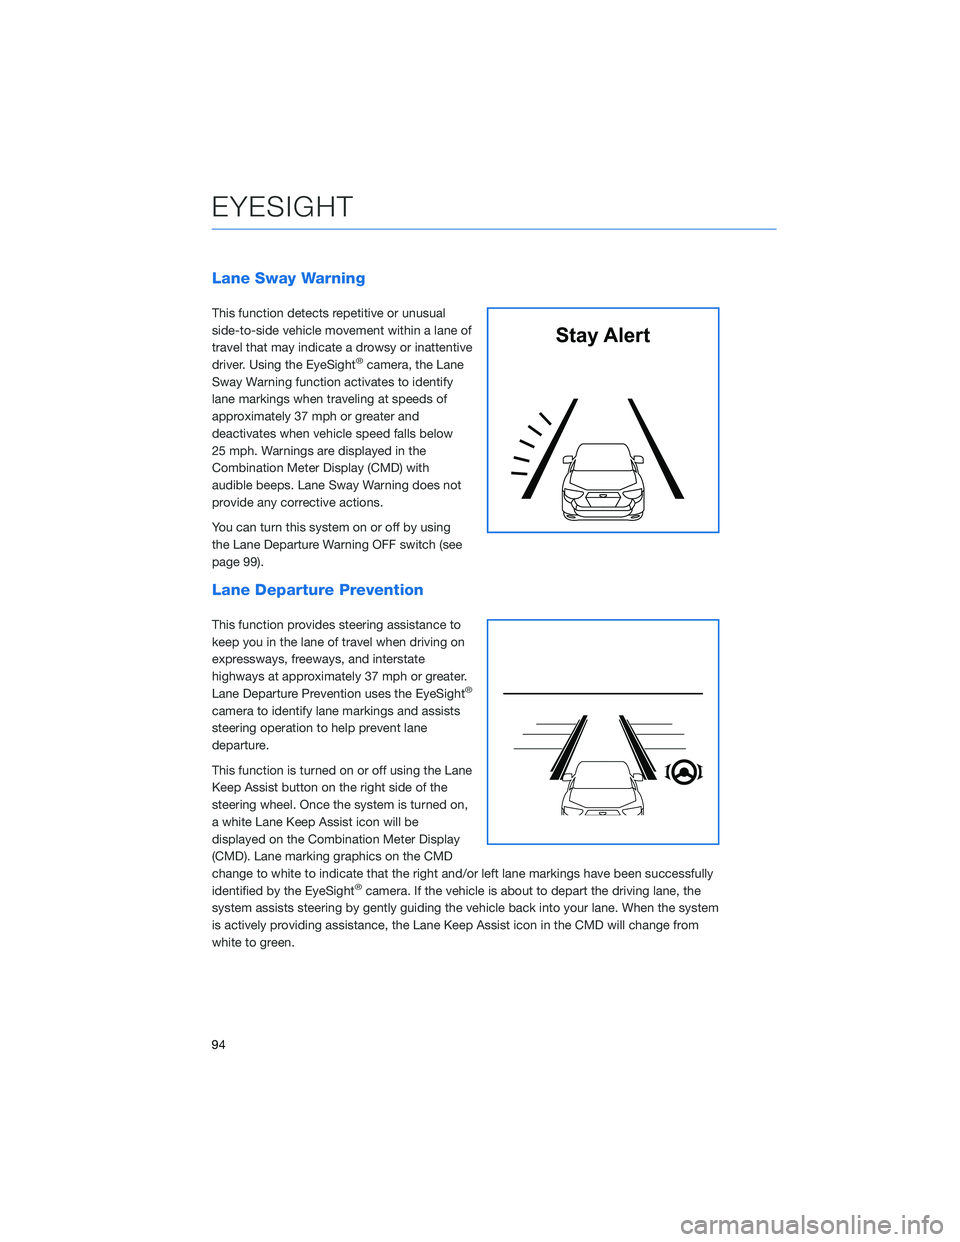
Lane Sway Warning
This function detects repetitive or unusual
side-to-side vehicle movement within a lane of
travel that may indicate a drowsy or inattentive
driver. Using the EyeSight
®camera, the Lane
Sway Warning function activates to identify
lane markings when traveling at speeds of
approximately 37 mph or greater and
deactivates when vehicle speed falls below
25 mph. Warnings are displayed in the
Combination Meter Display (CMD) with
audible beeps. Lane Sway Warning does not
provide any corrective actions.
You can turn this system on or off by using
the Lane Departure Warning OFF switch (see
page 99).
Lane Departure Prevention
This function provides steering assistance to
keep you in the lane of travel when driving on
expressways, freeways, and interstate
highways at approximately 37 mph or greater.
Lane Departure Prevention uses the EyeSight
®
camera to identify lane markings and assists
steering operation to help prevent lane
departure.
This function is turned on or off using the Lane
Keep Assist button on the right side of the
steering wheel. Once the system is turned on,
a white Lane Keep Assist icon will be
displayed on the Combination Meter Display
(CMD). Lane marking graphics on the CMD
change to white to indicate that the right and/or left lane markings have been successfully
identified by the EyeSight
®camera. If the vehicle is about to depart the driving lane, the
system assists steering by gently guiding the vehicle back into your lane. When the system
is actively providing assistance, the Lane Keep Assist icon in the CMD will change from
white to green.
Stay Alert
EYESIGHT
94
Page 97 of 156
Advanced Adaptive Cruise Control with Lane Centering
Advanced Adaptive Cruise Control is a driving support system intended to reduce the
burden on you when driving on an expressway (including during congestion and when
driving at high speed). Advanced Adaptive Cruise Control and Lane Centering work
together to assist you by automatically controlling the accelerator, brake, and steering.
Advanced Adaptive Cruise Control
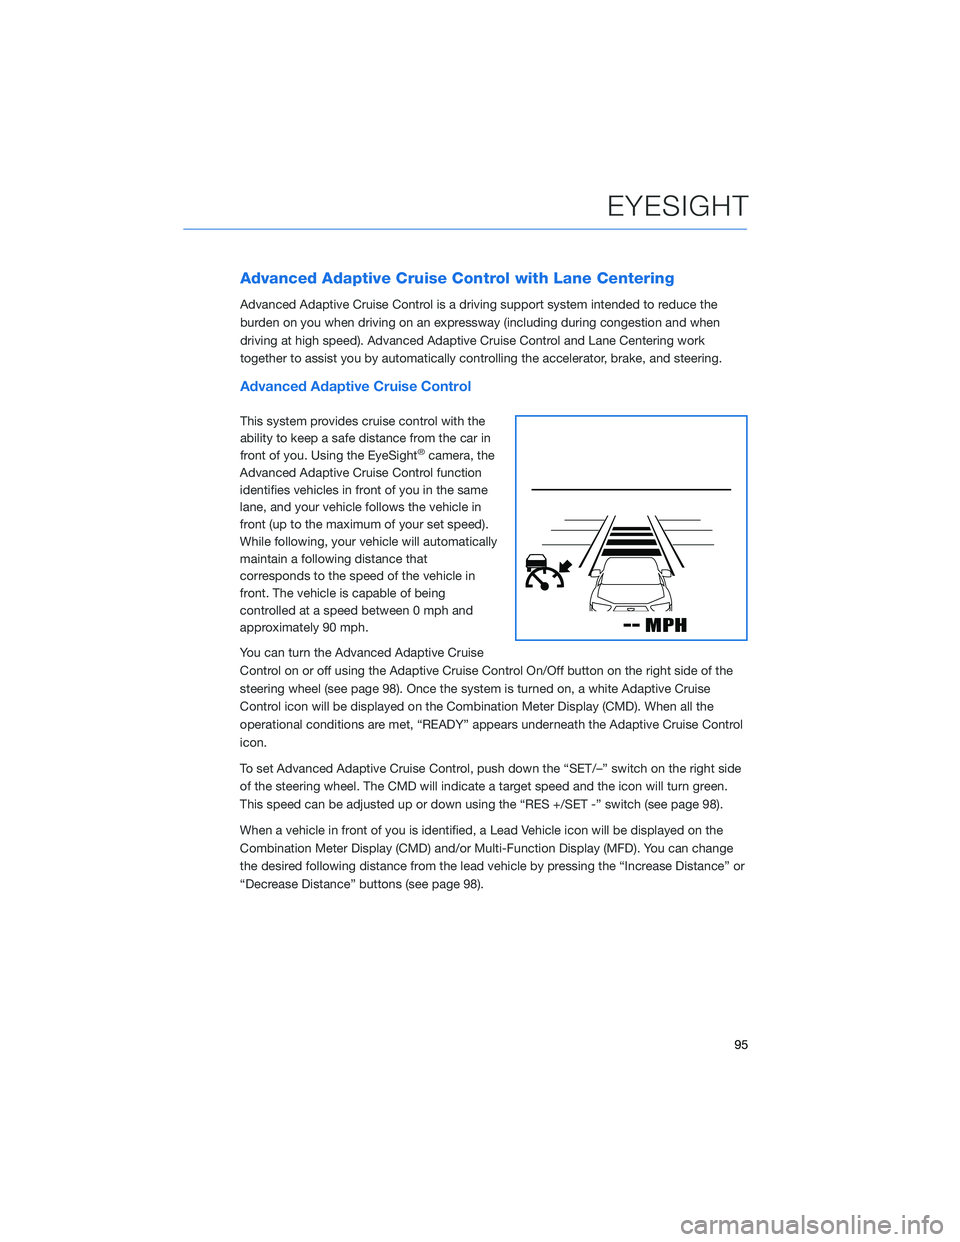
This system provides cruise control with the
ability to keep a safe distance from the car in
front of you. Using the EyeSight
®camera, the
Advanced Adaptive Cruise Control function
identifies vehicles in front of you in the same
lane, and your vehicle follows the vehicle in
front (up to the maximum of your set speed).
While following, your vehicle will automatically
maintain a following distance that
corresponds to the speed of the vehicle in
front. The vehicle is capable of being
controlled at a speed between 0 mph and
approximately 90 mph.
You can turn the Advanced Adaptive Cruise
Control on or off using the Adaptive Cruise Control On/Off button on the right side of the
steering wheel (see page 98). Once the system is turned on, a white Adaptive Cruise
Control icon will be displayed on the Combination Meter Display (CMD). When all the
operational conditions are met, “READY” appears underneath the Adaptive Cruise Control
icon.
To set Advanced Adaptive Cruise Control, push down the “SET/–” switch on the right side
of the steering wheel. The CMD will indicate a target speed and the icon will turn green.
This speed can be adjusted up or down using the “RES +/SET -” switch (see page 98).
When a vehicle in front of you is identified, a Lead Vehicle icon will be displayed on the
Combination Meter Display (CMD) and/or Multi-Function Display (MFD). You can change
the desired following distance from the lead vehicle by pressing the “Increase Distance” or
“Decrease Distance” buttons (see page 98).
EYESIGHT
95
Page 114 of 156

STEREO CAMERA PRECAUTIONS
Your EyeSight®stereo cameras are precision components that must be kept free from
obstruction and contamination, such as fingerprints or cleaning solutions. When the
system detects that the stereo camera lenses are impaired, a malfunction indicator will be
displayed and EyeSight
®functions will not be available.
When you are in the vicinity of the EyeSight
®stereo cameras, always observe the following
precautions:
• Do not touch or attempt to clean the EyeSight
®camera lenses inside the vehicle. Extra
caution should be used when cleaning the inside of the windshield. Over-spray from
cleaning solutions may impair or even damage the camera lenses. When cleaning the
inside of the windshield around the camera cover, do not spray cleaner directly onto the
windshield. Instead, spray cleaner onto a cloth and then wipe the windshield. Please
inform others who may attempt to clean the windshield, such as car wash staff, of these
precautions.
• If the inside of the windshield in front of the stereo camera is dirty, do not try to clean the windshield yourself. Contact your Subaru retailer to have the vehicle inspected.
• If the camera system becomes hot, the cooling fans may operate. Do not block or insert anything into the ventilation holes. Do not touch the camera cover, because it may be
hot due to head generated by the camera system.
• Electronic Toll Collection devices, such as EZPass
TM, must be installed in an area that
does not obstruct the stereo cameras' field of vision. See prohibited area on page 113.
• Adjust the rearview mirror so it does not obstruct the stereo cameras' field of vision.
• Do not install any interior rearview mirror accessories, such as a wide-type mirror or hanging objects. Only approved Genuine SUBARU accessories may be installed.
For more detailed information, please refer to your EyeSight
®Owner’s Manual.
WINDSHIELD GLASS AND DASHBOARD
Since the characteristics and limitations of the EyeSight®stereo cameras are similar to
human eyes, it is important that the area in front of the cameras be kept free from dirt,
scratches, cracks, fogging, or accessories mounted to the windshield, hood or dashboard.
Visual impairments or reflections can affect EyeSight
®system performance. Extra caution
should be taken when cleaning the windshield to prevent over-spray from cleaning
solutions.
The image in the following section outlines those areas that must be kept clean and free
from obstruction. Please refer to the Owner’s Manual for a complete listing of limitations.
CARE AND LIMITATIONS
112
Page 135 of 156
Wi-Fi Hotspot Subscription
Internet access is purchased separately through AT&T with monthly,
per gigabyte, and unlimited data options available. Existing AT&T
customers have the option to add an additional line to their AT&T
Mobile Share plan. Available on select models.
Shortly after you take delivery of your new Subaru, you will receive
an email from AT&T for a one month free trial and how to activate
your free trial. To set up and enroll:
1. Select “Settings” on the Home screen.
2. Select “Wi-Fi Hotspot” to turn it on (if the Wi-Fi Hotpot is alreadyon then proceed to the next step).
3. Select Wi-Fi Hotspot Settings to view or update the following settings: • Wi-Fi Network Name (SSID)
• SSID Broadcast (Network ON / OFF)
• Security Type (WPA / WPA2)
• Password
• Connected Devices (Maximum of 8 devices)
• Broadcast Frequency
How to enroll:
1. Connect your tablet, smartphone or laptop to the SUBARU STARLINK
®Wi-Fi Hotspot
network listed in the settings menu and open your preferred web browser on the device
connected.
2. Once the SUBARU STARLINK
®Wi-Fi Hotspot homepage loads, follow the on-screen
instructions to create a new account or to add your vehicle to an already existing AT&T
Wireless account. You can also subscribe to the Wi-Fi Hotspot from the MySubaru
website or Mobile App.
You can also visit an AT&T store or their website for more information at:
https://www.att.com/plans/connected-car/subaru.html
HOW TO APPENDIX
133
Page 142 of 156

Map Updates
You can update the entire USA map at once via USB by going to:
www.subaru-maps.com
Maps can also be updated over a Wi-Fi network. To update your
maps via Wi-Fi, follow this process:1 Connect to a Wi-Fi network. If you need help with this, see
page 131.
2 On the Home screen, select “Settings”
then “Navigation”. Next, select “Map
Update” on the navigation setting screen.
3 Select “Select Region (Max up to 8)”
to select the regions you would like to
update.
4 Select the regions for which maps are to
be updated.
HOW TO APPENDIX
140
Page 144 of 156
FIRMWARE AND SOFTWARE UPDATES
For 8.0–inch Multimedia Plus and 8.0–inch Multimedia Navigation systems, you can
update the system software via a Wi-Fi connection or the aha™ application on your
smartphone (depending on your smartphone communication and transfer speed).
To accurately check for updates, make sure the clock is set to “Auto” with a GPS signal
available (system with navigation) or a phone paired via Bluetooth
®(system without
navigation). See page 87 for step by step directions on setting the clock. System
functionality will be restricted during installation.
1. Connect to a Wi-Fi network or start the aha application on your smartphone (see page 131).
2. Return to the general settings screen (if needed, press the “Home” button, select “Settings”, and then select “General”).
3. Select “Check for Updates”. • If “Automatically Check for Updates” is turned on at the general settings screen, anupdate check will be performed automatically before proceeding to the next step.
• If “Automatically Download Updates” is turned on at the general settings screen, the software update will be downloaded automatically before proceeding to “Update
Installation”.
4. If the “Software Update Ready to Download” pop-up is displayed, select “Download Now” to begin the download. The download status progress is displayed in the upper
right of the screen.
5. Select “Install Now” to start the installation process. The installation process will take several minutes to complete. If you need to stop the installation process, press
“Cancel”.
6. When the installation is complete, select “I Agree” on the confirmation message to complete the update process. By selecting “I Agree”, the system will restart
automatically.
HOW TO APPENDIX
142