Page 34 of 108

3Driving Mode Select Switch (if equipped):The following modes can be selected
with the Driving Mode selection switch to suit driving usage and conditions:
•Sport Mode:Push the switch toward the “SPORT” mode for sporty driving or
when driving in mountainous regions with lots of curves. If Sport mode is selected
with the select lever in the “D” position, the selected gear, from “D1” to “D6” is
displayed on the combination meter. To cancel sport mode, push the switch
toward “SPORT” mode again.
•Snow Mode:Push the switch toward the “SNOW” mode for accelerating and
driving on slippery road surfaces, such as snow. To cancel snow mode, push the
switch toward “SNOW” mode again.
For more information and cautions using these driving systems/modes, please refer to
“Starting and Operating” in your Owner’s Manual.
TURNING OFF THE VEHICLE
With Push-button Ignition
To stop the engine:
1. Stop your Subaru completely.
2. Move the select lever to the “P” position or set the parking brake for manual
transmission vehicles.
3. Press the ignition switch to stop the engine. For manual transmission vehicles, it is
recommended to leave the vehicle in gear (1st gear for upgrade and reverse for a
downgrade).
NOTE: The front windows will remain active for about 40 seconds and the SUBARU
STARLINK
®Multimedia System will remain on for about three minutes or until a door is
opened, whichever occurs first.
OPERATING THE VEHICLE
32
Page 76 of 108

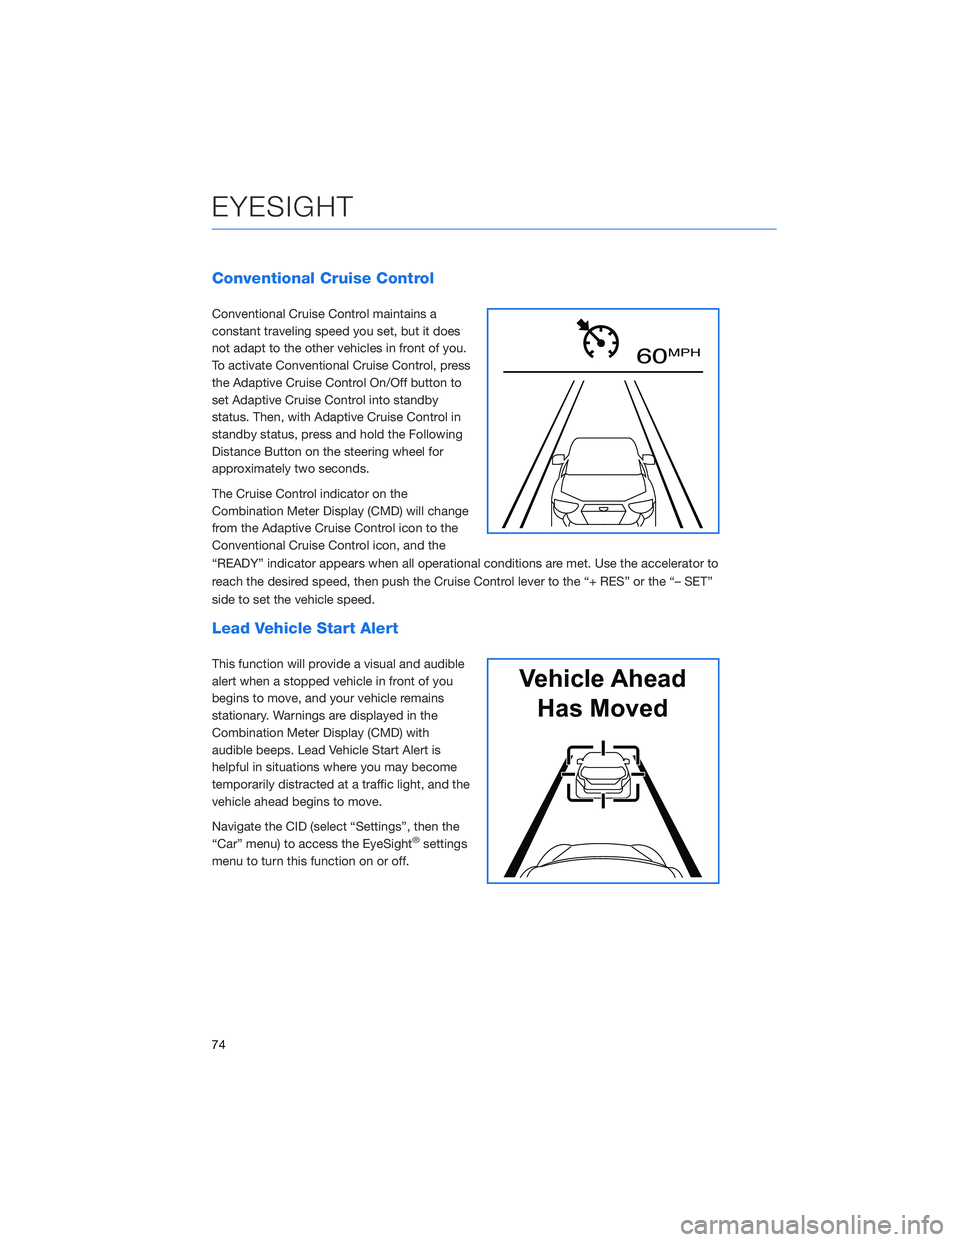
Conventional Cruise Control
Conventional Cruise Control maintains a
constant traveling speed you set, but it does
not adapt to the other vehicles in front of you.
To activate Conventional Cruise Control, press
the Adaptive Cruise Control On/Off button to
set Adaptive Cruise Control into standby
status. Then, with Adaptive Cruise Control in
standby status, press and hold the Following
Distance Button on the steering wheel for
approximately two seconds.
The Cruise Control indicator on the
Combination Meter Display (CMD) will change
from the Adaptive Cruise Control icon to the
Conventional Cruise Control icon, and the
“READY” indicator appears when all operational conditions are met. Use the accelerator to
reach the desired speed, then push the Cruise Control lever to the “+ RES” or the “– SET”
side to set the vehicle speed.
Lead Vehicle Start Alert
This function will provide a visual and audible
alert when a stopped vehicle in front of you
begins to move, and your vehicle remains
stationary. Warnings are displayed in the
Combination Meter Display (CMD) with
audible beeps. Lead Vehicle Start Alert is
helpful in situations where you may become
temporarily distracted at a traffic light, and the
vehicle ahead begins to move.
Navigate the CID (select “Settings”, then the
“Car” menu) to access the EyeSight
®settings
menu to turn this function on or off.
60 MPH
Vehicle Ahead
Has Moved
EYESIGHT
74
Page 102 of 108

FIRMWARE AND SOFTWARE UPDATES
Software updates provide enhancements to the system, such as new features, added
security, and upgraded functions. You can ask your preferred Subaru retailer to check for
and perform a full update to the system software. Please ask your preferred Subaru retailer
for specific details on update content.
NOTE: System functionality will be restricted during installation, and you may need to
reset radio station presets and volume settings after the update process. Set your clock to
“Auto” (see page 86) before updating the software.
To update the software via Wi-Fi:
1. Connect to a Wi-Fi network (see page 98).
2. Display the general setting screen by pressing the “Home” button, then select
“Settings”, and finally “General”.
3. Select “Software Update”, select “Update”, and then select “Check for Updates”
• If “Automatically Check for Updates” is enabled, an update check will be performed
automatically before proceeding to the next step.
• If “Automatically Download Updates” is enabled, available software updates will be
downloaded automatically.
4. Select “Download Now” to begin the download. The download status progress is
displayed in the upper right of the screen. If you need to stop the download and restart
at a later time, select “Cancel” to stop the process.
5. Select “Install Now” to start the installation process. The installation process will take
several minutes to complete.
6. When the installation is complete, select “OK” on the confirmation message to
complete the update process.
7. Turn the ignition to the “OFF” position and open and close the driver’s door. After about
5 minutes, restart the engine, and the software installation will be applied.
HOW TO APPENDIX
100