2022 PEUGEOT 308 instrument panel
[x] Cancel search: instrument panelPage 187 of 260

185
In the event of a breakdown
8► Tighten the central nut sufficiently to retain
the wheel correctly.
►
Put the tool box back in place in the middle of
the wheel and clip it in place.
Removing a wheel
Parking the vehicle
Immobilise the vehicle where it does
not obstruct traffic: the ground must be level,
stable and non-slippery.
With a manual gearbox, engage first gear
to lock the wheels, apply the parking brake,
unless it is set to automatic mode, and switch
off the ignition.
With an automatic gearbox, select mode
P
to lock the wheels, apply the parking brake,
unless it is set to automatic mode, and switch
off the ignition.
Check that the parking brake indicator lamps
on the instrument panel are on fixed.
The occupants must get out of the vehicle
and wait where they are safe.
If necessary, place a chock under the wheel
diagonally opposite the wheel to be changed.
Never go underneath a vehicle raised using a
jack; use an axle stand.
Wheel with wheel trim
When removing the wheel , first remove
the wheel trim by pulling at the valve aperture
using the wheelbrace.
When refitting the wheel , refit the wheel
trim, starting by placing its aperture in line
with the valve and then pushing it into place
all round its edge with the palm of your hand.
– If the vehicle has steel wheels, remove the
wheel trim.
–
If the vehicle has alloy wheels, remove the
central bolt cover using tool 7
.
–
If the vehicle is so equipped, fit security bolt
socket
2 to wheelbrace 5 to slacken the security
bolt.
–
Slacken the other bolts using the
wheelbrace
5
only.
► Place the foot of jack 6 on the ground and
ensure that it is directly below the front A or
rear
B jacking point on the underbody, whichever
is closest to the wheel to be changed.
► Extend jack 6 until its head comes into
contact with jacking point A or B; contact area A
or B on the vehicle must be properly inserted
into the central part of the head of the jack.
►
Raise the vehicle until there is sufficient
space between the wheel and the ground to
easily admit the spare (not punctured) wheel.
Ensure that the jack is stable. If the
ground is slippery or loose, the jack may
slip or collapse - risk of injury!
Take care to position the jack strictly at
one of the jacking points
A
or B under the
vehicle, ensuring that the head of the jack is
centred under the contact area on the vehicle.
Otherwise, there is a risk of damage to the
vehicle and/or of the jack collapsing - risk of
injury!
Page 196 of 260
194
In the event of a breakdown
accessory batteries - risk of irreversible
damage!
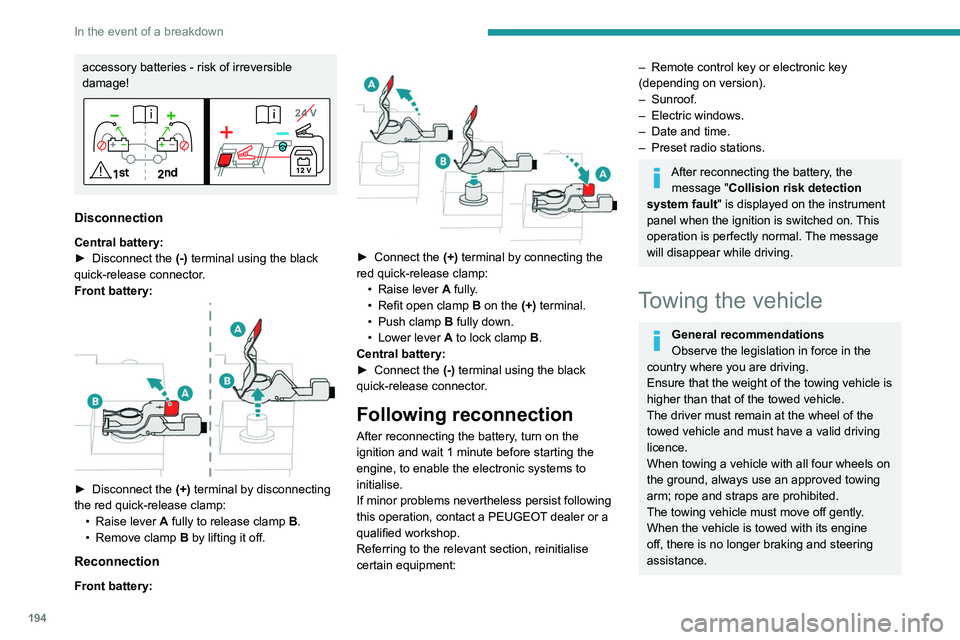
Disconnection
Central battery:
► Disconnect the (-)
terminal using the black
quick-release connector.
Front battery:
► Disconnect the (+) terminal by disconnecting
the red quick-release clamp: •
Raise lever
A
fully to release clamp
B
.
•
Remove clamp
B
by lifting it off.
Reconnection
Front battery:
► Connect the (+) terminal by connecting the
red quick-release clamp: •
Raise lever
A
fully.
•
Refit open clamp
B
on the (+) terminal.
•
Push clamp
B fully down.
•
Lower lever
A
to lock clamp B.
Central battery:
►
Connect the
(-) terminal using the black
quick-release connector.
Following reconnection
After reconnecting the battery, turn on the
ignition and wait 1 minute before starting the
engine, to enable the electronic systems to
initialise.
If minor problems nevertheless persist following
this operation, contact a PEUGEOT dealer or a
qualified workshop.
Referring to the relevant section, reinitialise
certain equipment:
– Remote control key or electronic key
(depending on version).
–
Sunroof.
–
Electric windows.
–
Date and time.
–
Preset radio stations.
After reconnecting the battery, the message "Collision risk detection
system fault" is displayed on the instrument
panel when the ignition is switched on. This
operation is perfectly normal. The message
will disappear while driving.
Towing the vehicle
General recommendations
Observe the legislation in force in the
country where you are driving.
Ensure that the weight of the towing vehicle is
higher than that of the towed vehicle.
The driver must remain at the wheel of the
towed vehicle and must have a valid driving
licence.
When towing a vehicle with all four wheels on
the ground, always use an approved towing
arm; rope and straps are prohibited.
The towing vehicle must move off gently.
When the vehicle is towed with its engine
off, there is no longer braking and steering
assistance.
Page 206 of 260

204
PEUGEOT i-Connect Advanced - PEUGEOT i-Connect
PEUGEOT i-Connect
Advanced - PEUGEOT
i-Connect
GPS navigation -
Applications - Multimedia
audio system - Bluetooth
®
telephone
The functions and settings described
vary according to the version and
configuration of the vehicle, and according to
the country of sale.
For safety reasons and because they
require continued attention on the part of
the driver, the following operations must be
carried out with the vehicle stationary and
the ignition on:
–
Pairing the smartphone with the system via
Bluetooth®.
–
Using the smartphone.
–
Connecting to Mirror Screen
(Apple®CarPlay® or Android Auto).
–
Changing the system settings and
configuration.
The message Energy economy mode is displayed when the system is about to go
into standby.
For more information on Energy economy
mode, refer to the "Practical information"
section.
Warning
Navigation is a driving aid. It cannot
replace the driver. All guidance instructions
should be carefully checked by the user.
By using the navigation, you accept the
following terms and conditions:
https://www.tomtom.com/en_gb/legal/
eula-automotive/?388448
First steps
The system starts when the ignition is switched on.
Short press, ignition off: system on/off.
Short press, ignition on: mute/restore sound.
Long press, ignition on: start standby mode
(mute sound, screens and clock display off).
Rotation: volume adjustment.
Information
This system gives access to the following
elements:
–
Audio equipment and telephone controls with
display of associated information. –
Connected services and display of associated
information.
–
Navigation system controls and display
of associated information (depending on
equipment).
–
V
oice recognition (depending on equipment).
–
T
ime and outside temperature.
–
Heating/air conditioning system controls and
reminders of settings.
–
Settings for driving aid functions, comfort
and safety functions, extended head-up display
(depending on equipment and version), audio
equipment and digital instrument panel.
–
Settings for functions specific to rechargeable
hybrid vehicles.
–
Display of visual manoeuvring aid functions.
–
Interactive handbook.
–
V
ideo tutorials (e.g. screen management,
driving aids, voice recognition).
Upper banner
Certain information is displayed permanently in
the upper banner of the touch screen:
–
Outside temperature from the vehicle's
sensors (associated with a blue symbol if there is
a risk of ice).
–
T
emperature setting reminder for the air
conditioning on the driver's and passenger sides.
–
Navigation information reminder (depending
on equipment).
–
Charge level of the connected smartphone.
–
System connection status (Bluetooth®, Wi-Fi,
mobile telephone network).
Page 210 of 260
208
PEUGEOT i-Connect Advanced - PEUGEOT i-Connect
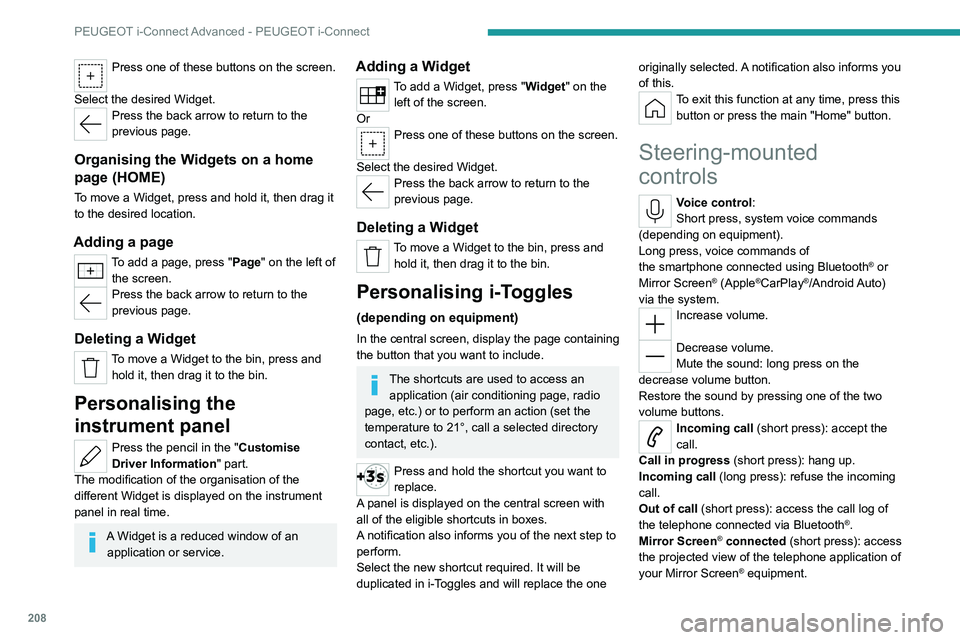
Press one of these buttons on the screen.
Select the desired Widget.
Press the back arrow to return to the
previous page.
Organising the Widgets on a home
page (HOME)
To move a Widget, press and hold it, then drag it
to the desired location.
Adding a page
To add a page, press "Page" on the left of the screen.
Press the back arrow to return to the
previous page.
Deleting a Widget
To move a Widget to the bin, press and hold it, then drag it to the bin.
Personalising the
instrument panel
Press the pencil in the "Customise
Driver Information" part.
The modification of the organisation of the
different Widget is displayed on the instrument
panel in real time.
A Widget is a reduced window of an application or service.
Adding a Widget
To add a Widget, press "Widget" on the left of the screen.
Or
Press one of these buttons on the screen.
Select the desired Widget.
Press the back arrow to return to the
previous page.
Deleting a Widget
To move a Widget to the bin, press and hold it, then drag it to the bin.
Personalising i-Toggles
(depending on equipment)
In the central screen, display the page containing
the button that you want to include.
The shortcuts are used to access an application (air conditioning page, radio
page, etc.) or to perform an action (set the
temperature to 21°, call a selected directory
contact, etc.).
Press and hold the shortcut you want to
replace.
A panel is displayed on the central screen with
all of the eligible shortcuts in boxes.
A notification also informs you of the next step to
perform.
Select the new shortcut required. It will be
duplicated in i-Toggles and will replace the one originally selected. A notification also informs you
of this.
To exit this function at any time, press this
button or press the main "Home" button.
Steering-mounted
controls
Voice control:
Short press, system voice commands
(depending on equipment).
Long press, voice commands of
the
smartphone connected using Bluetooth
® or
Mirror Screen® (Apple®CarPlay®/Android Auto)
via the system.
Increase volume.
Decrease volume.
Mute the sound: long press on the
decrease volume button.
Restore the sound by pressing one of the two
volume buttons.
Incoming call (short press): accept the
call.
Call in progress (short press): hang up.
Incoming call (long press): refuse the incoming
call.
Out of call (short press): access the call log of
the telephone connected via
Bluetooth
®.
Mirror Screen® connected (short press): access
the projected view of the telephone application of
your Mirror Screen
® equipment.
Page 211 of 260
209
PEUGEOT i-Connect Advanced - PEUGEOT i-Connect
10Radio: automatic search for the
previous/next station (in the list of
radio stations sorted by name or by frequencies).
Media: previous/next track, movement in the
lists.
Phone: browse the telephone's call log.
Short press: validate a selection. Out of
selection, display the lists.
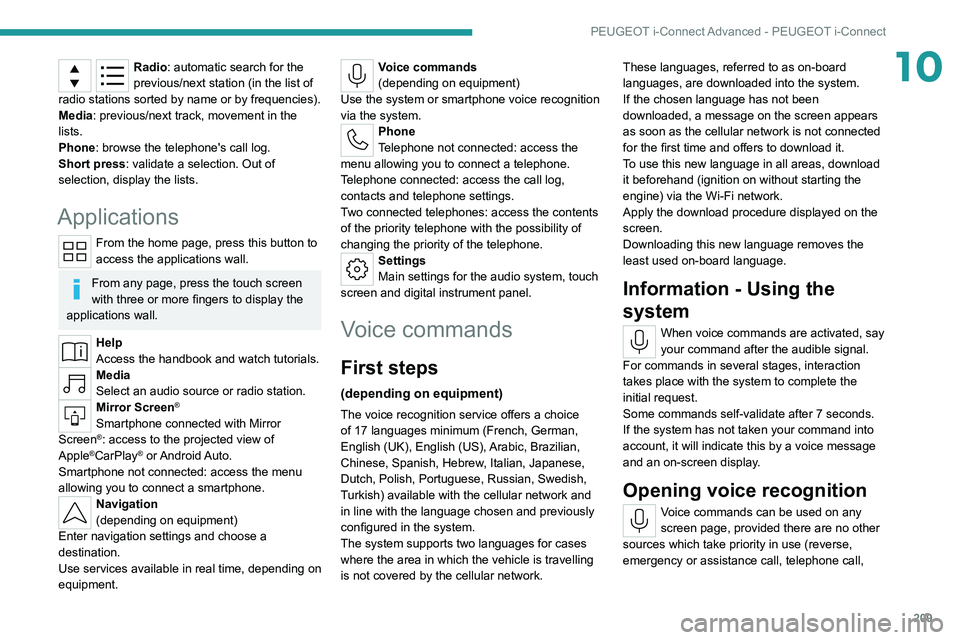
Applications
From the home page, press this button to
access the applications wall.
From any page, press the touch screen
with three or more fingers to display the
applications wall.
Help
Access the handbook and watch tutorials.
Media
Select an audio source or radio station.
Mirror Screen®
Smartphone connected with Mirror
Screen®: access to the projected view of
Apple®CarPlay® or Android Auto.
Smartphone not connected: access the menu
allowing you to connect a smartphone.
Navigation
(depending on equipment)
Enter navigation settings and choose a
destination.
Use services available in real time, depending on
equipment.
Voice commands
(depending on equipment)
Use the system or smartphone voice recognition
via the system.
Phone
Telephone not connected: access the
menu allowing you to connect a telephone.
Telephone connected: access the call log,
contacts and telephone settings.
Two connected telephones: access the contents
of the priority telephone with the possibility of
changing the priority of the telephone.
Settings
Main settings for the audio system, touch
screen and digital instrument panel.
Voice commands
First steps
(depending on equipment)
The voice recognition service offers a choice
of 17 languages minimum (French, German,
English (UK), English (US),
Arabic, Brazilian,
Chinese, Spanish, Hebrew, Italian, Japanese,
Dutch, Polish, Portuguese, Russian, Swedish,
Turkish) available with the cellular network and
in line with the language chosen and previously
configured in the system.
The system supports two languages
for cases
where the area in which the vehicle is travelling
is not covered by the cellular network. These languages, referred to as on-board
languages,
are downloaded into the system.
If the chosen language has not been
downloaded, a message on the screen appears
as soon as the cellular network is not connected
for the first time and offers to download it.
T
o use this new language in all areas, download
it beforehand (ignition on without starting the
engine) via the Wi-Fi network.
Apply the download procedure displayed on the
screen.
Downloading this new language removes the
least used on-board language.
Information - Using the
system
When voice commands are activated, say
your command after the audible signal.
For
commands in several stages, interaction
takes place with the system to complete the
initial request.
Some commands self-validate after 7 seconds.
If the system has not taken your command into
account, it will indicate this by a voice message
and an on-screen display.
Opening voice recognition
Voice commands can be used on any
screen page, provided there are no other
sources which take priority in use (reverse,
emergency or assistance call, telephone call,
Page 220 of 260
218
PEUGEOT i-Connect Advanced - PEUGEOT i-Connect
Press the back arrow to return to the
previous page.
Setting the date and time
Select “Date and Time” to modify the date and
time.
“Automatic Date and Time” is activated
by default, so that the setting is made
automatically according to your geolocation.
To adjust manually, deactivate “Automatic Date
and Time”.
Press the “Select Time Zone” field then define
a time zone.
Press the back arrow to return to the
previous page.
Press the “Time Settings” line then set the time.
Press "OK" to confirm.
Press the “Date” line then set the date.
Press "OK" to confirm.
Select the Time Format (12h/24h).
Select the Date Format.
The system does not automatically change between winter and summer time
(depending on the country of sale).
Help
Press the "Help" application.
In the list, select the “User Manual” tab to
consult the vehicle’s handbook.
or
In the list, select the “Tutorials” tab to watch
explanatory videos for a quick start on screen
management, certain driving aids and voice
recognition.
User Manual
Select the display language.
The handbook home page is displayed.
It presents the different possibilities for accessing
the information sought:
Visual search
Access to subjects via pictures
representing the exterior and interior of the
vehicle.
Indicator lamps
Access to the descriptions/operation of
the instrument panel warning/indicator lamps.
System
Access to sections dedicated to the
various audio equipment and telematics
systems.
Contents
Access to subjects via the main sections
of the handbook.
Visual search
Press Visual search.
Press one of the pictures located at the bottom
of the screen.
Press one of the bullet points in the
enlarged view.
There are two cases:
–
Direct display of the subject, if only one
subject is associated with the bullet point.
–
Display of a list of subjects, if several subjects
are associated with the bullet point.
Indicator lamps
Press Indicator lamps.
The mosaic of warning/indicator lamps is
displayed.
The warning/indicator lamps are sorted by
colour.
Press the warning/indicator lamp concerned; the
corresponding content is displayed.
Back to the mosaic of warning/indicator
lamps.
System
Press System.
The list of audio and telematics systems is
displayed.
Press on the section concerned; the list of
subjects is displayed.
Page 226 of 260
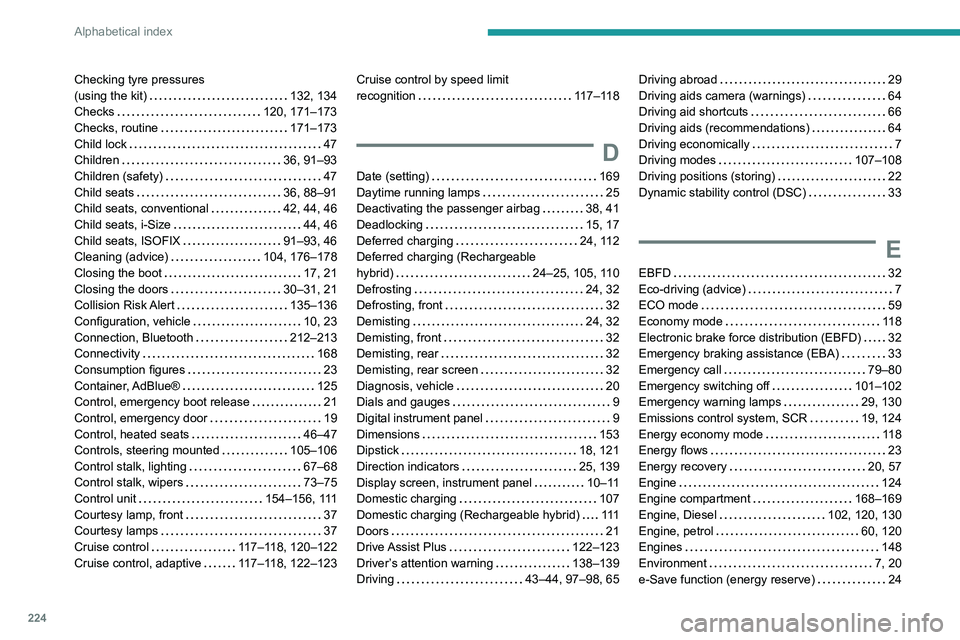
224
Alphabetical index
Checking tyre pressures
(using the kit)
132, 134
Checks
120, 171–173
Checks, routine
171–173
Child lock
47
Children
36, 91–93
Children (safety)
47
Child seats
36, 88–91
Child seats, conventional
42, 44, 46
Child seats, i-Size
44, 46
Child seats, ISOFIX
91–93, 46
Cleaning (advice)
104, 176–178
Closing the boot
17, 21
Closing the doors
30–31, 21
Collision Risk Alert
135–136
Configuration, vehicle
10, 23
Connection, Bluetooth
212–213
Connectivity
168
Consumption figures
23
Container, AdBlue®
125
Control, emergency boot release
21
Control, emergency door
19
Control, heated seats
46–47
Controls, steering mounted
105–106
Control stalk, lighting
67–68
Control stalk, wipers
73–75
Control unit
154–156, 111
Courtesy lamp, front
37
Courtesy lamps
37
Cruise control
117–118, 120–122
Cruise control, adaptive
117–118, 122–123Cruise control by speed limit
recognition
117–118
D
Date (setting) 169
Daytime running lamps
25
Deactivating the passenger airbag
38, 41
Deadlocking
15, 17
Deferred charging
24, 112
Deferred charging (Rechargeable
hybrid)
24–25, 105, 110
Defrosting
24, 32
Defrosting, front
32
Demisting
24, 32
Demisting, front
32
Demisting, rear
32
Demisting, rear screen
32
Diagnosis, vehicle
20
Dials and gauges
9
Digital instrument panel
9
Dimensions
153
Dipstick
18, 121
Direction indicators
25, 139
Display screen, instrument panel
10–11
Domestic charging
107
Domestic charging (Rechargeable hybrid)
111
Doors
21
Drive Assist Plus
122–123
Driver’s attention warning
138–139
Driving
43–44, 97–98, 65
Driving abroad 29
Driving aids camera (warnings)
64
Driving aid shortcuts
66
Driving aids (recommendations)
64
Driving economically
7
Driving modes
107–108
Driving positions (storing)
22
Dynamic stability control (DSC)
33
E
EBFD 32
Eco-driving (advice)
7
ECO mode
59
Economy mode
11 8
Electronic brake force distribution (EBFD)
32
Emergency braking assistance (EBA)
33
Emergency call
79–80
Emergency switching off
101–102
Emergency warning lamps
29, 130
Emissions control system, SCR
19, 124
Energy economy mode
11 8
Energy flows
23
Energy recovery
20, 57
Engine
124
Engine compartment
168–169
Engine, Diesel
102, 120, 130
Engine, petrol
60, 120
Engines
148
Environment
7, 20
e-Save function (energy reserve)
24
Page 227 of 260
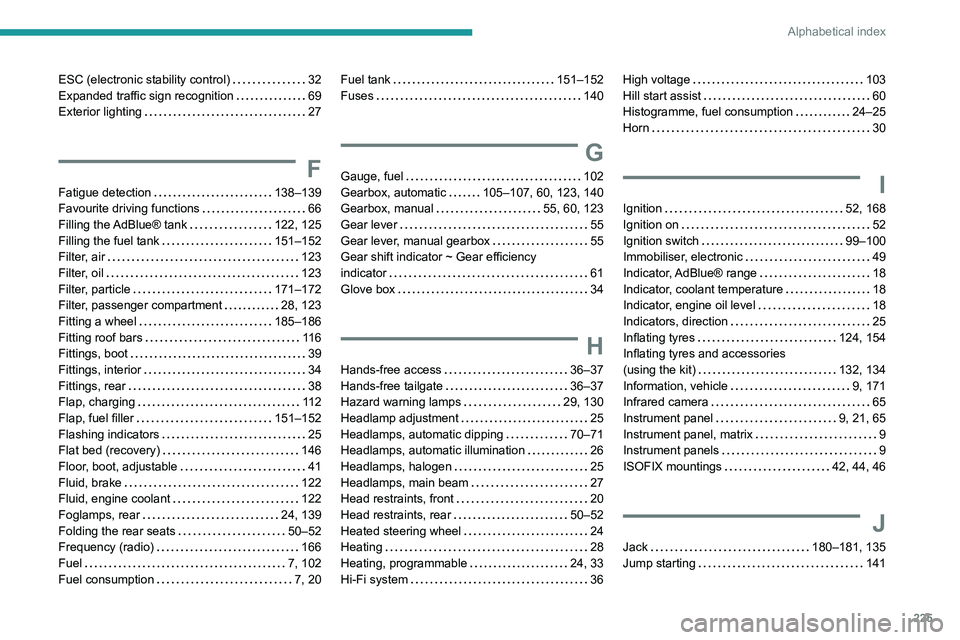
225
Alphabetical index
ESC (electronic stability control) 32
Expanded traffic sign recognition
69
Exterior lighting
27
F
Fatigue detection 138–139
Favourite driving functions
66
Filling the AdBlue® tank
122, 125
Filling the fuel tank
151–152
Filter, air
123
Filter, oil
123
Filter, particle
171–172
Filter, passenger compartment
28, 123
Fitting a wheel
185–186
Fitting roof bars
11 6
Fittings, boot
39
Fittings, interior
34
Fittings, rear
38
Flap, charging
11 2
Flap, fuel filler
151–152
Flashing indicators
25
Flat bed (recovery)
146
Floor, boot, adjustable
41
Fluid, brake
122
Fluid, engine coolant
122
Foglamps, rear
24, 139
Folding the rear seats
50–52
Frequency (radio)
166
Fuel
7, 102
Fuel consumption
7, 20
Fuel tank 151–152
Fuses
140
G
Gauge, fuel 102
Gearbox, automatic
105–107, 60, 123, 140
Gearbox, manual
55, 60, 123
Gear lever
55
Gear lever, manual gearbox
55
Gear shift indicator ~ Gear efficiency
indicator
61
Glove box
34
H
Hands-free access 36–37
Hands-free tailgate
36–37
Hazard warning lamps
29, 130
Headlamp adjustment
25
Headlamps, automatic dipping
70–71
Headlamps, automatic illumination
26
Headlamps, halogen
25
Headlamps, main beam
27
Head restraints, front
20
Head restraints, rear
50–52
Heated steering wheel
24
Heating
28
Heating, programmable
24, 33
Hi-Fi system
36
High voltage 103
Hill start assist
60
Histogramme, fuel consumption
24–25
Horn
30
I
Ignition 52, 168
Ignition on
52
Ignition switch
99–100
Immobiliser, electronic
49
Indicator, AdBlue® range
18
Indicator, coolant temperature
18
Indicator, engine oil level
18
Indicators, direction
25
Inflating tyres
124, 154
Inflating tyres and accessories
(using the kit)
132, 134
Information, vehicle
9, 171
Infrared camera
65
Instrument panel
9, 21, 65
Instrument panel, matrix
9
Instrument panels
9
ISOFIX mountings
42, 44, 46
J
Jack 180–181, 135
Jump starting
141