Page 137 of 635
Unit
The unit menu allows the user to change the units shown in the vehicle information display.
Menu itemExplanation
Mileage Displays available mileage display units.
Pressure Displays available pressure display units.
Temperature Displays available temperature display units.
Language
The language menu allows the user to change the languages displayed in the vehicle information display.
Menu item Explanation
Language Displays available language options for the vehicle information display.
Factory Reset
The factory reset menu allows the user to restore the vehicle information display settings to factory status.
Menu item Explanation
Factory Reset Allows user to reset the vehicle information display settings to the original factory settings.
Once selected, the user can confirm or deny the reset.
Instruments and controls2-31
Page 152 of 635

NOTE:
Autolight activation sensitivity and the
time delay for autolight shutoff can be
adjusted. For additional information, see
“How to use the vehicle information dis-
play ” (P. 2-23).
To turn on the autolight system:
1. Turn the headlight switch to the AUTOposition
O1.
2. Place the ignition switch in the ON position. 3. The autolight system automatically
turns the headlights on and off.
Initially, if the ignition switch is placed in the
OFF position and a door is opened and lef t
open, the headlights remain on for a period
of time. If another door is opened while the
headlights are on, then the timer is reset.
To turn the autolight system off, turn the
switch to the OFF,
,orposition.
The headlights will turn on automatically at
twilight or in rainy weather (when the wind-
shield wiper is operated continuously).
If the ignition switch is placed in the OFF
position and one of the doors is opened
and this condition is continued, the head-
lights remain on for 5 minutes. Be sure you do not put anything on top
of the autolight sensor
O1located on the
top side of the instrument panel. The au-
tolight sensor controls the autolight; if it
is covered, the autolight sensor reacts as
if it is dark out and the headlights will
illuminate. If this occurs while parked
with the engine off and the ignition
switch placed in the ON position, your
vehicle's battery could become
discharged.
LIC4324
Type B (if so equipped)
LIC3487
2-46Instruments and controls
Page 173 of 635
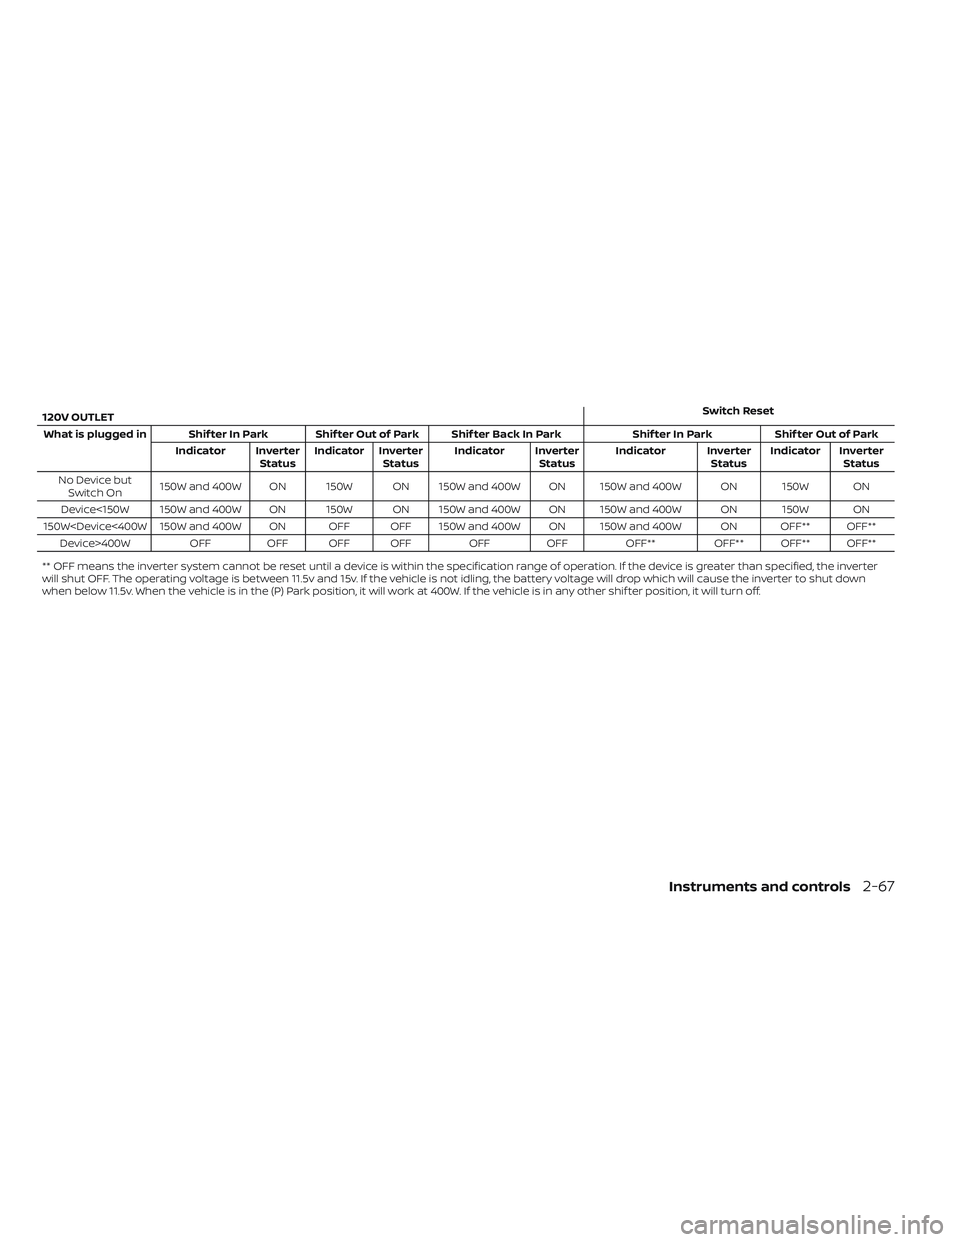
120V OUTLETSwitch Reset
What is plugged in Shif ter In Park Shif ter Out of Park Shif ter Back In Park Shif ter In ParkShif ter Out of Park
Indicator Inverter StatusIndicator Inverter
Status Indicator Inverter
StatusIndicator Inverter
StatusIndicator Inverter
Status
No Device but Switch On 150W and 400W ON 150W ON 150W and 400W ON 150W and 400W ON 150W ON
Device<150W 150W and 400W ON 150W ON 150W and 400W ON 150W and 400W ON 150W ON
150W400W OFFOFF OFF OFF OFFOFF OFF** OFF** OFF** OFF**
** OFF means the inverter system cannot be reset until a device is within the specification range of operation. If the device is greater than specified, the inverter
will shut OFF. The operating voltage is between 11.5v and 15v. If the vehicle is not idling, the battery voltage will drop which will cause the inverter to shut down
when below 11.5v. When the vehicle is in the (P) Park position, it will work at 400W. If the vehicle is in any other shif ter position, it will turn off.
Instruments and controls2-67
Page 192 of 635
•Do not place objects through the
opened rear window. Do not use the
rear window as a cargo area pass-
through. This may result in damage
to the rear window system, or per-
sonal injury.
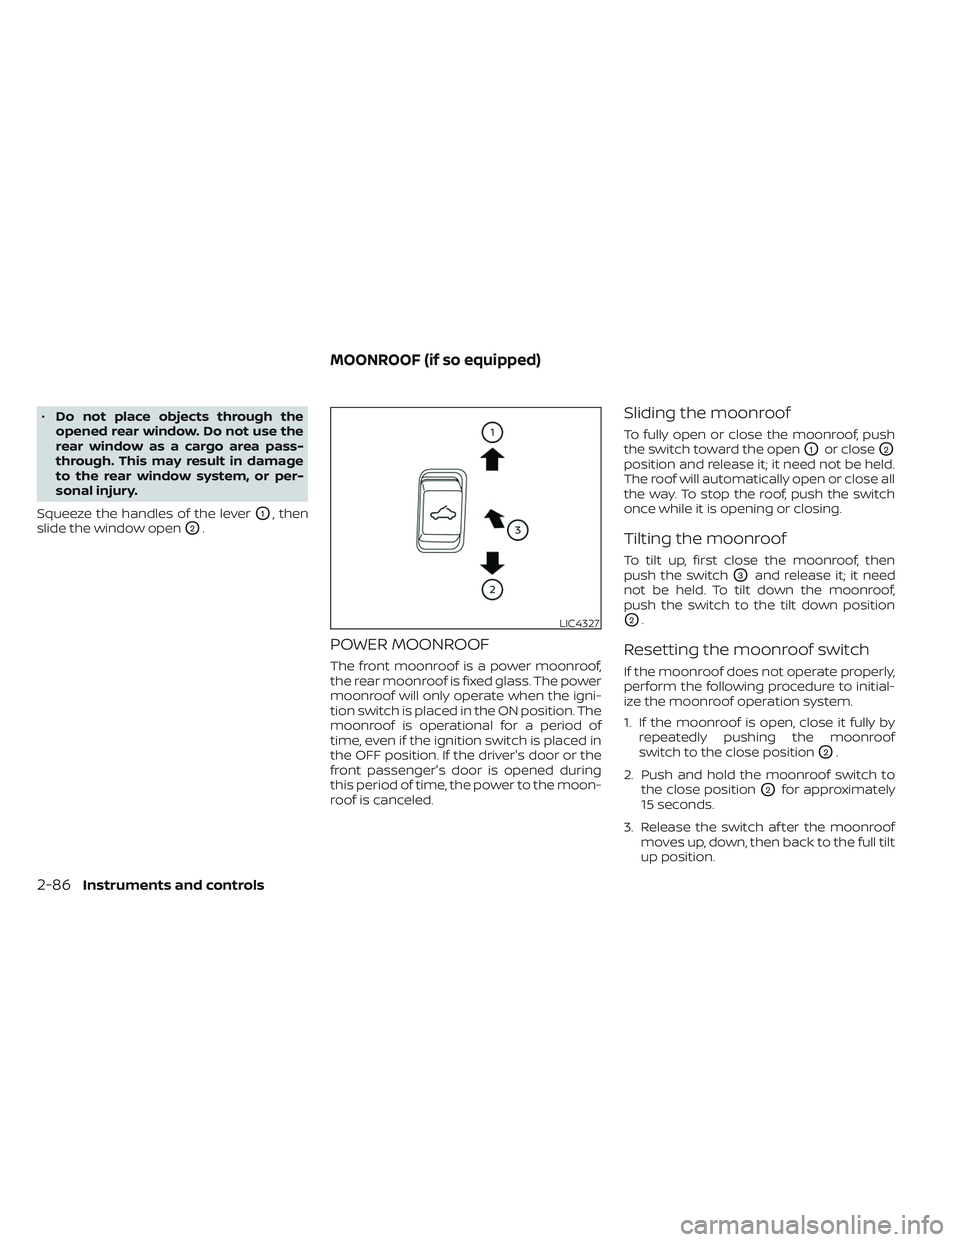
Squeeze the handles of the lever
O1, then
slide the window open
O2.
POWER MOONROOF
The front moonroof is a power moonroof,
the rear moonroof is fixed glass. The power
moonroof will only operate when the igni-
tion switch is placed in the ON position. The
moonroof is operational for a period of
time, even if the ignition switch is placed in
the OFF position. If the driver's door or the
front passenger's door is opened during
this period of time, the power to the moon-
roof is canceled.
Sliding the moonroof
To fully open or close the moonroof, push
the switch toward the open
O1or closeO2
position and release it; it need not be held.
The roof will automatically open or close all
the way. To stop the roof, push the switch
once while it is opening or closing.
Tilting the moonroof
To tilt up, first close the moonroof, then
push the switch
O3and release it; it need
not be held. To tilt down the moonroof,
push the switch to the tilt down position
O2.
Resetting the moonroof switch
If the moonroof does not operate properly,
perform the following procedure to initial-
ize the moonroof operation system.
1. If the moonroof is open, close it fully by repeatedly pushing the moonroof
switch to the close position
O2.
2. Push and hold the moonroof switch to the close position
O2for approximately
15 seconds.
3. Release the switch af ter the moonroof moves up, down, then back to the full tilt
up position.
LIC4327
MOONROOF (if so equipped)
2-86Instruments and controls
Page 227 of 635
AUTOMATIC OPERATION (if so
equipped)
Tilt and telescopic operation
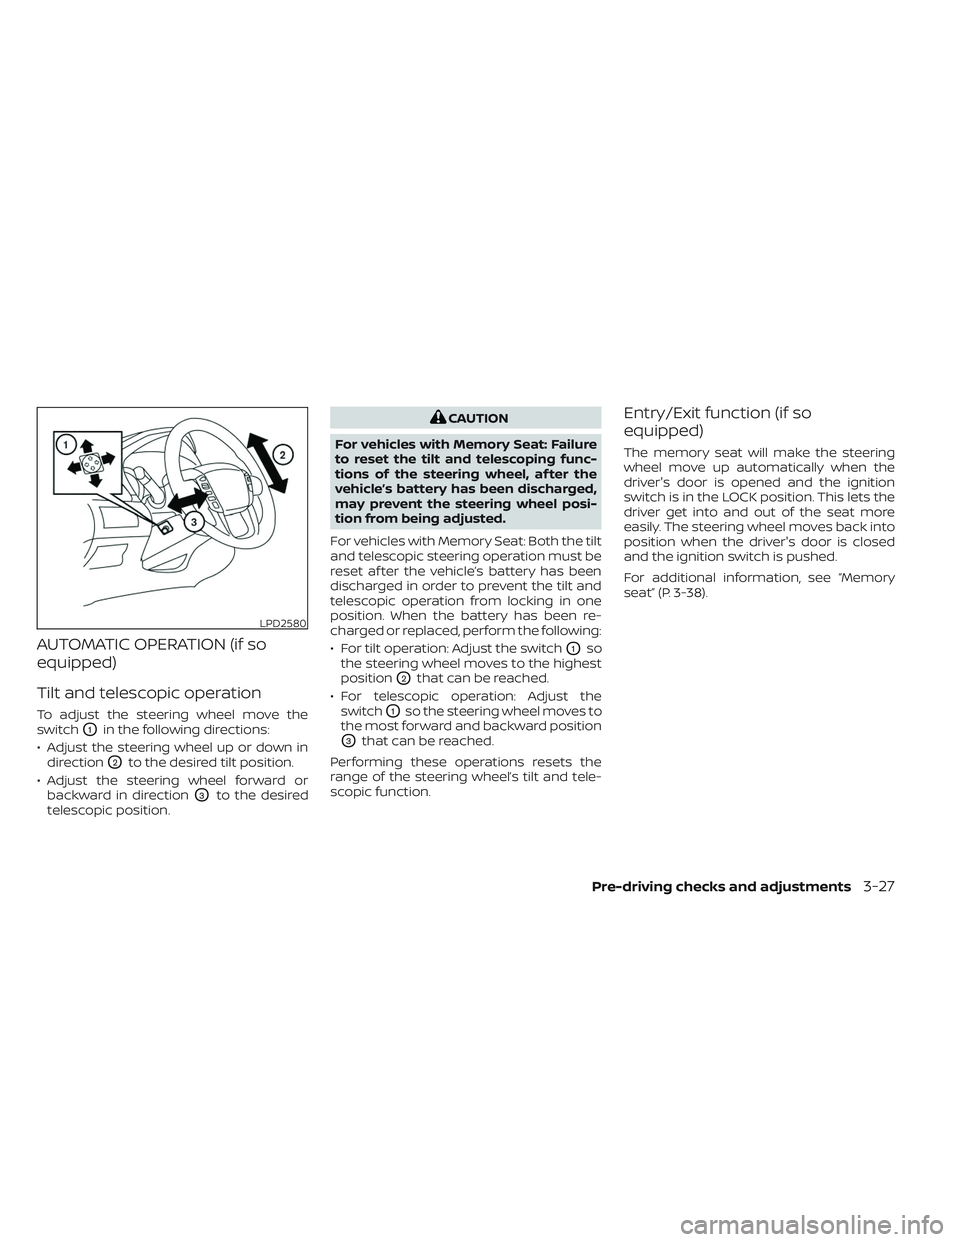
To adjust the steering wheel move the
switch
O1in the following directions:
• Adjust the steering wheel up or down in direction
O2to the desired tilt position.
• Adjust the steering wheel forward or backward in direction
O3to the desired
telescopic position.
CAUTION
For vehicles with Memory Seat: Failure
to reset the tilt and telescoping func-
tions of the steering wheel, af ter the
vehicle’s battery has been discharged,
may prevent the steering wheel posi-
tion from being adjusted.
For vehicles with Memory Seat: Both the tilt
and telescopic steering operation must be
reset af ter the vehicle’s battery has been
discharged in order to prevent the tilt and
telescopic operation from locking in one
position. When the battery has been re-
charged or replaced, perform the following:
• For tilt operation: Adjust the switch
O1so
the steering wheel moves to the highest
position
O2that can be reached.
• For telescopic operation: Adjust the switch
O1so the steering wheel moves to
the most forward and backward position
O3that can be reached.
Performing these operations resets the
range of the steering wheel’s tilt and tele-
scopic function.
Entry/Exit function (if so
equipped)
The memory seat will make the steering
wheel move up automatically when the
driver's door is opened and the ignition
switch is in the LOCK position. This lets the
driver get into and out of the seat more
easily. The steering wheel moves back into
position when the driver's door is closed
and the ignition switch is pushed.
For additional information, see “Memory
seat” (P. 3-38).
LPD2580
Pre-driving checks and adjustments3-27
Page 289 of 635

CONTROL DESCRIPTION
1.SD Card Slot
Play videos, music, and images stored on
most SD cards. The full-size SD card slot is accessible on
the lef t side of the monitor when the
screen is in the open position.2.
Screen latch
Press the push-button latch located on
the top of the monitor to pivot the
screen. Remember to turn the monitor
off and pivot the screen to the locked
(latched) position when not in use.
3. Power (Monitor A)
Press this button to turn the monitor on.
Press again to turn the monitor off. Press
and hold for 6 seconds to reset the sys-
tem (Monitor A only)
Power (Monitor B)
Press this button to turn the monitor on.
Press again to turn the monitor off.
4. Front panel controls
Capacitive-touch buttons provide user
interface navigation, Select, Back, and
Home functions.
5. Monitor screen display
Includes an 8-inch TFT Liquid Crystal
Display with 1024 x 600 resolution.
6. HDMI port
Connect an external audio/video source
using a full-size HDMI connector. Sup-
ports MHL 2.0 playback and charging.
LHA5995
Monitor A (Driver’s Side)
Monitor, climate, audio, phone and voice recognition systems4-47
Page 310 of 635
SETTINGS
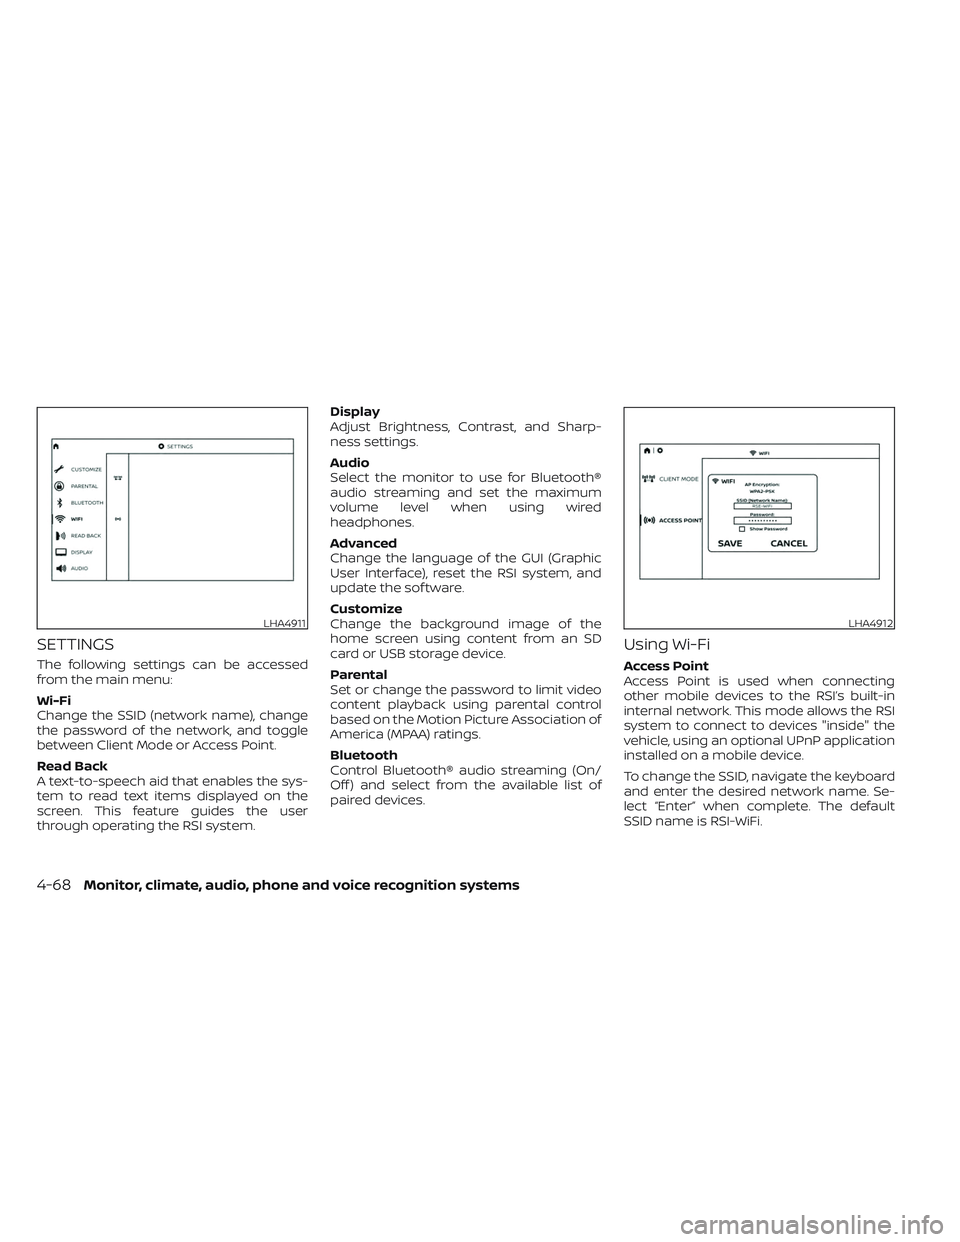
The following settings can be accessed
from the main menu:
Wi-Fi
Change the SSID (network name), change
the password of the network, and toggle
between Client Mode or Access Point.
Read Back
A text-to-speech aid that enables the sys-
tem to read text items displayed on the
screen. This feature guides the user
through operating the RSI system.Display
Adjust Brightness, Contrast, and Sharp-
ness settings.
Audio
Select the monitor to use for Bluetooth®
audio streaming and set the maximum
volume level when using wired
headphones.
Advanced
Change the language of the GUI (Graphic
User Interface), reset the RSI system, and
update the sof tware.
Customize
Change the background image of the
home screen using content from an SD
card or USB storage device.
Parental
Set or change the password to limit video
content playback using parental control
based on the Motion Picture Association of
America (MPAA) ratings.
Bluetooth
Control Bluetooth® audio streaming (On/
Off ) and select from the available list of
paired devices.
Using Wi-Fi
Access Point
Access Point is used when connecting
other mobile devices to the RSI’s built-in
internal network. This mode allows the RSI
system to connect to devices "inside" the
vehicle, using an optional UPnP application
installed on a mobile device.
To change the SSID, navigate the keyboard
and enter the desired network name. Se-
lect “Enter” when complete. The default
SSID name is RSI-WiFi.
LHA4911LHA4912
4-68Monitor, climate, audio, phone and voice recognition systems
Page 314 of 635
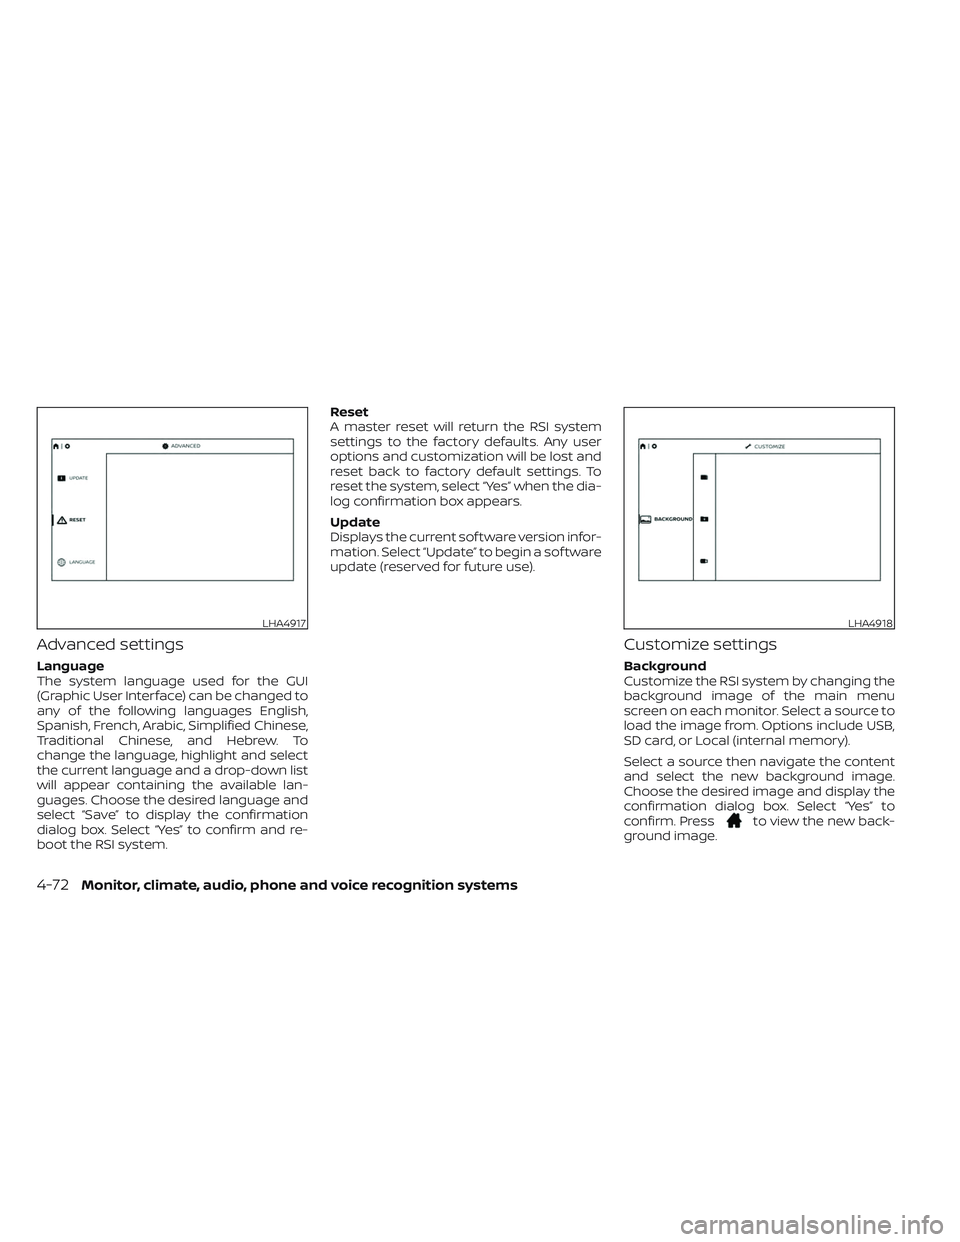
Advanced settings
Language
The system language used for the GUI
(Graphic User Interface) can be changed to
any of the following languages English,
Spanish, French, Arabic, Simplified Chinese,
Traditional Chinese, and Hebrew. To
change the language, highlight and select
the current language and a drop-down list
will appear containing the available lan-
guages. Choose the desired language and
select “Save” to display the confirmation
dialog box. Select “Yes” to confirm and re-
boot the RSI system.Reset
A master reset will return the RSI system
settings to the factory defaults. Any user
options and customization will be lost and
reset back to factory default settings. To
reset the system, select “Yes” when the dia-
log confirmation box appears.
Update
Displays the current sof tware version infor-
mation. Select “Update” to begin a sof tware
update (reserved for future use).
Customize settings
Background
Customize the RSI system by changing the
background image of the main menu
screen on each monitor. Select a source to
load the image from. Options include USB,
SD card, or Local (internal memory).
Select a source then navigate the content
and select the new background image.
Choose the desired image and display the
confirmation dialog box. Select “Yes” to
confirm. Press
to view the new back-
ground image.
LHA4917LHA4918
4-72Monitor, climate, audio, phone and voice recognition systems