2022 NISSAN TITAN CD player
[x] Cancel search: CD playerPage 243 of 635

Remote control buttons.....................4-50
Wireless headphone operation ..............4-51
General operation ........................... 4-52
Video operation ............................. 4-54
HDMI/MHL connection ......................4-55
USB/SD card operation ......................4-56
Slingplayer® ................................. 4-62
Miracast® ................................... 4-64
Using the mobile application on your
mobile device ............................... 4-65SmartStream
............................... 4-66
Settings ..................................... 4-68
Troubleshooting ............................ 4-76
Specifications ............................... 4-78
Compliance information ....................4-79
Car phone or CB radio .......................... 4-82
iPod®/iPhone® ................................. 4-83
Page 286 of 635
• HDMI 1.4 Input with MHL 2.0 Support
• Exclusive Slingplayer® Application
• 3.5mm Stereo Headphone Output
• Front Panel Capacitive Touch Controls
• Infrared Wireless Headphones
• Full-Function Slimline Remote Control
• Monitor Screen Sharing
GETTING STARTED
Turning the monitor on or off
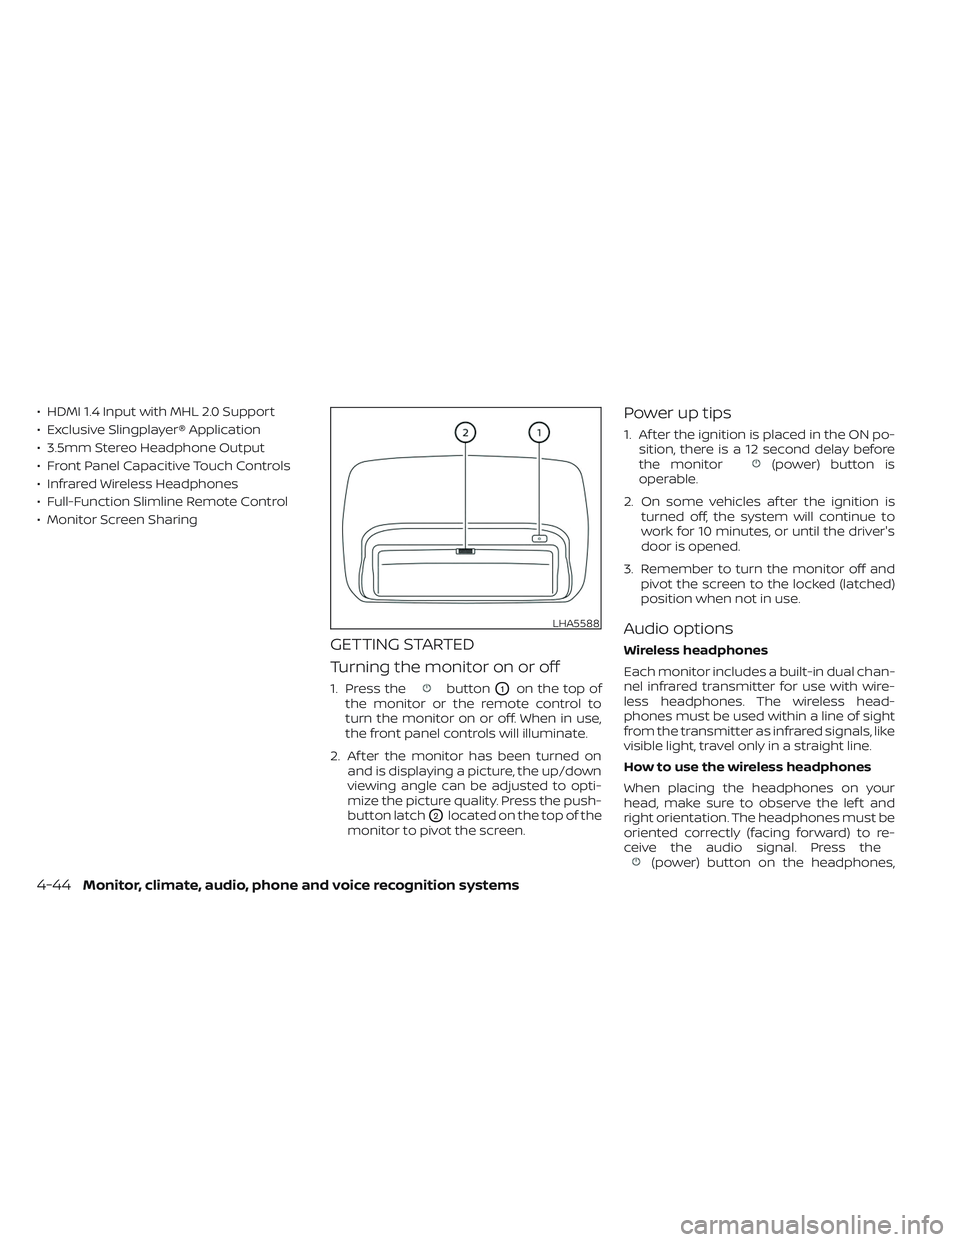
1. Press thebuttonO1on the top of
the monitor or the remote control to
turn the monitor on or off. When in use,
the front panel controls will illuminate.
2. Af ter the monitor has been turned on and is displaying a picture, the up/down
viewing angle can be adjusted to opti-
mize the picture quality. Press the push-
button latch
O2located on the top of the
monitor to pivot the screen.
Power up tips
1. Af ter the ignition is placed in the ON po- sition, there is a 12 second delay before
the monitor
(power) button is
operable.
2. On some vehicles af ter the ignition is turned off, the system will continue to
work for 10 minutes, or until the driver's
door is opened.
3. Remember to turn the monitor off and pivot the screen to the locked (latched)
position when not in use.
Audio options
Wireless headphones
Each monitor includes a built-in dual chan-
nel infrared transmitter for use with wire-
less headphones. The wireless head-
phones must be used within a line of sight
from the transmitter as infrared signals, like
visible light, travel only in a straight line.
How to use the wireless headphones
When placing the headphones on your
head, make sure to observe the lef t and
right orientation. The headphones must be
oriented correctly (facing forward) to re-
ceive the audio signal. Press the
(power) button on the headphones,
LHA5588
4-44Monitor, climate, audio, phone and voice recognition systems
Page 295 of 635

To the right of the main menu is a preview
menu
O2, which gives a preview of the
highlighted option in the main menu. The
preview menu options will change with
each selection.
Press
orto scroll through the
options in each menu. The current selec-
tion is highlighted in the center of the menu
when scrolling up and down. Press
orwhen an item is highlighted to select
the item. Pressorto move back
one level in the menu.
Mirror
For additional information on how to mir-
ror content playing from the opposite
monitor, see “Mirroring content” (P. 4-54)
and “Using Miracast®” (P. 4-65).
Fast-Charge (USB)
For additional information, see “Fast-
Charge (USB)” (P. 4-56).
Settings
For additional information, see “Settings”
(P. 4-68).
Sources
The following sources can be accessed
from the main menu:
HDMI
Play content from an external audio/video
source using a standard HDMI cable (sold
separately).
USB
Play videos, music, and images stored on
most USB devices. This system does not
support wired USB data transfer or audio/
video playback from mobile devices. SD CARD
Play videos, music, and images stored on
most SD cards.
Slingplayer®
Stream content wirelessly from a Slingbox®
(sold separately) to the RSI system. *Re-
quires external internet connection.
Miracast®
Stream content wirelessly from a Miracast-
enabled device to the RSI system.
NOTE: Miracast® works with Android OS
mobile devices only. This feature is not sup-
ported on iOS devices.
SmartStream
Stream content wirelessly between mobile
devices and to the RSI system. *Requires
compatible UPnP application to be in-
stalled on the mobile device. For additional
information, see “SmartStream” (P. 4-66).
NOTE: SmartStream works on both
Android and iOS devices using mobile app
(VOXX-RSI).
NOTE:
The top lef t corner of the screen in-
cludes a graphic representation that
shows the navigational path of the
current menu. For example: Home >
Source > HDMI.
LHA4883
Monitor, climate, audio, phone and voice recognition systems4-53
Page 304 of 635
Navigating photos
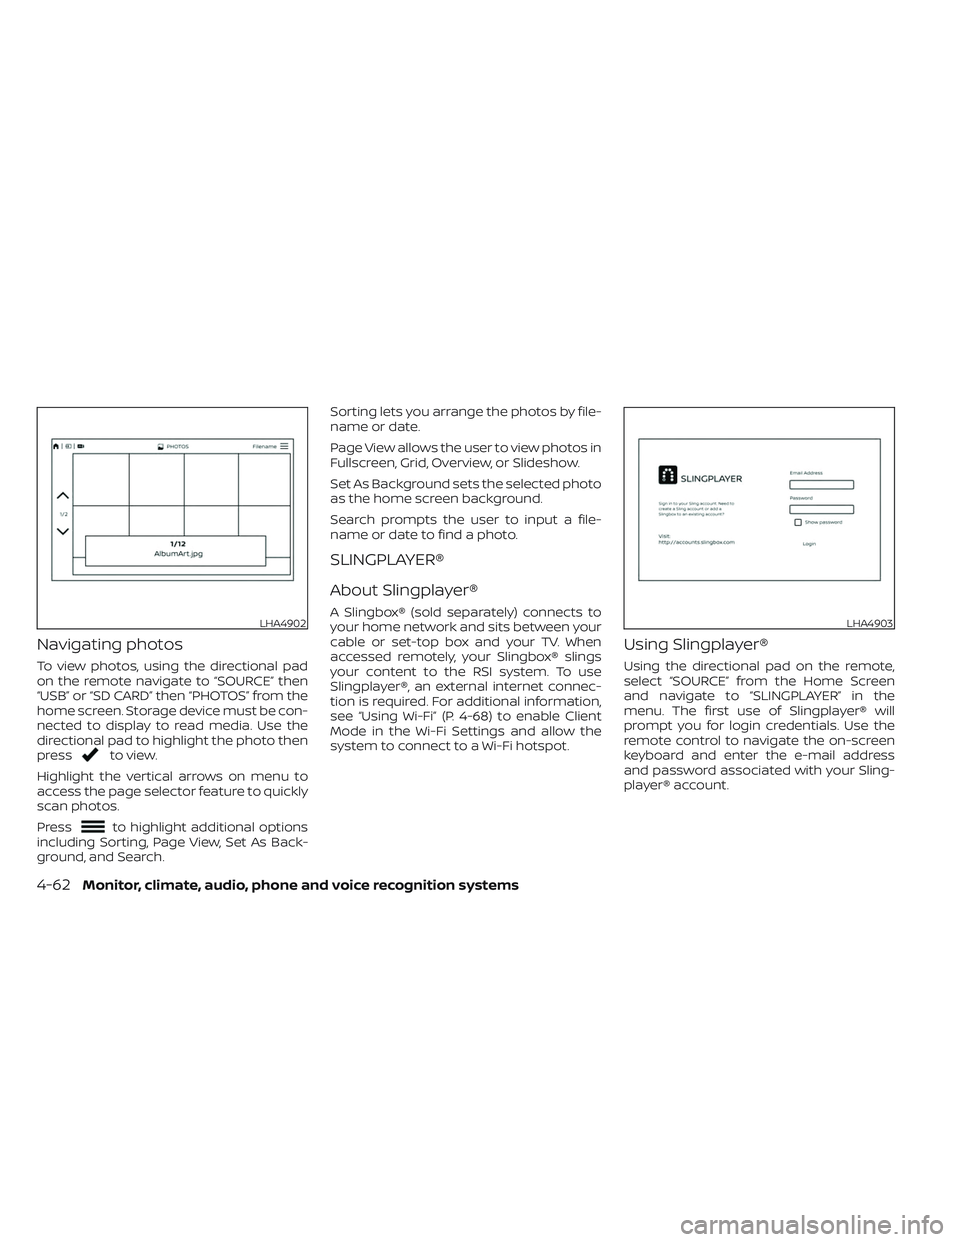
To view photos, using the directional pad
on the remote navigate to “SOURCE” then
“USB” or “SD CARD” then “PHOTOS” from the
home screen. Storage device must be con-
nected to display to read media. Use the
directional pad to highlight the photo then
press
to view.
Highlight the vertical arrows on menu to
access the page selector feature to quickly
scan photos.
Press
to highlight additional options
including Sorting, Page View, Set As Back-
ground, and Search. Sorting lets you arrange the photos by file-
name or date.
Page View allows the user to view photos in
Fullscreen, Grid, Overview, or Slideshow.
Set As Background sets the selected photo
as the home screen background.
Search prompts the user to input a file-
name or date to find a photo.
SLINGPLAYER®
About Slingplayer®
A Slingbox® (sold separately) connects to
your home network and sits between your
cable or set-top box and your TV. When
accessed remotely, your Slingbox® slings
your content to the RSI system. To use
Slingplayer®, an external internet connec-
tion is required. For additional information,
see “Using Wi-Fi” (P. 4-68) to enable Client
Mode in the Wi-Fi Settings and allow the
system to connect to a Wi-Fi hotspot.
Using Slingplayer®
Using the directional pad on the remote,
select “SOURCE” from the Home Screen
and navigate to “SLINGPLAYER” in the
menu. The first use of Slingplayer® will
prompt you for login credentials. Use the
remote control to navigate the on-screen
keyboard and enter the e-mail address
and password associated with your Sling-
player® account.
LHA4902LHA4903
4-62Monitor, climate, audio, phone and voice recognition systems
Page 305 of 635
Slingplayer® options
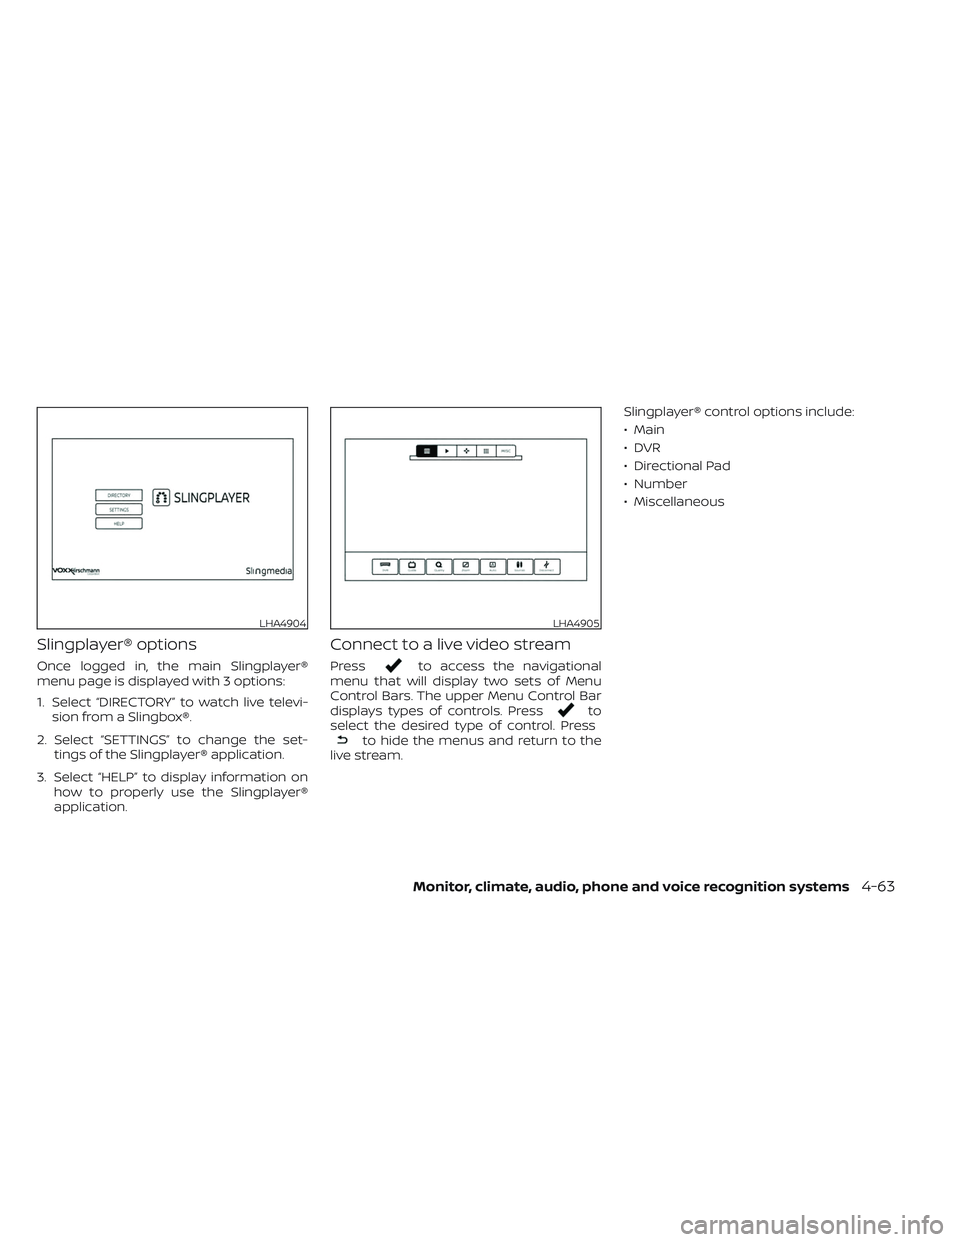
Once logged in, the main Slingplayer®
menu page is displayed with 3 options:
1. Select “DIRECTORY” to watch live televi-sion from a Slingbox®.
2. Select “SETTINGS” to change the set- tings of the Slingplayer® application.
3. Select “HELP” to display information on how to properly use the Slingplayer®
application.
Connect to a live video stream
Pressto access the navigational
menu that will display two sets of Menu
Control Bars. The upper Menu Control Bar
displays types of controls. Press
to
select the desired type of control. Press
to hide the menus and return to the
live stream. Slingplayer® control options include:
• Main
•DVR
• Directional Pad
• Number
• Miscellaneous
LHA4904LHA4905
Monitor, climate, audio, phone and voice recognition systems4-63
Page 306 of 635
Accessing the program guide
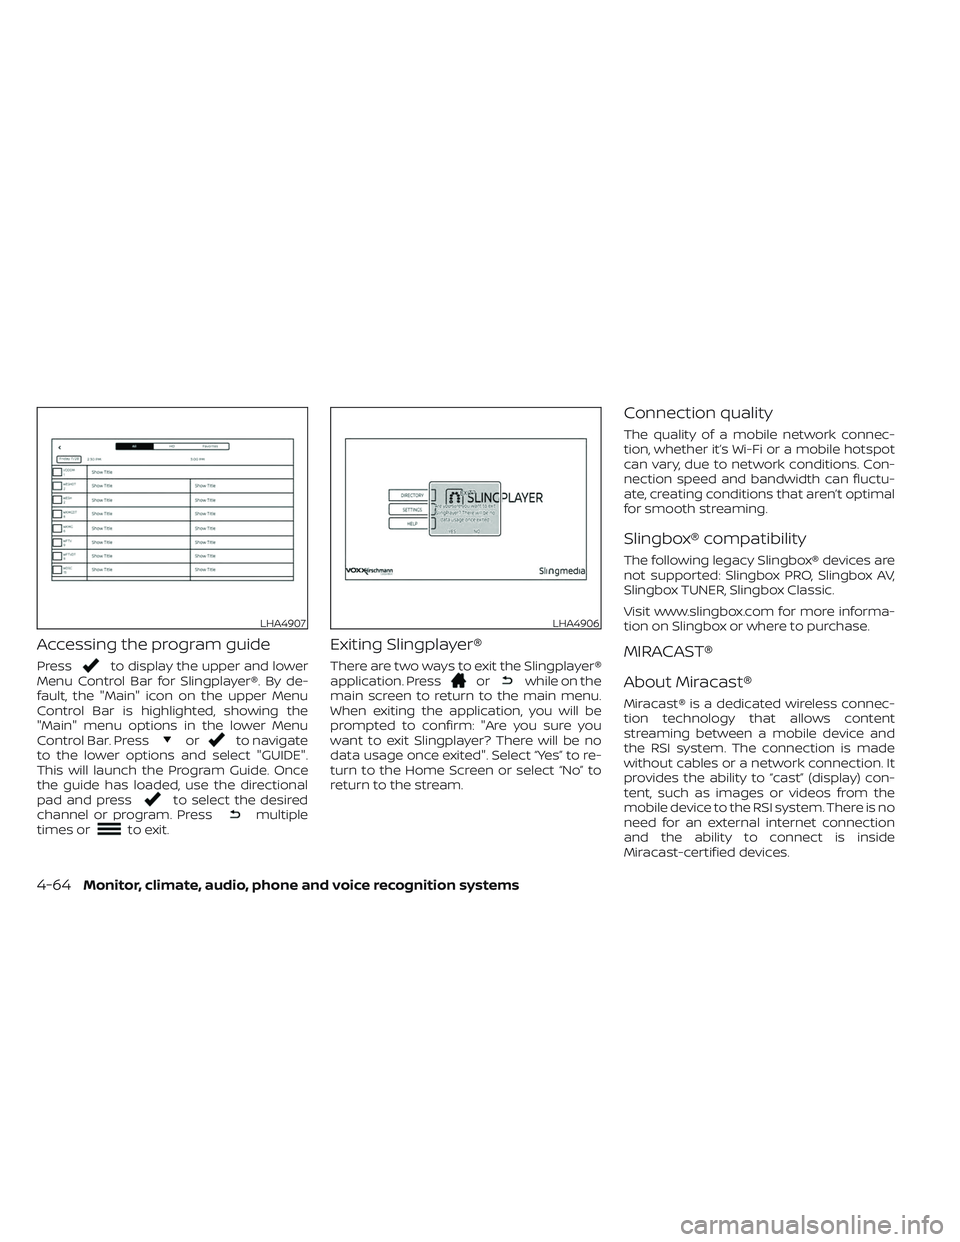
Pressto display the upper and lower
Menu Control Bar for Slingplayer®. By de-
fault, the "Main" icon on the upper Menu
Control Bar is highlighted, showing the
"Main" menu options in the lower Menu
Control Bar. Press
orto navigate
to the lower options and select "GUIDE".
This will launch the Program Guide. Once
the guide has loaded, use the directional
pad and press
to select the desired
channel or program. Pressmultiple
times orto exit.
Exiting Slingplayer®
There are two ways to exit the Slingplayer®
application. Pressorwhile on the
main screen to return to the main menu.
When exiting the application, you will be
prompted to confirm: "Are you sure you
want to exit Slingplayer? There will be no
data usage once exited". Select “Yes” to re-
turn to the Home Screen or select “No” to
return to the stream.
Connection quality
The quality of a mobile network connec-
tion, whether it’s Wi-Fi or a mobile hotspot
can vary, due to network conditions. Con-
nection speed and bandwidth can fluctu-
ate, creating conditions that aren’t optimal
for smooth streaming.
Slingbox® compatibility
The following legacy Slingbox® devices are
not supported: Slingbox PRO, Slingbox AV,
Slingbox TUNER, Slingbox Classic.
Visit www.slingbox.com for more informa-
tion on Slingbox or where to purchase.
MIRACAST®
About Miracast®
Miracast® is a dedicated wireless connec-
tion technology that allows content
streaming between a mobile device and
the RSI system. The connection is made
without cables or a network connection. It
provides the ability to “cast” (display) con-
tent, such as images or videos from the
mobile device to the RSI system. There is no
need for an external internet connection
and the ability to connect is inside
Miracast-certified devices.
LHA4907LHA4906
4-64Monitor, climate, audio, phone and voice recognition systems
Page 313 of 635
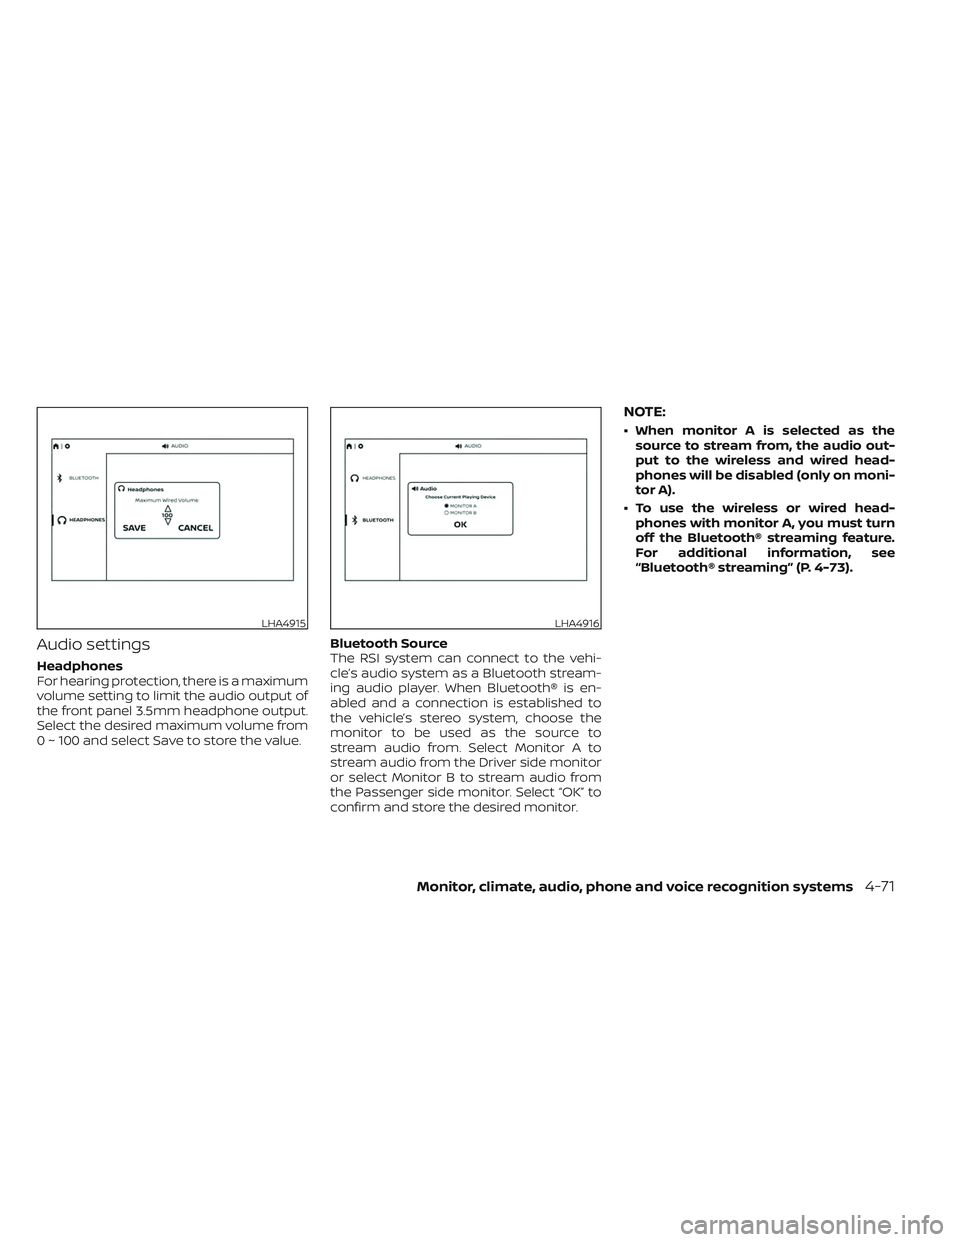
Audio settings
Headphones
For hearing protection, there is a maximum
volume setting to limit the audio output of
the front panel 3.5mm headphone output.
Select the desired maximum volume from
0 ~ 100 and select Save to store the value.Bluetooth Source
The RSI system can connect to the vehi-
cle’s audio system as a Bluetooth stream-
ing audio player. When Bluetooth® is en-
abled and a connection is established to
the vehicle’s stereo system, choose the
monitor to be used as the source to
stream audio from. Select Monitor A to
stream audio from the Driver side monitor
or select Monitor B to stream audio from
the Passenger side monitor. Select “OK” to
confirm and store the desired monitor.
NOTE:
• When monitor A is selected as the
source to stream from, the audio out-
put to the wireless and wired head-
phones will be disabled (only on moni-
tor A).
• To use the wireless or wired head- phones with monitor A, you must turn
off the Bluetooth® streaming feature.
For additional information, see
“Bluetooth® streaming” (P. 4-73).
LHA4915LHA4916
Monitor, climate, audio, phone and voice recognition systems4-71
Page 343 of 635
1. Apply the parking brake.
2. Move the shif t lever to P (Park) or N (Neu-tral). P (Park) is recommended.
The starter is designed not to operate
unless the shif t lever is in either P
(Park) or N (Neutral).
3. Push the ignition switch to the ON posi- tion. Depress the brake pedal and push
the ignition switch to start the engine.
To start the engine immediately, push
and release the ignition switch while de-
pressing the brake pedal with the igni-
tion switch in any position.
• If the engine is very hard to start in extremely cold weather or when re-
starting, depress the accelerator
pedal a little (approximately 1/3 to the
floor) and while holding, crank the en-
gine. Release the accelerator pedal
when the engine starts.
• If the engine is very hard to start be- cause it is flooded, depress the accel-
erator pedal all the way to the floor
and hold it. Push the ignition switch to
the ON position to start cranking the
engine. Af ter 5 or 6 seconds, stop
cranking by pushing the ignition
switch to the LOCK position. Af ter
cranking the engine, release the accel- erator pedal. Crank the engine with
your foot off the accelerator pedal by
depressing the brake pedal and push-
ing the ignition switch to start the en-
gine. If the engine starts, but fails to
run, repeat the above procedure.
CAUTION
Do not operate the starter for more
than 15 seconds at a time. If the engine
does not start, push the ignition switch
to the OFF position and wait 10 seconds
before cranking again, otherwise the
starter could be damaged.
4. Warm-up
Allow the engine to idle for at least 30
seconds af ter starting. Do not race the
engine while warming it up. Drive at a
moderate speed for a short distance
first, especially in cold weather. In cold
weather, keep the engine running for a
minimum of 2 to 3 minutes before shut-
ting it off. Starting and stopping the en-
gine over a short period of time may
make the vehicle more difficult to start.
5. To stop the engine, move the shif t lever to the P (Park) position and push the
ignition switch to the OFF position. In preparation for the next engine start, the
engine may have a slightly delayed shutoff
af ter placing the ignition switch in the OFF
position, depending on the driving
conditions.
NOTE:
Care should be taken to avoid situa-
tions that can lead to potential battery
discharge and potential no-start con-
ditions such as:
1. Installation or extended use of elec-
tronic accessories that consume bat-
tery power when the engine is not
running (phone chargers, GPS, DVD
players, etc.).
2. The vehicle is not driven regularly and/or only driven short distances.
In these cases, the battery may need to
be charged to maintain battery health.
STARTING THE ENGINE
Starting and driving5-17