2022 NISSAN SENTRA service
[x] Cancel search: servicePage 450 of 528

CAUTION
• NISSAN recommends using Genuine
NISSAN CVT Fluid NS-3 (or equiva-
lent) ONLY in NISSAN CVTs. Do not mix
with other fluids.
• Do not use Automatic Transmission
Fluid (ATF) or manual transmission
fluid in a NISSAN CVT, as it may dam-
age the CVT. Damage caused by the
use of fluids other than as recom-
mended is not covered under
NISSAN's New Vehicle Limited
Warranty.
• Using fluids that are not equivalent
to Genuine NISSAN CVT Fluid NS-3
may also damage the CVT. Damage
caused by the use of fluids other than
as recommended is not covered un-
der NISSAN's New Vehicle Limited
Warranty.
When checking or replacement of CVT fluid
is required, it is recommended that you visit
a NISSAN dealer for servicing. For additional brake and clutch fluid speci-
fication information, refer to “Recom-
mended fluids/lubricants and capacities”
in the “Technical and consumer informa-
tion” section of this manual.
CAUTION
Do not spill the fluid on any painted sur-
faces. This will damage the paint. If fluid
is spilled, immediately wash the sur-
face with water.
BRAKE FLUID
Check the fluid level in the reservoir. If the
level is below the MIN line
O1, or the brake
warning light comes on, add Genuine
NISSAN Brake Fluid or equivalent DOT 3
fluid up to the MAX line
O2. If fluid must be
added frequently, the system should be
checked. It is recommended that you visit a
NISSAN dealer for this service.
LDI3490
CONTINUOUSLY VARIABLE
TRANSMISSION (CVT) FLUID (if so
equipped) BRAKE AND CLUTCH (if so equipped)
FLUID
Page 451 of 528
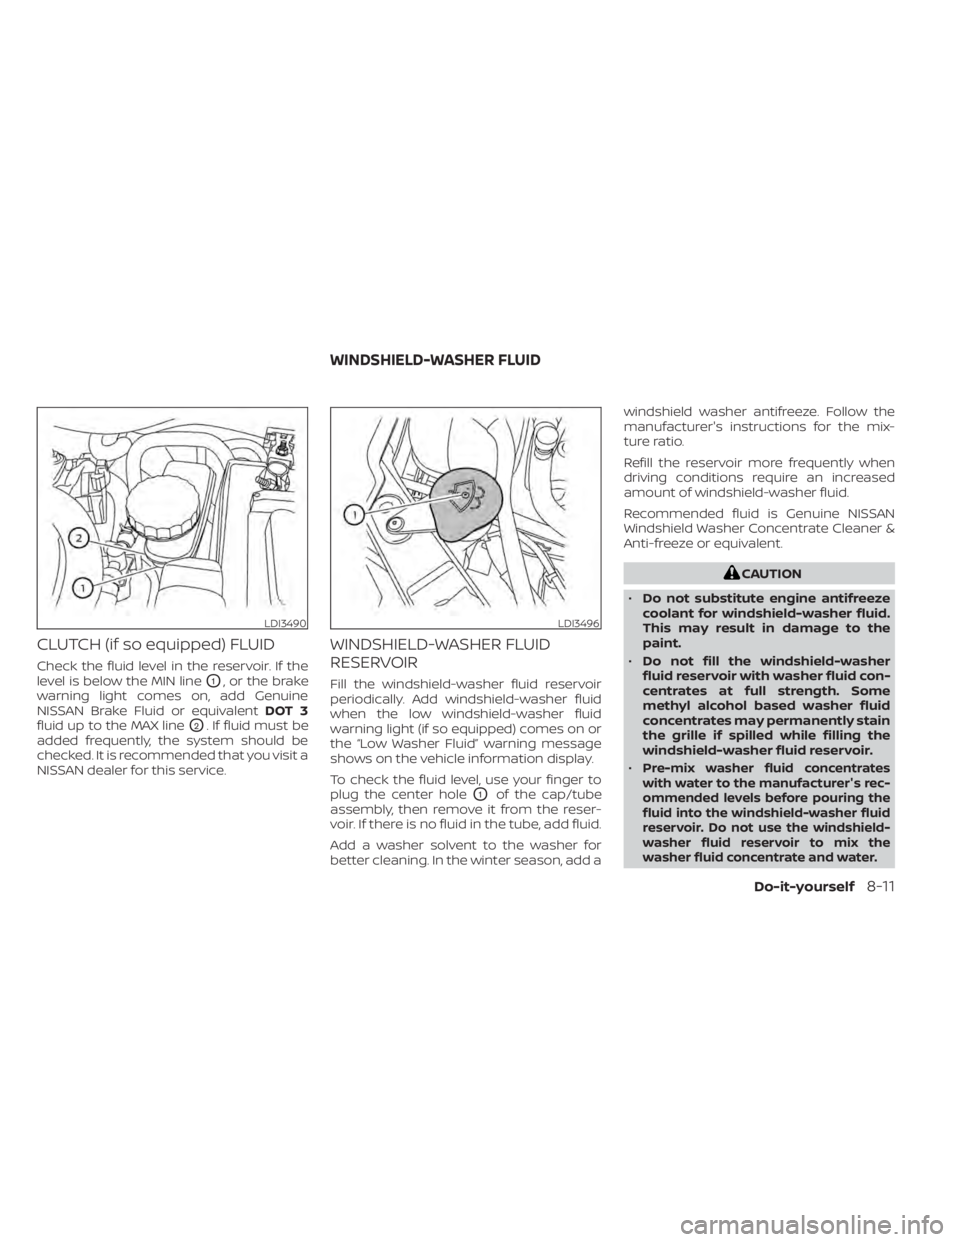
CLUTCH (if so equipped) FLUID
Check the fluid level in the reservoir. If the
level is below the MIN line
O1, or the brake
warning light comes on, add Genuine
NISSAN Brake Fluid or equivalent DOT 3
fluid up to the MAX line
O2. If fluid must be
added frequently, the system should be
checked. It is recommended that you visit a
NISSAN dealer for this service.
WINDSHIELD-WASHER FLUID
RESERVOIR
Fill the windshield-washer fluid reservoir
periodically. Add windshield-washer fluid
when the low windshield-washer fluid
warning light (if so equipped) comes on or
the “Low Washer Fluid” warning message
shows on the vehicle information display.
To check the fluid level, use your finger to
plug the center hole
O1of the cap/tube
assembly, then remove it from the reser-
voir. If there is no fluid in the tube, add fluid.
Add a washer solvent to the washer for
better cleaning. In the winter season, add a windshield washer antifreeze. Follow the
manufacturer's instructions for the mix-
ture ratio.
Refill the reservoir more frequently when
driving conditions require an increased
amount of windshield-washer fluid.
Recommended fluid is Genuine NISSAN
Windshield Washer Concentrate Cleaner &
Anti-freeze or equivalent.
LDI3496
WINDSHIELD-WASHER FLUID
Do-it-yourself8-11
Page 453 of 528
• If the battery is labeled “do not open” it ismaintenance free and battery fluid
should not be checked. It is recom-
mended that you visit a NISSAN dealer or
a qualified specialist workshop to con-
firm the battery’s performance.
• Keep the battery surface clean and dry. Clean the battery with a solution of bak-
ing soda and water.
• Make certain the terminal connections are clean and securely tightened.
• If the vehicle is not to be used for 30 days or longer, disconnect the negative (-) bat-
tery terminal cable to prevent discharge.
NOTE:
Care should be taken to avoid situations
that can lead to potential battery dis-
charge and potential no-start conditions
such as:
1. Installation or extended use of elec-
tronic accessories that consume bat-
tery power when the engine is not run-
ning (Phone chargers, GPS, DVD
players, etc.)
2. Vehicle is not driven regularly and/or
only driven short distances.
In these cases, the battery may need to
be charged to maintain battery health.
WARNING
• Do not expose the battery to flames,
an electrical spark or a cigarette. Hy-
drogen gas generated by the battery
is explosive. Explosive gases can
cause blindness or injury. Do not al-
low battery fluid to contact your skin,
eyes, fabrics or painted surfaces. Sul-
furic acid can cause blindness or in-
jury. Af ter touching a battery or bat-
tery cap, do not touch or rub your
eyes. Thoroughly wash your hands. If
the acid contacts your eyes, skin or
clothing, immediately flush with wa-
ter for at least 15 minutes and seek
medical attention.
• When working on or near a battery,
always wear suitable eye protection
and remove all jewelry.
• Battery posts, terminals and related
accessories contain lead and lead
compounds. Wash hands af ter
handling.
• Keep battery out of the reach of
children.
• Do not tip the battery.
NOTE:
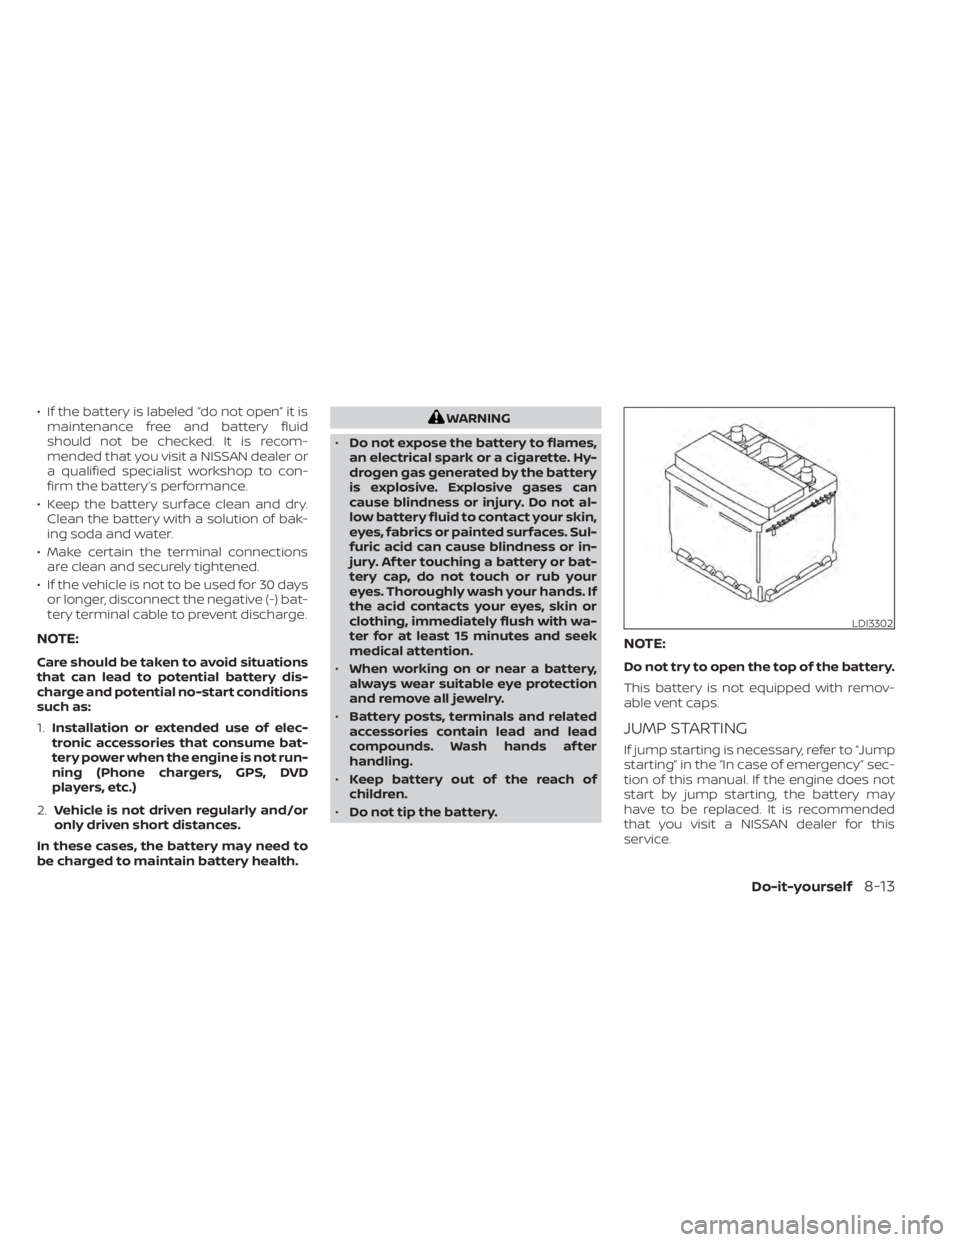
Do not try to open the top of the battery.
This battery is not equipped with remov-
able vent caps.
JUMP STARTING
If jump starting is necessary, refer to “Jump
starting” in the “In case of emergency” sec-
tion of this manual. If the engine does not
start by jump starting, the battery may
have to be replaced. It is recommended
that you visit a NISSAN dealer for this
service.
LDI3302
Page 455 of 528
1. Visually inspect the belt for signs of un-usual wear, cuts, or fraying. If the belt is in
poor condition, have it replaced or ad-
justed. It is recommended that you visit a
NISSAN dealer for this service.
2. Have the belt checked regularly for condition.
REPLACING SPARK PLUGS
CAUTION
Be sure to use the correct socket to re-
move the spark plugs. An incorrect
socket can damage the spark plugs.
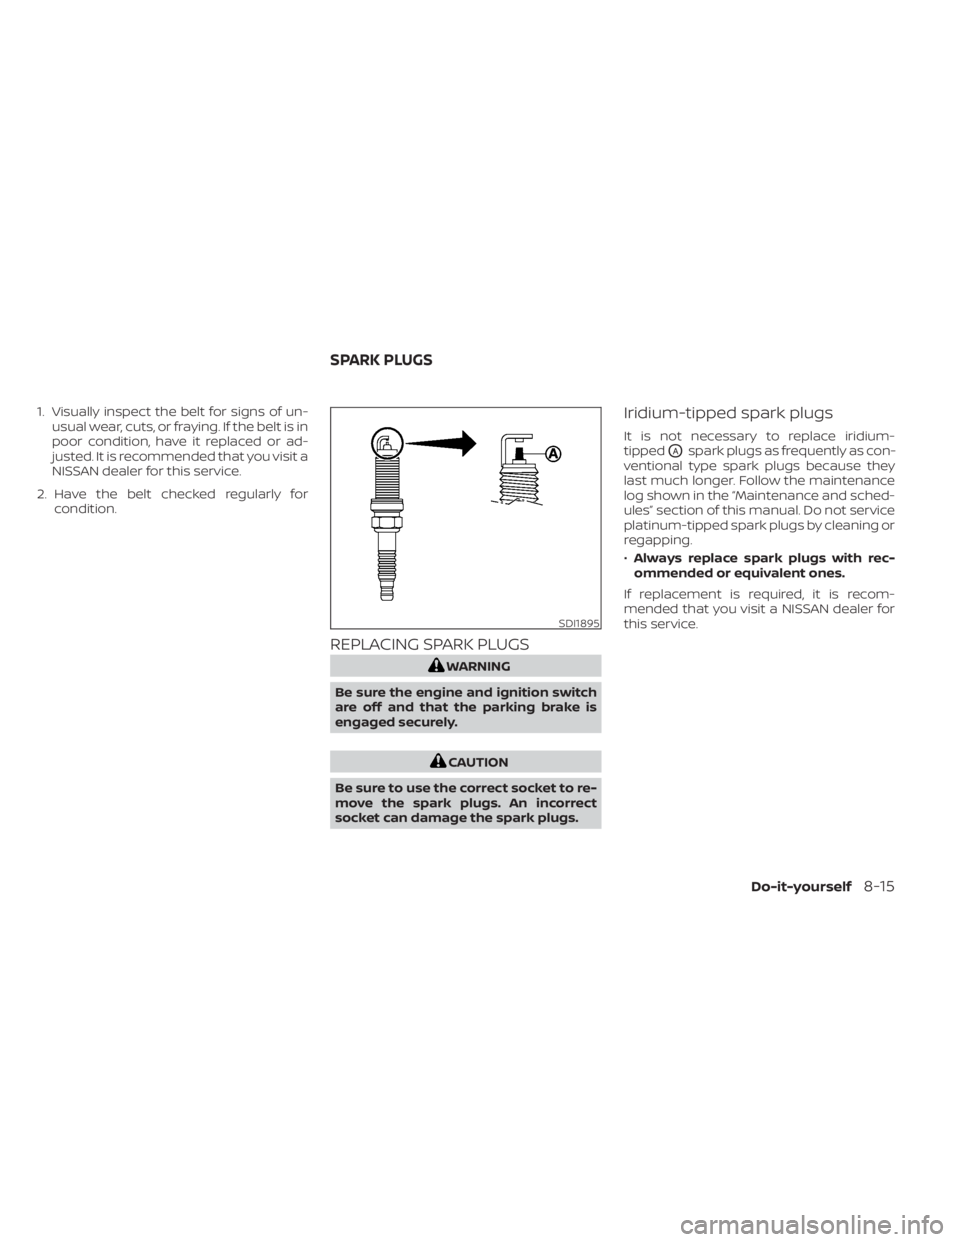
Iridium-tipped spark plugs
It is not necessary to replace iridium-
tipped
OAspark plugs as frequently as con-
ventional type spark plugs because they
last much longer. Follow the maintenance
log shown in the “Maintenance and sched-
ules” section of this manual. Do not service
platinum-tipped spark plugs by cleaning or
regapping.
• Always replace spark plugs with rec-
ommended or equivalent ones.
If replacement is required, it is recom-
mended that you visit a NISSAN dealer for
this service.
SDI1895
SPARK PLUGS
Do-it-yourself8-15
Page 456 of 528
The viscous paper type filter element (if so
equipped) should not be cleaned and re-
used. The dry paper type filter element (if so
equipped) may be cleaned an reused. Re-
place it according to the maintenance log
shown in the “Maintenance and schedules”
section of this manual.
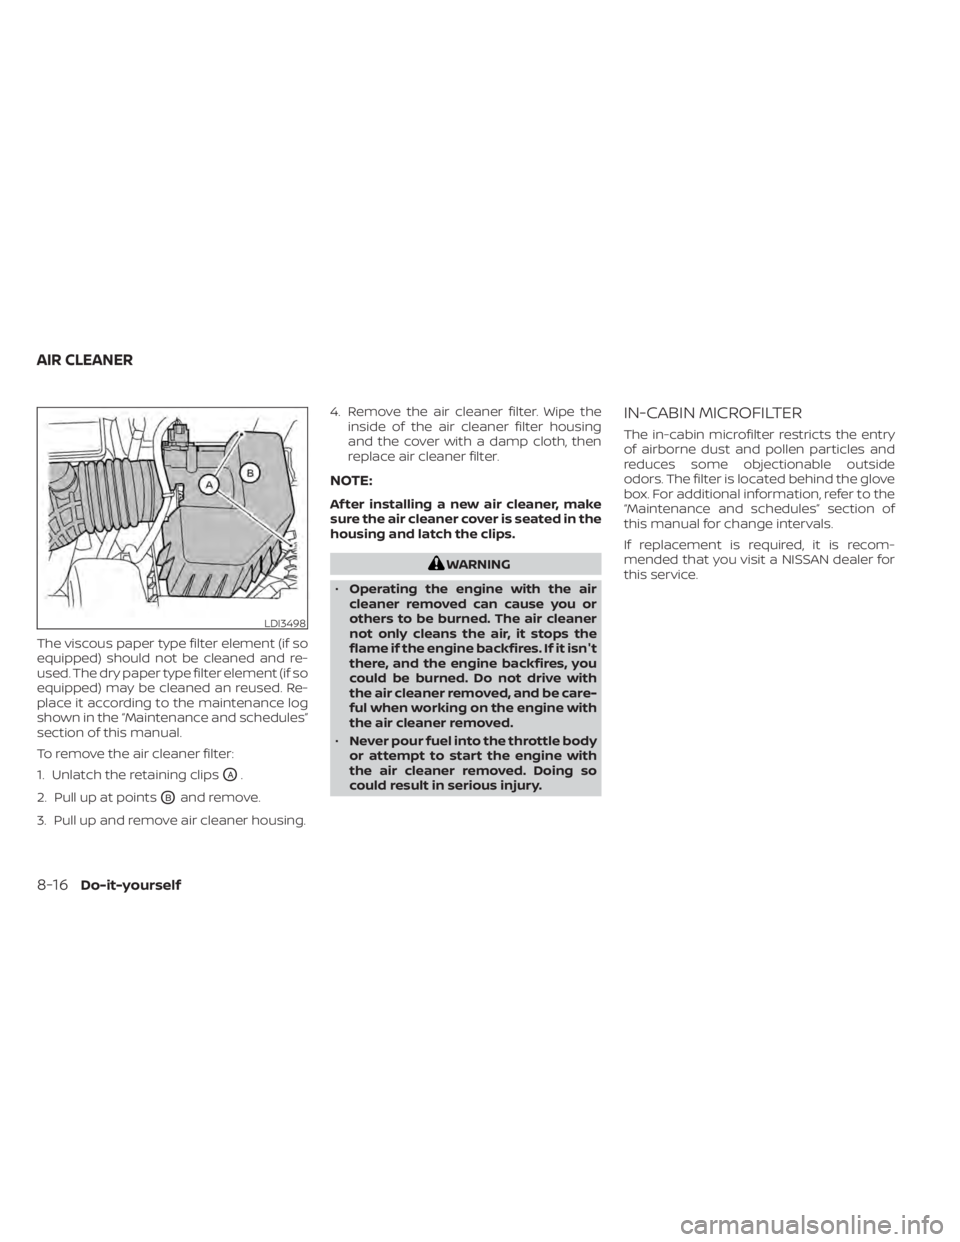
To remove the air cleaner filter:
1. Unlatch the retaining clips
OA.
2. Pull up at points
OBand remove.
3. Pull up and remove air cleaner housing. 4. Remove the air cleaner filter. Wipe the
inside of the air cleaner filter housing
and the cover with a damp cloth, then
replace air cleaner filter.
NOTE:
Af ter installing a new air cleaner, make
sure the air cleaner cover is seated in the
housing and latch the clips.
WARNING
• Operating the engine with the air
cleaner removed can cause you or
others to be burned. The air cleaner
not only cleans the air, it stops the
flame if the engine backfires. If it isn't
there, and the engine backfires, you
could be burned. Do not drive with
the air cleaner removed, and be care-
ful when working on the engine with
the air cleaner removed.
• Never pour fuel into the throttle body
or attempt to start the engine with
the air cleaner removed. Doing so
could result in serious injury.
IN-CABIN MICROFILTER
The in-cabin microfilter restricts the entry
of airborne dust and pollen particles and
reduces some objectionable outside
odors. The filter is located behind the glove
box. For additional information, refer to the
“Maintenance and schedules” section of
this manual for change intervals.
If replacement is required, it is recom-
mended that you visit a NISSAN dealer for
this service.
LDI3498
AIR CLEANER
Page 460 of 528
3. Remove the fuse box cover by pushingthe tabs
OAand lif ting the cover up.
4. Remove the fuse with the fuse puller, which is located in the center of the fuse
box cover in the passenger compart-
ment. For additional information, refer to
“Passenger Compartment” in the “Do-it
yourself ” section of this manual.
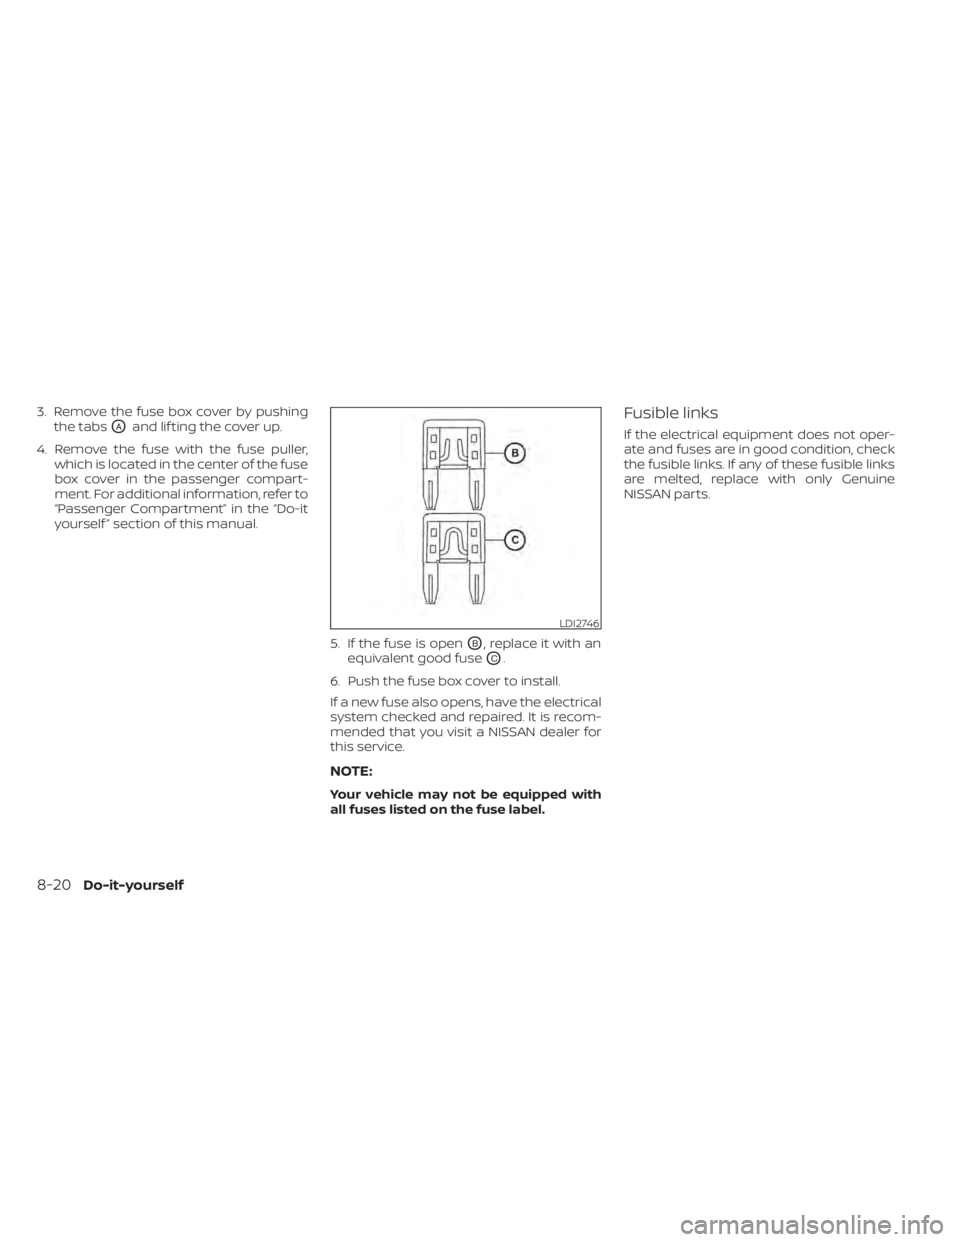
5. If the fuse is open
OB, replace it with an
equivalent good fuse
OC.
6. Push the fuse box cover to install.
If a new fuse also opens, have the electrical
system checked and repaired. It is recom-
mended that you visit a NISSAN dealer for
this service.
NOTE:
Your vehicle may not be equipped with
all fuses listed on the fuse label.
Fusible links
If the electrical equipment does not oper-
ate and fuses are in good condition, check
the fusible links. If any of these fusible links
are melted, replace with only Genuine
NISSAN parts.
LDI2746
8-20Do-it-yourself
Page 464 of 528
3. Replace the battery with a new one.Recommended battery: CR2032 or
equivalent.• Do not touch the internal circuit and electric terminals as doing so could
cause a malfunction.
• Hold the battery by the edges. Holding the battery across the contact points
will seriously deplete the storage ca-
pacity.
• Make sure that the + side faces the bottom of the lower part.
4. Close the lid securely as illustrated with
OCandOD.
5. Operate the buttons to check the operation.
If you need assistance with replacement, it
is recommended that you visit a NISSAN
dealer for this service.
FCC Notice:
For USA:
This device complies with Part 15 of the
FCC Rules. Operation is subject to the fol-
lowing two conditions: (1) This device
may not cause harmful interference, and
(2) this device must accept any interfer- ence received, including interference
that may cause undesired operation.
Note:
Changes or modifications not expressly
approved by the party responsible for
compliance could void the user’s author-
ity to operate the equipment.
For Canada:
This device complies with Industry
Canada licence-exempt RSS standard(s).
Operation is subject to the following two
conditions: (1) this device may not cause
interference, and (2) this device must ac-
cept any interference, including interfer-
ence that may cause undesired opera-
tion of the device.
HEADLIGHTS
For additional information on headlight
bulb replacement, refer to the instructions
outlined in this section.
Replacing the halogen headlight
bulb (if so equipped)
If halogen headlight bulb replacement is
required, it is recommended that you visit a
NISSAN dealer for this service.
Page 465 of 528
•Only touch the base when handling
the bulb. Never touch the glass enve-
lope. Touching the glass could sig-
nificantly affect bulb life and/or
headlight performance.
• High pressure halogen gas is sealed
inside the halogen bulb. The bulb
may break if the glass envelope is
scratched or the bulb is dropped.
• Use the same number and wattage
as shown in the chart.
WARNING
Do not touch bulb by hand while it is lit
or right af ter being turned off. Burning
may result.
CAUTION
• Do not touch glass surface of the bulb
with bare hands or allow oil or grease to
get on it to prevent damage to bulb.
• Do not leave the bulb out of the lamp
reflector for a long time because dust,
moisture, smoke, etc. may affect the
performance of the lamp.
• Fog may temporarily form inside the
lens of the exterior lights in the rain or in a car wash. A temperature difference
between the inside and the outside of
the lens causes the fog. This is not a
malfunction. If large drops of water col-
lect inside the lens, it is recommended
that you visit a NISSAN dealer for ser-
vicing.
Replacing the LED headlight bulb
(if so equipped)
If LED headlight bulb replacement is re-
quired, it is recommended that you visit a
NISSAN dealer for this service.
TURN SIGNAL BULB
To replace the turn signal bulb follow the
instructions listed in the “Replacing the
halogen headlight bulb” found in this sec-
tion.
FOG LIGHTS (if so equipped)
For additional information on fog light bulb
replacement, refer to the instructions out-
lined in this section.
Replacing the fog light bulb
If fog light bulb replacement is required, it is
recommended that you visit a NISSAN
dealer for this service.