2022 NISSAN SENTRA warning lights
[x] Cancel search: warning lightsPage 166 of 528
The light illuminates when the trunk lid is
opened. When the trunk lid is closed, the
light goes off.
The light will go off af ter a period of time if
the trunk lid is lef t open, unless the ignition
switch is placed in the ON position.
For additional information, refer to “Exterior
and interior lights” in the “Do-it-yourself ”
section of this manual.The HomeLink® Universal Transceiver pro-
vides a convenient way to consolidate the
functions of up to three individual hand-
held transmitters into one built-in device.
HomeLink® Universal Transceiver:
• Will operate most radio frequency de-
vices such as garage doors, gates, home
and office lighting, entry door locks and
security systems.
• Is powered by your vehicle's battery. No separate batteries are required. If the ve-
hicle's battery is discharged or is discon-
nected, HomeLink® will retain all pro-
gramming.
When the HomeLink® Universal Trans-
ceiver is programmed, retain the original
transmitter for future programming pro-
cedures (Example: new vehicle pur-
chases). Upon sale of the vehicle, the
programmed HomeLink® Universal
Transceiver buttons should be erased for
security purposes. For additional infor-
mation, refer to “Programming
HomeLink®” in this section.WARNING
• Your vehicle's engine should be
turned off while programming the
HomeLink® Universal Transceiver. Do
not breathe exhaust gases; they con-
tain colorless and odorless carbon
monoxide. Carbon monoxide is dan-
gerous. It can cause unconscious-
ness or death.
• Do not use the HomeLink® Universal
Transceiver with any garage door
opener that lacks safety stop and re-
verse features as required by federal
safety standards. (These standards
became effective for opener models
manufactured af ter April 1, 1982). A
garage door opener which cannot
detect an object in the path of a clos-
ing garage door and then automati-
cally stop and reverse, does not meet
current federal safety standards. Us-
ing a garage door opener without
these features increases the risk of
serious injury or death.
TRUNK LIGHT HOMELINK® UNIVERSAL
TRANSCEIVER (if so equipped)
2-76Instruments and controls
Page 181 of 528
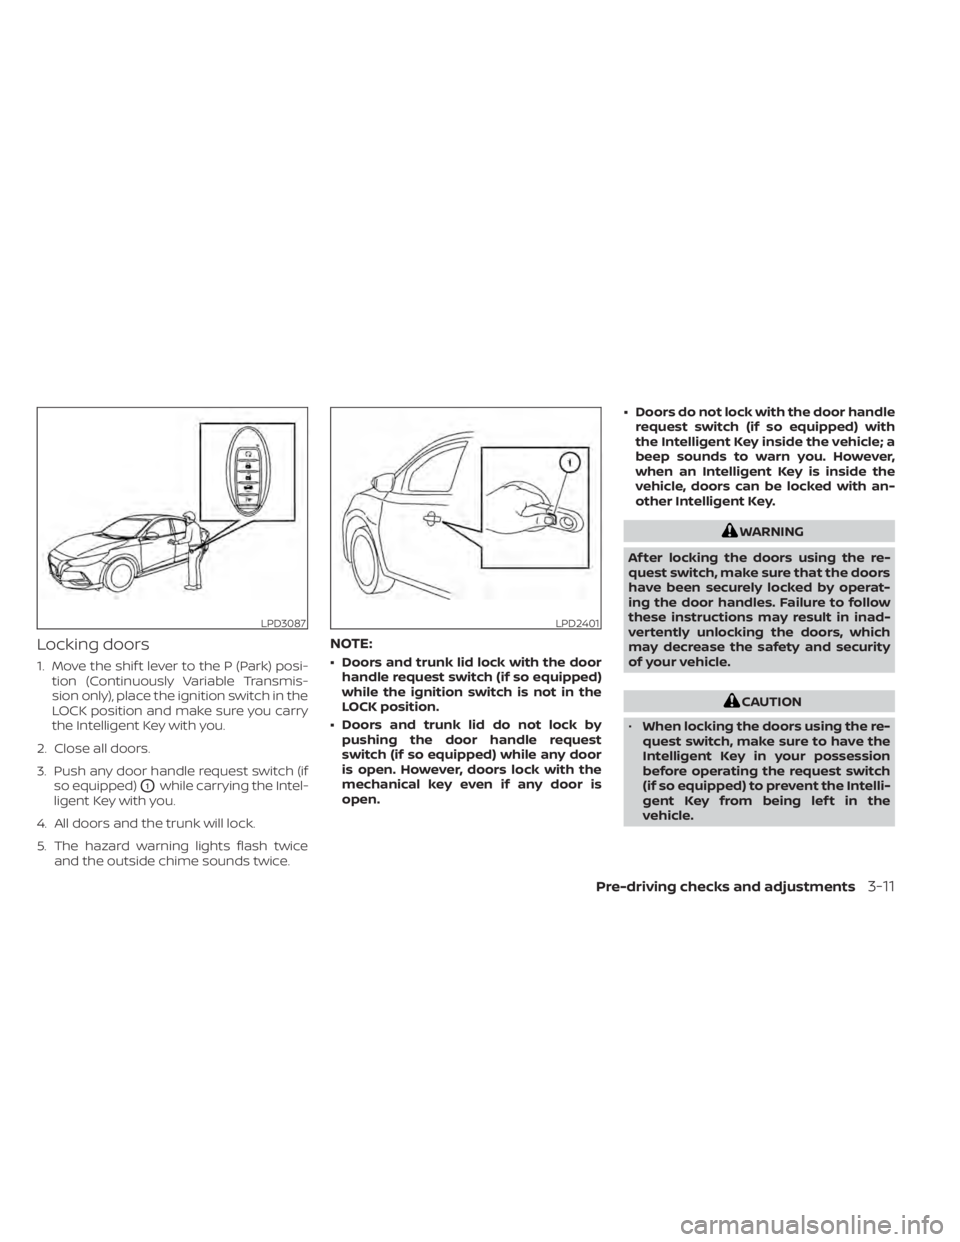
Locking doors
1. Move the shif t lever to the P (Park) posi-tion (Continuously Variable Transmis-
sion only), place the ignition switch in the
LOCK position and make sure you carry
the Intelligent Key with you.
2. Close all doors.
3. Push any door handle request switch (if so equipped)
O1while carrying the Intel-
ligent Key with you.
4. All doors and the trunk will lock.
5. The hazard warning lights flash twice and the outside chime sounds twice.
NOTE:
• Doors and trunk lid lock with the doorhandle request switch (if so equipped)
while the ignition switch is not in the
LOCK position.
• Doors and trunk lid do not lock by pushing the door handle request
switch (if so equipped) while any door
is open. However, doors lock with the
mechanical key even if any door is
open. • Doors do not lock with the door handle
request switch (if so equipped) with
the Intelligent Key inside the vehicle; a
beep sounds to warn you. However,
when an Intelligent Key is inside the
vehicle, doors can be locked with an-
other Intelligent Key.
WARNING
Af ter locking the doors using the re-
quest switch, make sure that the doors
have been securely locked by operat-
ing the door handles. Failure to follow
these instructions may result in inad-
vertently unlocking the doors, which
may decrease the safety and security
of your vehicle.
CAUTION
• When locking the doors using the re-
quest switch, make sure to have the
Intelligent Key in your possession
before operating the request switch
(if so equipped) to prevent the Intelli-
gent Key from being lef t in the
vehicle.
LPD2401
Page 182 of 528
•The request switch is operational
only when the Intelligent Key has
been detected by the Intelligent Key
system.
Lockout protection
To prevent the Intelligent Key from being
accidentally locked in the vehicle, lockout
protection is equipped with the Intelligent
Key.
When the driver’s side door is open, the
doors are locked and then the Intelligent
Key is put inside the vehicle and all the
doors are closed; the lock will automati-
cally unlock and the door buzzer sounds.
NOTE:
The doors may not lock when the Intelli-
gent Key is in the same hand that is op-
erating the request switch (if so
equipped) to lock the door. Put the Intel-
ligent Key in a purse, pocket or your
other hand.
CAUTION
The lockout protection may not func-
tion under the following conditions:
• When the Intelligent Key is placed on
top of the instrument panel.
• When the Intelligent Key is placed on
top of the rear parcel shelf.
• When the Intelligent Key is placed in-
side the glove box or a storage bin.
• When the Intelligent Key is placed in-
side the door pockets.
• When the Intelligent Key is placed on
or under the spare tire area.
• When the Intelligent Key is placed in-
side or near metallic materials.
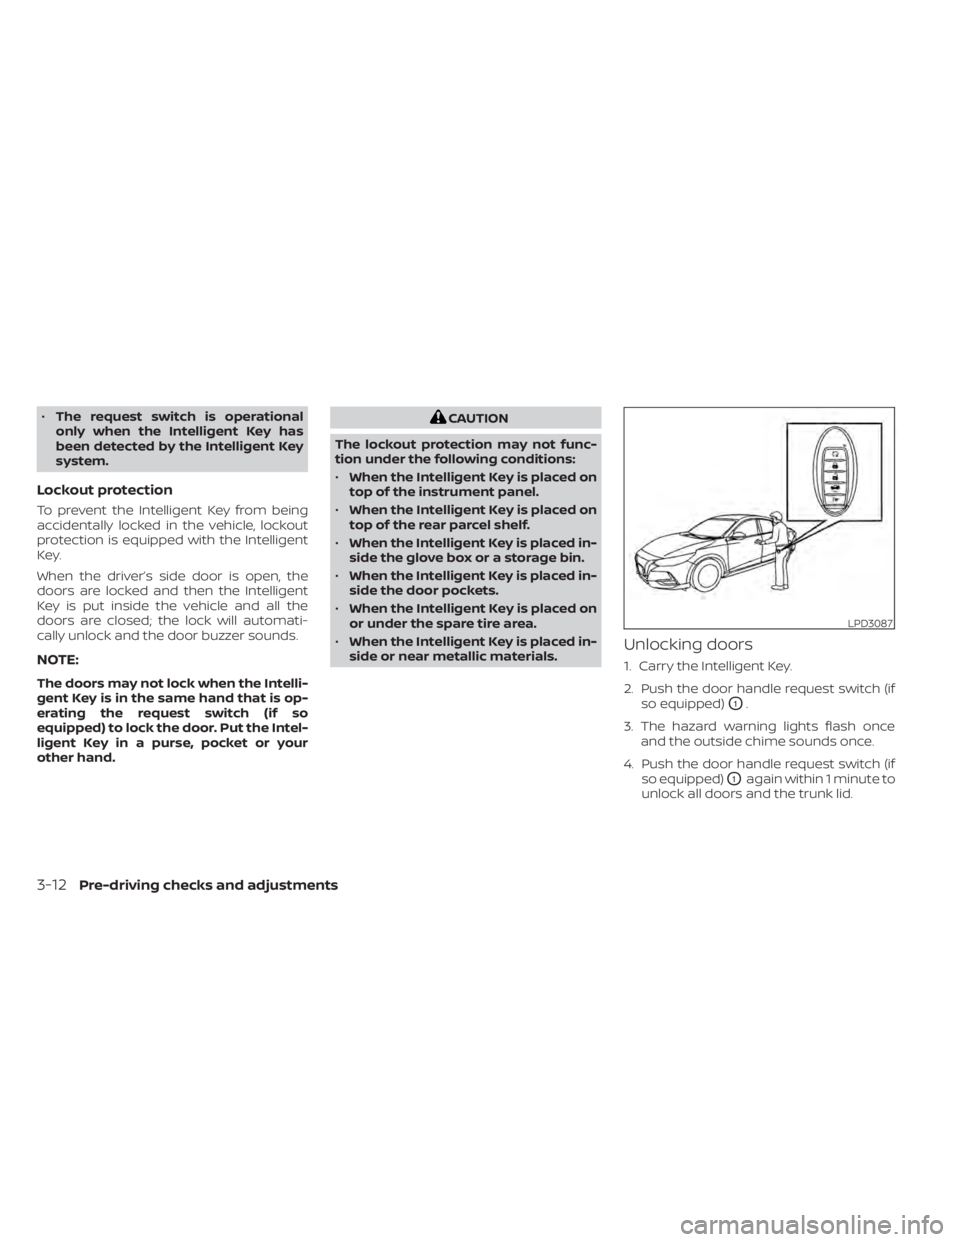
Unlocking doors
1. Carry the Intelligent Key.
2. Push the door handle request switch (if so equipped)
O1.
3. The hazard warning lights flash once and the outside chime sounds once.
4. Push the door handle request switch (if so equipped)
O1again within 1 minute to
unlock all doors and the trunk lid.
LPD3087
3-12Pre-driving checks and adjustments
Page 185 of 528
Locking doors
1. Place the power switch in the LOCKposition.
2. Close all doors.
3. Press the
button on the Intelli-
gent Key.
4. The hazard warning lights flash twice and the horn beeps once.
5. All doors and the rear hatch will be locked.
button on the Intelligent
Key to unlock the driver’s door.
2. The hazard warning lights flash once. 3. Press the
button again within 1
minute to unlock all doors and rear
hatch.
All doors and trunk lid will be locked auto-
matically unless one of the following op-
erations is performed within 1 minute af ter
pressing the
button:
• Opening any doors or trunk lid.
• Pushing the power switch.
The interior light illuminates for a period of
time when a door is unlocked and the
room light switch is in the DOOR position.
The light can be turned off without waiting
by performing one of the following opera-
tions:
• Placing the power switch in the ON posi- tion.
• Locking the doors with the Intelligent Key.
• Switching the room light switch to the OFF position.
Releasing the trunk lid
Press thebutton for longer than 1
second to open the trunk lid. The trunk
release button will not operate when the
ignition switch is placed in the ON position.
Using the panic alarm
If you are near your vehicle and feel threat-
ened, you may activate the panic alarm to
call attention by pressing and holding the
button on the Intelligent Key for lon-
ger than 0.5 seconds.
The panic alarm and headlights will stay on
for a period of time.
The panic alarm stops when:
• It has run for a period of time.
• Any button is pressed on the Intelligent Key.
• The request switch (if so equipped) on the driver or passenger door is pushed and
the Intelligent Key is in range of the door
handle.
Silencing the horn beep feature
If desired, the horn beep feature can be
deactivated using the Intelligent Key.
To deactivate: Press and hold the
andbuttonsfor at least 2 seconds.
The hazard warning lights will flash three
times to confirm that the horn beep fea-
ture has been deactivated.
Pre-driving checks and adjustments3-15
Page 186 of 528
To activate:Press and hold theandbuttonsfor at least 2 seconds once
more.
The hazard warning lights will flash once
and the horn will sound once to confirm
that the horn beep feature has been reac-
tivated.
Deactivating the horn beep feature does
not silence the horn if the alarm is trig-
gered.
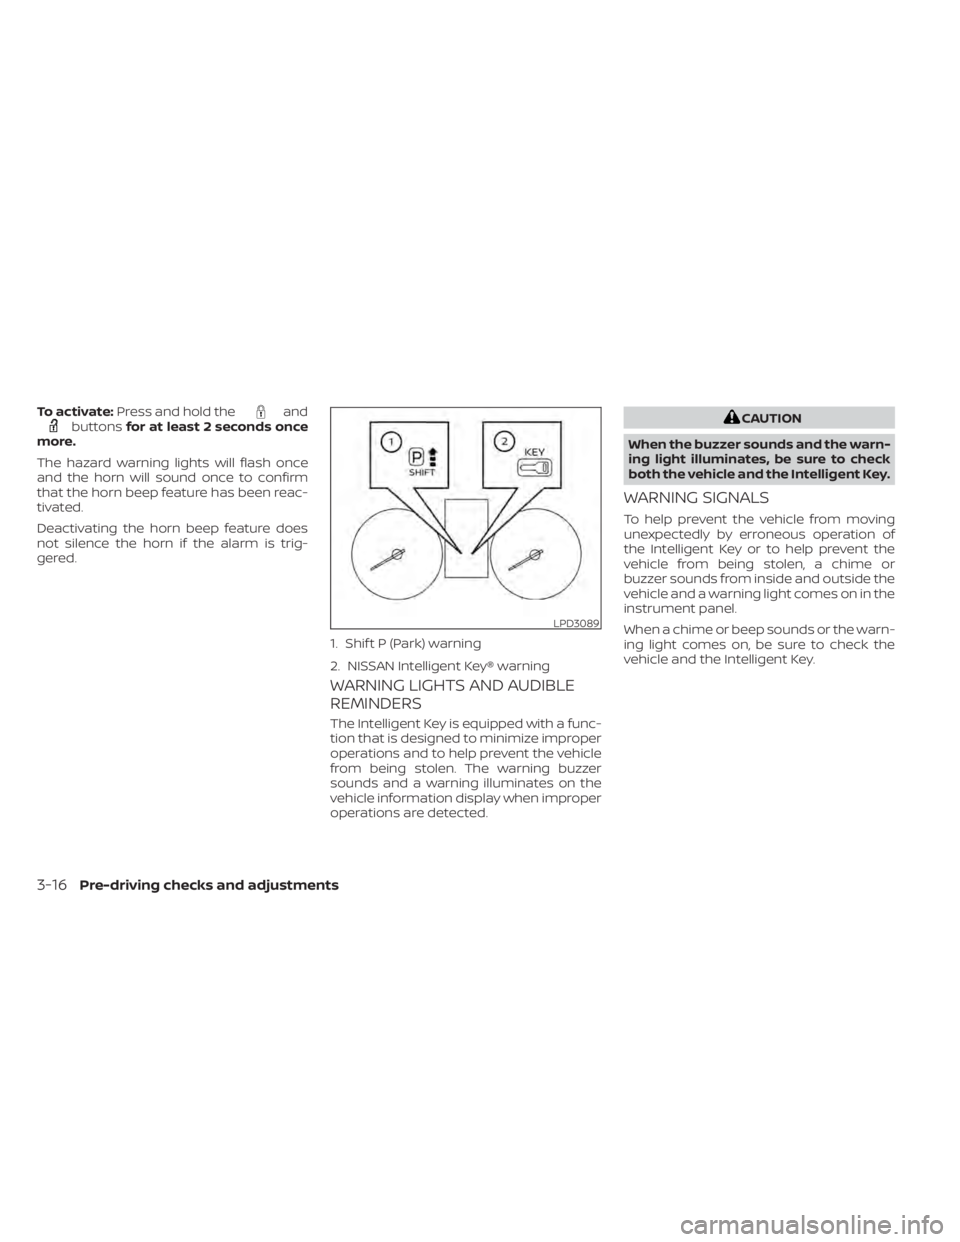
WARNING LIGHTS AND AUDIBLE
REMINDERS
The Intelligent Key is equipped with a func-
tion that is designed to minimize improper
operations and to help prevent the vehicle
from being stolen. The warning buzzer
sounds and a warning illuminates on the
vehicle information display when improper
operations are detected.
LPD3089
1. Shif t P (Park) warning
2. NISSAN Intelligent Key® warning
3-16Pre-driving checks and adjustments
Page 191 of 528
The Remote Engine Start operating range
is approximately 197 f t (60 m) from the ve-
hicle.
REMOTE STARTING THE VEHICLE
To use the Remote Engine Start feature to
start the engine perform the following:
1. Aim the Intelligent Key at the vehicle.
2. Press the
button to lock all doors.
3. Within 5 seconds press and hold the
button until the turn signal lights
flash and the tail lamps turn on. If the
vehicle is not within view press and hold
the
button for at least 2 seconds.
The following events will occur when the
engine starts:
• The parking lights will turn on and remain on as long as the engine is running.
• The doors will be locked and the climate control system may come on.
• The engine will continue to run for 10 min- utes. Repeat the steps to extend the time
for an additional 10 minutes. For addi-
tional information, refer to “Extending en-
gine run time” in this section.
Depress and hold the brake then push the
push-button ignition switch to the ON po-
sition before driving. For additional infor- mation, refer to “Driving the vehicle” in the
“Starting and driving” section of this
manual.
EXTENDING ENGINE RUN TIME
The Remote Engine Start feature can be
extended one time by performing the
steps listed in “Remote starting the vehicle”
in this section. Run time will be calculated
as follows:
• The first 10 minute run time will start
when the Remote Engine Start function is
performed.
• The second 10 minutes will start immedi- ately when the Remote Engine Start
function is performed again. For example,
if the engine has been running for 5 min-
utes, and 10 minutes are added, the en-
gine will run for a total of 15 minutes.
• Extending engine run time will bring you to the two Remote Engine Start limit.
A maximum of two Remote Engine Starts,
or a single start with an extension, are al-
lowed between ignition cycles.
The ignition switch must be cycled to the
ON position and then back to the OFF po-
sition before the Remote Engine Start pro-
cedure can be used again.
CANCELING A REMOTE ENGINE
START
To cancel a Remote Engine Start, perform
one of the following:
• Aim the Intelligent Key at the vehicle and press
until the parking lights turn off.
• Turn on the hazard warning flashers.
• Cycle the ignition switch on and then off.
• The extended engine run time has ex- pired.
• The first 10 minute timer has expired.
• The engine hood has been opened.
• The shif t lever is moved out of park.
• The alarm sounds due to illegal entry into the vehicle.
• The ignition switch is pushed without an Intelligent Key in the vehicle.
• The ignition switch is pushed with an In- telligent Key in the vehicle but the brake
pedal is not depressed.
Pre-driving checks and adjustments3-21
Page 192 of 528
CONDITIONS THE REMOTE ENGINE
START WILL NOT WORK
The Remote Engine Start will not operate if
any of the following conditions are present:
• “Remote Engine Start” is turned off in the“Vehicle Settings” menu of the vehicle in-
formation display.
• The ignition switch is placed in the ON position.
• The hood is not securely closed.
• The hazard indicator lights are on.
• The engine is still running. The engine must be completely stopped. Wait at
least 6 seconds if the engine goes from
running to off. This is not applicable when
extending engine run time.
• The
button is not pressed and held
for at least 2 seconds.
• The
button is not pressed and held
within 5 seconds of pressing the lock but-
ton.
• The brake is pressed.
• The doors are not closed and locked.
• The trunk is open.
• The Key System Error warning shows in the vehicle information display.
• The alarm sounds due to illegal entry into the vehicle. • Two Remote Engine Starts, or a single
Remote Engine Start with an extension,
have already been used.
• The vehicle is not in P (Park).
• There is a detected registered key already inside of the vehicle.
• The Remote Engine Start function has been switched to the OFF position in “Ve-
hicle Settings” of the vehicle information
display. For additional information, refer
to “Vehicle information display” in the “In-
struments and controls” section of this
manual.
The Remote Engine Start may display a
warning or indicator in the vehicle informa-
tion display. For additional information, re-
fer to “Vehicle information display” in the
“Instruments and controls” section of this
manual.
3-22Pre-driving checks and adjustments
Page 297 of 528
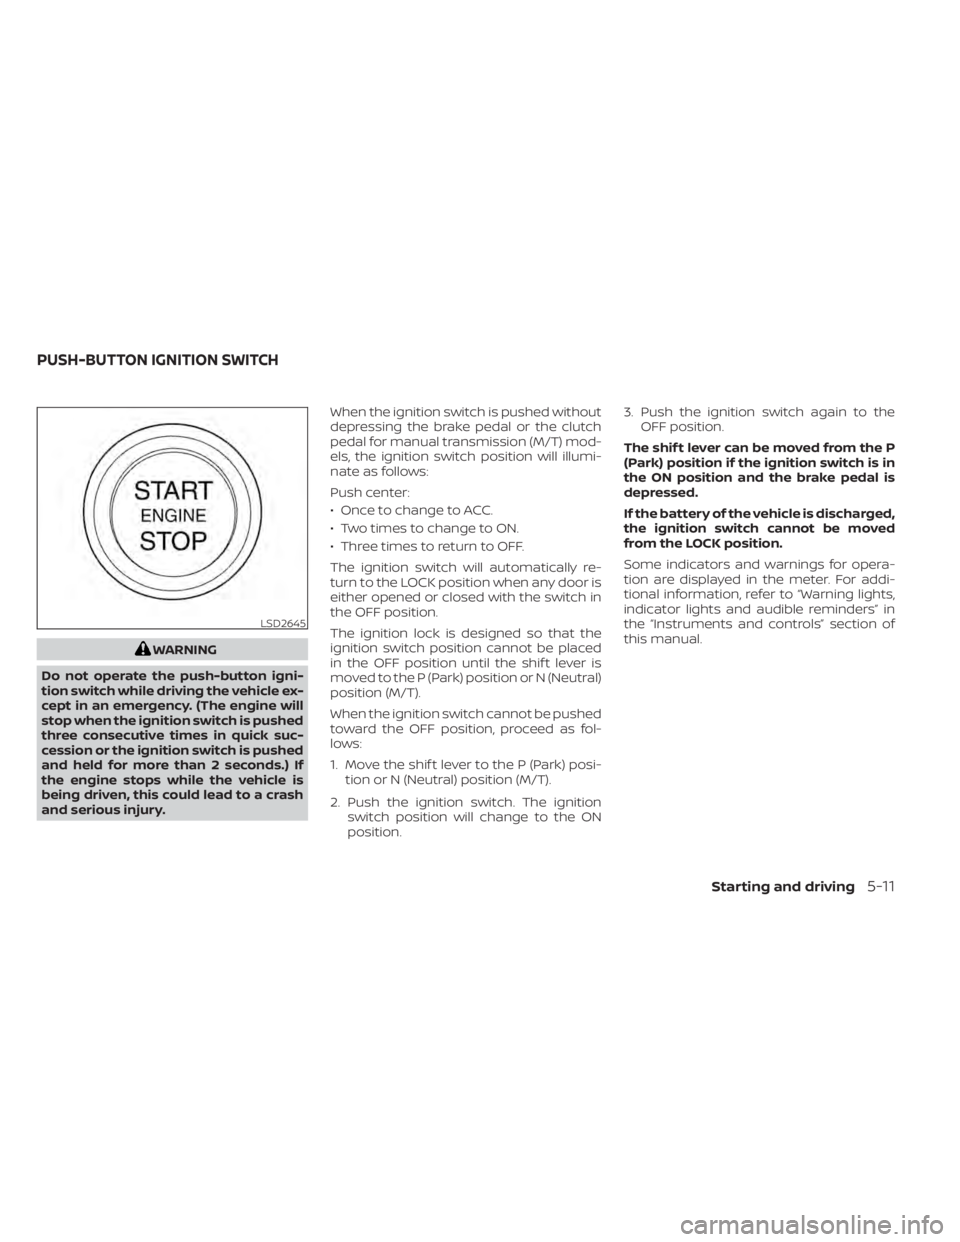
WARNING
Do not operate the push-button igni-
tion switch while driving the vehicle ex-
cept in an emergency. (The engine will
stop when the ignition switch is pushed
three consecutive times in quick suc-
cession or the ignition switch is pushed
and held for more than 2 seconds.) If
the engine stops while the vehicle is
being driven, this could lead to a crash
and serious injury. When the ignition switch is pushed without
depressing the brake pedal or the clutch
pedal for manual transmission (M/T) mod-
els, the ignition switch position will illumi-
nate as follows:
Push center:
• Once to change to ACC.
• Two times to change to ON.
• Three times to return to OFF.
The ignition switch will automatically re-
turn to the LOCK position when any door is
either opened or closed with the switch in
the OFF position.
The ignition lock is designed so that the
ignition switch position cannot be placed
in the OFF position until the shif t lever is
moved to the P (Park) position or N (Neutral)
position (M/T).
When the ignition switch cannot be pushed
toward the OFF position, proceed as fol-
lows:
1. Move the shif t lever to the P (Park) posi-
tion or N (Neutral) position (M/T).
2. Push the ignition switch. The ignition switch position will change to the ON
position. 3. Push the ignition switch again to the
OFF position.
The shif t lever can be moved from the P
(Park) position if the ignition switch is in
the ON position and the brake pedal is
depressed.
If the battery of the vehicle is discharged,
the ignition switch cannot be moved
from the LOCK position.
Some indicators and warnings for opera-
tion are displayed in the meter. For addi-
tional information, refer to “Warning lights,
indicator lights and audible reminders” in
the “Instruments and controls” section of
this manual.
LSD2645
PUSH-BUTTON IGNITION SWITCH
Starting and driving5-11