2022 NISSAN KICKS door
[x] Cancel search: doorPage 123 of 500
The system helps deter vehicle thef t but
cannot prevent it, nor can it prevent the
thef t of interior or exterior vehicle compo-
nents in all situations. Always secure your
vehicle even if parking for a brief period.
Never leave your keys in the vehicle, and
always lock the vehicle when unattended.
Be aware of your surroundings, and park in
secure, well-lit areas whenever possible.
Many devices offering additional protec-
tion, such as component locks, identifica-
tion markers, and tracking systems, are
available at auto supply stores and spe-
cialty shops. A NISSAN dealer may also offer
such equipment. Check with your insur-
ance company to see if you may be eligible
for discounts for various thef t protection
features.
How to arm the vehicle security
system
1. Close all windows.(The system can be
armed even if the windows are open.)
2. Remove the keys from the vehicle.
3. Close all doors, hood and lif tgate. Lock all doors. The doors can be locked with
the key fob, Intelligent Key, mechanical
key, or door handle request switch (if so
equipped). 4. Confirm that the
security indicator
light stays on for about 30 seconds. The
vehicle security system is now pre-
armed. The vehicle security system will
automatically shif t into the armed
phase. The
security light begins to
flash once every three seconds. If during
the pre-armed phase one of the follow-
ing occurs, the system will not arm:
• Any door is unlocked with the key fob, the Intelligent Key, mechanical key, or door
request switch (if so equipped).
•
Ignition switch is placed in the ON position.
• Even when the driver and/or passen-
gers are in the vehicle, the system will
activate with all the doors, hood and
lif tgate locked with the ignition switch
placed in the LOCK position. When plac-
ing the ignition switch in the ON posi-
tion, the system will be released.
Vehicle security system activation
The vehicle security system will give the
following alarm:
• The headlights or turn lamps blink and the horn sounds intermittently but syn-
chronously.
•
The alarm automatically turns off af ter a
period of time. However, the alarm reacti-
vates if the vehicle is tampered with again.
The alarm is activated by:
• opening any door, hood or the lif tgate without using the key or Intelligent Key
(even if the door is unlocked by releasing
the door inside lock knob).
How to stop an activated alarm
The alarm stops only by unlocking a door
or the lif tgate with the key fob, pressing the
button on the Intelligent Key, or push-
ing the request switch (if so equipped) on
the driver's or passenger's door with the
Intelligent Key in range of the door handle.
NISSAN ANTI-THEFT SYSTEM
(NATS) (if so equipped)
The NISSAN Anti-Thef t System will not al-
low the engine to start without the use of a
registered NATS key.
If the engine does not start using the reg-
istered NATS key, it may be due to interfer-
ence caused by:
• Another NATS key
• Automated toll road device
• Automated payment device
•
Other devices that transmit similar signals
Instruments and controls2-39
Page 130 of 500
NOTE:
Autolight activation sensitivity and
the time delay for autolight shutoff
can be adjusted. For additional infor-
mation, refer to “Vehicle information
display ” in this section.
To turn on the autolight system:
1. Turn the headlight switch to the AUTOposition
O1.
2. Turn the ignition switch to ON.
3. The autolight system automatically turns the headlights on and off.
Initially, if the ignition switch is placed in the
OFF position and a door is opened and lef t
open, the headlights remain on for a period
of time. If another door is opened while the
headlights are on, then the timer is reset.
To turn the autolight system off, turn the
switch to the OFF,
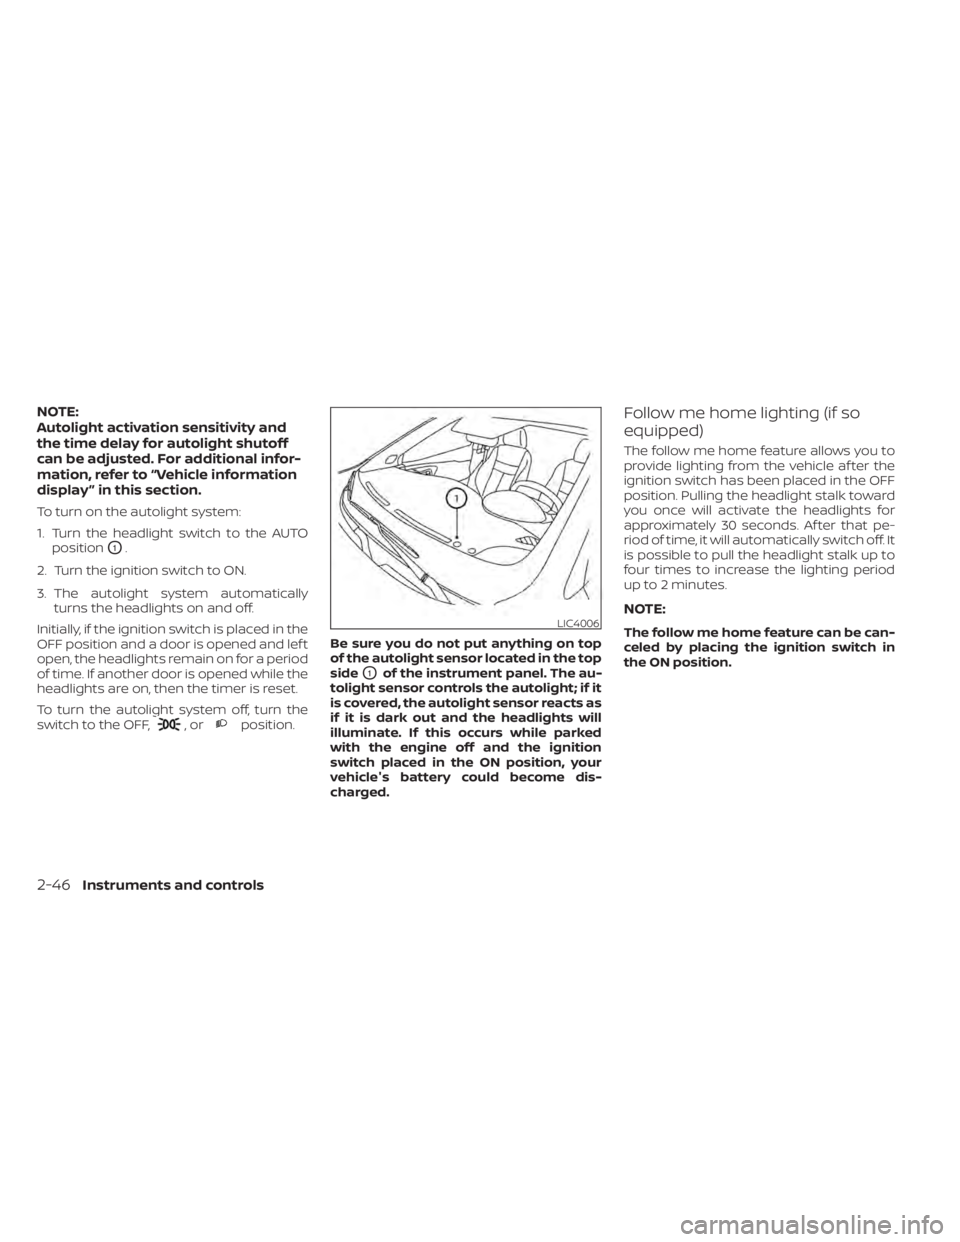
,orposition. Be sure you do not put anything on top
of the autolight sensor located in the top
side
O1of the instrument panel. The au-
tolight sensor controls the autolight; if it
is covered, the autolight sensor reacts as
if it is dark out and the headlights will
illuminate. If this occurs while parked
with the engine off and the ignition
switch placed in the ON position, your
vehicle's battery could become dis-
charged.
Follow me home lighting (if so
equipped)
The follow me home feature allows you to
provide lighting from the vehicle af ter the
ignition switch has been placed in the OFF
position. Pulling the headlight stalk toward
you once will activate the headlights for
approximately 30 seconds. Af ter that pe-
riod of time, it will automatically switch off. It
is possible to pull the headlight stalk up to
four times to increase the lighting period
up to 2 minutes.
NOTE:
The follow me home feature can be can-
celed by placing the ignition switch in
the ON position.
2-46Instruments and controls
Page 140 of 500
Push the VDC OFF switch again or restart
the engine to turn on the system. For addi-
tional information, refer to “Vehicle Dy-
namic Control (VDC) system” in the “Start-
ing and driving” section of this manual.The Rear Door Alert system functions un-
der certain conditions to indicate there
may be an object or passenger in the rear
seat(s). Check the seat(s) before exiting the
vehicle.
The Rear Door Alert system is initially dis-
abled. The driver can enable the system
using the vehicle information display. For
additional information, refer to “Vehicle in-
formation display warnings and indicators”
in this section.
When the system is enabled:
• The system is activated when a rear door
is opened and closed within 10 minutes of
the vehicle being driven. When the driver
door is closed and the system is acti-
vated, a visual message appears in the
vehicle information display. For additional
information, refer to “Rear Door Alert is
activated” in this section.
• If a rear door is opened and closed but the vehicle is not driven within approxi-
mately 10 minutes, the system will not be
activated. A rear door must be opened
and closed and the car driven within 10
minutes for the system to activate.
When the Rear Door Alert system is acti-
vated: • When the driver puts the vehicle in the P
(Park) position, a notification message
appears in the vehicle information dis-
play with the options to “Dismiss Mes-
sage” or “Disable Alert” if desired.– Select “Disable Alert” to temporarily disable for that stop.
– No selection or ‘Dismiss Message” will keep the alert enabled for that stop.
• If the alert is enabled when a driver exits the vehicle, a message will appear in the
vehicle information display that states
“Check Back Seat For All Articles.”
If “Horn & Alert” setting is selected:
– – An audible horn sound will occur af ter
a short time unless a rear door is
opened and closed within a short time
to deactivate the alert.
–– If the doors are locked before the alert is deactivated by opening a rear door,
the horn will sound.
–– If the trunk is opened before a rear door is opened, the horn will be delayed until
af ter the trunk is closed.
NOTE:
If “Alert Only ” setting is selected, the
message alert will still be shown in the
vehicle information display but the horn
will not sound.
REAR DOOR ALERT (if so equipped)
2-56Instruments and controls
Page 141 of 500
WARNING
• If the driver selects “Disable Alert”, no
audible alert will be provided regard-
less of rear door open/close status.
• There may be times when there is an
object or passenger in the rear
seat(s) but the audible alert does not
sound. For example, if rear seat pas-
sengers enter or exit the vehicle dur-
ing a trip.
• The system does not directly detect
objects or passengers in the rear
seat(s). Instead, it can detect when a
rear door is opened and closed, indi-
cating that there may be something
in the rear seat(s).
NOTE:
There may be times when the horn
sounds but there are no objects or pas-
sengers in the rear seat(s).
For additional information, refer to “Rear
Door Alert is activated” in this section.
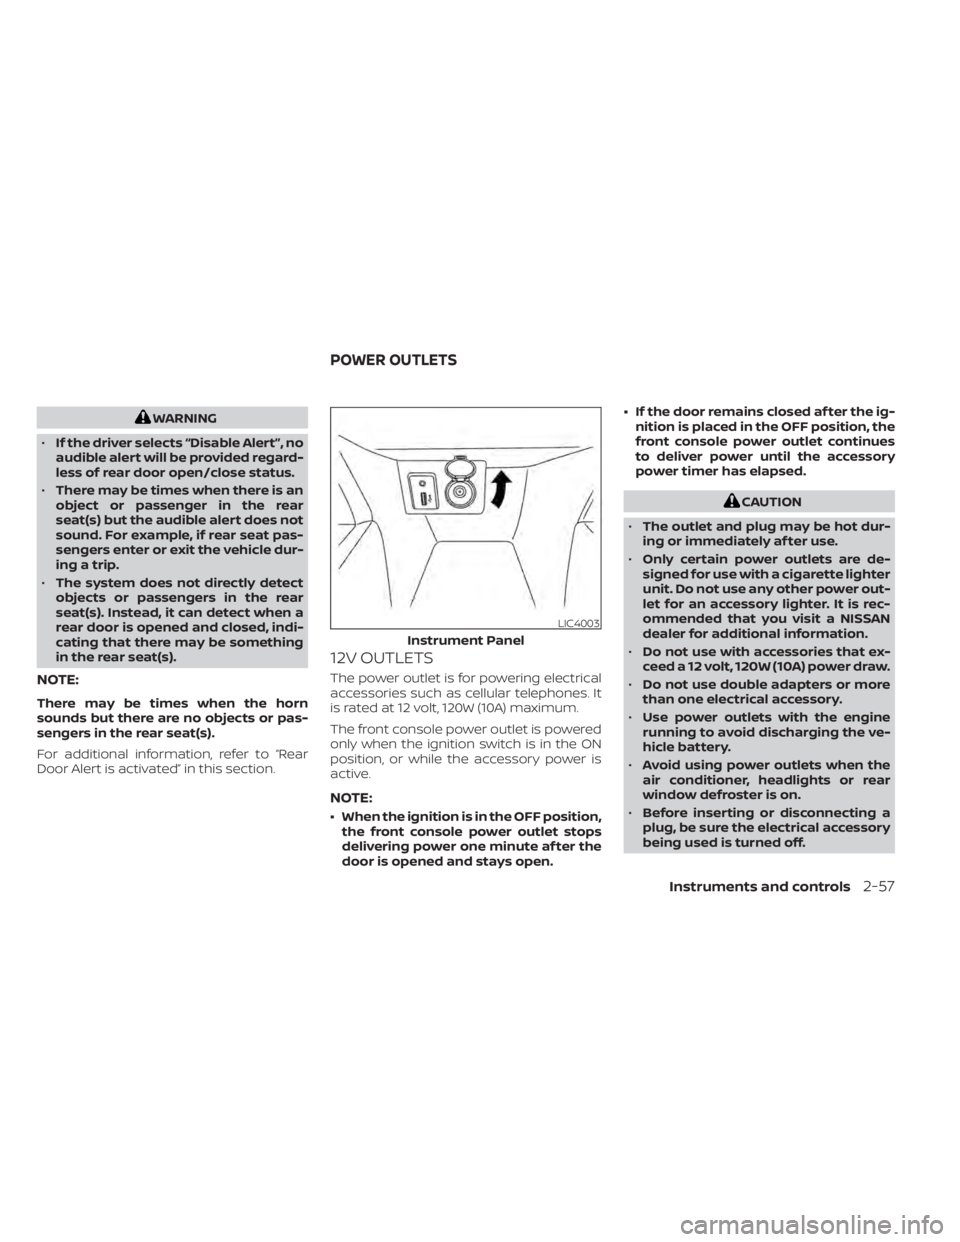
12V OUTLETS
The power outlet is for powering electrical
accessories such as cellular telephones. It
is rated at 12 volt, 120W (10A) maximum.
The front console power outlet is powered
only when the ignition switch is in the ON
position, or while the accessory power is
active.
NOTE:
• When the ignition is in the OFF position, the front console power outlet stops
delivering power one minute af ter the
door is opened and stays open. • If the door remains closed af ter the ig-
nition is placed in the OFF position, the
front console power outlet continues
to deliver power until the accessory
power timer has elapsed.
CAUTION
• The outlet and plug may be hot dur-
ing or immediately af ter use.
• Only certain power outlets are de-
signed for use with a cigarette lighter
unit. Do not use any other power out-
let for an accessory lighter. It is rec-
ommended that you visit a NISSAN
dealer for additional information.
• Do not use with accessories that ex-
ceed a 12 volt, 120W (10A) power draw.
• Do not use double adapters or more
than one electrical accessory.
• Use power outlets with the engine
running to avoid discharging the ve-
hicle battery.
• Avoid using power outlets when the
air conditioner, headlights or rear
window defroster is on.
• Before inserting or disconnecting a
plug, be sure the electrical accessory
being used is turned off.
Instruments and controls2-57
Page 143 of 500
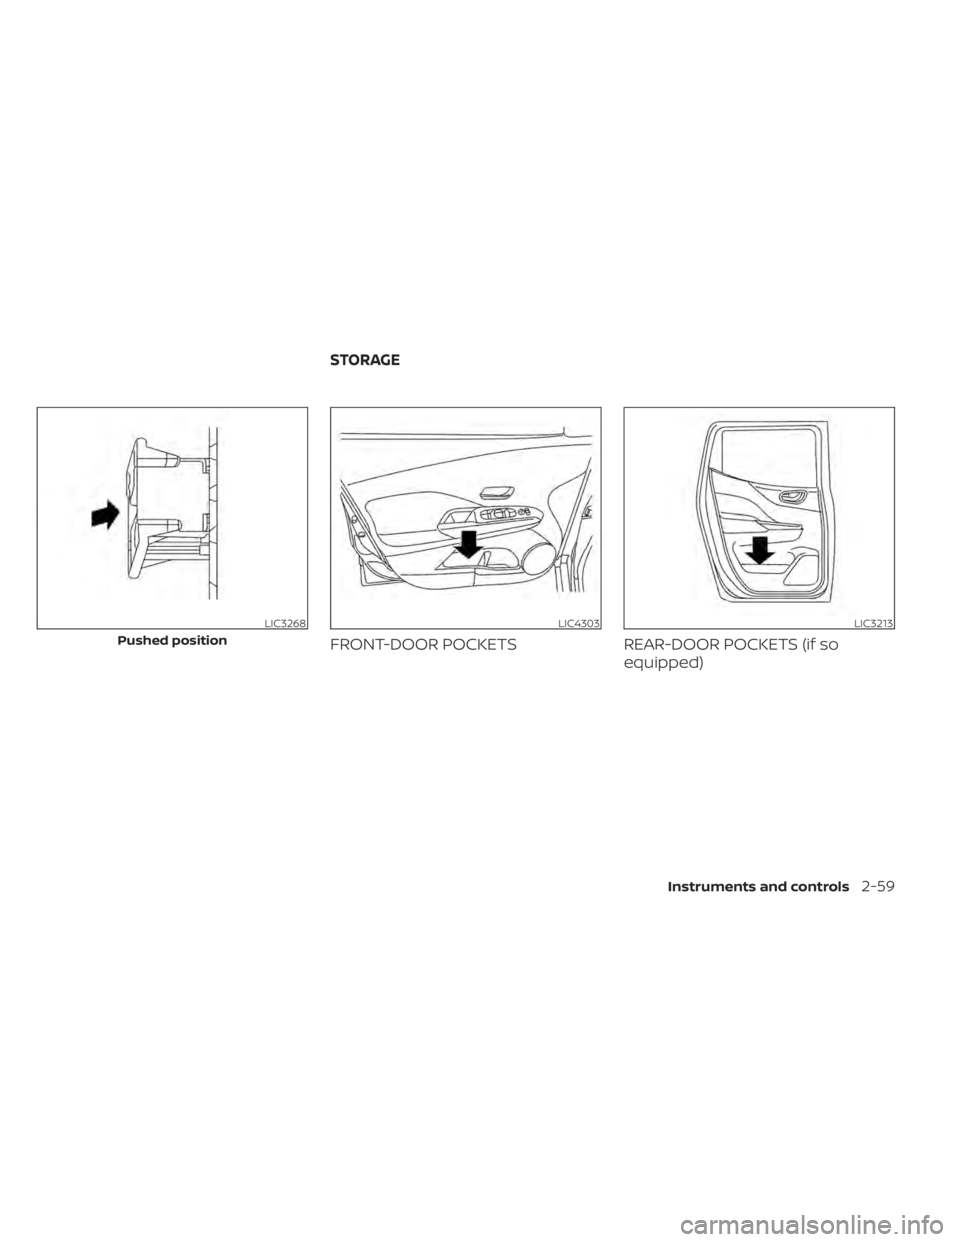
FRONT-DOOR POCKETSREAR-DOOR POCKETS (if so
equipped)
LIC3268
Pushed position
LIC3213
STORAGE
Instruments and controls2-59
Page 149 of 500
ROOF RACK (if so equipped)CAUTION
• Use care when placing or removing
items from the roof rack. If you can-
not comfortably lif t the items onto
the roof rack from the ground, use a
ladder or a stool.
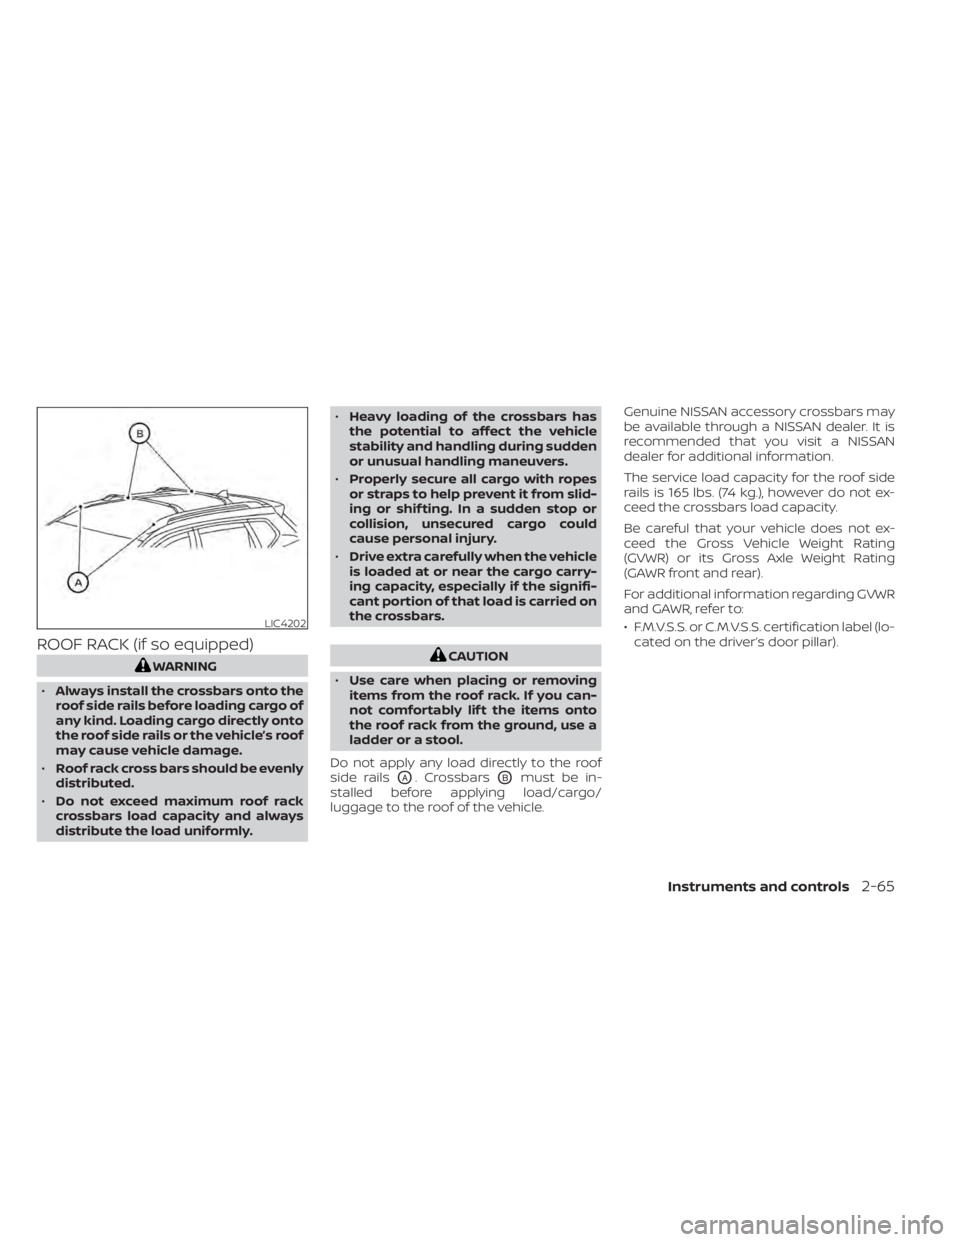
Do not apply any load directly to the roof
side rails
OA. CrossbarsOBmust be in-
stalled before applying load/cargo/
luggage to the roof of the vehicle. Genuine NISSAN accessory crossbars may
be available through a NISSAN dealer. It is
recommended that you visit a NISSAN
dealer for additional information.
The service load capacity for the roof side
rails is 165 lbs. (74 kg.), however do not ex-
ceed the crossbars load capacity.
Be careful that your vehicle does not ex-
ceed the Gross Vehicle Weight Rating
(GVWR) or its Gross Axle Weight Rating
(GAWR front and rear).
For additional information regarding GVWR
and GAWR, refer to:
• F.M.V.S.S. or C.M.V.S.S. certification label (lo-
cated on the driver’s door pillar).
LIC4202
Page 153 of 500
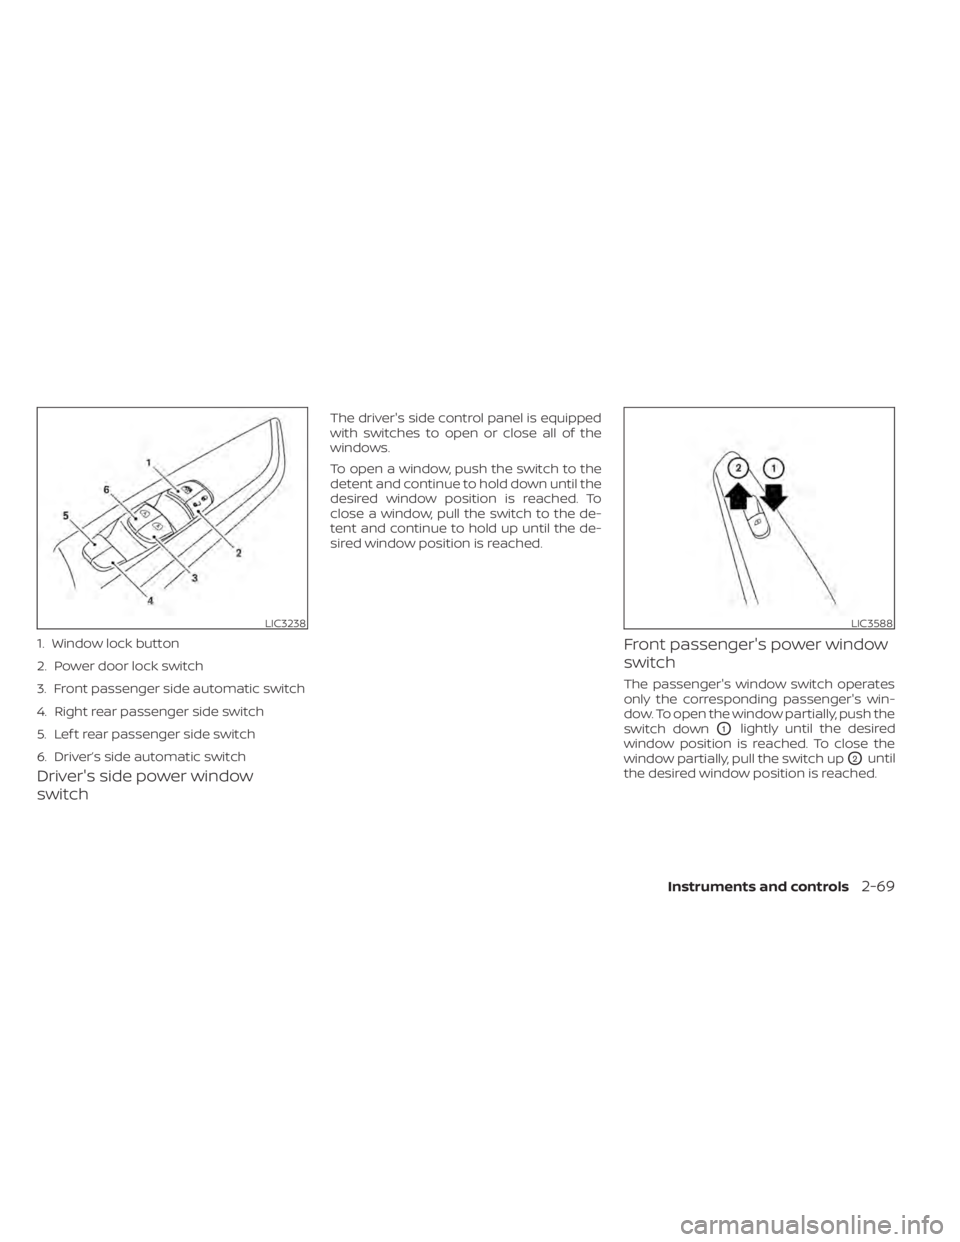
Driver's side power window
switch
The driver's side control panel is equipped
with switches to open or close all of the
windows.
To open a window, push the switch to the
detent and continue to hold down until the
desired window position is reached. To
close a window, pull the switch to the de-
tent and continue to hold up until the de-
sired window position is reached.
Front passenger's power window
switch
The passenger's window switch operates
only the corresponding passenger's win-
dow. To open the window partially, push the
switch down
O1lightly until the desired
window position is reached. To close the
window partially, pull the switch up
O2until
the desired window position is reached.
LIC3238
1. Window lock button
2. Power door lock switch
3. Front passenger side automatic switch
4. Right rear passenger side switch
5. Lef t rear passenger side switch
6. Driver’s side automatic switch
LIC3588
Page 155 of 500
When power window switch does
not operate
If the power window automatic function
(closing only) does not operate properly,
perform the following procedure to initial-
ize the power window system:
1. Place the ignition switch in the ONposition.
2. Open the window more than half way by operating the power window switch.
3. Pull the power window switch and hold it to close the window, and then hold the
switch more than 3 seconds af ter the
window is closed.
4. Release the power window switch. Op- erate the window by the automatic
function to confirm the initialization is
complete. The power window automati-
cally opens or closes depending on if the
automatic down or up function is
selected.
5. Perform steps 2 through 4 above for other windows. If the power window function does not op-
erate properly af ter performing the above
procedure have the system checked and
repaired. It is recommended that you visit a
NISSAN dealer for this service.
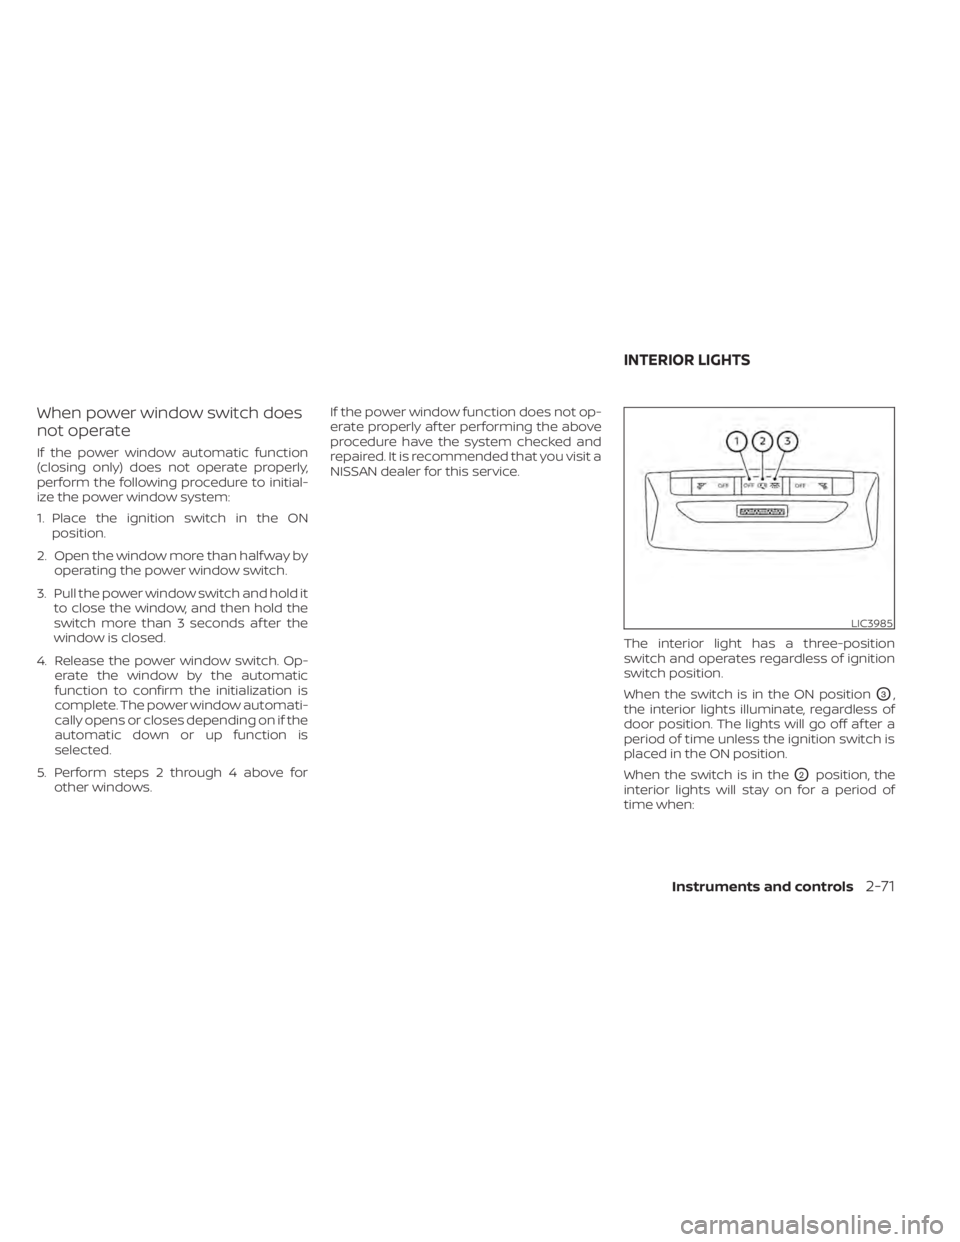
The interior light has a three-position
switch and operates regardless of ignition
switch position.
When the switch is in the ON position
O3,
the interior lights illuminate, regardless of
door position. The lights will go off af ter a
period of time unless the ignition switch is
placed in the ON position.
When the switch is in the
O2position, the
interior lights will stay on for a period of
time when:
LIC3985
INTERIOR LIGHTS
Instruments and controls2-71