2022 NISSAN ARMADA lock
[x] Cancel search: lockPage 67 of 604

SSS0653
Forward-facing — step 6
6. Remove any additional slack from theseat belt; press downward and rear-
ward firmly in the center of the child
restraint with your knee to compress
the vehicle seat cushion and seatback
while pulling up on the seat belt.
7. Tighten the tether strap according to the manufacturer’s instructions to
remove any slack.
SSS0641
Forward-facing — step 8
8. After attaching the child restraint, testit before you place the child in it. Push
it from side to side while holding the
child restraint near the seat belt path.
The child restraint should not move
more than 1 inch (25 mm), from side to
side. Try to tug it forward and check to
see if the belt holds the restraint in
place. If the restraint is not secure,
tighten the seat belt as necessary, or
put the restraint in another seat and
test it again. You may need to try a
different child restraint. Not all child
restraints fit in all types of vehicles.
9. Check to make sure the child restraint is properly secured prior to each use. If the seat belt is not locked, repeat
steps 2 through 8.
Safety — seats, seat belts and supplemental restraint system1-49
Page 70 of 604

1-52Safety — seats, seat belts and supplemental restraint system
LRS0453
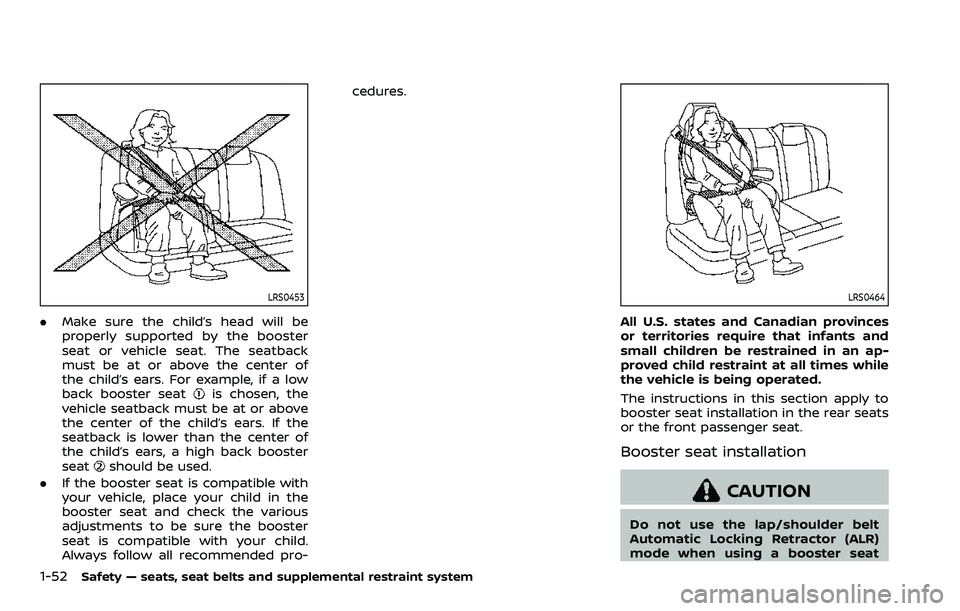
.Make sure the child’s head will be
properly supported by the booster
seat or vehicle seat. The seatback
must be at or above the center of
the child’s ears. For example, if a low
back booster seat
is chosen, the
vehicle seatback must be at or above
the center of the child’s ears. If the
seatback is lower than the center of
the child’s ears, a high back booster
seat
should be used.
. If the booster seat is compatible with
your vehicle, place your child in the
booster seat and check the various
adjustments to be sure the booster
seat is compatible with your child.
Always follow all recommended pro- cedures.
LRS0464
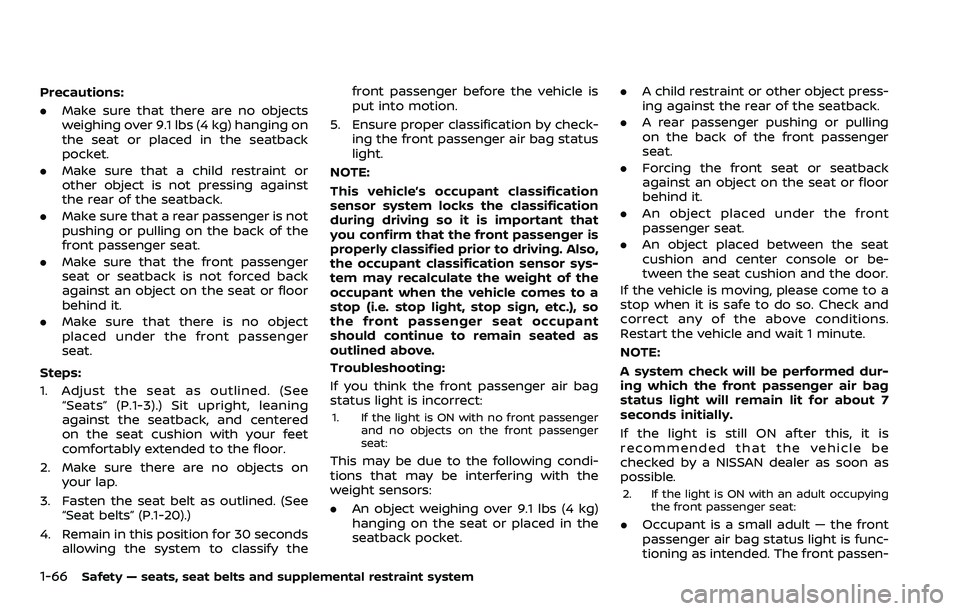
All U.S. states and Canadian provinces
or territories require that infants and
small children be restrained in an ap-
proved child restraint at all times while
the vehicle is being operated.
The instructions in this section apply to
booster seat installation in the rear seats
or the front passenger seat.
Booster seat installation
CAUTION
Do not use the lap/shoulder belt
Automatic Locking Retractor (ALR)
mode when using a booster seat
Page 84 of 604

1-66Safety — seats, seat belts and supplemental restraint system
Precautions:
.Make sure that there are no objects
weighing over 9.1 lbs (4 kg) hanging on
the seat or placed in the seatback
pocket.
. Make sure that a child restraint or
other object is not pressing against
the rear of the seatback.
. Make sure that a rear passenger is not
pushing or pulling on the back of the
front passenger seat.
. Make sure that the front passenger
seat or seatback is not forced back
against an object on the seat or floor
behind it.
. Make sure that there is no object
placed under the front passenger
seat.
Steps:
1. Adjust the seat as outlined. (See “Seats” (P.1-3).) Sit upright, leaning
against the seatback, and centered
on the seat cushion with your feet
comfortably extended to the floor.
2. Make sure there are no objects on your lap.
3. Fasten the seat belt as outlined. (See “Seat belts” (P.1-20).)
4. Remain in this position for 30 seconds allowing the system to classify the front passenger before the vehicle is
put into motion.
5. Ensure proper classification by check- ing the front passenger air bag status
light.
NOTE:
This vehicle’s occupant classification
sensor system locks the classification
during driving so it is important that
you confirm that the front passenger is
properly classified prior to driving. Also,
the occupant classification sensor sys-
tem may recalculate the weight of the
occupant when the vehicle comes to a
stop (i.e. stop light, stop sign, etc.), so
the front passenger seat occupant
should continue to remain seated as
outlined above.
Troubleshooting:If you think the front passenger air bag
status light is incorrect:
1. If the light is ON with no front passenger and no objects on the front passenger
seat:
This may be due to the following condi-
tions that may be interfering with the
weight sensors:
.An object weighing over 9.1 lbs (4 kg)
hanging on the seat or placed in the
seatback pocket. .
A child restraint or other object press-
ing against the rear of the seatback.
. A rear passenger pushing or pulling
on the back of the front passenger
seat.
. Forcing the front seat or seatback
against an object on the seat or floor
behind it.
. An object placed under the front
passenger seat.
. An object placed between the seat
cushion and center console or be-
tween the seat cushion and the door.
If the vehicle is moving, please come to a
stop when it is safe to do so. Check and
correct any of the above conditions.
Restart the vehicle and wait 1 minute.
NOTE:
A system check will be performed dur-
ing which the front passenger air bag
status light will remain lit for about 7
seconds initially.
If the light is still ON after this, it is
recommended that the vehicle be
checked by a NISSAN dealer as soon as
possible.
2. If the light is ON with an adult occupying the front passenger seat:
.Occupant is a small adult — the front
passenger air bag status light is func-
tioning as intended. The front passen-
Page 93 of 604

REPAIR AND REPLACEMENT PRO-
CEDURE
The front air bags, knee air bags, side air
bags, curtain air bags and pretensioners
are designed to activate on a one-time-
only basis. As a reminder, unless it is
damaged, the supplemental air bag
warning light will remain illuminated after
inflation has occurred. These systems
should be repaired and/or replaced as
soon as possible. It is recommended you
visit a NISSAN dealer for this service.
When maintenance work is required on
the vehicle, the front air bags, knee air
bags, side air bags, curtain air bags,
pretensioners and related parts should
be pointed out to the person conducting
the maintenance. The ignition switch
should always be in the LOCK position
when working under the hood or inside
the vehicle.
WARNING
.Once a front air bag, knee air bag,
side air bag or curtain air bag has
inflated, the air bag module will
not function again and must be
replaced. Additionally, the acti-
vated pretensioner must also be
replaced. The air bag module and pretensioner should be replaced.
It is recommended you visit a
NISSAN dealer for this service.
However, the air bag module and
pretensioner system cannot be
repaired.
. The front air bag, knee air bag,
side air bag, curtain air bag and
the pretensioner should be in-
spected if there is any damage
to the front end or side portion of
the vehicle. It is recommended
you visit a NISSAN dealer for this
service.
. If you need to dispose of a sup-
plemental air bag or pretensioner
or scrap the vehicle, it is recom-
mended you visit a NISSAN deal-
er. Correct supplemental air bag
and pretensioner system dispo-
sal procedures are set forth in the
appropriate NISSAN Service Man-
ual. Incorrect disposal procedures
could cause personal injury.
. If there is an impact to your
vehicle from any direction, your
Occupant Classification Sensor
(OCS) should be checked to verify
it is still functioning correctly. It is
recommended that you visit a
NISSAN dealer for this service.
The OCS should be checked even if no air bags deploy as a result of
the impact. Failure to verify prop-
er OCS function may result in an
improper air bag deployment re-
sulting in injury or death.
Safety — seats, seat belts and supplemental restraint system1-75
Page 95 of 604

2 Instruments and controls
Cockpit ........................................................................\
.......................... 2-4
Instrument panel ........................................................................\
.. 2-5
Meters and gauges ..................................................................... 2-6Speedometer and odometer ........................................ 2-7
Tachometer ........................................................................\
........ 2-8
Engine coolant temperature gauge ....................... 2-8
Fuel gauge ........................................................................\
........... 2-9
Engine oil pressure gauge .............................................. 2-9
Voltmeter ........................................................................\
........... 2-10
Meter illumination and needle sweep ................ 2-10
Warning lights, indicator lights and
audible reminders ..................................................................... 2-11 Checking lights ..................................................................... 2-12
Warning/indicator lights (red) ................................... 2-12
Warning/indicator lights (yellow) ........................... 2-15
Warning/indicator lights (other) ............................. 2-19
Audible reminders .............................................................. 2-20
Vehicle information display ............................................... 2-20 How to use the vehicle
information display ........................................................... 2-21
Startup display ...................................................................... 2-22
Settings ........................................................................\
............... 2-22
Operational indicators .................................................... 2-30
Trip computer ........................................................................\
2-37
Clock and outside air temperature ...................... 2-39 Security systems ....................................................................... 2-39
Vehicle Security System .............................................. 2-39
NISSAN Vehicle Immobilizer System ................. 2-41
Wiper and washer switch ................................................... 2-42 Windshield wiper and washer operation ...... 2-43
Rain-sensing auto wiper system (if
so equipped) ........................................................................\
. 2-44
Rear window wiper and
washer operation ............................................................. 2-45
Rear window and outside mirror
defroster switch ........................................................................\
. 2-45
Windshield deicer switch (if so equipped) ............. 2-46
Headlight and turn signal switch ................................ 2-46
Headlight switch ............................................................... 2-47
Instrument brightness control .............................. 2-53
Turn signal switch ........................................................... 2-53
Fog light switch (if so equipped) ......................... 2-54
Heated steering wheel (if so equipped) .................. 2-54
Horn ........................................................................\
............................. 2-55
Heated seats (if so equipped) ......................................... 2-55
Front (if so equipped) .................................................... 2-56
Rear (if so equipped) ...................................................... 2-57
Climate controlled seats (if so equipped) ............. 2-57
Warning systems switch (if so equipped) ............. 2-58
SNOW mode switch ................................................................ 2-59
Page 105 of 604

Warning/indicator lights (red)Warning/indicator lights (yellow) Warning/indicator lights (other)
Automatic Transmission (AT) oil tem-
perature warning lightAnti-lock Braking System (ABS) warn-
ing lightExterior light indicator
Automatic Transmission (AT) park
warning lightAutomatic Emergency Braking (AEB)
system warning lightFront fog light indicator light (if so
equipped)
Brake warning light
Automatic transmission check warn-
ing lightHigh beam assist indicator light
Check suspension indicator lightHigh beam indicator light
Charge warning lightFront passenger air bag status lightTOW mode indicator light
Engine oil pressure warning lightFour-Wheel Drive (4WD) warning light
(4WD models)Turn signal/hazard indicator lights
Master warning lightLow tire pressure warning light
Seat belt warning lightMalfunction Indicator Light (MIL)
Security indicator lightMaster warning light
Supplemental air bag warning lightRear Automatic Braking (RAB) system
warning light
Vehicle Dynamic Control (VDC) off
indicator light
Vehicle Dynamic Control (VDC) warn-
ing light
Instruments and controls2-11
WARNING LIGHTS, INDICATOR
LIGHTS AND AUDIBLE REMINDERS
Page 106 of 604

2-12Instruments and controls
CHECKING LIGHTS
With all doors closed, apply the parking
brake, fasten the seat belts and place the
ignition switch in the ON position without
starting the engine. The following lights (if
so equipped) will come on:
or,,,,,
The following lights (if so equipped) will
come on briefly and then go off:
,or,,,,,,
If any light does not come on or operates
in a way other than described, it may
indicate a burned-out bulb and/or a
system malfunction. It is recommended
you have the system checked by a
NISSAN dealer.
Some indicators and warnings are also
displayed on the vehicle information dis-
play between the speedometer and tach-
ometer. (See “Vehicle information display”
(P.2-20).)
WARNING/INDICATOR LIGHTS (red)
Automatic Transmission (AT)
oil temperature warning light
This light illuminates when the Automatic
Transmission (AT) oil temperature is too
high. If the light illuminates while driving,
reduce the vehicle speed as soon as
safely possible until the light turns off.
CAUTION
Continued vehicle operation when
the AT oil temperature warning light
is on may damage the AT.
Automatic Transmission (AT)
park warning light (4WD models)
This light indicates that the Automatic
Transmission (AT) parking function is not
engaged. If the transfer control is not
secured in any driving position while the
AT shift lever is in the “P” (Park) position,
the transmission will disengage and the
wheels will not lock.
If the AT park warning light illuminates
with the shift lever in the P (Park)
position, shift the Four-Wheel Drive
(4WD) shift switch to the AUTO, 4H or 4L position again with the shift lever in
the N (Neutral) position.
(See “NISSAN all-
mode 4WD®” (P.5-124).)
orBrake warning light
This light functions for both the parking
brake and the foot brake systems.
Parking brake indicator:
When the ignition switch is in the ON
position, the light comes on when the
parking brake is applied.
Low brake fluid warning light:
When the ignition switch is in the ON
position, the light warns of a low brake
fluid level. If the light comes on while the
engine is running with the parking brake
not applied, stop the vehicle and perform
the following:
1. Check the brake fluid level. If brake fluid is low, add fluid and have the
system checked. It is recommended
you have this service performed by a
NISSAN dealer. (See “Brake fluid” (P.8-
9).)
2. If the brake fluid level is correct, have the warning system checked. It is
recommended you have this service
performed by a NISSAN dealer.
Page 107 of 604

Low hydraulic pressure warning indica-
tor:
If the brake warning light illuminates
when the engine is running, or while
driving with the parking brake is released,
check the brake fluid level. If the brake
fluid level is sufficient, it may indicate low
hydraulic pressure in the brake booster. It
is recommended that you have the brake
system checked by a NISSAN dealer
promptly.
Anti-lock Braking System (ABS) warning
indicator:
When the parking brake is released and
the brake fluid level is sufficient, if both
the brake warning light and the Anti-lock
Braking System (ABS) warning light illu-
minate, it may indicate the ABS is not
functioning properly. Have the brake
system checked, and if necessary re-
paired. It is recommended you visit a
NISSAN dealer for this service. (See “Anti-
lock Braking System (ABS) warning light”
(P.2-15).)
WARNING
.Your brake system may not be
working properly if the warning
light is on. Driving could be dan-
gerous. If you judge it to be safe, drive carefully to the nearest
service station for repairs. Other-
wise, have your vehicle towed
because driving it could be dan-
gerous.
. Pressing the brake pedal with the
engine stopped and/or low brake
fluid level may increase your
stopping distance and braking
will require greater pedal effort
as well as pedal travel.
. If the brake fluid level is below the
minimum or MIN mark on the
brake fluid reservoir, do not drive
until the brake system has been
checked. It is recommended you
visit a NISSAN dealer for this
service.
Charge warning light
When the ignition switch is in the ON
position, the charge warning light illumi-
nates and then turns off.
If the light comes on while the engine is
running, it may indicate the charging
system is not functioning properly. Turn
the engine off and check the alternator
belt. If the belt is loose, broken, missing or
if the light remains on, have your vehicle
serviced immediately. It is recommended you visit a NISSAN dealer for this service.
CAUTION
Do not continue driving if the alter-
nator belt is loose, broken or miss-
ing.
Engine oil pressure warning
light
This light warns of low engine oil pres-
sure. If the light flickers or comes on
during normal driving, pull off the road in
a safe area, stop the engine immediately
and call a NISSAN dealer or other author-
ized repair shop.
The engine oil pressure warning light is
not designed to indicate a low oil level.
Use the dipstick to check the oil level.
(See “Engine oil” (P.8-6).)
CAUTION
Running the engine with the engine
oil pressure warning light on could
cause serious damage to the engine
almost immediately. Such damage is
not covered by warranty. Turn off the
engine as soon as it is safe to do so.
Instruments and controls2-13