2022 HYUNDAI VELOSTER N warning
[x] Cancel search: warningPage 334 of 446
6-7
What to do in an emergency
6
4. Check for coolant leaking from the
radiator, hoses or under the vehi-
cle. (If the air conditioning had
been in use, it is normal for cold
water to be draining from it when
you stop.)
5. If engine coolant is leaking out,
stop the engine immediately and
call the nearest authorized
HYUNDAI dealer for assistance.6. If you cannot find the cause of the
overheating, wait until the engine
temperature has returned to nor-
mal. Then, if coolant has been
lost, carefully add coolant to the
reservoir to bring the fluid level in
the reservoir up to the halfway
mark.
7. Proceed with caution, keeping
alert for further signs of overheat-
ing. If overheating happens again,
call an authorized HYUNDAI deal-
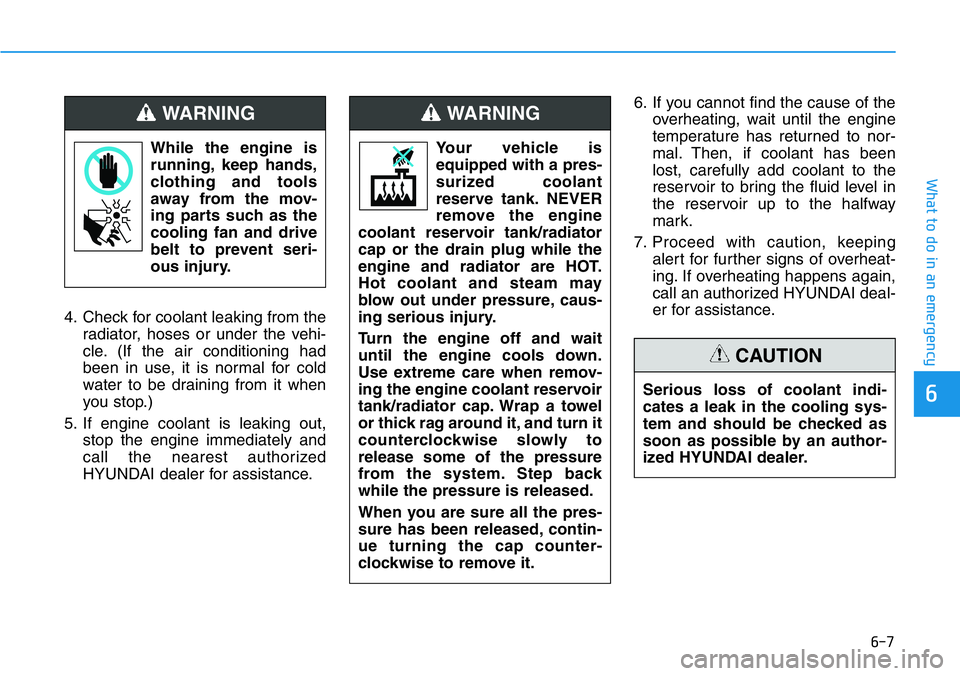
er for assistance. While the engine is
running, keep hands,
clothing and tools
away from the mov-
ing parts such as the
cooling fan and drive
belt to prevent seri-
ous injury.
WARNING
Serious loss of coolant indi-
cates a leak in the cooling sys-
tem and should be checked as
soon as possible by an author-
ized HYUNDAI dealer.
CAUTION
Your vehicle is
equipped with a pres-
surized coolant
reserve tank. NEVER
remove the engine
coolant reservoir tank/radiator
cap or the drain plug while the
engine and radiator are HOT.
Hot coolant and steam may
blow out under pressure, caus-
ing serious injury.
Turn the engine off and wait
until the engine cools down.
Use extreme care when remov-
ing the engine coolant reservoir
tank/radiator cap. Wrap a towel
or thick rag around it, and turn it
counterclockwise slowly to
release some of the pressure
from the system. Step back
while the pressure is released.
When you are sure all the pres-
sure has been released, contin-
ue turning the cap counter-
clockwise to remove it.
WARNING
Page 336 of 446
6-9
What to do in an emergency
6
Tire Pressure Monitoring
System
Each tire, including the spare (if pro-
vided), should be checked monthly
when cold and inflated to the inflation
pressure recommended by the vehicle
manufacturer on the vehicle placard or
tire inflation pressure label. A cold tire
means the vehicle has been sitting for
3 hours and driven for less than 1 mile
(1.6 km) in that 3 hour period.
Allow the tire to cool before measur-
ing the inflation pressure. Always be
sure the tire is cold before inflating to
the recommended pressure. If your
vehicle has tires of a different size
than the size indicated on the vehicle
placard or tire inflation pressure
label, you should determine the
proper tire inflation pressure for
those tires.As an added safety feature, your
vehicle has been equipped with a tire
pressure monitoring system (TPMS)
that illuminates a low tire pressure
telltale when one or more of your
tires is significantly under-inflated.
Accordingly, when the low tire pres-
sure telltale illuminates, you should
stop and check your tires as soon as
possible, and inflate them to the
proper pressure. Driving on a signifi-
cantly under-inflated tire causes the
tire to overheat and can lead to tire
failure.
Under-inflation also reduces fuel effi-
ciency and tire tread life, and may
affect the vehicle's handling and
stopping ability.
Please note that the TPMS is not a
substitute for proper tire mainte-
nance, and it is the driver's responsi-
bility to maintain correct tire pres-
sure, even if under-inflation has not
reached the level to trigger illumina-
tion of the TPMS low tire pressure
telltale.Your vehicle has also been equipped
with a TPMS malfunction indicator to
indicate when the system is not
operating properly. The TPMS mal-
function indicator is combined with
the low tire pressure telltale. When
the system detects a malfunction,
the telltale will flash for approximate-
ly one minute and then remain con-
tinuously illuminated. This sequence
will continue upon subsequent vehi-
cle start-ups as long as the malfunc-
tion exists.
When the malfunction indicator is
illuminated, the system may not be
able to detect or signal low tire pres-
sure as intended. TPMS malfunc-
tions may occur for a variety of rea-
sons, including the installation of
replacement or alternate tires or
wheels on the vehicle that prevent
the TPMS from functioning properly.
Always check the TPMS malfunction
telltale after replacing one or more
tires or wheels on your vehicle to
ensure that the replacement or alter-
nate tires and wheels allow the TPMS
to continue to function properly. Over-inflation or under-inflation
can reduce tire life, adversely
affect vehicle handling, and
lead to sudden tire failure that
may cause loss of vehicle con-
trol resulting in an accident.
WARNING
Page 337 of 446
6-10
What to do in an emergency
If any of the below happens, have
the system checked by an author-
ized HYUNDAI dealer.
1. The Low Tire Pressure TPMS
Malfunction Indicator does not
illuminate for 3 seconds when
the ignition switch is placed to
the ON position or engine is
running.
2. The TPMS Malfunction Indicator
remains illuminated after blink-
ing for approximately 1 minute.
3. The Low Tire Pressure LCD dis-
play remains illuminated
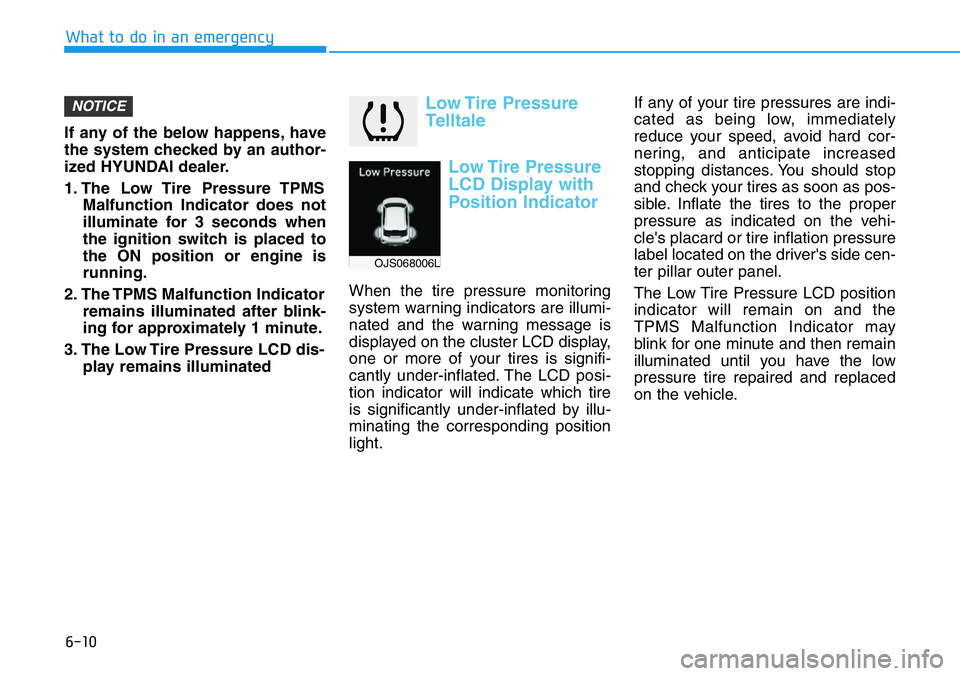
Low Tire Pressure
Telltale
Low Tire Pressure
LCD Display with
Position Indicator
When the tire pressure monitoring
system warning indicators are illumi-
nated and the warning message is
displayed on the cluster LCD display,
one or more of your tires is signifi-
cantly under-inflated. The LCD posi-
tion indicator will indicate which tire
is significantly under-inflated by illu-
minating the corresponding position
light.If any of your tire pressures are indi-
cated as being low, immediately
reduce your speed, avoid hard cor-
nering, and anticipate increased
stopping distances. You should stop
and check your tires as soon as pos-
sible. Inflate the tires to the proper
pressure as indicated on the vehi-
cle's placard or tire inflation pressure
label located on the driver's side cen-
ter pillar outer panel.
The Low Tire Pressure LCD position
indicator will remain on and the
TPMS Malfunction Indicator may
blink for one minute and then remain
illuminated until you have the low
pressure tire repaired and replaced
on the vehicle.
NOTICE
OJS068006L
Page 338 of 446
6-11
What to do in an emergency
6
TPMS Malfunction
Indicator
The TPMS Malfunction Indicator will
illuminate after it blinks for approxi-
mately one minute when there is a
problem with the Tire Pressure
Monitoring System.
Have the system checked by an
authorized HYUNDAI dealer as soon
as possible.
If there is a malfunction with the
TPMS, the individual tire pres-
sures in the cluster LCD display
will not be available. Have the sys-
tem checked by an authorized
HYUNDAI dealer as soon as possi-
ble.
NOTICE
In winter or cold weather, the
Low Tire Pressure Telltale may
be illuminated if the tire pres-
sure was adjusted to the recom-
mended tire inflation pressure
in warm weather. It does not
mean your TPMS is malfunc-
tioning because the decreased
temperature leads to a propor-
tional lowering of tire pressure.
When you drive your vehicle
from a warm area to a cold area
or from a cold area to a warm
area, or the outside temperature
is greatly higher or lower, you
should check the tire inflation
pressure and adjust the tires to
the recommended tire inflation
pressure.
CAUTION
Low pressure damage
Significantly low tire pressure
makes the vehicle unstable and
can contribute to loss of vehicle
control and increased braking
distances.
Continued driving on low pres-
sure tires can cause the tires to
overheat and fail.
WARNING
Page 340 of 446
6-13
What to do in an emergency
6
Information
This device complies with Part 15 of
the FCC rules.
Operation is subject to the following
three conditions:
1. This device may not cause harmful
interference.
2. This device must accept any inter-
ference received, including interfer-
ence that may cause undesired
operation.
3. Changes or modifications not
expressly approved by the party
responsible for compliance could
void the user's authority to operate
the equipment.
i
•The TPMS cannot alert you to
severe and sudden tire dam-
age caused by external fac-
tors such as nails or road
debris.
•If you feel any vehicle instabil-
ity, immediately take your foot
off the accelerator, apply the
brakes gradually with light
force, and slowly move to a
safe position off the road.
WARNING
Tampering with, modifying, or
disabling the Tire Pressure
Monitoring System (TPMS)
components may interfere with
the system's ability to warn the
driver of low tire pressure con-
ditions and/or TPMS malfunc-
tions. Tampering with, modify-
ing, or disabling the Tire
Pressure Monitoring System
(TPMS) components may void
the warranty for that portion of
the vehicle.
WARNING
Page 341 of 446
6-14
What to do in an emergency
With Tire Mobility Kit (TMK)
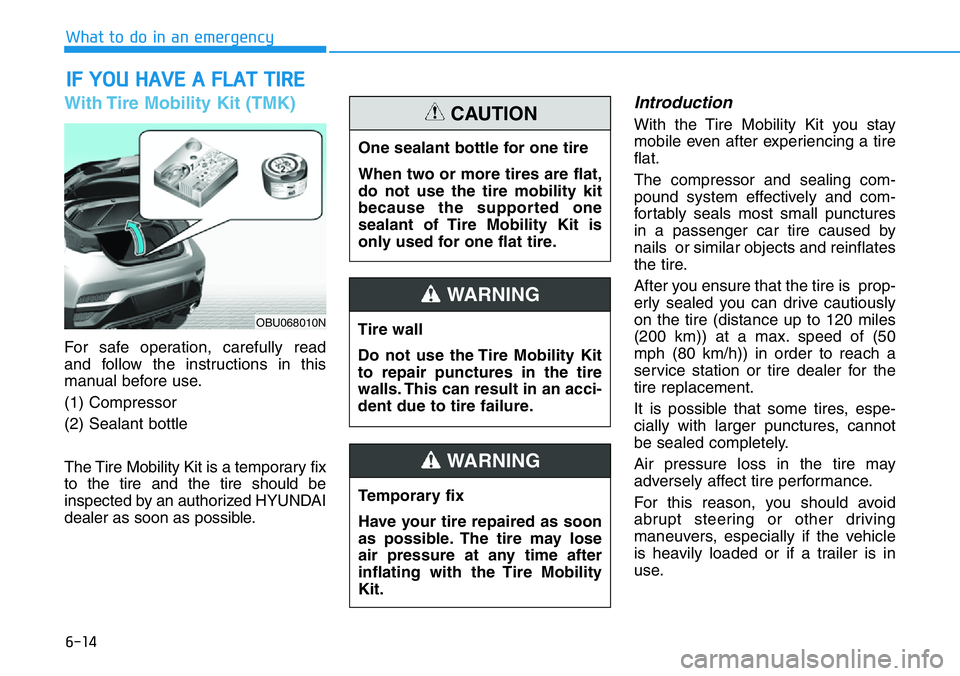
For safe operation, carefully read
and follow the instructions in this
manual before use.
(1) Compressor
(2) Sealant bottle
The Tire Mobility Kit is a temporary fix
to the tire and the tire should be
inspected by an authorized HYUNDAI
dealer as soon as possible.
Introduction
With the Tire Mobility Kit you stay
mobile even after experiencing a tire
flat.
The compressor and sealing com-
pound system effectively and com-
fortably seals most small punctures
in a passenger car tire caused by
nails or similar objects and reinflates
the tire.
After you ensure that the tire is prop-
erly sealed you can drive cautiously
on the tire (distance up to 120 miles
(200 km)) at a max. speed of (50
mph (80 km/h)) in order to reach a
service station or tire dealer for the
tire replacement.
It is possible that some tires, espe-
cially with larger punctures, cannot
be sealed completely.
Air pressure loss in the tire may
adversely affect tire performance.
For this reason, you should avoid
abrupt steering or other driving
maneuvers, especially if the vehicle
is heavily loaded or if a trailer is in
use.
IF YOU HAVE A FLAT TIRE
OBU068010N
One sealant bottle for one tire
When two or more tires are flat,
do not use the tire mobility kit
because the supported one
sealant of Tire Mobility Kit is
only used for one flat tire.
CAUTION
Tire wall
Do not use the Tire Mobility Kit
to repair punctures in the tire
walls. This can result in an acci-
dent due to tire failure.
WARNING
Temporary fix
Have your tire repaired as soon
as possible. The tire may lose
air pressure at any time after
inflating with the Tire Mobility
Kit.
WARNING
Page 344 of 446
6-17
What to do in an emergency
6
8. Pressure gauge for displaying the
tire inflation pressure
9. Button for reducing tire inflation
pressure
Connectors, cable and connection
hose are stored in the compressor
housing.
Strictly follow the specified sequence,
otherwise the sealant may escape
under high pressure.Using the Tire Mobility Kit
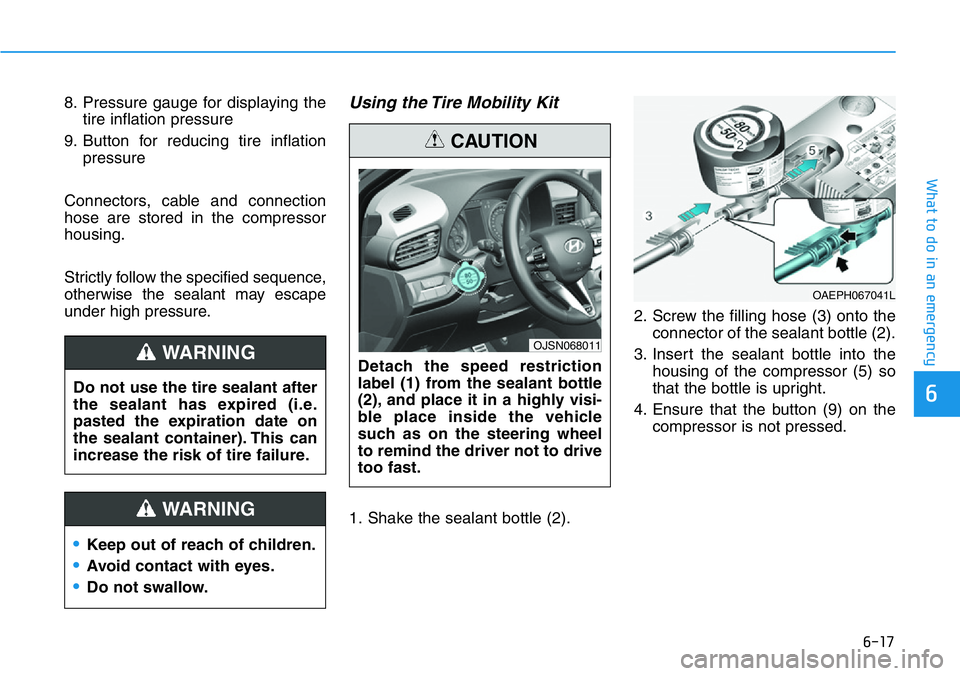
1. Shake the sealant bottle (2).2. Screw the filling hose (3) onto the
connector of the sealant bottle (2).
3. Insert the sealant bottle into the
housing of the compressor (5) so
that the bottle is upright.
4. Ensure that the button (9) on the
compressor is not pressed. Do not use the tire sealant after
the sealant has expired (i.e.
pasted the expiration date on
the sealant container). This can
increase the risk of tire failure.
WARNING
•Keep out of reach of children.
•Avoid contact with eyes.
•Do not swallow.
WARNING
Detach the speed restriction
label (1) from the sealant bottle
(2), and place it in a highly visi-
ble place inside the vehicle
such as on the steering wheel
to remind the driver not to drive
too fast.
CAUTION
OJSN068011
OAEPH067041L
Page 345 of 446
6-18
What to do in an emergency
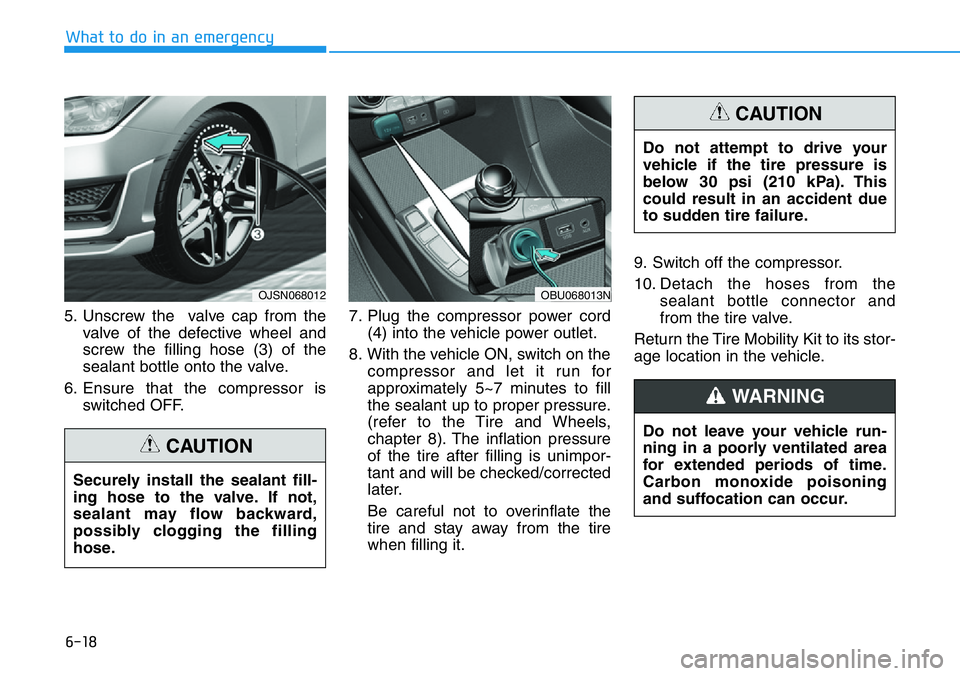
5. Unscrew the valve cap from the
valve of the defective wheel and
screw the filling hose (3) of the
sealant bottle onto the valve.
6. Ensure that the compressor is
switched OFF.7. Plug the compressor power cord
(4) into the vehicle power outlet.
8. With the vehicle ON, switch on the
compressor and let it run for
approximately 5~7 minutes to fill
the sealant up to proper pressure.
(refer to the Tire and Wheels,
chapter 8). The inflation pressure
of the tire after filling is unimpor-
tant and will be checked/corrected
later.
Be careful not to overinflate the
tire and stay away from the tire
when filling it.9. Switch off the compressor.
10. Detach the hoses from the
sealant bottle connector and
from the tire valve.
Return the Tire Mobility Kit to its stor-
age location in the vehicle.
OJSN068012 OBU068013N
Securely install the sealant fill-
ing hose to the valve. If not,
sealant may flow backward,
possibly clogging the filling
hose.
CAUTION
Do not attempt to drive your
vehicle if the tire pressure is
below 30 psi (210 kPa). This
could result in an accident due
to sudden tire failure.
CAUTION
Do not leave your vehicle run-
ning in a poorly ventilated area
for extended periods of time.
Carbon monoxide poisoning
and suffocation can occur.
WARNING