Page 94 of 446
3-16
Convenient features of your vehicle
Tilt Steering / Telescope
Steering
When adjusting the steering wheel to
a comfortable position, adjust the
steering wheel so that it points
toward your chest, not toward your
face. Make sure you can see the
instrument cluster warning lights and
gauges. After adjusting, push the
steering wheel both up and down to
be certain it is locked in position.
Always adjust the position of the
steering wheel before driving.
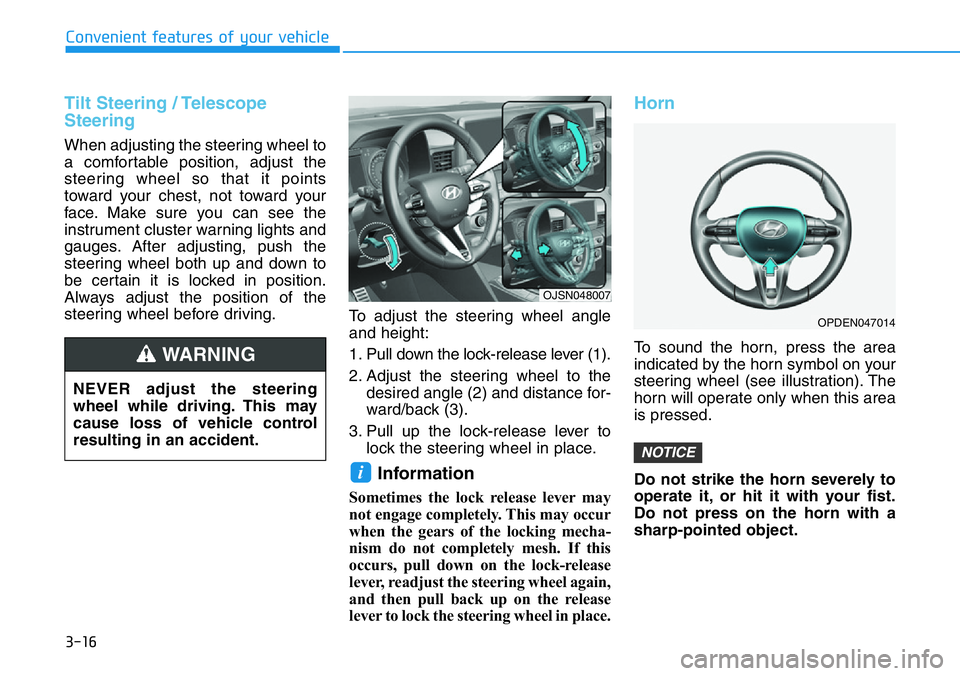
To adjust the steering wheel angle
and height:
1. Pull down the lock-release lever (1).
2. Adjust the steering wheel to the
desired angle (2) and distance for-
ward/back (3).
3. Pull up the lock-release lever to
lock the steering wheel in place.
Information
Sometimes the lock release lever may
not engage completely. This may occur
when the gears of the locking mecha-
nism do not completely mesh. If this
occurs, pull down on the lock-release
lever, readjust the steering wheel again,
and then pull back up on the release
lever to lock the steering wheel in place.
Horn
To sound the horn, press the area
indicated by the horn symbol on your
steering wheel (see illustration). The
horn will operate only when this area
is pressed.
Do not strike the horn severely to
operate it, or hit it with your fist.
Do not press on the horn with a
sharp-pointed object.
NOTICE
i
NEVER adjust the steering
wheel while driving. This may
cause loss of vehicle control
resulting in an accident.
WARNING
OJSN048007
OPDEN047014
Page 95 of 446
3-17
Convenient features of your vehicle
3
Inside Rearview Mirror
Before driving your vehicle, check to
see that your inside rearview mirror
is properly positioned. Adjust the
rearview mirror so that the view
through the rear window is properly
centered.
When cleaning the mirror, use a
paper towel or similar material
dampened with glass cleaner. Do
not spray glass cleaner directly on
the mirror as this may cause the
liquid cleaner to enter the mirror
housing.
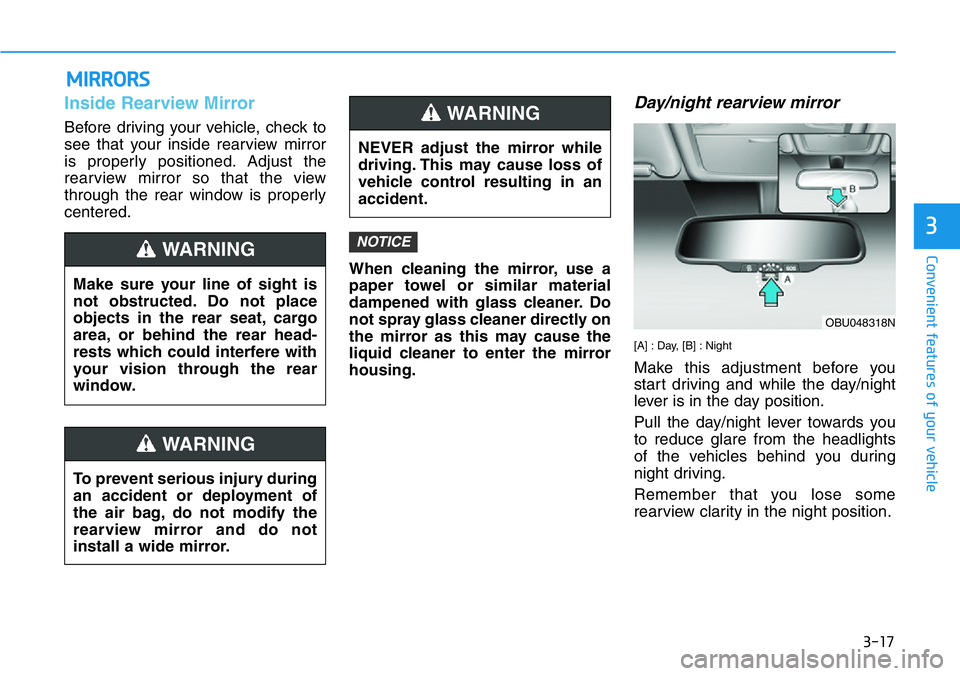
Day/night rearview mirror
[A] : Day, [B] : Night
Make this adjustment before you
start driving and while the day/night
lever is in the day position.
Pull the day/night lever towards you
to reduce glare from the headlights
of the vehicles behind you during
night driving.
Remember that you lose some
rearview clarity in the night position.
NOTICE
MIRRORS
Make sure your line of sight is
not obstructed. Do not place
objects in the rear seat, cargo
area, or behind the rear head-
rests which could interfere with
your vision through the rear
window.
WARNING
To prevent serious injury during
an accident or deployment of
the air bag, do not modify the
rearview mirror and do not
install a wide mirror.
WARNING
NEVER adjust the mirror while
driving. This may cause loss of
vehicle control resulting in an
accident.
WARNING
OBU048318N
Page 109 of 446
3-31
Convenient features of your vehicle
3
INSTRUMENT CLUSTER
1. Tachometer
2. Speedometer
3. Engine coolant temperature gauge
4. Fuel gauge
5. Warning and indicator lights
6. LCD display (including Trip computer)
The actual cluster in the vehicle may dif-
fer from the illustration.
For more details, refer to the "Gauges
and Meters" in this chapter.
OBU048106N
Page 110 of 446
3-32
Convenient features of your vehicle
Instrument Cluster Control
Adjusting instrument cluster
illumination
When the vehicle's position lights or
headlights are on, press the illumina-
tion control button to adjust the
brightness of the instrument panel
illumination.
When pressing the illumination con-
trol button, the interior switch illumi-
nation intensity is also adjusted.• The brightness of the instrument
panel illumination is displayed.
• If the brightness reaches the maxi-
mum or minimum level, a chime
will sound.
For information regarding the illu-
mination setting on your audio dis-
play, refer to the "Setup" section of
your Audio or Navigation manual. Never adjust the instrument
cluster while driving. Doing so
could lead to driver distraction
which may cause an accident
and lead to vehicle damage,
serious injury, or death.
WARNING
OJS048110L
OJSN048026
Page 116 of 446
3-38
Convenient features of your vehicle
Warning and Indicator Lights
Information
Make sure that all warning lights are
OFF after starting the engine. If any
light is still ON, this indicates a situa-
tion that needs attention.
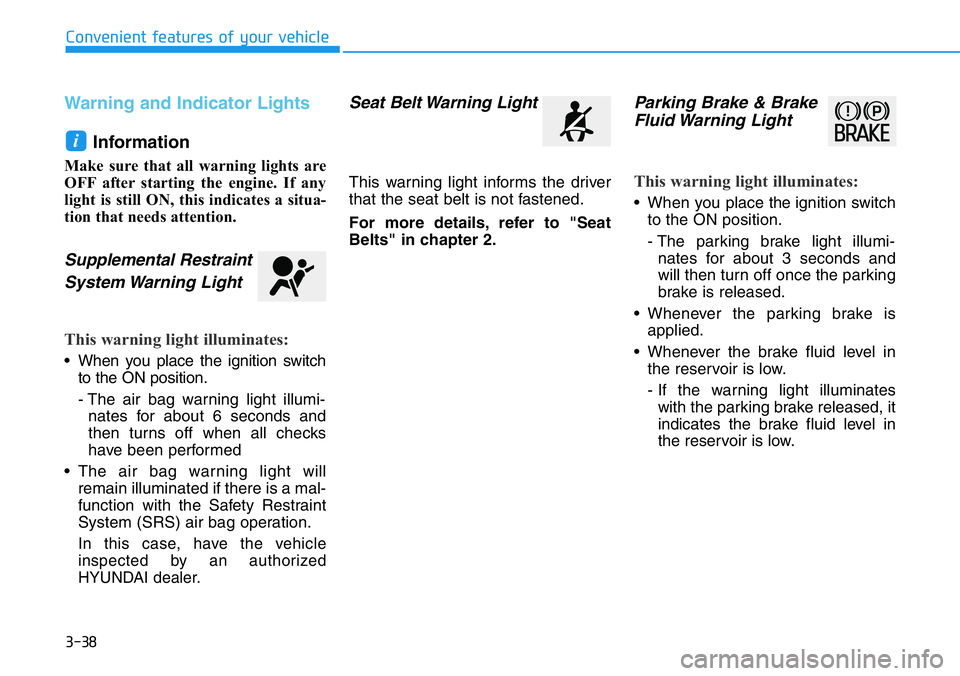
Supplemental Restraint
System Warning Light
This warning light illuminates:
• When you place the ignition switch
to the ON position.
- The air bag warning light illumi-
nates for about 6 seconds and
then turns off when all checks
have been performed
• The air bag warning light will
remain illuminated if there is a mal-
function with the Safety Restraint
System (SRS) air bag operation.
In this case, have the vehicle
inspected by an authorized
HYUNDAI dealer.
Seat Belt Warning Light
This warning light informs the driver
that the seat belt is not fastened.
For more details, refer to "Seat
Belts" in chapter 2.
Parking Brake & Brake
Fluid Warning Light
This warning light illuminates:
• When you placethe ignition switch
to the ON position.
- The parking brake light illumi-
nates for about 3 seconds and
will then turn off once the parking
brake is released.
• Whenever the parking brake is
applied.
• Whenever the brake fluid level in
the reservoir is low.
- If the warning light illuminates
with the parking brake released, it
indicates the brake fluid level in
the reservoir is low.
i
Page 118 of 446
3-40
Convenient features of your vehicle
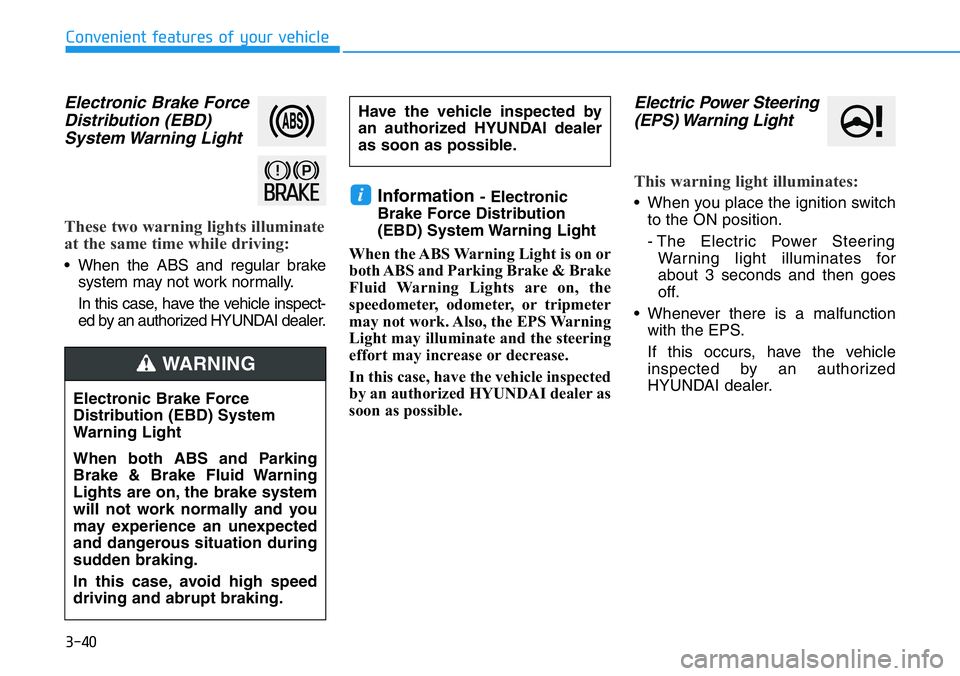
Electronic Brake Force
Distribution (EBD)
System Warning Light
These two warning lights illuminate
at the same time while driving:
• When the ABS and regular brake
system may not work normally.
In this case, have the vehicle inspect-
ed by an authorized HYUNDAI dealer.
Information - Electronic
Brake Force Distribution
(EBD) System Warning Light
When the ABS Warning Light is on or
both ABS and Parking Brake & Brake
Fluid Warning Lights are on, the
speedometer, odometer, or tripmeter
may not work. Also, the EPS Warning
Light may illuminate and the steering
effort may increase or decrease.
In this case, have the vehicle inspected
by an authorized HYUNDAI dealer as
soon as possible.
Electric Power Steering
(EPS) Warning Light
This warning light illuminates:
• When you place the ignition switch
to the ON position.
- The Electric Power Steering
Warning light illuminates for
about 3 seconds and then goes
off.
• Whenever there is a malfunction
with the EPS.
If this occurs, have the vehicle
inspected by an authorized
HYUNDAI dealer.i
Electronic Brake Force
Distribution (EBD) System
Warning Light
When both ABS and Parking
Brake & Brake Fluid Warning
Lights are on, the brake system
will not work normally and you
may experience an unexpected
and dangerous situation during
sudden braking.
In this case, avoid high speed
driving and abrupt braking.
WARNING
Have the vehicle inspected by
an authorized HYUNDAI dealer
as soon as possible.
Page 123 of 446
3-45
Convenient features of your vehicle
3
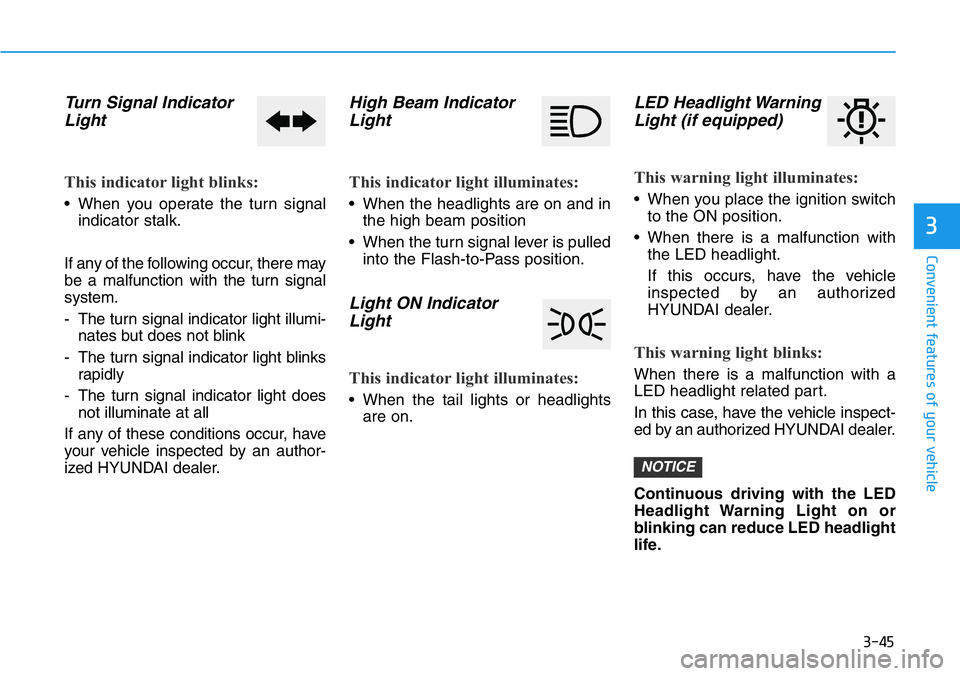
Turn Signal Indicator
Light
This indicator light blinks:
• When you operate the turn signal
indicator stalk.
If any of the following occur, there may
be a malfunction with the turn signal
system.
- The turn signal indicator light illumi-
nates but does not blink
- The turn signal indicator light blinks
rapidly
- The turn signal indicator light does
not illuminate at all
If any of these conditions occur, have
your vehicle inspected by an author-
ized HYUNDAI dealer.
High Beam Indicator
Light
This indicator light illuminates:
• When the headlights are on and in
the high beam position
• When the turn signal lever is pulled
into the Flash-to-Pass position.
Light ON Indicator
Light
This indicator light illuminates:
• When the tail lights or headlights
are on.
LED Headlight Warning
Light (if equipped)
This warning light illuminates:
• When you place the ignition switch
to the ON position.
• When there is a malfunction with
the LED headlight.
If this occurs, have the vehicle
inspected by an authorized
HYUNDAI dealer.
This warning light blinks:
When there is a malfunction with a
LED headlight related part.
In this case, have the vehicle inspect-
ed by an authorized HYUNDAI dealer.
Continuous driving with the LED
Headlight Warning Light on or
blinking can reduce LED headlight
life.
NOTICE
Page 129 of 446
3-51
Convenient features of your vehicle
3
Lights Mode
This indicator displays which exterior
light is selected using the lighting
control.
Wiper
This indicator displays which wiper
speed is selected using the wiper
control.
Low washer fluid
This warning message is displayed
if the washer fluid level in the reser-
voir is nearly empty.
Have the washer fluid reservoir refilled.
Low fuel
This warning message is displayed if
the fuel tank is almost out of fuel.
When this message is displayed, the
low fuel level warning light in the
cluster will come on.
It is recommended to look for the
nearest fueling station and refuel as
soon as possible.
Add fuel as soon as possible.
OPD047120LOIK047146L