2022 HYUNDAI TUCSON instrument cluster
[x] Cancel search: instrument clusterPage 185 of 638
05
5-41
Tilt / Telescopic steering
When adjusting the steering wheel to a
comfortable position, adjust the steering
wheel so that it points toward your chest,
not toward your face. Make sure you can
see the instrument cluster warning lights
and gauges. After adjusting, push the
steering wheel both up and down to be
certain it is locked in position.
Always adjust the position of the steering
wheel before driving.
WARNING
NEVER adjust the steering wheel while
driving. This may cause loss of vehicle
control resulting in an accident.
ONX4050070
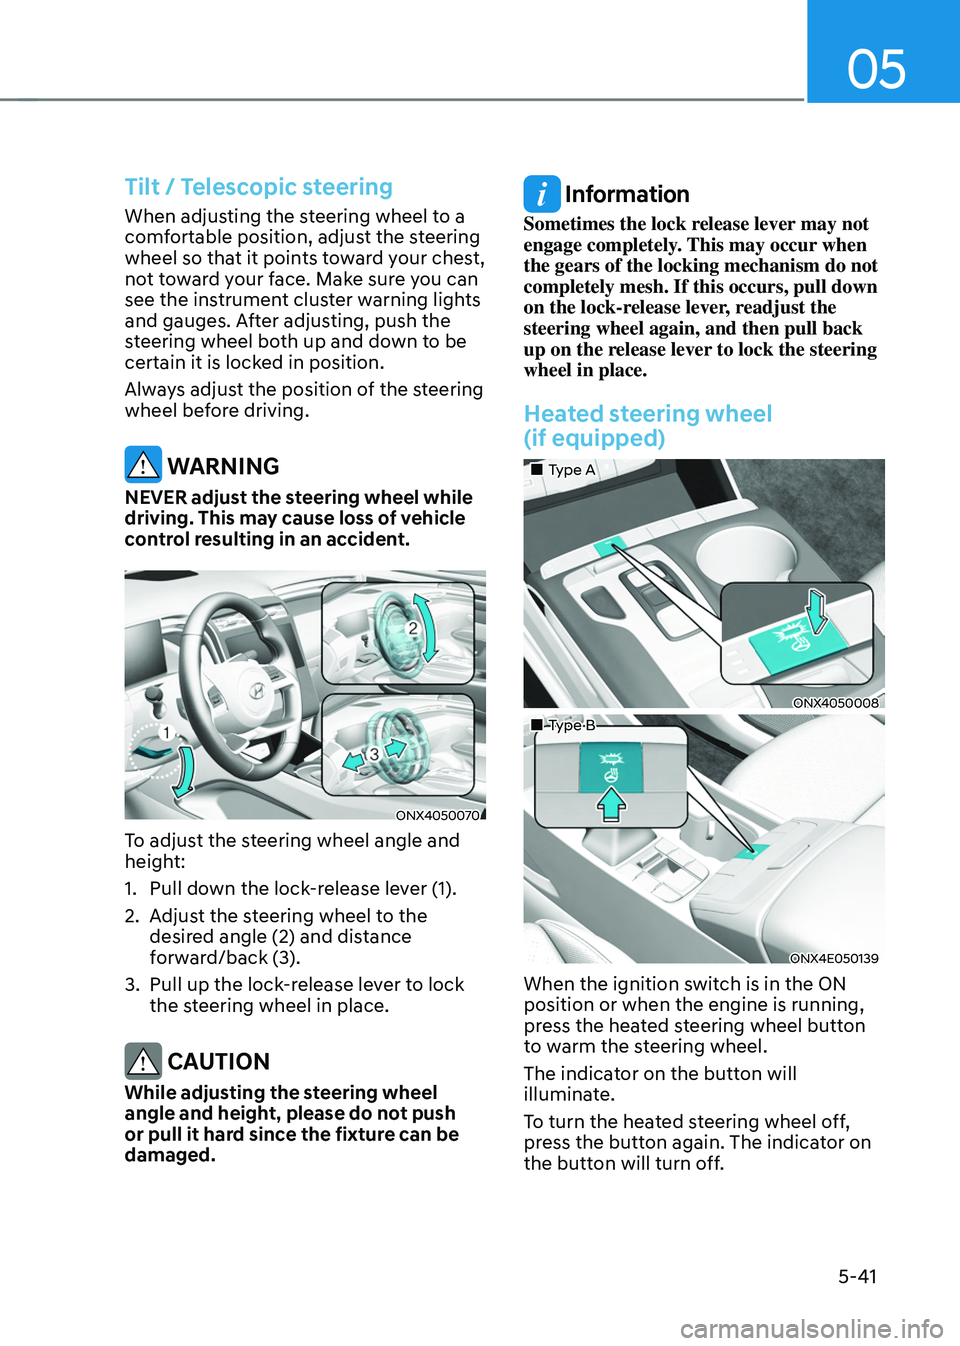
To adjust the steering wheel angle and
height:
1. Pull down the lock-release lever (1).
2. Adjust the steering wheel to the
desired angle (2) and distance
forward/back (3).
3. Pull up the lock-release lever to lock
the steering wheel in place.
CAUTION
While adjusting the steering wheel
angle and height, please do not push
or pull it hard since the fixture can be
damaged.
Information
Sometimes the lock release lever may not
engage completely. This may occur when
the gears of the locking mechanism do not
completely mesh. If this occurs, pull down
on the lock-release lever, readjust the
steering wheel again, and then pull back
up on the release lever to lock the steering
wheel in place.
Heated steering wheel
(if equipped)
„„Type A
ONX4050008
„„Type B
ONX4E050139
When the ignition switch is in the ON
position or when the engine is running,
press the heated steering wheel button
to warm the steering wheel.
The indicator on the button will
illuminate.
To turn the heated steering wheel off,
press the button again. The indicator on
the button will turn off.
Page 210 of 638
Convenient features
5-66
Closing the hood
1. Before closing the hood, check in and
around the engine compartment to
ensure the following:
-Any tools or other loose objects
are removed from the engine room
area or hood opening area
-All glove, rags, or other
combustible material is removed
from the engine compartment
-All filler caps are tightly and
correctly installed
2. Return the hood support rod to its clip
to prevent it from rattling.
3. Lower the hood until it is about 30 cm
(12in.) above the closed position and
let it drop. Make sure that it locks into
place.
4. Check that the hood has engaged
properly. If the hood can be raised
slightly, it is not properly engaged.
Open it again and close it with a little
more force.
WARNING
• Before closing the hood, ensure
all obstructions are removed from
around the hood opening.
• Always double check to be sure that
the hood is firmly latched before
driving away. Check there is no
hood open warning light or message
displayed on the instrument cluster.
Driving with the hood opened may
cause a total loss of visibility, which
might result in an accident.
• Do not move the vehicle with the
hood in the raised position, as vision
is obstructed, which might result in
an accident, and the hood could fall
or be damaged.
Liftgate
Opening the liftgate
ONX4050023
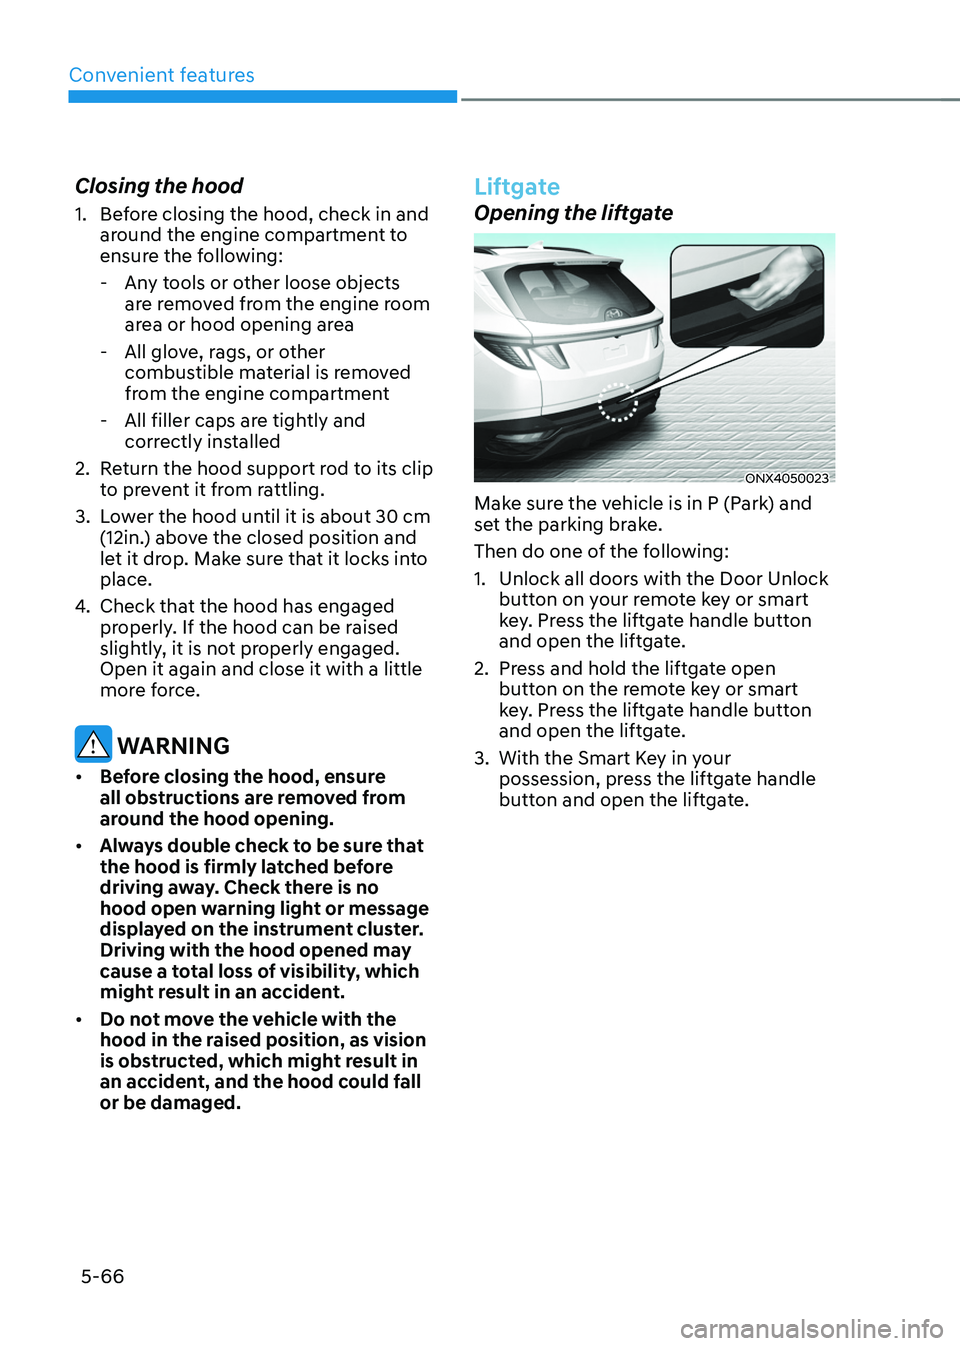
Make sure the vehicle is in P (Park) and
set the parking brake.
Then do one of the following:
1. Unlock all doors with the Door Unlock
button on your remote key or smart
key. Press the liftgate handle button
and open the liftgate.
2. Press and hold the liftgate open
button on the remote key or smart
key. Press the liftgate handle button
and open the liftgate.
3. With the Smart Key in your
possession, press the liftgate handle
button and open the liftgate.
Page 225 of 638
05
5-81
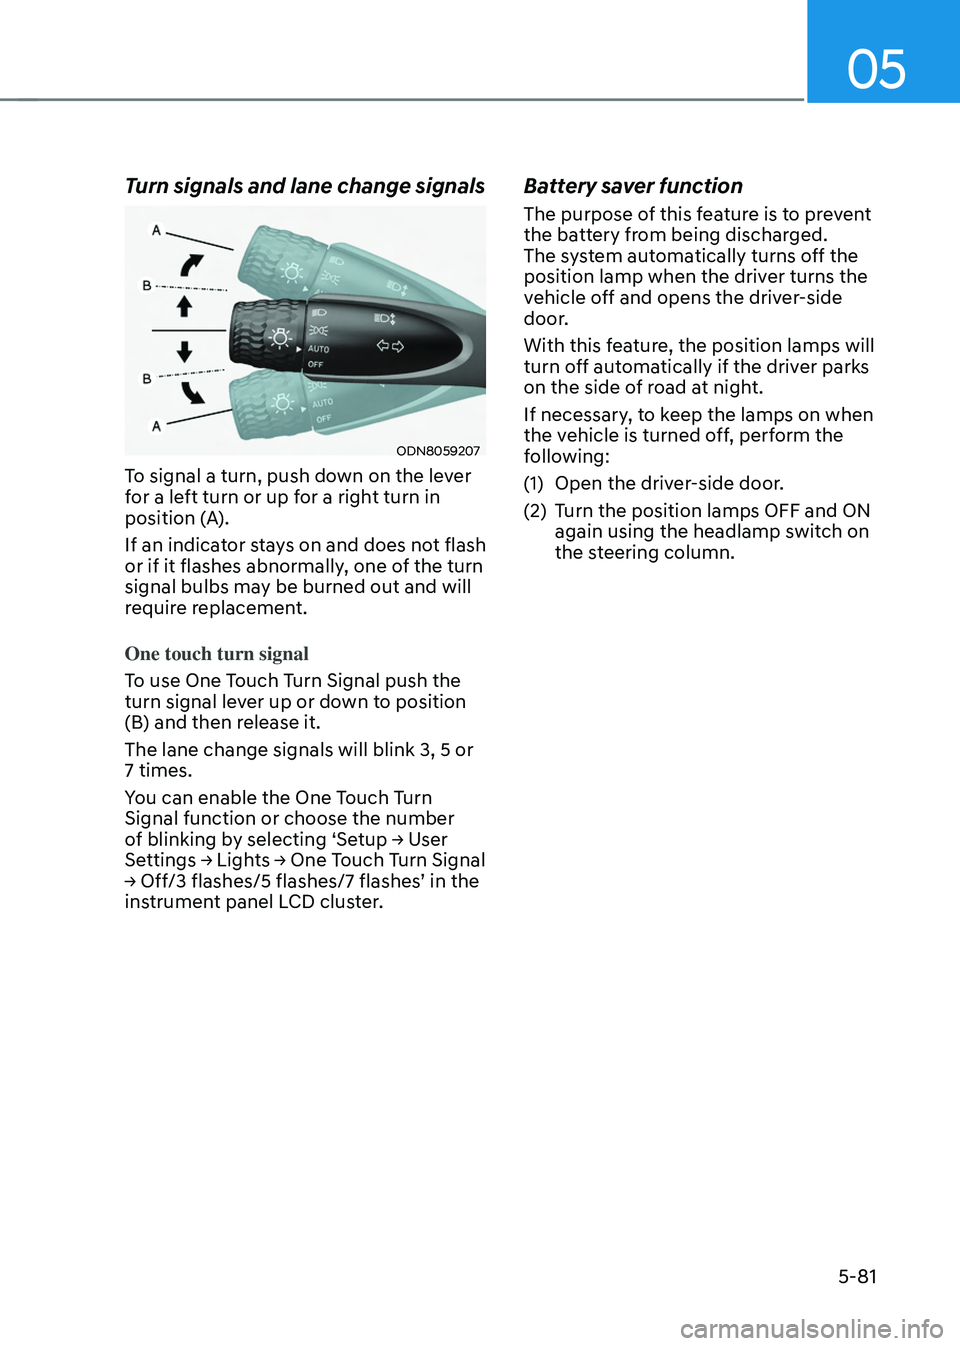
Turn signals and lane change signals
ODN8059207
To signal a turn, push down on the lever
for a left turn or up for a right turn in
position (A).
If an indicator stays on and does not flash
or if it flashes abnormally, one of the turn
signal bulbs may be burned out and will
require replacement.
One touch turn signal
To use One Touch Turn Signal push the
turn signal lever up or down to position
(B) and then release it.
The lane change signals will blink 3, 5 or
7 times.
You can enable the One Touch Turn
Signal function or choose the number
of blinking by selecting ‘Setup → User Settings → Lights → One Touch Turn Signal → Off/3 flashes/5 flashes/7 flashes’ in the instrument panel LCD cluster.
Battery saver function
The purpose of this feature is to prevent
the battery from being discharged.
The system automatically turns off the
position lamp when the driver turns the
vehicle off and opens the driver-side
door.
With this feature, the position lamps will
turn off automatically if the driver parks
on the side of road at night.
If necessary, to keep the lamps on when
the vehicle is turned off, perform the
following:
(1) Open the driver-side door.
(2) Turn the position lamps OFF and ON
again using the headlamp switch on
the steering column.
Page 228 of 638
Convenient features
5-84
System operation
Display and control
• After selecting ‘High Beam Assist’
in the Settings menu, High Beam
Assist will operate by following the
procedure below.
-Place the headlamp switch in
the AUTO position and push
the headlamp lever towards the
instrument cluster. The High Beam
Assist (
) indicator light will
illuminate on the cluster and the
system will be enabled.
- When the system is enabled, high
beam will turn on when vehicle
speed is above 25mph (40km/h).
When vehicle speed is below 15mph
(25km/h), high beam will not turn
on.
-The High Beam () indicator light
will illuminate on the cluster when
high beam is on.
• When High Beam Assist is operating, if
the headlamp lever or switch is used,
the system operates as follow:
-If the headlamp lever is pulled
towards you when the high beam
is off, the high beam will turn on
without High Beam Assist canceled.
When you let go of the headlamp
lever, the lever will move to the
middle and the high beam will turn
off.
-If the headlamp lever is pulled
towards you when the high beam is
on by High Beam Assist, low beam
will be on and the system will turn
off.
-If the headlamp switch is placed
from AUTO to another position
(headlamp/position/off), High
Beam Assist will turn off and the
corresponding lamp will turn on. •
When High Beam Assist is operating,
high beam switches to low beam if
any of the following conditions occur:
-When the headlamp of an
oncoming vehicle is detected.
-When the tail lamp of a vehicle in
front is detected.
-When the headlamp or tail lamp of a
motorcycle or a bicycle is detected.
-When the surrounding ambient light
is bright enough that high beams
are not required.
-When streetlights or other lights are
detected.
System malfunction and
limitations
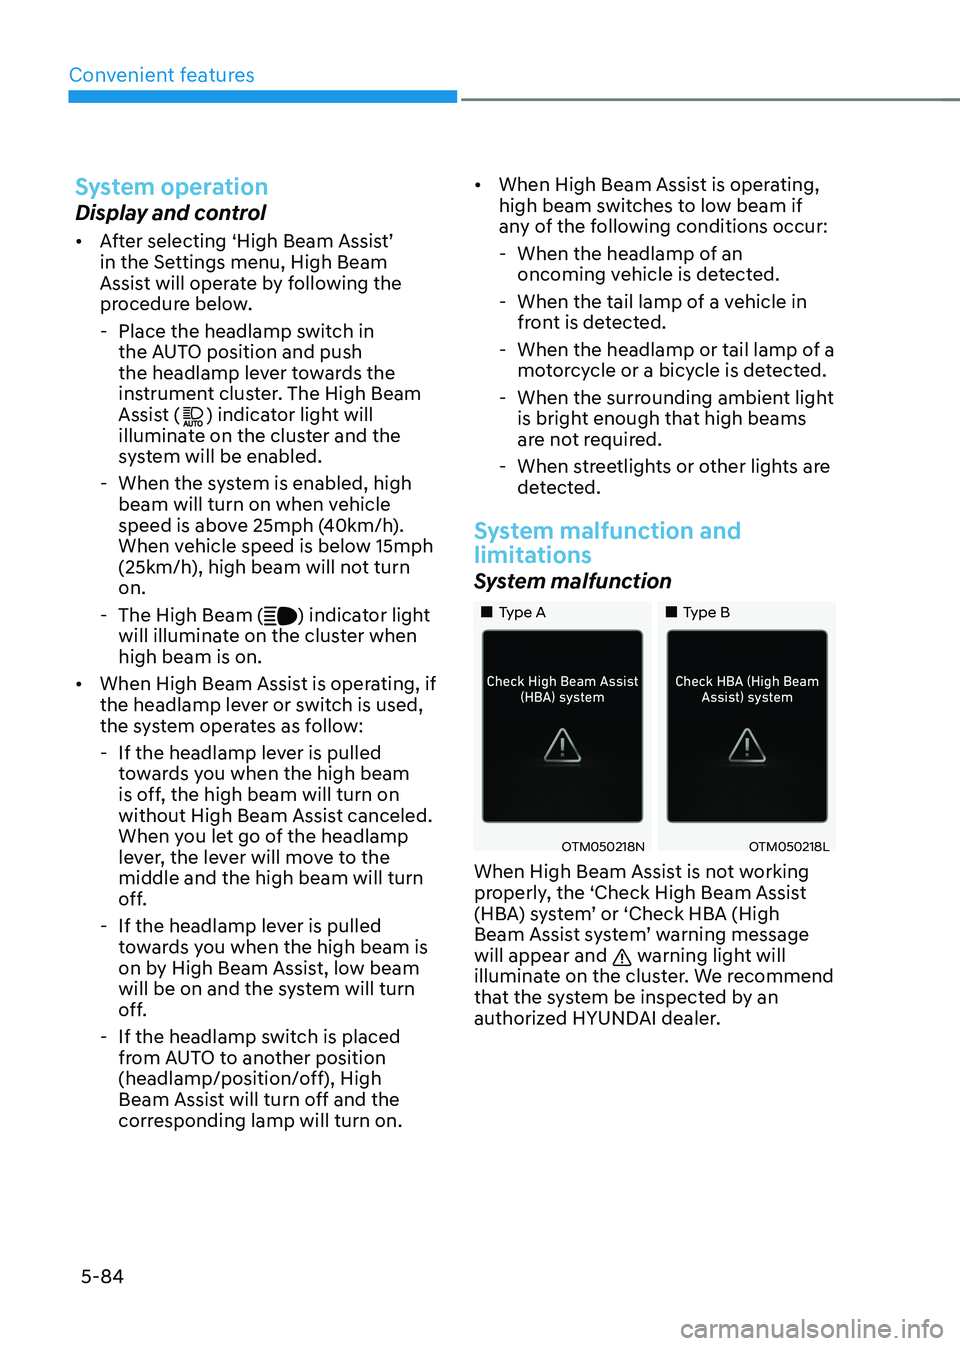
System malfunction
„„Type A„„Type B
OTM050218NOTM050218L
When High Beam Assist is not working
properly, the ‘Check High Beam Assist
(HBA) system’ or ‘Check HBA (High
Beam Assist system’ warning message
will appear and
warning light will
illuminate on the cluster. We recommend
that the system be inspected by an
authorized HYUNDAI dealer.
Page 253 of 638
05
5-109
ONX4050122
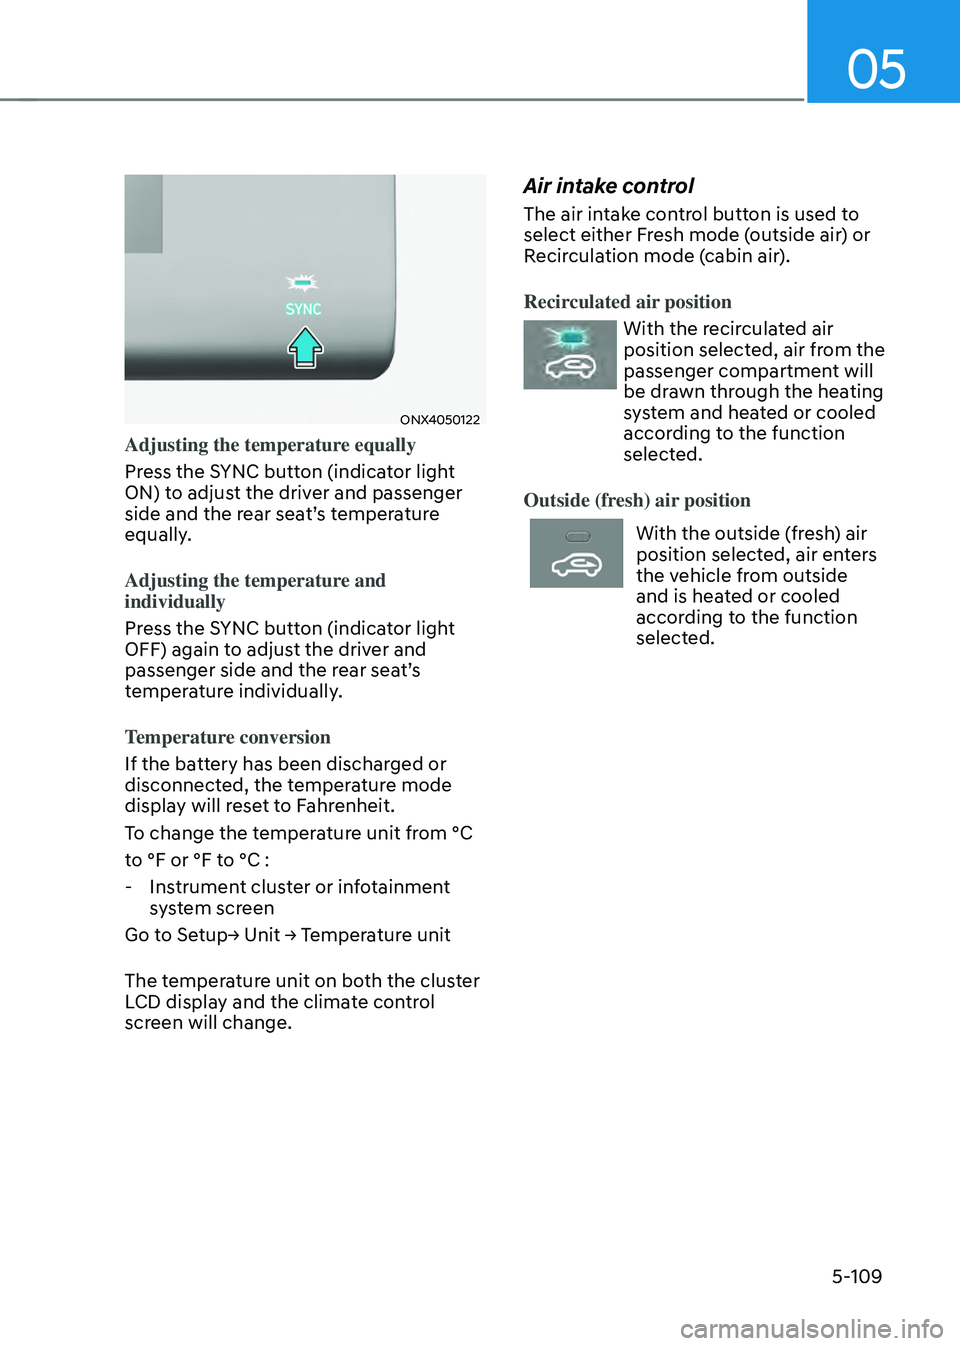
Adjusting the temperature equally
Press the SYNC button (indicator light
ON) to adjust the driver and passenger
side and the rear seat’s temperature
equally.
Adjusting the temperature and
individually
Press the SYNC button (indicator light
OFF) again to adjust the driver and
passenger side and the rear seat’s
temperature individually.
Temperature conversion
If the battery has been discharged or
disconnected, the temperature mode
display will reset to Fahrenheit.
To change the temperature unit from °C
to °F or °F to °C :
-Instrument cluster or infotainment
system screen
Go to Setup→ Unit → Temperature unit
The temperature unit on both the cluster
LCD display and the climate control
screen will change.
Air intake control
The air intake control button is used to
select either Fresh mode (outside air) or
Recirculation mode (cabin air).
Recirculated air position
With the recirculated air
position selected, air from the
passenger compartment will
be drawn through the heating
system and heated or cooled
according to the function
selected.
Outside (fresh) air position
With the outside (fresh) air
position selected, air enters
the vehicle from outside
and is heated or cooled
according to the function
selected.
Page 272 of 638
![HYUNDAI TUCSON 2022 Owners Manual Convenient features
5-128
Wireless smart phone charging
system (if equipped)
ONX4050055
ONX4E050169
[A] : Indicator light, [B] : Charging pad
On certain models, the vehicle comes
equipped with a wir HYUNDAI TUCSON 2022 Owners Manual Convenient features
5-128
Wireless smart phone charging
system (if equipped)
ONX4050055
ONX4E050169
[A] : Indicator light, [B] : Charging pad
On certain models, the vehicle comes
equipped with a wir](/manual-img/35/41173/w960_41173-271.png)
Convenient features
5-128
Wireless smart phone charging
system (if equipped)
ONX4050055
ONX4E050169
[A] : Indicator light, [B] : Charging pad
On certain models, the vehicle comes
equipped with a wireless smart phone
charger.
The system is available when all doors
are closed, and when the Engine Start/
Stop button is in the ON (or START)
position.
To charge a cellular phone
The wireless smart phone charging
system charges only the Qi-enabled
smart phones (
). Read the label on
the smart phone accessory cover or
visit your smart phone manufacturer’s
website to check whether your smart
phone supports the Qi technology.
The wireless charging process starts
when you put a Qi-enabled smart phone
on the wireless charging unit.
1. Remove other items, including the
smart key, from the wireless charging
unit. If not, the wireless charging
process may be interrupted. Place
the smart phone on the center of the
charging pad.
2. The indicator light is orange when the
smart phone is charging. The indicator
light will turn blue when phone
charging is complete.
3. You can turn ON or OFF the wireless
charging function from the Settings
menu on the instrument cluster.
Select:
-Setup → User settings → Convenience → Wireless Charging
If your smart phone is not charging:
- Slightly change the position of the
smart phone on the charging pad.
-Make sure the indicator light is
orange.
Page 297 of 638
Driving your vehicle
6-12
Auto shut-off system (if equipped)
To prevent accidents caused by carbon
dioxide poisoning, the engine is turned
off automatically 60 minutes later when
the following conditions are satisfied.
The timer appears on the instrument
cluster 30 minutes before it turns off
automatically.
Operating conditions
• The driver does not fasten a seat belt
• No one in the passenger's seat
• Stop the vehicle and the speed is
under 1.86mph and the gear shift is
in P
• While the brake or accelerator is not
working
• When AVN update is performing
Cluster timer reset conditions
• Release the accelerator or brake after
completing operation
• Press the OK button on the steering
wheel while the timer appears on the
instrument cluster
Off conditions
• The driver fastened the seat belt
• A passenger is in the pasenger's seat
• Driving over 1.86mph
• Shifting the gear in R, N or D
CAUTION
Please do not leave a passenger or a pet
in the vehicle since the air conditioning
system stops when the engine is off.
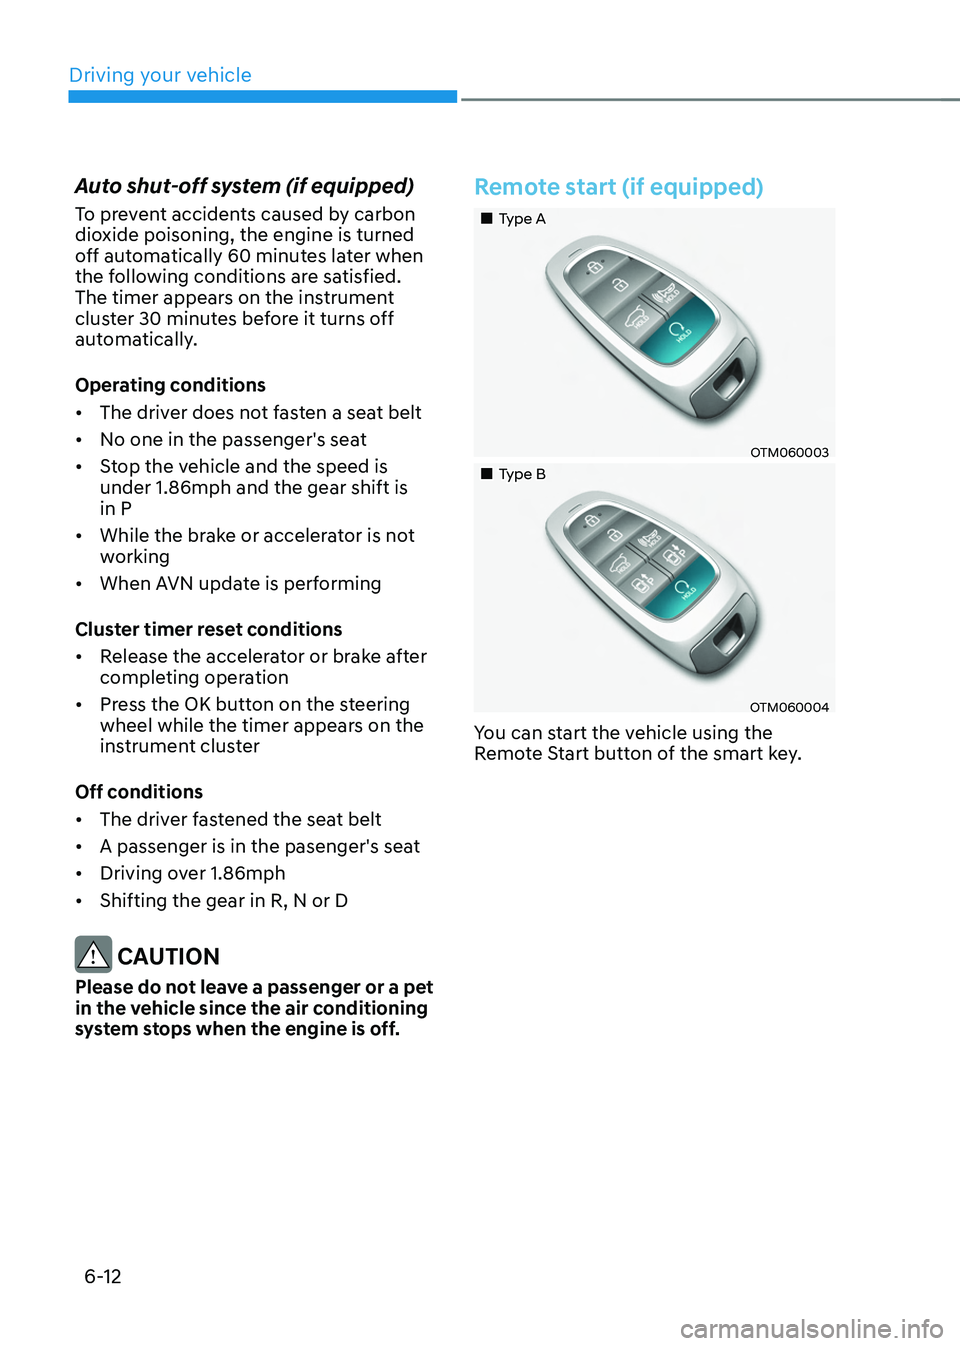
Remote start (if equipped)
„„Type A
OTM060003
„„Type B
OTM060004
You can start the vehicle using the
Remote Start button of the smart key.
Page 300 of 638
06
6-15
The indicator in the instrument cluster
displays the shift lever/button position
when the ignition switch is in the ON
position.
WARNING
To reduce the risk of serious injury or
death:
• ALWAYS check the surrounding
areas near your vehicle for people,
especially children, before shifting a
vehicle into D (Drive) or R (Reverse).
• Before leaving the driver’s seat,
always make sure the shift lever
is in the P (Park) position, then set
the parking brake, and place the
ignition switch in the LOCK/OFF
position. Unexpected and sudden
vehicle movement can occur if these
precautions are not followed.
• When using the paddle shifter
(manual shift mode), do not use
engine braking (shifting from a
high gear to lower gear) rapidly on
slippery roads. The vehicle may slip
causing an accident.
P (Park)
Always come to a complete stop before
shifting into P (Park).
To shift from P (Park), you must depress
firmly on the brake pedal and make sure
your foot is off the accelerator pedal.
If you have done all of the above and
still cannot shift the lever out of P
(Park), see "Shift-Lock Release" in this
chapter. (shift lever type)
The shift lever/button must be in P (Park)
before turning the engine off.
WARNING
• Shifting into P (Park) while the
vehicle is in motion may cause you to
lose control of the vehicle.
• After the vehicle has stopped, always
make sure the shift lever is in P
(Park), apply the parking brake, and
turn the engine off.
• When parking on an incline, shift
the gear to P (Park) and apply the
parking brake to prevent the vehicle
from rolling downhill.
• Do not use the P (Park) position in
place of the parking brake.
R (Reverse)
Use this position to drive the vehicle
backward.
NOTICE
Always come to a complete stop before
shifting into or out of R (Reverse); you
may damage the transmission if you
shift into R (Reverse) while the vehicle is
in motion.
When the vehicle is stopped in R
(Reverse) or D (Drive) position, if you
open the driver’s door with the seat
belt unfastened, the gear is shifted to P
(Park) position automatically.
However when the vehicle moves in R
(Reverse) or D (Drive) position, if you
open the driver’s door with the seat belt
unfastened, the gear may be not shifted
to P (Park) position automatically for
protecting the automatic transmission.