2022 HYUNDAI SANTA CRUZ oil level
[x] Cancel search: oil levelPage 95 of 598
4
Instrument Cluster
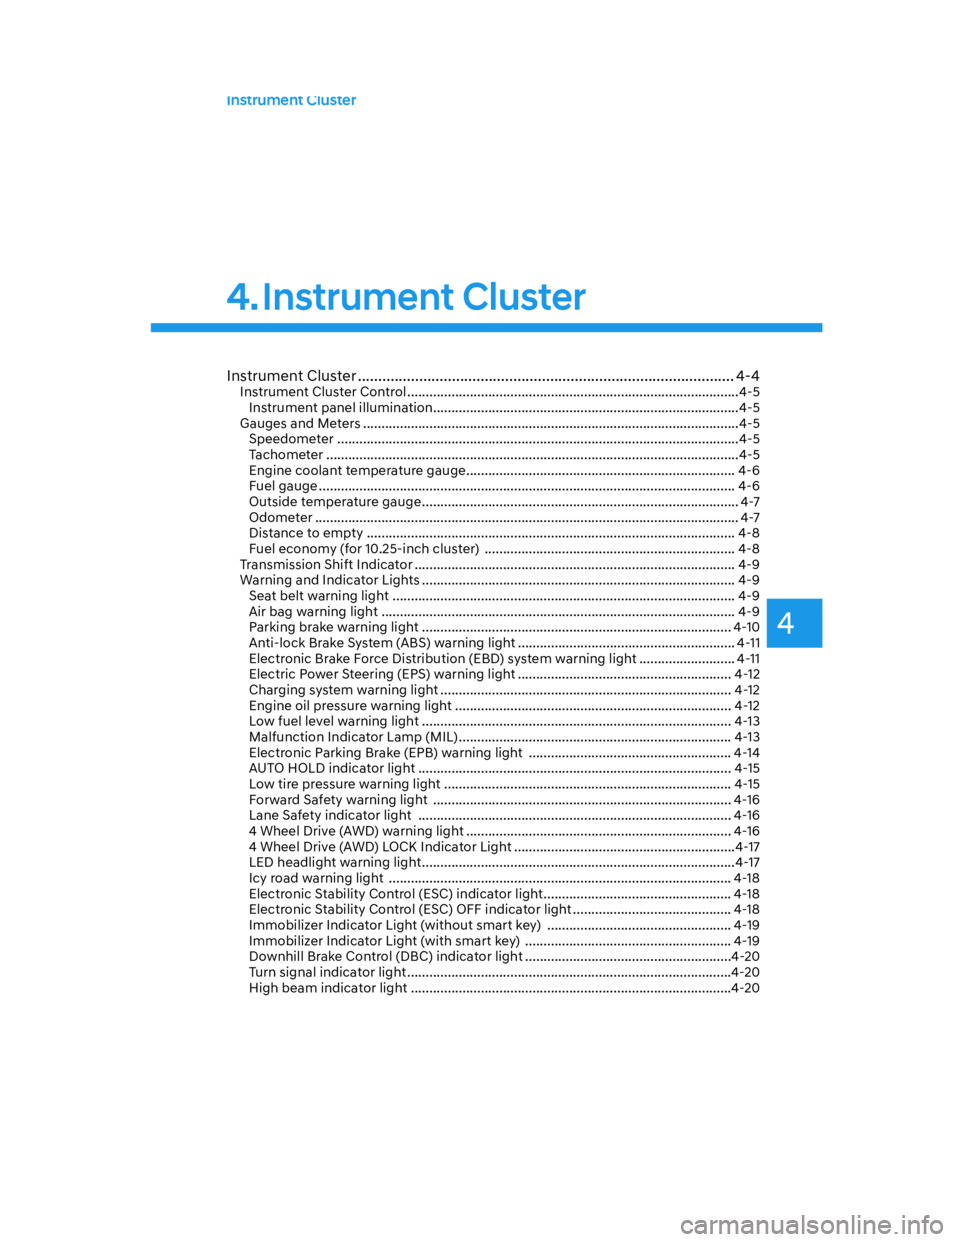
Instrument Cluster ............................................................................................ 4-4Instrument Cluster Control ..........................................................................................4-5
Instrument panel illumination ...................................................................................4-5
Gauges and Meters ......................................................................................................4-5
Speedometer .............................................................................................................4-5
Tachometer ................................................................................................................4-5
Engine coolant temperature gauge ......................................................................... 4-6
Fuel gauge ................................................................................................................. 4-6
Outside temperature gauge ...................................................................................... 4-7
Odometer ................................................................................................................... 4-7
Distance to empty .................................................................................................... 4-8
Fuel economy (for 10.25-inch cluster) .................................................................... 4-8
Transmission Shift Indicator ....................................................................................... 4-9
Warning and Indicator Lights ..................................................................................... 4-9
Seat belt warning light ............................................................................................. 4-9
Air bag warning light ................................................................................................ 4-9
Parking brake warning light .................................................................................... 4-10
Anti-lock Brake System (ABS) warning light ........................................................... 4-11
Electronic Brake Force Distribution (EBD) system warning light .......................... 4-11
Electric Power Steering (EPS) warning light .......................................................... 4-12
Charging system warning light ............................................................................... 4-12
Engine oil pressure warning light ........................................................................... 4-12
Low fuel level warning light .................................................................................... 4-13
Malfunction Indicator Lamp (MIL) .......................................................................... 4-13
Electronic Parking Brake (EPB) warning light ....................................................... 4-14
AUTO HOLD indicator light ..................................................................................... 4-15
Low tire pressure warning light .............................................................................. 4-15
Forward Safety warning light ................................................................................. 4-16
Lane Safety indicator light ..................................................................................... 4-16
4 Wheel Drive (AWD) warning light ........................................................................ 4-16
4 Wheel Drive (AWD) LOCK Indicator Light ............................................................4-17
LED headlight warning light .....................................................................................4-17
Icy road warning light ............................................................................................. 4-18
Electronic Stability Control (ESC) indicator light ................................................... 4-18
Electronic Stability Control (ESC) OFF indicator light ........................................... 4-18
Immobilizer Indicator Light (without smart key) .................................................. 4-19
Immobilizer Indicator Light (with smart key) ........................................................ 4-19
Downhill Brake Control (DBC) indicator light ........................................................4-20
Turn signal indicator light ........................................................................................4-20
High beam indicator light .......................................................................................4-20
4. Instrument Cluster
Page 106 of 598
Instrument Cluster
4-12
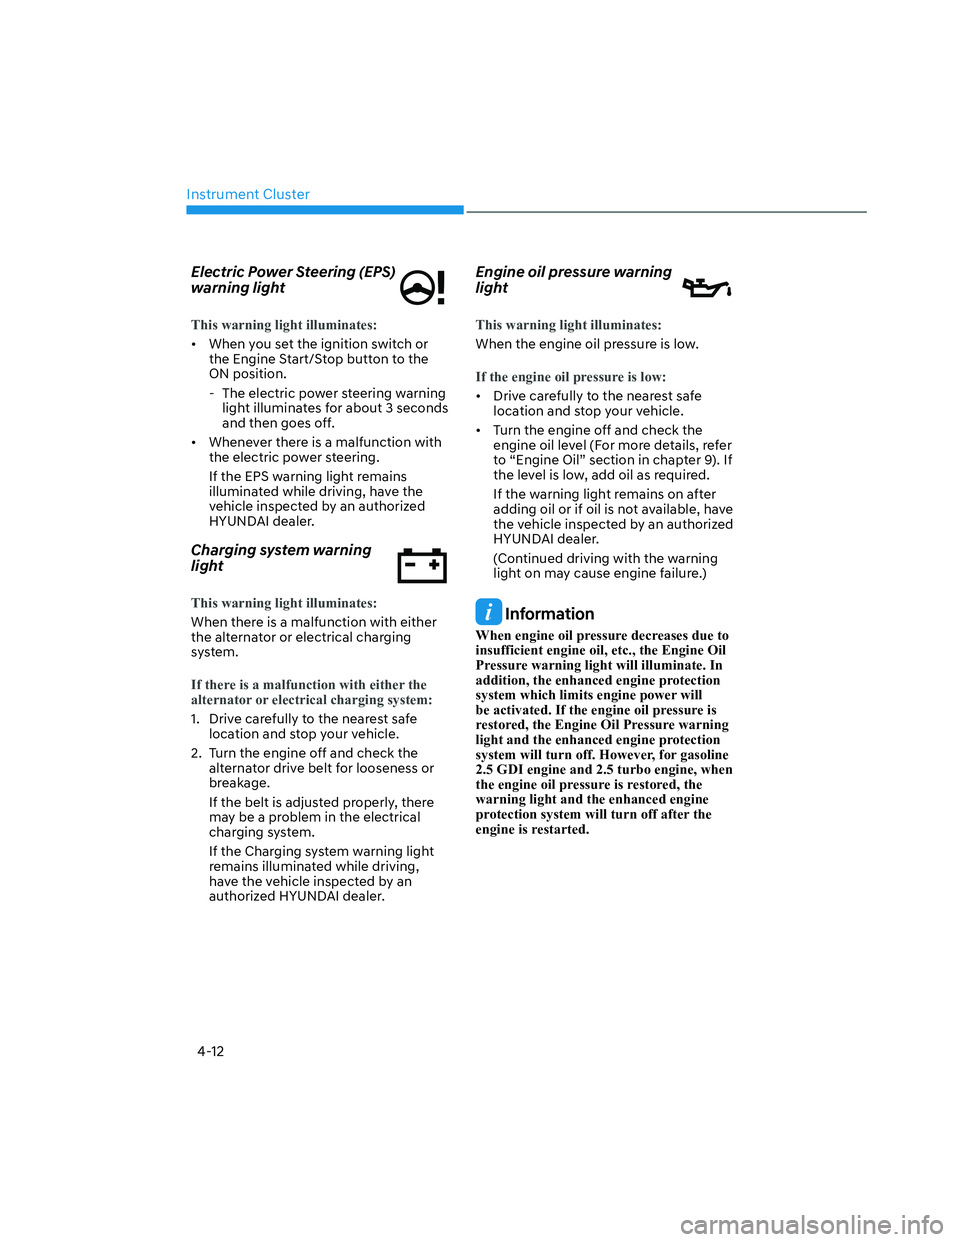
Electric Power Steering (EPS)
warning light
This warning light illuminates:
• When you set the ignition switch or
the Engine Start/Stop button to the
ON position.
- The electric power steering warning
light illuminates for about 3 seconds
and then goes off.
• Whenever there is a malfunction with
the electric power steering.
If the EPS warning light remains
illuminated while driving, have the
vehicle inspected by an authorized
HYUNDAI dealer.
Charging system warning
light
This warning light illuminates:
When there is a malfunction with either
the alternator or electrical charging
system.
If there is a malfunction with either the
alternator or electrical charging system:
1. Drive carefully to the nearest safe
location and stop your vehicle.
2. Turn the engine off and check the
alternator drive belt for looseness or
breakage.
If the belt is adjusted properly, there
may be a problem in the electrical
charging system.
If the Charging system warning light
remains illuminated while driving,
have the vehicle inspected by an
authorized HYUNDAI dealer.
Engine oil pressure warning
light
This warning light illuminates:
When the engine oil pressure is low.
If the engine oil pressure is low:
• Drive carefully to the nearest safe
location and stop your vehicle.
• Turn the engine off and check the
engine oil level (For more details, refer
to “Engine Oil” section in chapter 9). If
the level is low, add oil as required.
If the warning light remains on after
adding oil or if oil is not available, have
the vehicle inspected by an authorized
HYUNDAI dealer.
(Continued driving with the warning
light on may cause engine failure.)
Information
When engine oil pressure decreases due to
insufficient engine oil, etc., the Engine Oil
Pressure warning light will illuminate. In
addition, the enhanced engine protection
system which limits engine power will
be activated. If the engine oil pressure is
restored, the Engine Oil Pressure warning
light and the enhanced engine protection
system will turn off. However, for gasoline
2.5 GDI engine and 2.5 turbo engine, when
the engine oil pressure is restored, the
warning light and the enhanced engine
protection system will turn off after the
engine is restarted.
Page 107 of 598
04
4-13
NOTICE
• If the engine does not stop
immediately after the Engine Oil
Pressure warning light is illuminated,
severe damage could result.
• If the warning light stays on while the
engine is running, it indicates that
there may be serious engine damage
or malfunction. In this case:
1. Stop the vehicle as soon as it is
safe to do so.
2. Turn off the engine and check the
oil level. If the oil level is low, fill
the engine oil to the proper level.
3. Start the engine again. If the
warning light stays on after the
engine is started, turn the engine
off immediately. If this occurs,
have the vehicle inspected by an
authorized HYUNDAI dealer.
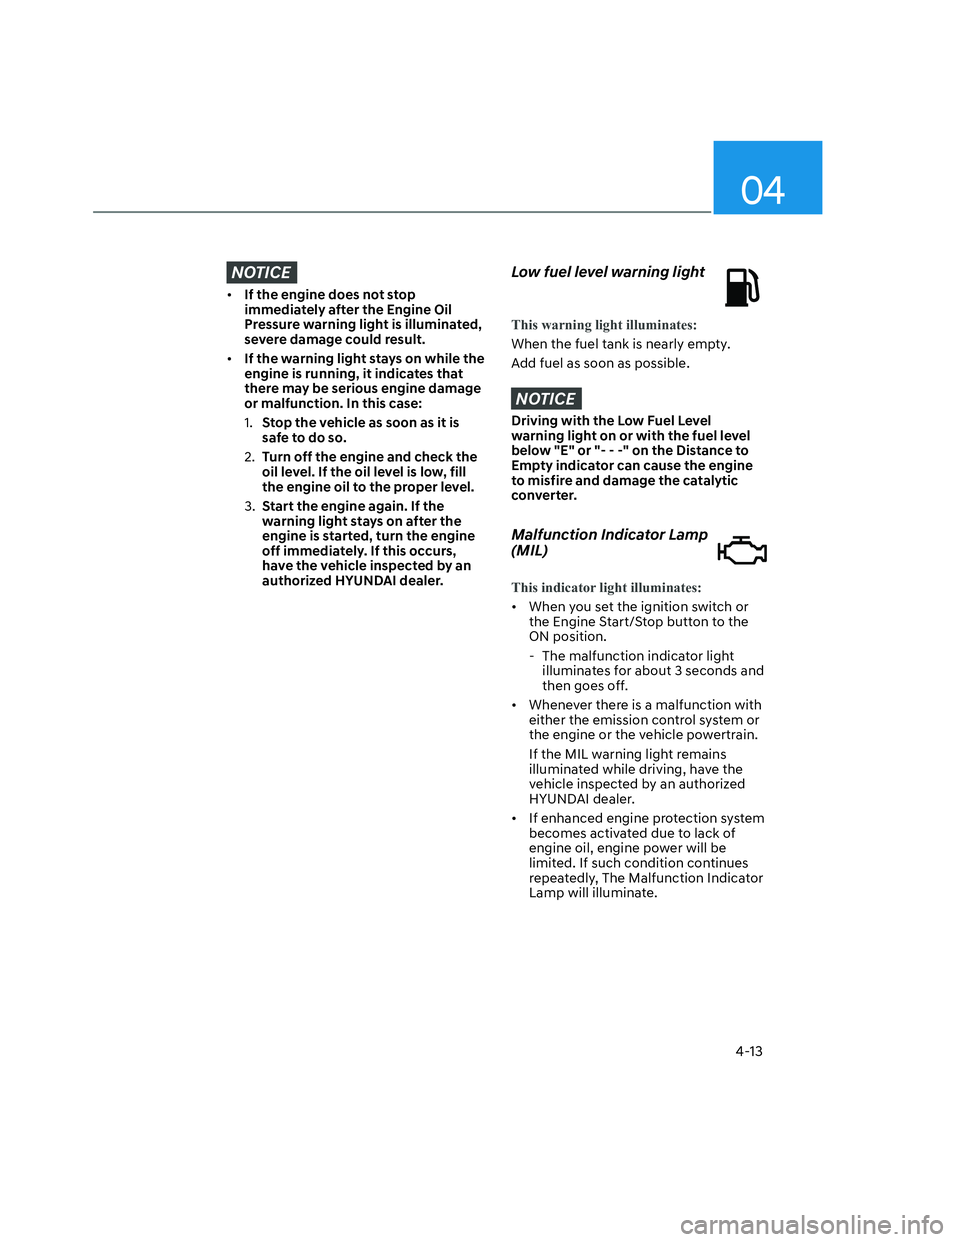
Low fuel level warning light
This warning light illuminates:
When the fuel tank is nearly empty.
Add fuel as soon as possible.
NOTICE
Driving with the Low Fuel Level
warning light on or with the fuel level
below "E" or "- - -" on the Distance to
Empty indicator can cause the engine
to misfire and damage the catalytic
converter.
Malfunction Indicator Lamp
(MIL)
This indicator light illuminates:
• When you set the ignition switch or
the Engine Start/Stop button to the
ON position.
- The malfunction indicator light
illuminates for about 3 seconds and
then goes off.
• Whenever there is a malfunction with
either the emission control system or
the engine or the vehicle powertrain.
If the MIL warning light remains
illuminated while driving, have the
vehicle inspected by an authorized
HYUNDAI dealer.
• If enhanced engine protection system
becomes activated due to lack of
engine oil, engine power will be
limited. If such condition continues
repeatedly, The Malfunction Indicator
Lamp will illuminate.
Page 226 of 598
Convenient Features
5-90
System Operation
Ventilation
1. Set the mode to the position.
2. Set the air intake control to the
outside (fresh) air position.
3. Set the temperature control to the
desired position.
4. Set the fan speed control to the
desired speed.
Heating
1. Set the mode to the position.
2. Set the air intake control to the
outside (fresh) air position.
3. Set the temperature control to the
desired position.
4. Set the fan speed control to the
desired speed.
5. If desired, turn the air conditioning ON
with the temperature control knob set
to heat in order to dehumidify the air
before it enters into the cabin.
If the windshield fogs up, set the mode
to the
or position.
Operation Tips
• To help keep dust or unpleasant fumes
from entering the vehicle through the
ventilation system, temporarily set the
air intake control to the recirculated
air position. Be sure to return the
control to the fresh air position when
the irritation has passed to keep fresh
air in the vehicle. This will help keep
the driver alert and comfortable.
• To prevent interior fog on the
windshield, set the air intake control
to the fresh air position and fan speed
to the desired position, turn on the air
conditioning system, and adjust the
temperature control to the desired
temperature.
Air conditioning
HYUNDAI Air Conditioning Systems are
filled with R-1234yf refrigerant.
1. Start the vehicle.
2. Press the air conditioning button.
3. Set the mode to the Face Level
mode.
4. Set the air intake control to
Recirculation mode temporarily to
allow the cabin to cool quickly. When
the desired temperature in the cabin
is reached, change the air intake
control back to Fresh mode.
5. Adjust the fan speed control and
temperature control to maintain
maximum comfort.
When maximum cooling is desired, set
the temperature control to the lowest
position, then set the fan speed control
to the highest setting.
NOTICE
• When using the air conditioning
system, monitor the engine
temperature gauge closely while
driving up hills or in heavy traffic
when outside temperatures are high.
Air conditioning system operation
when climbing a steep grade or in
high outside ambient temperatures
can cause engine overheating.
Continue to use the fan, but turn
the air conditioning system off if the
engine temperature gauge indicates
engine overheating.
• The air conditioning evaporator
(cooling coil) shall never be repaired
or replaced with one removed from
a used or salvaged vehicle and new
replacement MAC evaporators shall
be certified (and labeled) as meeting
SAE Standard J2842.
Page 239 of 598
05
5-103
Operation Tips
• To help keep dust or unpleasant fumes
from entering the vehicle through the
ventilation system, temporarily set the
air intake control to the recirculated
air position. Be sure to return the
control to the fresh air position when
the irritation has passed to keep fresh
air in the vehicle. This will help keep
the driver alert and comfortable.
• To prevent interior fog on the
windshield, set the air intake control
to the fresh air position and fan speed
to the desired position, turn on the air
conditioning system, and adjust the
temperature control to the desired
temperature.
1. Start the vehicle.
2. Press the air conditioning button.
3. Set the mode to the Face Level
mode.
4. Set the air intake control to
Recirculation mode temporarily to
allow the cabin to cool quickly. When
the desired temperature in the cabin
is reached, change the air intake
control back to Fresh mode.
5. Adjust the fan speed control and
temperature control to maintain
maximum comfort.
When maximum cooling is desired, set
the temperature control to the lowest
position, then set the fan speed control
to the highest setting.
NOTICE
• When using the air conditioning
system, monitor the engine
temperature gauge closely while
driving up hills or in heavy traffic
when outside temperatures are high.
Air conditioning system operation
when climbing a steep grade or in
high outside ambient temperatures
can cause engine overheating.
Continue to use the fan, but turn
the air conditioning system off if the
engine temperature gauge indicates
engine overheating.
• The air conditioning evaporator
(cooling coil) shall never be repaired
or replaced with one removed from
a used or salvaged vehicle and new
replacement MAC evaporators shall
be certified (and labeled) as meeting
SAE Standard J2842.
Page 333 of 598
06
6-59
Driving in Flooded Areas
Avoid driving through flooded areas
unless you are sure the water is no
higher than the bottom of the wheel hub.
Drive through any water slowly. Allow
adequate stopping distance because
brake performance may be reduced.
After driving through water, dry the
brakes by gently applying them several
times while the vehicle is moving slowly.
Highway Driving
Tires
Adjust the tire inflation, as specified.
Under-inflation may overheat or damage
the tires.
Do not install worn-out or damaged tires,
which may reduce traction or fail the
braking operation.
Information
Never over-inflate your tires above the
maximum inflation pressure, as specified
on your tires.
Fuel, engine coolant and engine oil
Driving at higher speeds on the highway
consumes more fuel and is less efficient
than driving at a slower, more moderate
speed. Maintain a moderate speed in
order to conserve fuel when driving on
the highway.
Be sure to check both the engine coolant
level and the engine oil before driving.
Drive belt
A loose or damaged drive belt may
overheat the engine.
Reducing the Risk of a Rollover
Your multi-purpose passenger vehicle is
defined as a Sports Utility Vehicle (SUV).
SUV’s have higher ground clearance
and a narrower track to make them
capable of performing in a wide variety
of off-road applications. The specific
design characteristics give them a higher
center of gravity than ordinary vehicles
making them more likely to roll over if
you make abrupt turns. Utility vehicles
have a significantly higher rollover rate
than other types of vehicles. Due to this
risk, driver and passengers are strongly
recommended to buckle their seat belts.
In a rollover crash, an unbelted person
is significantly more likely to die than a
person wearing a seat belt.
There are steps that a driver can make
to reduce the risk of a rollover. If at all
possible, avoid sharp turns or abrupt
maneuvers, do not load your vehicle
with heavy cargo on the roof, and never
modify your vehicle in any way.
WARNING
Utility vehicles have a significantly
higher rollover rate than other types of
vehicles. To prevent rollovers or loss of
control:
• Take corners at slower speeds than
you would with a passenger vehicle.
• Avoid sharp turns and abrupt
maneuvers.
• Do not modify your vehicle in any
way that you would raise the center
of gravity.
• Keep tires properly inflated.
• Do not carry heavy cargo on the roof.
WARNING
In a rollover crash, an unbelted person
is significantly more likely to die than a
person wearing a seat belt. Make sure
all passengers are wearing their seat
belts.
Page 336 of 598
Driving Your Vehicle
6-62
Chain Installation
When installing tire chains, follow the
manufacturer’s instructions and mount
them as tightly possible. Drive slowly
(less than 20 mph (30 km/h)) with
chains installed. If you hear the chains
contacting the body or chassis, stop and
tighten them. If they still make contact,
slow down until the noise stops. Remove
the tire chains as soon as you begin
driving on cleared roads.
When mounting snow chains, park the
vehicle on level ground away from traffic.
Turn on the vehicle Hazard Warning
Flasher and place a triangular emergency
warning device behind the vehicle (if
available). Always place the vehicle in P
(Park), apply the parking brake and turn
off the engine before installing snow
chains.
NOTICE
When using tire chains:
• Wrong size chains or improperly
installed chains can damage your
vehicle’s brake lines, suspension,
body and wheels.
• Use SAE “S” class or wire chains.
• If you hear noise caused by chains
contacting the body, retighten the
chain to prevent contact with the
vehicle body.
• To prevent body damage, retighten
the chains after driving 0.3~0.6 miles
(0.5~1.0 km).
• Do not use tire chains on vehicles
equipped with aluminum wheels. If
unavoidable, use a wire type chain.
• Use wire chains less than 0.47 in.
(12mm) thick to prevent damage to
the chain’s connection.
Winter Precautions
Use high quality ethylene glycol coolant
Your vehicle is delivered with high
quality ethylene glycol coolant in the
cooling system. It is the only type of
coolant that should be used because it
helps prevent corrosion in the cooling
system, lubricates the water pump and
prevents freezing. Be sure to replace or
replenish your coolant in accordance
with the maintenance schedule in
chapter 9. Before winter, have your
coolant tested to assure that its freezing
point is sufficient for the temperatures
anticipated during the winter.
Check battery and cables
Winter temperatures affect battery
performance. Inspect the battery and
cables, as specified in chapter 9. The
battery charging level can be checked
by an authorized HYUNDAI dealer or in a
service station.
Change to “winter weight” oil if
necessary
In some regions during winter, it is
recommended to use the “winter
weight” oil with lower viscosity In
addition, replace the engine oil and filter
if it is close to the next maintenance
interval. Fresh engine oil ensures
optimum engine operation during the
winter months. For further information,
refer to chapter 2. When you are not sure
about a type of winter weight oil, consult
an authorized HYUNDAI dealer.
Page 509 of 598
9
Maintenance
9. Maintenance
Engine Compartment ....................................................................................... 9-3
Maintenance Services ...................................................................................... 9-4
Owner’s Responsibility ............................................................................................... 9-4
Owner Maintenance Precautions ............................................................................... 9-4
Owner Maintenance ......................................................................................... 9-5Owner Maintenance Schedule ................................................................................... 9-6
Scheduled Maintenance Services ....................................................................9-7
Normal Maintenance Schedule .................................................................................. 9-8
Maintenance Under Severe Usage Conditions ........................................................ 9-12
Explanation of Scheduled Maintenance Items .............................................. 9-14Fuel Filter ....................................................................................................................9-14
Parking Brake .............................................................................................................. 9-16
Engine Oil ......................................................................................................... 9-17
Engine Coolant ............................................................................................... 9-20
Checking the Coolant Level...................................................................................... 9-20
Changing Coolant ...................................................................................................... 9-22
Brake Fluid ....................................................................................................... 9-23Checking the Brake Fluid Level ................................................................................. 9-23
Washer Fluid .................................................................................................... 9-24Checking the Washer Fluid Level ..............................................................................9-24
Air Cleaner ....................................................................................................... 9-25Filter Replacement ..................................................................................................... 9-25
Cabin Air Filter ..................................................................................................9-27Filter Inspection.......................................................................................................... 9-27
Filter Replacement ..................................................................................................... 9-27
Wiper Blades ................................................................................................... 9-28Blade Inspection ........................................................................................................9-28
Blade Replacement ....................................................................................................9-28
Battery .............................................................................................................. 9-31For Best Battery Service ............................................................................................ 9-32
Battery Capacity Label ............................................................................................... 9-32
Battery Recharging ....................................................................................................9-33
Reset Items .................................................................................................................9-34