Page 118 of 533
Auto Hold
See Auto Hold (page 198).
Auto-Start-Stop See
Auto-Start-Stop (page
168).
Blind Spot Monitor See
Blind Spot Information
System (page 237).
Cruise Control See
Cruise Control (page 213).
High Beam See
Using the High Beam
Headlamps (page 93).
Lamps On See
Exterior Lighting (page
93).
Ready to Drive See
Hybrid Electric Vehicle
Information (page 166). Stability and Traction Control See
Stability Control (page
201). See Traction Control
(page 199).
Turn Signal See Switching the Turn Signal
Lamps On and Off
(page 95).
115
2022 Maverick (CFE) Canada/United States of America, enUSA, Edition date: 202106, First-Printing Instrument ClusterE323448 E323449 E322410 E322411 E151262 E71340 E224090 E138639 E130458
Page 120 of 533
INSTRUMENT CLUSTER
DISPLAY MAIN MENU -
VEHICLES WITH: 6.5 INCH
SCREEN
Menu Item
Select Screens Audio
Phone
Settings
Display Setup
CUSTOMIZING THE
INSTRUMENT CLUSTER
DISPLAY - VEHICLES WITH: 4.2
INCH SCREEN
1. Using the information display controls on the steering wheel, select MyView.
2. Press the menu button.
3. Select a screen.
4. Press the
OK button.
CUSTOMIZING THE
INSTRUMENT CLUSTER
DISPLAY - VEHICLES WITH: 6.5
INCH SCREEN
Adding Screens Using Select
Screens
You can select various screens to show on
the instrument cluster display.
1. Select
Select Screens.
2. Use the controls on the steering wheel
to highlight a screen to add.
3. Press the
OK button. Note:
The amount of screens you can add
is limited. If the selected screen does not
appear, you must deselect items from the
menu. Select Screens
Calm screen
Fuel economy Trip 1
Trip 2
This trip
EV Coach
Tire pressure
Intelligent AWD Off-Road
Trailer light check Seatbelts
Auto StartStop Now playing
Note: Some options may appear slightly
different or not at all if items are optional.
Configuring Gauges
You can select which values your
speedometer shows in the instrument
cluster display.
1. Select
Display Setup.
2. Select a speed unit to display.
117
2022 Maverick (CFE) Canada/United States of America, enUSA, Edition date: 202106, First-Printing Instrument Cluster Display
Page 130 of 533
SETTING THE BLOWER MOTOR
SPEED
Note:
Lights on the control illuminate to
indicate the blower motor speed.
Note: When you switch the blower motor
off, air conditioning turns off and the
windows could fog up.
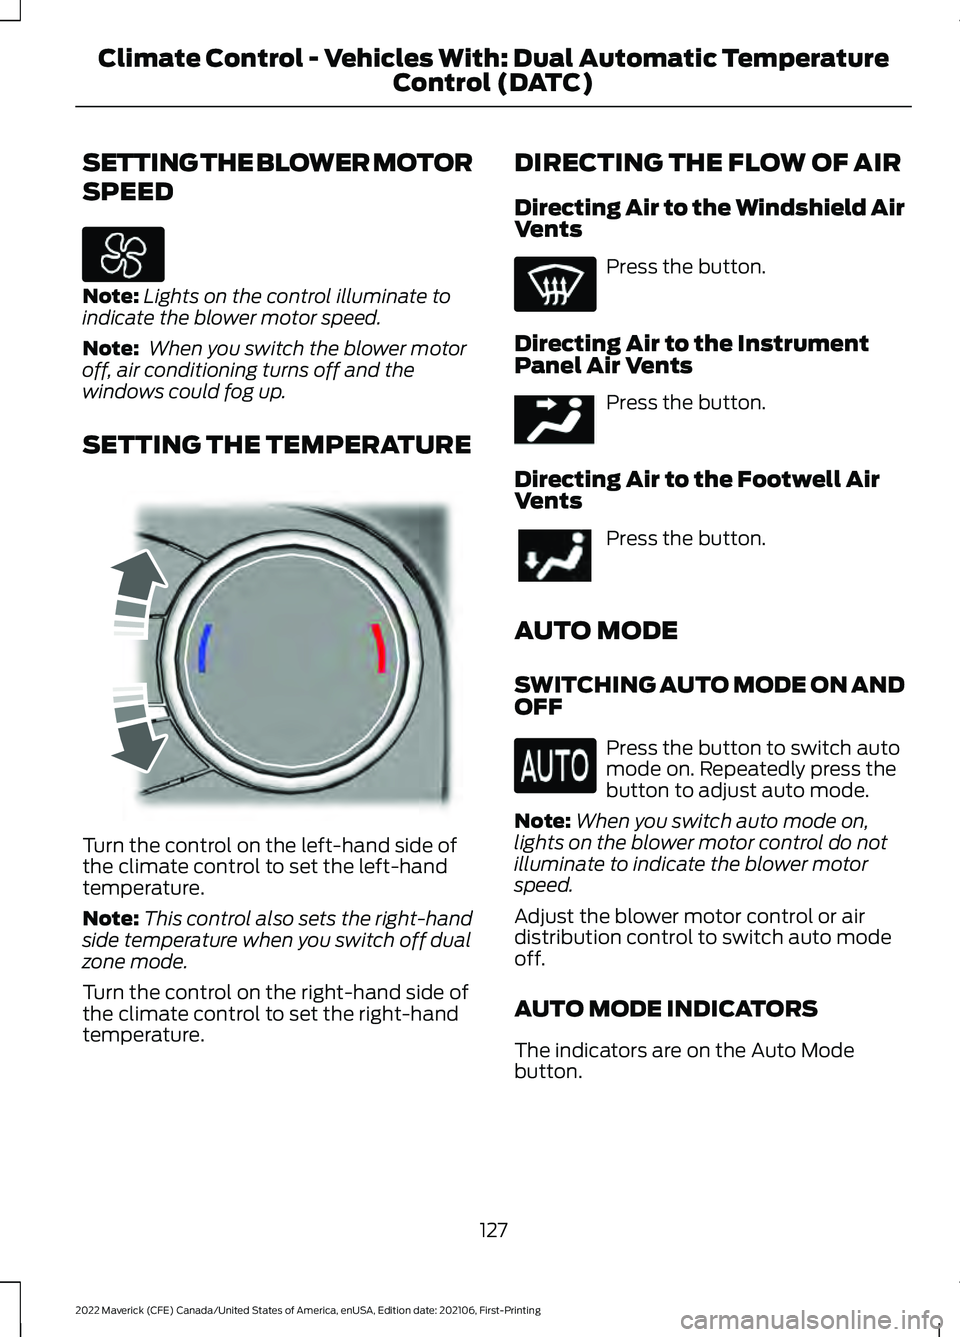
SETTING THE TEMPERATURE Turn the control on the left-hand side of
the climate control to set the left-hand
temperature.
Note:
This control also sets the right-hand
side temperature when you switch off dual
zone mode.
Turn the control on the right-hand side of
the climate control to set the right-hand
temperature. DIRECTING THE FLOW OF AIR
Directing Air to the Windshield Air
Vents Press the button.
Directing Air to the Instrument
Panel Air Vents Press the button.
Directing Air to the Footwell Air
Vents Press the button.
AUTO MODE
SWITCHING AUTO MODE ON AND
OFF Press the button to switch auto
mode on. Repeatedly press the
button to adjust auto mode.
Note: When you switch auto mode on,
lights on the blower motor control do not
illuminate to indicate the blower motor
speed.
Adjust the blower motor control or air
distribution control to switch auto mode
off.
AUTO MODE INDICATORS
The indicators are on the Auto Mode
button.
127
2022 Maverick (CFE) Canada/United States of America, enUSA, Edition date: 202106, First-Printing Climate Control - Vehicles With: Dual Automatic Temperature
Control (DATC) E244115 E244097
Page 134 of 533
SETTING THE BLOWER MOTOR
SPEED
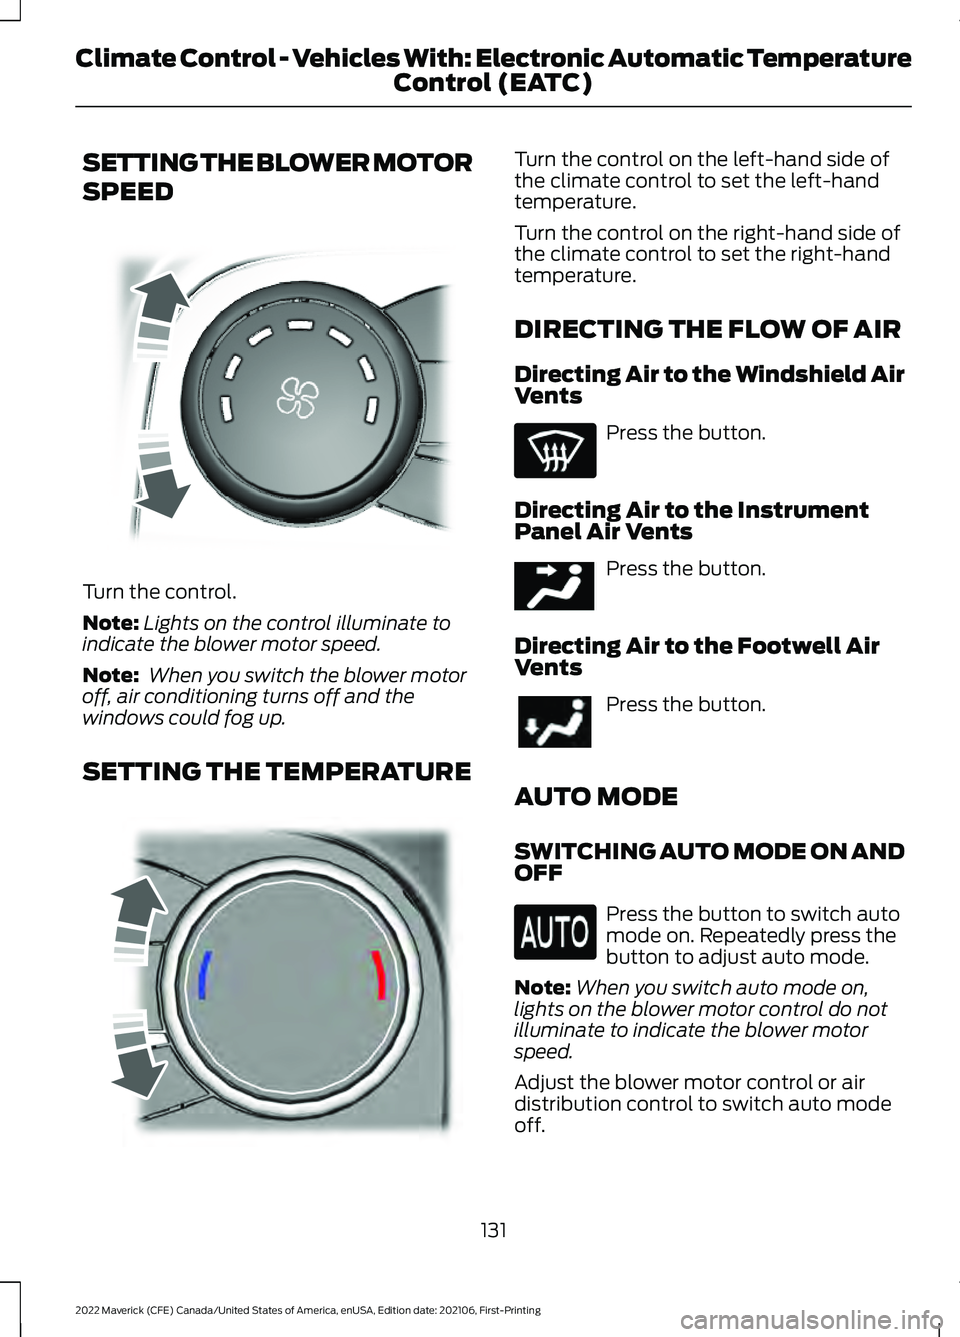
Turn the control.
Note:
Lights on the control illuminate to
indicate the blower motor speed.
Note: When you switch the blower motor
off, air conditioning turns off and the
windows could fog up.
SETTING THE TEMPERATURE Turn the control on the left-hand side of
the climate control to set the left-hand
temperature.
Turn the control on the right-hand side of
the climate control to set the right-hand
temperature.
DIRECTING THE FLOW OF AIR
Directing Air to the Windshield Air
Vents
Press the button.
Directing Air to the Instrument
Panel Air Vents Press the button.
Directing Air to the Footwell Air
Vents Press the button.
AUTO MODE
SWITCHING AUTO MODE ON AND
OFF Press the button to switch auto
mode on. Repeatedly press the
button to adjust auto mode.
Note: When you switch auto mode on,
lights on the blower motor control do not
illuminate to indicate the blower motor
speed.
Adjust the blower motor control or air
distribution control to switch auto mode
off.
131
2022 Maverick (CFE) Canada/United States of America, enUSA, Edition date: 202106, First-Printing Climate Control - Vehicles With: Electronic Automatic Temperature Control (EATC)E317606 E244115 E244097
Page 138 of 533
FRONT SEAT PRECAUTIONS
WARNING: Sitting improperly, out
of position or with the seatback reclined
too far can take weight off the seat
cushion and affect the decision of the
passenger sensing system, resulting in
serious injury or death in the event of a
crash. Always sit upright against your
seat back, with your feet on the floor. WARNING: Do not recline the seat
backrest too far as this can cause the
occupant to slide under the seatbelt,
resulting in personal injury in the event
of a crash. WARNING:
Do not place objects
higher than the top of the seat backrest.
Failure to follow this instruction could
result in personal injury or death in the
event of a sudden stop or crash. WARNING: Do not adjust the driver
seat or seat backrest when your vehicle
is moving. This may result in sudden seat
movement, causing the loss of control
of your vehicle. SITTING IN THE CORRECT
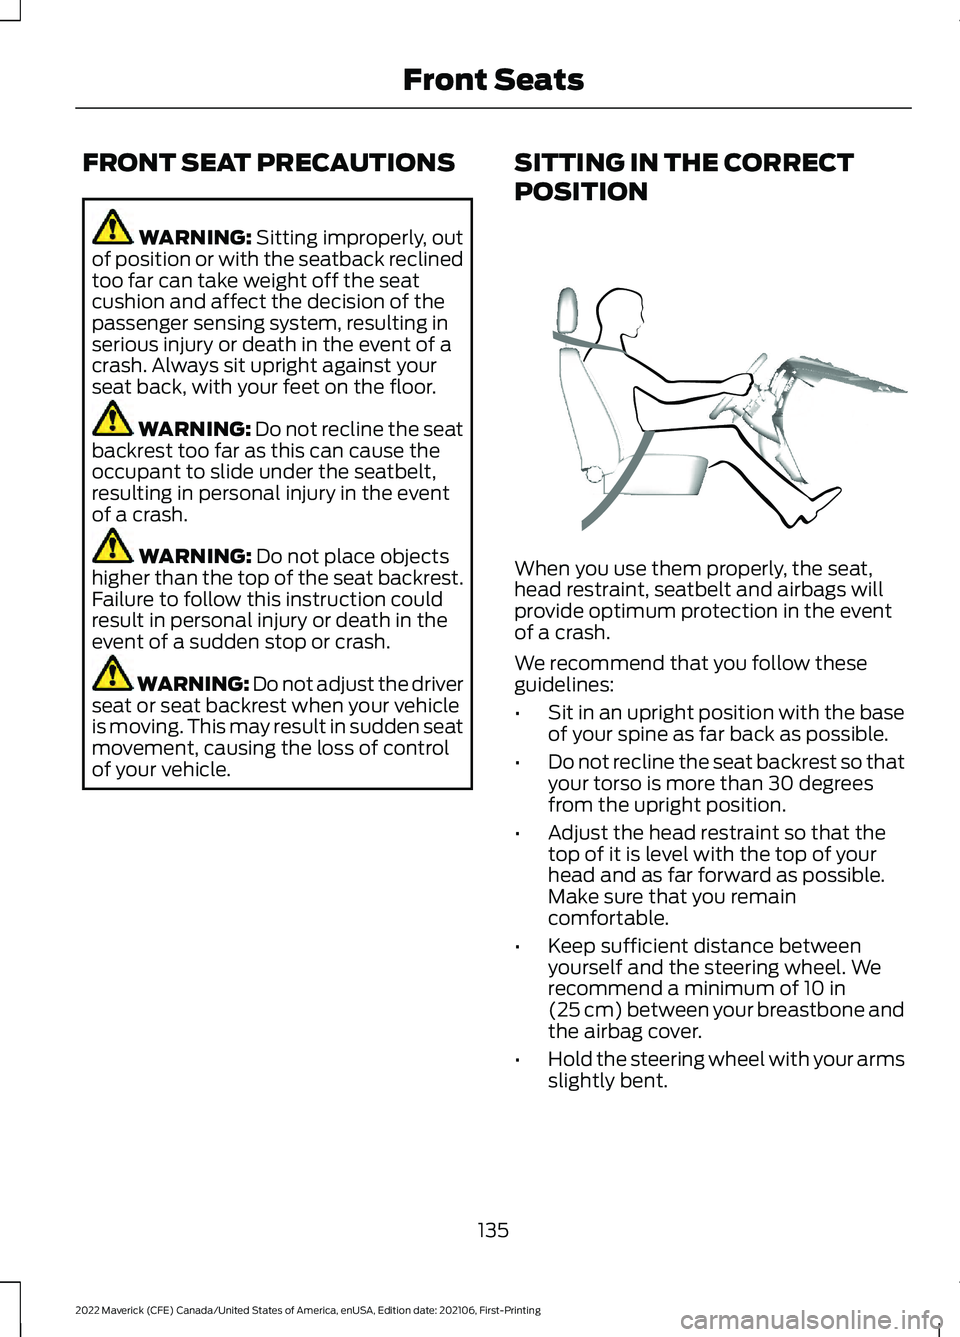
POSITION When you use them properly, the seat,
head restraint, seatbelt and airbags will
provide optimum protection in the event
of a crash.
We recommend that you follow these
guidelines:
•
Sit in an upright position with the base
of your spine as far back as possible.
• Do not recline the seat backrest so that
your torso is more than 30 degrees
from the upright position.
• Adjust the head restraint so that the
top of it is level with the top of your
head and as far forward as possible.
Make sure that you remain
comfortable.
• Keep sufficient distance between
yourself and the steering wheel. We
recommend a minimum of
10 in
(25 cm) between your breastbone and
the airbag cover.
• Hold the steering wheel with your arms
slightly bent.
135
2022 Maverick (CFE) Canada/United States of America, enUSA, Edition date: 202106, First-Printing Front SeatsE68595
Page 139 of 533
•
Bend your legs slightly so that you can
press the pedals fully.
• Position the shoulder strap of the
seatbelt over the center of your
shoulder and position the lap strap
tightly across your hips.
Make sure that your driving position is
comfortable and that you can maintain full
control of your vehicle.
MANUAL SEATS
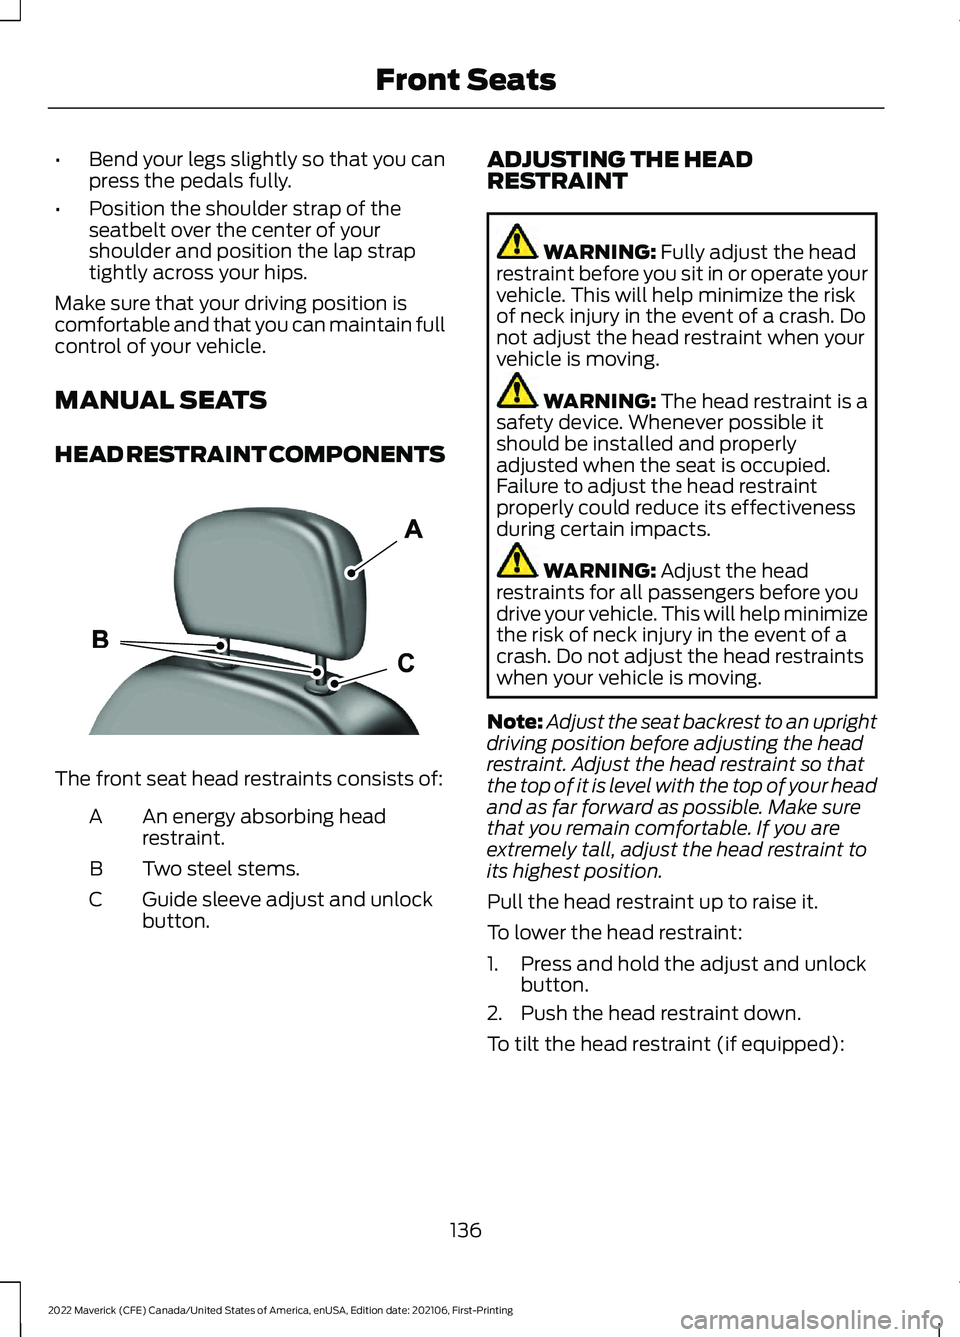
HEAD RESTRAINT COMPONENTS The front seat head restraints consists of:
An energy absorbing head
restraint.
A
Two steel stems.
B
Guide sleeve adjust and unlock
button.
C ADJUSTING THE HEAD
RESTRAINT WARNING: Fully adjust the head
restraint before you sit in or operate your
vehicle. This will help minimize the risk
of neck injury in the event of a crash. Do
not adjust the head restraint when your
vehicle is moving. WARNING:
The head restraint is a
safety device. Whenever possible it
should be installed and properly
adjusted when the seat is occupied.
Failure to adjust the head restraint
properly could reduce its effectiveness
during certain impacts. WARNING:
Adjust the head
restraints for all passengers before you
drive your vehicle. This will help minimize
the risk of neck injury in the event of a
crash. Do not adjust the head restraints
when your vehicle is moving.
Note: Adjust the seat backrest to an upright
driving position before adjusting the head
restraint. Adjust the head restraint so that
the top of it is level with the top of your head
and as far forward as possible. Make sure
that you remain comfortable. If you are
extremely tall, adjust the head restraint to
its highest position.
Pull the head restraint up to raise it.
To lower the head restraint:
1. Press and hold the adjust and unlock button.
2. Push the head restraint down.
To tilt the head restraint (if equipped):
136
2022 Maverick (CFE) Canada/United States of America, enUSA, Edition date: 202106, First-Printing Front SeatsE291139
Page 152 of 533
WHAT IS THE POWER OUTLET
The power outlet can power devices that
use a household plug.
POWER OUTLET
PRECAUTIONS
WARNING: Do not keep electrical
devices plugged in the power point
whenever the device is not in use. Do not
use any extension cord with the 110 volt
AC power point, since it will defeat the
safety protection design. Doing so may
cause the power point to overload due
to powering multiple devices that can
reach beyond the 400 watt load limit
and could result in fire or serious injury. WARNING:
Do not keep electrical
devices plugged in the power point
whenever the device is not in use. Power
points power up during remote start.
POWER OUTLET LIMITATIONS
Devices may exceed the power rating
shown the device label when plugged in.
Unplug the device and switch the ignition
on and off to reset the system.
You should not use the power outlet for
these types of electric devices:
• Cathode ray tube type televisions.
• Motor loads, for example vacuum
cleaners, electric saws and other
electric power tools, or
compressor-driven refrigerators. •
Measuring devices which process
precise data, for example medical
equipment or measuring equipment.
• Other appliances requiring an
extremely stable power supply, for
example microcomputer-controlled
electric blankets or touch sensor
lamps.
LOCATING THE POWER
OUTLET
The power outlet could be on the
instrument panel, the rear of the center
console or in the pickup bed.
POWER OUTLET INDICATORS
The power outlet indicator illuminates to
let you know the status of the system. Description
Indicator Status
When the indicatorlight is on, the
outlet is providing power.
On
When the indicatorlight is off, there is no power to the outlet.
Off
When the indicator
light is flashing, the outlet is in a fault mode.
Flashing
Fault mode
The power outlet temporarily turns off
power if the device exceeds the watt limit.
1. Unplug your device.
2. Switch your vehicle off to let the system cool and reset the fault mode.
149
2022 Maverick (CFE) Canada/United States of America, enUSA, Edition date: 202106, First-Printing Power Outlet - Vehicles With: 110V Power Outlet
Page 153 of 533
3.
Switch your vehicle back on, but do not
plug your device back in.
4. With your vehicle on, make sure the indicator light remains on.
5. Make sure your device does not exceed
the power limits and then plug in your
device.
Note: If a fault occurs again, your device
may exceed the capacity available from the
power outlet.
150
2022 Maverick (CFE) Canada/United States of America, enUSA, Edition date: 202106, First-Printing Power Outlet - Vehicles With: 110V Power Outlet