Page 129 of 260

127
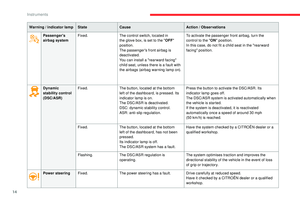
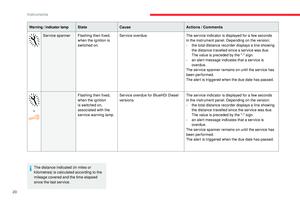
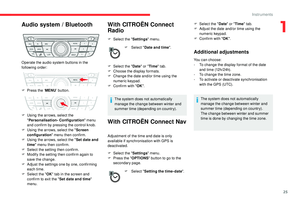
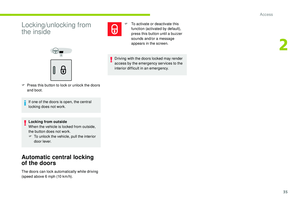
In some weather conditions (e.g. low
temperature or humidity), the presence
of misting on the internal sur face of the
glass of the headlamps and rear lamps is
normal; it disappears after the lamps have
been on for a few minutes.
Front lamps
Halogen headlampsHalogen lamps with daytime
running lamps and foglamps
1
Direction indicators (PY21W).
2 Main beam headlamps (H1).
3 Dipped beam headlamps (H7LL).
4 Sidelamps (W5W). 1
Direction indicators (PY21W).
2 Main beam headlamps (H1).
3 Dipped beam headlamps (H7LL).
4 Daytime running lamps / Sidelamps (LEDs).
5 Fo g l a m p s ( H11) .
Light-emitting diodes (LEDs)
For the replacement of this type of lamp,
go to a CITROËN dealer or a qualified
workshop.
Direction indicators
Quicker flashing of the direction indicator
lamp (left or right) indicates that one of
the bulbs on the corresponding side has
failed.
F
T
urn the connector a quarter turn anti-
clockwise.
F
P
ull the bulb connector.
F
R
emove the bulb and change it.
To refit, carry out these operations in reverse
o r d e r.
Amber colour bulbs, such as the direction
indicators, must be replaced by bulbs with
identical colour and specifications.
To refit, close the protective cover very
carefully to guarantee the sealing of the
lamp.
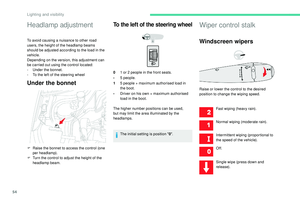
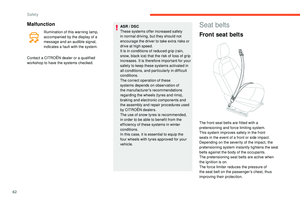
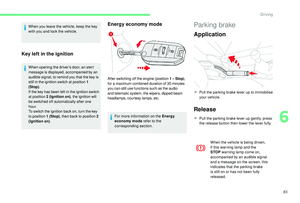
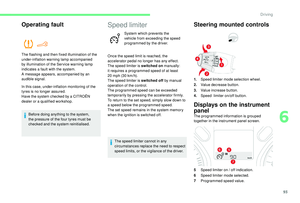
8
In the event of a breakdown
Page 130 of 260

128
Main beam headlampsDipped beam headlampsSidelamps
F Remove the protective cover by pulling on
the tab.
F
U
nclip the module support unit.
F
R
emove the bulb connector.
F
R
emove the bulb and change it.
To reassemble it, reposition the unit in the
housing and clip it back.
Make sure to change the protective cover with
the tab facing upward. F
R emove the protective cover by pulling the
tab.
F
P
ush the entire module relative to the
support to unclip one of the two tabs.
F
O
nce the first tab is unclipped, release the
second tab.
F
R
emove the bulb connector.
F
R
emove the bulb and change it.
To reassemble it, position the unit in the
housing and push until the two tabs "clip".
Make sure to change the protective cover with
the tab facing upward. F
R emove the protective cover by pulling on
the tab.
F
R
emove the bulb connector.
F
R
emove the bulb and change it.
For reassembly, carry out these operations in
reverse order.
Make sure to change the protective cover with
the tab facing upward.
In the event of a breakdown
Page 131 of 260
129
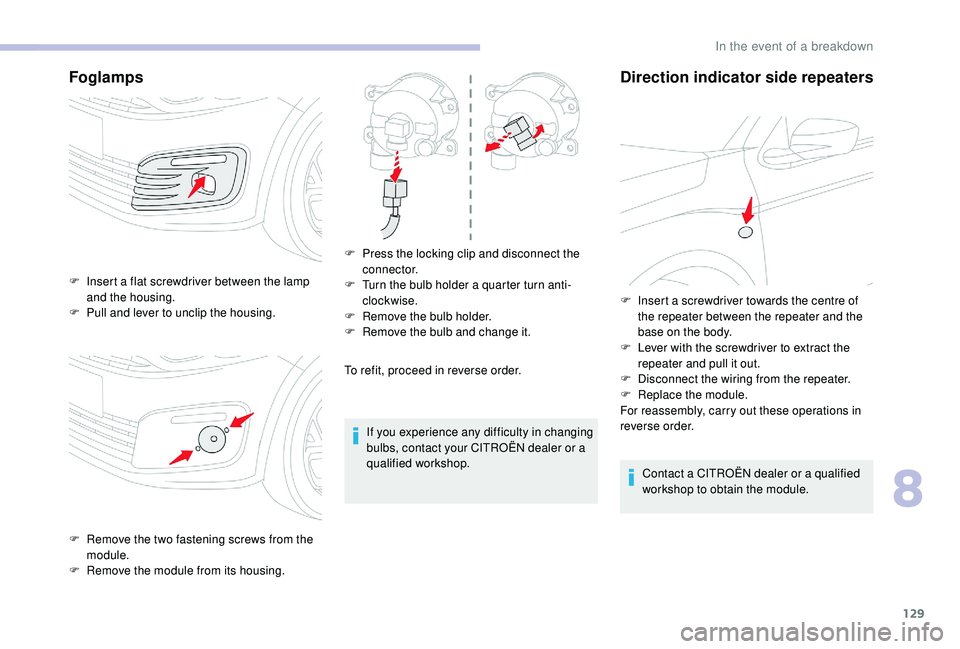
Foglamps
To refit, proceed in reverse order.If you experience any difficulty in changing
bulbs, contact your CITROËN dealer or a
qualified workshop.
Direction indicator side repeaters
Contact a CITROËN dealer or a qualified
workshop to obtain the module.
F
I
nsert a flat screwdriver between the lamp
and the housing.
F
P
ull and lever to unclip the housing.
F
R
emove the two fastening screws from the
module.
F
R
emove the module from its housing. F
P
ress the locking clip and disconnect the
connector.
F
T
urn the bulb holder a quarter turn anti-
clockwise.
F
R
emove the bulb holder.
F
R
emove the bulb and change it.
F
I
nsert a screwdriver towards the centre of
the repeater between the repeater and the
base on the body.
F
L
ever with the screwdriver to extract the
repeater and pull it out.
F
D
isconnect the wiring from the repeater.
F
R
eplace the module.
For reassembly, carry out these operations in
reverse order.
8
In the event of a breakdown
Page 132 of 260

130
Rear lampsThird brake lamp
(W5W)
You must access the housing located on the
rear shelf from the rear seats:
F
U
nclip the bulb holder by lifting the two lugs
and remove it.
F
C
hange the faulty bulb.
F
P
ull the housing cover towards you and up
to disengage it.
F
D
isconnect the lamp connector.
F
L
oosen and remove the nut.
F
F
rom the outside, carefully remove the lamp
unit straight from its housing.
These bulbs are changed from inside the boot:
F
O
pen the boot.
F
R
emove the access grille from the
corresponding side trim panel.
F
D
isconnect the lamp connector. F
R
emove the four screws and lift off the bulb
h o l d e r.
F
T
urn the faulty bulb a quarter of a turn and
change it.
For reassembly, carry out these operations in
reverse order.
Take care to engage the lamp unit in its guides,
while keeping it in line with the vehicle.
Tighten sufficiently to ensure sealing, but
without damaging the lamp.
1 Brake lamp / sidelamps (P21/5W).
2
Direction indicators (PY21W).
3 Reversing lamp (W16W).
4 Foglamp (P21/5W).
In the event of a breakdown
Page 133 of 260

131
To refit, carry out these operations in reverse
o r d e r.Check that the housing cover is positioned
correctly on its support before clipping it
on.
Number plate lamps
(W5W)
F Insert a thin screwdriver into one of the exterior holes of the transparent lens.
F
P
ush it outwards to unclip it and remove it.
F
R
emove the faulty bulb and change it.
For reassembly, carry out these operations in
reverse order.
Changing a fuse
Access to tooling Changing a fuseBefore changing a fuse:
F
T he cause of the failure must be identified
and rectified.
F
A
ll devices consuming electricity must be
switched off.
F
T
he vehicle must be immobilised with the
ignition off.
F
I
dentify the faulty fuse using the existing
allocation tables and diagrams.
To remove or fit a fuse, it is essential to:
F
U
se the special pliers to extract the fuse
from its housing and check the condition of
its filament.
F
A
lways replace the failed fuse with a fuse
of the same rating (same colour); using a
different rating could cause faults (risk of
f i r e).
If the fuse fails again soon after
replacement, have the vehicle's electrical
system checked by a CITROËN dealer or
a qualified workshop.
The replacement of a fuse not shown in
the allocation tables below may cause
a serious malfunction of your vehicle.
Contact a CITROËN dealer or a qualified
workshop.
The extraction tweezers are fitted to the back
of the dashboard fusebox cover.
F
U
nclip the cover by pulling at the top right,
then left.
F
D
isengage the cover fully and turn it over.
F
P
ull out the pliers.
8
In the event of a breakdown
Page 134 of 260
132
GoodFailed
Tw e e z e r s
Installing electrical accessories
Your vehicle's electrical system is
designed to operate with standard or
optional equipment.
Before installing other electrical
equipment or accessories on your vehicle,
contact a CITROËN dealer or a qualified
workshop. CITROËN will not accept responsibility for
the cost incurred in repairing your vehicle
or for rectifying malfunctions resulting
from the installation of accessories
not supplied and not recommended by
CITROËN and not installed in accordance
with its instructions, in particular when
the combined consumption of all of the
additional equipment connected exceeds
10
milliamperes.
Fuses in the dashboard
The fusebox is placed in the lower dashboard
(left-hand side).
Access to the fuses
F Unclip the cover by pulling at the top right, then left.
In the event of a breakdown
Page 135 of 260
133
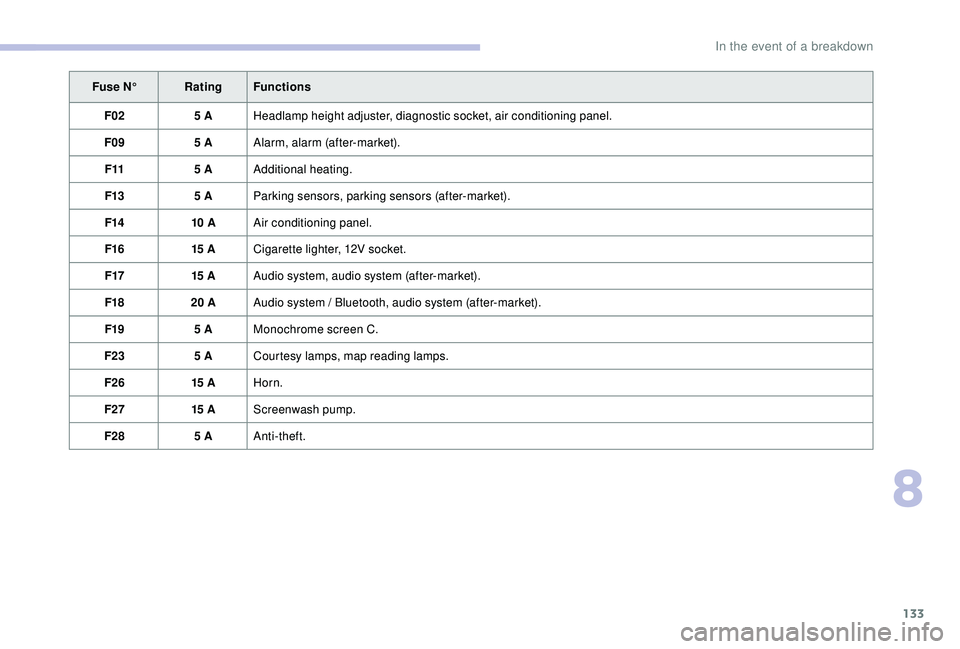
Fuse N°Rating Functions
F02 5
AHeadlamp height adjuster, diagnostic socket, air conditioning panel.
F09 5
AAlarm, alarm (after-market).
F11 5
AAdditional heating.
F13 5
AParking sensors, parking sensors (after-market).
F14 10
AAir conditioning panel.
F16 15
ACigarette lighter, 12V socket.
F17 15
AAudio system, audio system (after-market).
F18 20
AAudio system / Bluetooth, audio system (after-market).
F19 5
AMonochrome screen C.
F23 5
ACourtesy lamps, map reading lamps.
F26 15
AHorn.
F27 15
AScreenwash pump.
F28 5
AAnti-theft.
8
In the event of a breakdown
Page 136 of 260
134
Fuses in the engine
compartment
The fusebox is located in the engine
compartment near the battery (left-hand side).
Access to the fusesFuse N°Rating Functions
F29 -Not used.
F30 10
AHeated door mirrors.
F31 25
AHeated rear screen.
F32 -Not used.
F33 30
AFront electric windows.
F34 30
ARear electric windows.
F35 30
AHeated front seats.
F36 -Not used.
F37 20
ATrailer inter face box. F
U
nclip the cover.
F
C
hange the fuse.
F
W
hen you have finished, close the cover
very carefully to ensure correct sealing of
the fusebox.
In the event of a breakdown