2022 CHRYSLER PACIFICA Eco
[x] Cancel search: EcoPage 301 of 384

IN CASE OF EMERGENCY299
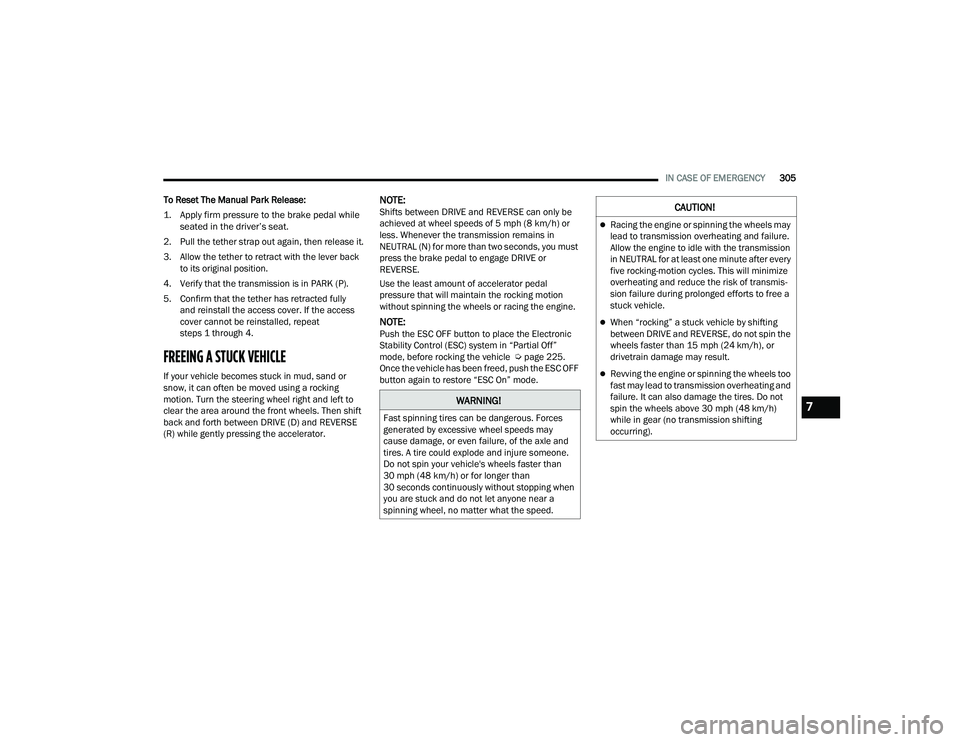
NOTE:If tire has improper inflation follow these next
steps:
1. Uncoil the Sealant Hose, and then remove the
cap from the fitting at the end of the hose.
2. Place the Tire Service Kit flat on
the ground next to the deflated tire.
3. Remove the cap from the valve stem, and then screw the fitting at the end of the Sealant Hose
onto the valve stem.
4. Uncoil the Power Plug and insert
the plug into the vehicle's 12 Volt
power outlet.
5. Uncoil the Hose and screw the
fitting at the end of the hose onto the
valve stem.
6. Turn the Mode Select Knob and
turn to the Air Mode position.
7. Check the pressure in the tire by reading the Pressure Gauge. If tire pressure is less than 19 psi (1.3 bar):
The tire is too badly damaged. Do not attempt to
drive the vehicle further. Call for assistance.
If the tire pressure is 19 psi (1.3 bar) or higher:
1. Push the Power Button to turn on
Tire Service Kit and inflate the tire to
the cold tire inflation pressure found
on the tire and loading information
label located in the driver-side door opening.
NOTE:If the tire becomes overinflated, push the Deflation
Button to reduce the tire pressure to the recom -
mended inflation pressure before continuing.
2. Disconnect the Tire Service Kit from the valve stem, reinstall the cap on the valve stem and
unplug from 12 Volt outlet.
3. Place the Tire Service Kit in its proper storage area in the vehicle.
4. Have the tire inspected and repaired or replaced at the earliest opportunity at an
authorized dealer or tire service center.
5. Remove the Speed Limit sticker from the steering wheel after the tire has been repaired. 6. Replace the Sealant Bottle at an authorized
dealer as soon as possible.
NOTE:When having the tire serviced, advise the autho -
rized dealer or service center that the tire has been
sealed using the Tire Service Kit.
Sealant Bottle Replacement:
1. Unwrap the power cord.
2. Unwrap the hose.
Hose Location
7
22_RUP_OM_EN_USC_t.book Page 299
Page 307 of 384

IN CASE OF EMERGENCY305
To Reset The Manual Park Release:
1. Apply firm pressure to the brake pedal while seated in the driver’s seat.
2. Pull the tether strap out again, then release it.
3. Allow the tether to retract with the lever back to its original position.
4. Verify that the transmission is in PARK (P).
5. Confirm that the tether has retracted fully and reinstall the access cover. If the access
cover cannot be reinstalled, repeat
steps 1 through 4.
FREEING A STUCK VEHICLE
If your vehicle becomes stuck in mud, sand or
snow, it can often be moved using a rocking
motion. Turn the steering wheel right and left to
clear the area around the front wheels. Then shift
back and forth between DRIVE (D) and REVERSE
(R) while gently pressing the accelerator.
NOTE:Shifts between DRIVE and REVERSE can only be
achieved at wheel speeds of 5 mph (8 km/h) or
less. Whenever the transmission remains in
NEUTRAL (N) for more than two seconds, you must
press the brake pedal to engage DRIVE or
REVERSE.
Use the least amount of accelerator pedal
pressure that will maintain the rocking motion
without spinning the wheels or racing the engine.
NOTE:Push the ESC OFF button to place the Electronic
Stability Control (ESC) system in “Partial Off”
mode, before rocking the vehicle Ú page 225.
Once the vehicle has been freed, push the ESC OFF
button again to restore “ESC On” mode.
WARNING!
Fast spinning tires can be dangerous. Forces
generated by excessive wheel speeds may
cause damage, or even failure, of the axle and
tires. A tire could explode and injure someone.
Do not spin your vehicle's wheels faster than
30 mph (48 km/h) or for longer than
30 seconds continuously without stopping when
you are stuck and do not let anyone near a
spinning wheel, no matter what the speed.
CAUTION!
Racing the engine or spinning the wheels may
lead to transmission overheating and failure.
Allow the engine to idle with the transmission
in NEUTRAL for at least one minute after every
five rocking-motion cycles. This will minimize
overheating and reduce the risk of transmis -
sion failure during prolonged efforts to free a
stuck vehicle.
When “rocking” a stuck vehicle by shifting
between DRIVE and REVERSE, do not spin the
wheels faster than 15 mph (24 km/h), or
drivetrain damage may result.
Revving the engine or spinning the wheels too
fast may lead to transmission overheating and
failure. It can also damage the tires. Do not
spin the wheels above 30 mph (48 km/h)
while in gear (no transmission shifting
occurring).
7
22_RUP_OM_EN_USC_t.book Page 305
Page 308 of 384

306IN CASE OF EMERGENCY
TOWING A DISABLED VEHICLE
This section describes procedures for towing a disabled vehicle using a commercial towing service.
Proper towing or lifting equipment is required to
prevent damage to your vehicle. Use only tow bars
and other equipment designed for this purpose,
following equipment manufacturer’s instructions.
Use of safety chains is mandatory. Attach a tow bar
or other towing device to main structural members
of the vehicle, not to fascia/bumper or associated
brackets. State and local laws regarding vehicles
under tow must be observed.
NOTE:
You must ensure that the Auto Park Brake
feature is disabled before towing this vehicle (if
rear wheels are on the ground), to avoid inadver -
tent Electric Park Brake (EPB) engagement. The
Auto Park Brake feature is enabled or disabled
via the customer programmable features in the
Uconnect Settings.
Vehicles with a discharged battery or total elec -
trical failure when the EPB is engaged, will need
a wheel dolly or jack to raise the rear wheels off
the ground when moving the vehicle onto a
flatbed.
FCA US LLC recommends towing your vehicle with
all four wheels OFF the ground using a flatbed. If flatbed equipment is not available, this vehicle
must be towed with the front wheels
OFF the
ground (using a towing dolly, or wheel lift
equipment with the front wheels raised).
NOTE:Ensure that the Electric Park Brake is released,
and remains released, while being towed.
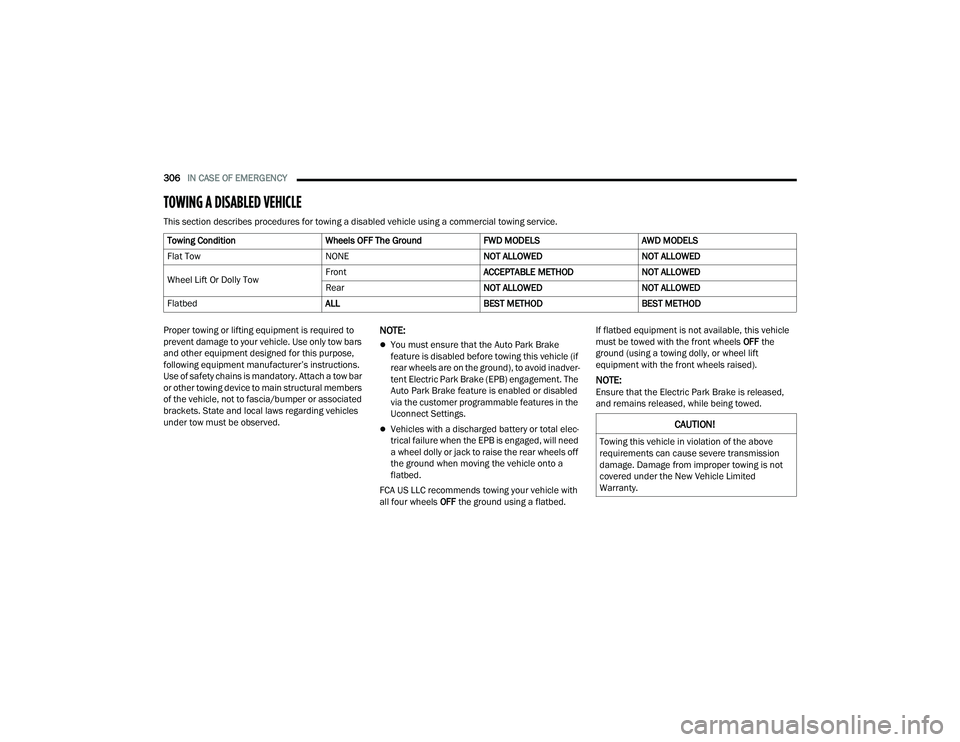
Towing Condition
Wheels OFF The GroundFWD MODELSAWD MODELS
Flat Tow NONENOT ALLOWEDNOT ALLOWED
Wheel Lift Or Dolly Tow Front
ACCEPTABLE METHODNOT ALLOWED
Rear NOT ALLOWEDNOT ALLOWED
Flatbed ALLBEST METHODBEST METHOD
CAUTION!
Towing this vehicle in violation of the above
requirements can cause severe transmission
damage. Damage from improper towing is not
covered under the New Vehicle Limited
Warranty.
22_RUP_OM_EN_USC_t.book Page 306
Page 309 of 384

IN CASE OF EMERGENCY307
Vehicle Recovery Tow Points
Your vehicle is equipped with Vehicle Recovery
Points that can be used to recover a disabled
vehicle, located on the underbody of the vehicle.
NOTE:
Ensure that the towing service tow hooks are
properly seated and secured in the attachment
points.
This recovery tow feature should be used by a
trained professional only.
Use approved receptacle location to free the
disabled vehicle from its environment.
Front Recovery Points
If you must use the accessories (wipers,
defrosters, etc.) while being towed, the ignition
must be in the ON/RUN mode, not the ACC mode.
NOTE:The Safehold feature will engage the Electric Park
Brake whenever the driver's door is opened (if the
ignition is ON, transmission is not in PARK, and
brake pedal is released). If you are towing this
vehicle with the ignition in the ON/RUN mode, you
must manually disable the Electric Park Brake
each time the driver's door is opened, by pressing
the brake pedal and then releasing the EPB.
If the key fob is unavailable or the vehicle's battery
is discharged, detailed instructions on shifting the
transmission out of PARK in order to move the
vehicle Ú
page 304.
CAUTION!
Recovery feature:
Is to be used by a professional ONLY.
Is used only to provide recovery of the vehicle.
Is NOT to be used to recover secondary
vehicle.
Is NOT to be used for transporting the vehicle
over the road, i.e. “Flat Towing”.
Is to be used by a professional ONLY.
Is used only to provide recovery of the vehicle.
Is NOT to be used to recover secondary
vehicle.
Is NOT to be used for transporting the vehicle
over the road, i.e. “Flat Towing”.
Recovery load should:
Be applied at constant speed.
Be applied parallel to the center line of the
length of the vehicle.
Not be an abrupt acceleration.
Be applied at constant speed.
Be applied parallel to the center line of the
length of the vehicle.
Not be an abrupt acceleration.
CAUTION!
Do not use sling-type equipment when towing.
Vehicle damage may occur.
When securing the vehicle to a flatbed truck,
do not attach to front or rear suspension
components. Damage to your vehicle may
result from improper towing.
Ensure that the Electric Park Brake is
released, and remains released, while being
towed.
7
22_RUP_OM_EN_USC_t.book Page 307
Page 310 of 384

308IN CASE OF EMERGENCY
ALL WHEEL DRIVE (AWD) MODELS
FCA US LLC recommends towing your vehicle with
all four wheels OFF the ground using a flatbed.
ENHANCED ACCIDENT RESPONSE SYSTEM
(EARS)
This vehicle is equipped with an Enhanced
Accident Response System.
This feature is a communication network that
takes effect in the event of an impact. Detailed
information can be found on Ú page 260.
EVENT DATA RECORDER (EDR)
This vehicle is equipped with an event data
recorder (EDR). The main purpose of an EDR is to
record data that will assist in understanding how a
vehicle’s systems performed under certain crash
or near crash-like situations, such as an air bag
deployment or hitting a road obstacle. Detailed
information can be found on Úpage 261.
CAUTION!
Towing this vehicle using any other method
can cause severe transmission and/or
transfer case damage.
Damage from improper towing is not covered
under the New Vehicle Limited Warranty.
22_RUP_OM_EN_USC_t.book Page 308
Page 316 of 384

314SERVICING AND MAINTENANCE
(Continued)
CHECKING OIL LEVEL
To ensure proper engine lubrication, the engine oil
must be maintained at the correct level. Check the
oil level at regular intervals, such as every fuel
stop. The best time to check the engine oil level is
about five minutes after a fully warmed up engine
is shut off.
Checking the oil while the vehicle is on level ground
will improve the accuracy of the oil level readings.
There are four possible dipstick types:
Crosshatched zone.
Crosshatched zone marked SAFE.
Crosshatched zone marked with MIN at the low
end of the range and MAX at the high end of the
range.
Crosshatched zone marked with dimples at the
MIN and the MAX ends of the range.
NOTE:Always maintain the oil level within the crosshatch
markings on the dipstick.
Adding 1 quart (1.0 liter) of oil when the reading is
at the low end of the dipstick range will raise the oil
level to the high end of the range marking.
ADDING WASHER FLUID
Windshield Washer Fluid Cap
The fluid reservoir is located in the front of the
engine compartment. Be sure to check the fluid
level in the reservoir at regular intervals. Fill the
reservoir with windshield washer solvent (not
radiator antifreeze) and operate the system for a
few seconds to flush out the residual washer fluid.
When refilling the washer fluid reservoir, take
some washer fluid, apply it to a cloth or towel, and
wipe clean the wiper blades; this will help blade
performance. To prevent freeze-up of your windshield washer
system in cold weather, select a solution or mixture
that meets or exceeds the temperature range of
your climate. This rating information can be found
on most washer fluid containers.
MAINTENANCE-FREE BATTERY
Your vehicle is equipped with a maintenance-free
battery. You will never have to add water, and
periodic maintenance is not required.
CAUTION!
Overfilling or underfilling the crankcase will
cause aeration or loss of oil pressure. This could
damage your engine.
WARNING!
Commercially available windshield washer
solvents are flammable. They could ignite and
burn you. Care must be exercised when filling or
working around the washer solution.
WARNING!
Battery fluid is a corrosive acid solution and
can burn or even blind you. Do not allow
battery fluid to contact your eyes, skin, or
clothing. Do not lean over a battery when
attaching clamps. If acid splashes in eyes or
on skin, flush the area immediately with large
amounts of water Ú
page 300.
22_RUP_OM_EN_USC_t.book Page 314
Page 317 of 384

SERVICING AND MAINTENANCE315
PRESSURE WASHING
Cleaning the engine compartment with a high
pressure washer is not recommended.
VEHICLE MAINTENANCE
An authorized dealer has the qualified service
personnel, special tools, and equipment to
perform all service operations in an expert
manner. Service Manuals are available which
include detailed service information for your
vehicle. Refer to these Service Manuals before
attempting any procedure yourself.
NOTE:Intentional tampering with emissions control
systems may void your warranty and could result in
civil penalties being assessed against you.
ENGINE OIL
Engine Oil Selection
Use only the manufacturer's recommended fluids
Úpage 365.
Battery gas is flammable and explosive. Keep
flame or sparks away from the battery. Do not
use a booster battery or any other booster
source with an output greater than 12 Volts.
Do not allow cable clamps to touch each
other.
Battery posts, terminals, and related accesso -
ries contain lead and lead compounds. Wash
hands after handling.
CAUTION!
It is essential when replacing the cables on
the battery that the positive cable is attached
to the positive post and the negative cable is
attached to the negative post. Battery posts
are marked positive (+) and negative (-) and
are identified on the battery case. Cable
clamps should be tight on the terminal posts
and free of corrosion.
If a “fast charger” is used while the battery is
in the vehicle, disconnect both vehicle battery
cables before connecting the charger to the
battery. Do not use a “fast charger” to provide
starting voltage.
WARNING!
CAUTION!
Precautions have been taken to safeguard all
parts and connections however, the pressures
generated by these machines is such that
complete protection against water ingress
cannot be guaranteed.
WARNING!
You can be badly injured working on or around a
motor vehicle. Only do service work for which
you have the knowledge and the proper
equipment. If you have any doubt about your
ability to perform a service job, take your vehicle
to a competent mechanic.
8
22_RUP_OM_EN_USC_t.book Page 315
Page 318 of 384

316SERVICING AND MAINTENANCE
American Petroleum Institute (API)
Approved Engine Oil
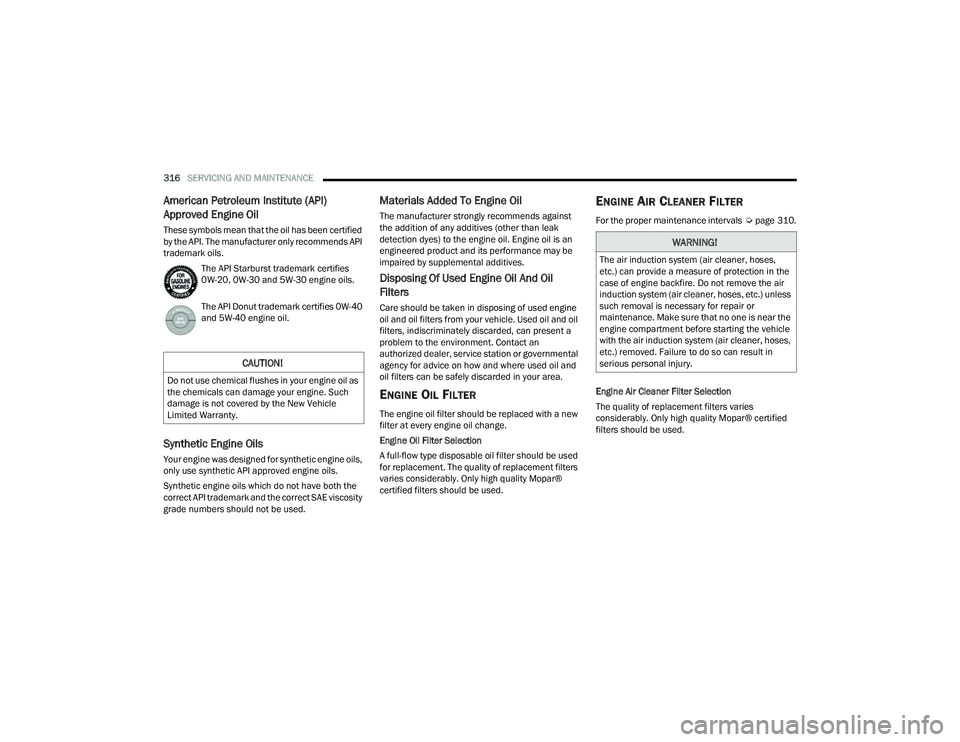
These symbols mean that the oil has been certified
by the API. The manufacturer only recommends API
trademark oils.
The API Starburst trademark certifies
0W-20, 0W-30 and 5W-30 engine oils.
The API Donut trademark certifies 0W-40
and 5W-40 engine oil.
Synthetic Engine Oils
Your engine was designed for synthetic engine oils,
only use synthetic API approved engine oils.
Synthetic engine oils which do not have both the
correct API trademark and the correct SAE viscosity
grade numbers should not be used.
Materials Added To Engine Oil
The manufacturer strongly recommends against
the addition of any additives (other than leak
detection dyes) to the engine oil. Engine oil is an
engineered product and its performance may be
impaired by supplemental additives.
Disposing Of Used Engine Oil And Oil
Filters
Care should be taken in disposing of used engine
oil and oil filters from your vehicle. Used oil and oil
filters, indiscriminately discarded, can present a
problem to the environment. Contact an
authorized dealer, service station or governmental
agency for advice on how and where used oil and
oil filters can be safely discarded in your area.
ENGINE OIL FILTER
The engine oil filter should be replaced with a new
filter at every engine oil change.
Engine Oil Filter Selection
A full-flow type disposable oil filter should be used
for replacement. The quality of replacement filters
varies considerably. Only high quality Mopar®
certified filters should be used.
ENGINE AIR CLEANER FILTER
For the proper maintenance intervals Úpage 310.
Engine Air Cleaner Filter Selection
The quality of replacement filters varies
considerably. Only high quality Mopar® certified
filters should be used.
CAUTION!
Do not use chemical flushes in your engine oil as
the chemicals can damage your engine. Such
damage is not covered by the New Vehicle
Limited Warranty.
WARNING!
The air induction system (air cleaner, hoses,
etc.) can provide a measure of protection in the
case of engine backfire. Do not remove the air
induction system (air cleaner, hoses, etc.) unless
such removal is necessary for repair or
maintenance. Make sure that no one is near the
engine compartment before starting the vehicle
with the air induction system (air cleaner, hoses,
etc.) removed. Failure to do so can result in
serious personal injury.
22_RUP_OM_EN_USC_t.book Page 316