2021 TOYOTA PROACE CITY VERSO language
[x] Cancel search: languagePage 76 of 272
76
Emergency or assistance
call (type 1)
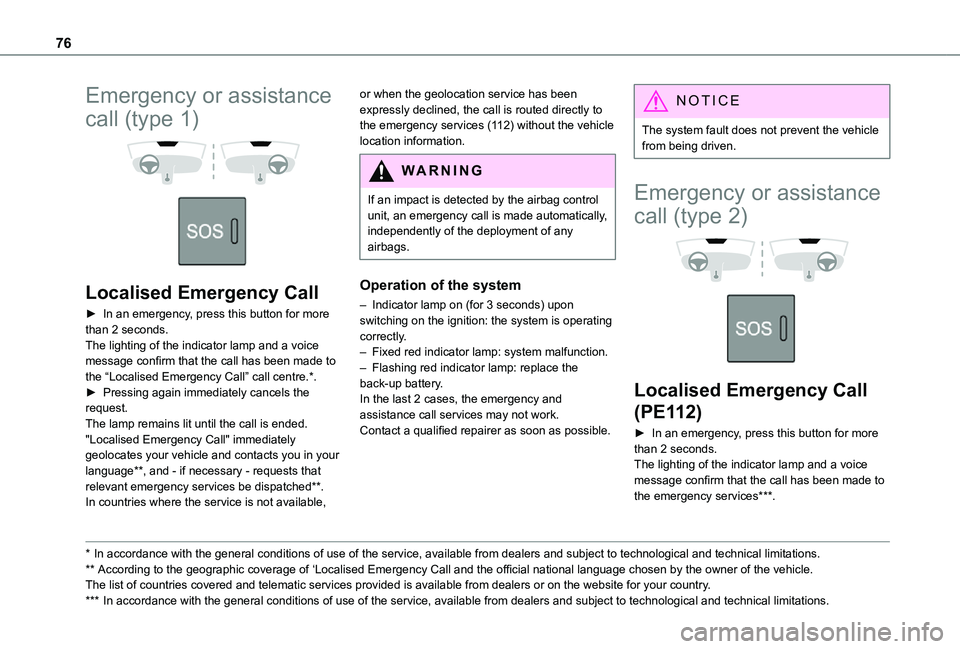
Localised Emergency Call
► In an emergency, press this button for more than 2 seconds.The lighting of the indicator lamp and a voice message confirm that the call has been made to the “Localised Emergency Call” call centre.*.► Pressing again immediately cancels the request.The lamp remains lit until the call is ended."Localised Emergency Call" immediately geolocates your vehicle and contacts you in your language**, and - if necessary - requests that relevant emergency services be dispatched**. In countries where the service is not available,
* In accordance with the general conditions of use of the service, available from dealers an\
d subject to technological and technical limitations.
** According to the geographic coverage of ‘Localised Emergency Call and the official national language chosen by the owner of the vehicle.The list of countries covered and telematic services provided is availab\
le from dealers or on the website for your country.
*** In accordance with the general conditions of use of the service, available from dealers\
and subject to technological and technical limitations.
or when the geolocation service has been expressly declined, the call is routed directly to the emergency services (112) without the vehicle location information.
WARNI NG
If an impact is detected by the airbag control unit, an emergency call is made automatically, independently of the deployment of any
airbags.
Operation of the system
– Indicator lamp on (for 3 seconds) upon switching on the ignition: the system is operating correctly.– Fixed red indicator lamp: system malfunction.– Flashing red indicator lamp: replace the back-up battery.In the last 2 cases, the emergency and assistance call services may not work.Contact a qualified repairer as soon as possible.
NOTIC E
The system fault does not prevent the vehicle from being driven.
Emergency or assistance
call (type 2)
Localised Emergency Call
(PE112)
► In an emergency, press this button for more than 2 seconds.The lighting of the indicator lamp and a voice message confirm that the call has been made to the emergency services***.
Page 197 of 272
197
Bluetooth® audio system
10
Menus
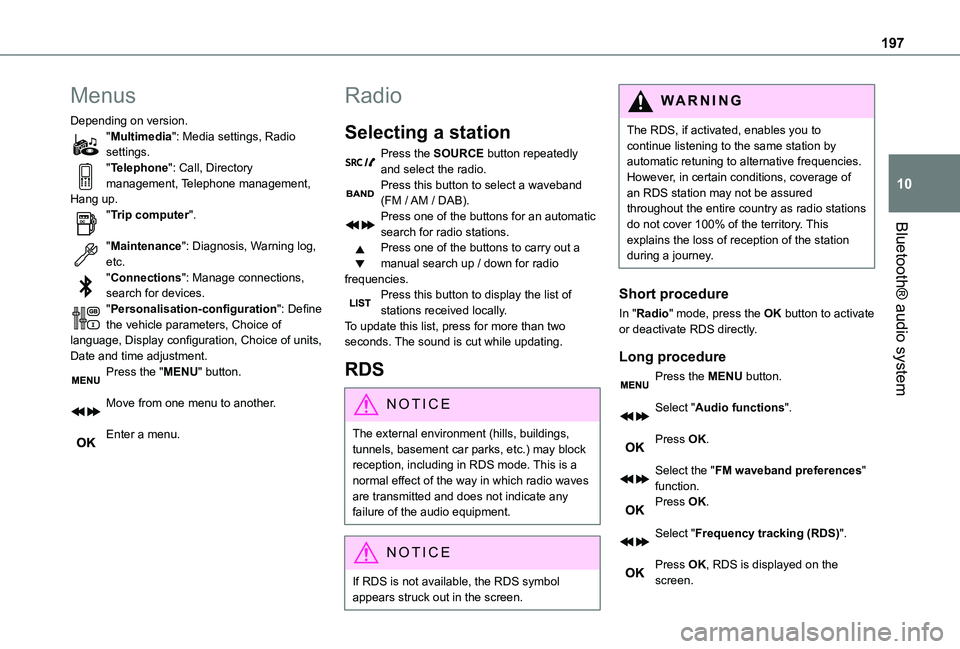
Depending on version."Multimedia": Media settings, Radio settings."Telephone": Call, Directory management, Telephone management, Hang up."Trip computer".
"Maintenance": Diagnosis, Warning log, etc."Connections": Manage connections, search for devices."Personalisation-configuration": Define the vehicle parameters, Choice of language, Display configuration, Choice of units, Date and time adjustment.Press the "MENU" button.
Move from one menu to another.
Enter a menu.
Radio
Selecting a station
Press the SOURCE button repeatedly and select the radio.Press this button to select a waveband (FM / AM / DAB).Press one of the buttons for an automatic search for radio stations.Press one of the buttons to carry out a manual search up / down for radio frequencies.Press this button to display the list of stations received locally.To update this list, press for more than two seconds. The sound is cut while updating.
RDS
NOTIC E
The external environment (hills, buildings, tunnels, basement car parks, etc.) may block reception, including in RDS mode. This is a normal effect of the way in which radio waves are transmitted and does not indicate any failure of the audio equipment.
NOTIC E
If RDS is not available, the RDS symbol appears struck out in the screen.
WARNI NG
The RDS, if activated, enables you to continue listening to the same station by automatic retuning to alternative frequencies. However, in certain conditions, coverage of an RDS station may not be assured throughout the entire country as radio stations do not cover 100% of the territory. This explains the loss of reception of the station during a journey.
Short procedure
In "Radio" mode, press the OK button to activate or deactivate RDS directly.
Long procedure
Press the MENU button.
Select "Audio functions".
Press OK.
Select the "FM waveband preferences" function.Press OK.
Select "Frequency tracking (RDS)".
Press OK, RDS is displayed on the screen.
Page 210 of 272
210
Short press: confirm a selection; if nothing selected, access to presets.Radio: display the list of stations.Media: display the list of tracks.Radio (press and hold): update the list of stations received.
Menus
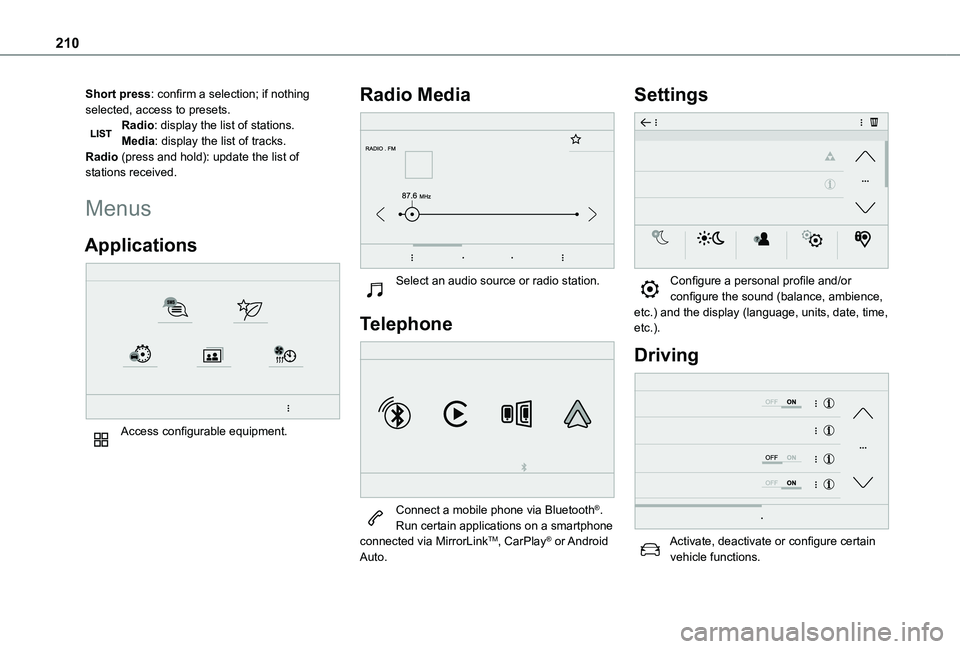
Applications
Access configurable equipment.
Radio Media
Select an audio source or radio station.
Telephone
Connect a mobile phone via Bluetooth®.Run certain applications on a smartphone connected via MirrorLinkTM, CarPlay® or Android Auto.
Settings
Configure a personal profile and/or configure the sound (balance, ambience, etc.) and the display (language, units, date, time, etc.).
Driving
Activate, deactivate or configure certain vehicle functions.
Page 219 of 272
219
TOYOTA Connect Radio
11
Calling a contact
Press Telephone to display the main page. Or press and hold
the steering mounted PHONE button.
Press "Contacts".Select the desired contact from the displayed list.Press "Call".
Calling a recently used
number
Press Telephone to display the main page.OrPress and hold
the steering mounted button.
Press "Recent calls".
Select the desired contact from the displayed list.
NOTIC E
It is always possible to make a call directly from the telephone; as a safety measure, first park the vehicle.
Setting the ringtone
Press Telephone to display the main page. Press the "OPTIONS" button to access the secondary page.Press "Ring volume" to display the volume bar.Press the arrows or move the slider to set the ring volume.
Settings
Configuring profiles
Press Settings to display the main page.
Press "Profiles".
Select "Profile 1", "Profile 2", "Profile 3” or "Common profile".Press this button to enter a name for the profile using the virtual keypad.
Press "OK" to save.
Press the back arrow to confirm.
Press this button to activate the profile.
Press the back arrow again to confirm.
Press this button to reset the selected profile.
Adjusting the brightness
Press Settings to display the main page.
Press Brightness.
Move the slider to adjust the brightness of the screen and/or the instrument panel (depending on version).Press in the shaded area to confirm.
Modifying system settings
Press Settings to display the main page.
Press "Configuration" to access the secondary page.Press "System configuration".
Press the "Units" tab to change the units of distance, fuel consumption and temperature.Press the "Factory settings" tab to restore the initial settings.
WARNI NG
Returning the system to factory settings activates the English language by default (depending on version).
Press the "System info" tab to display the versions of the various modules installed in the system.Press the "Privacy" tab,
Page 220 of 272
220
orPress Settings to display the main page.
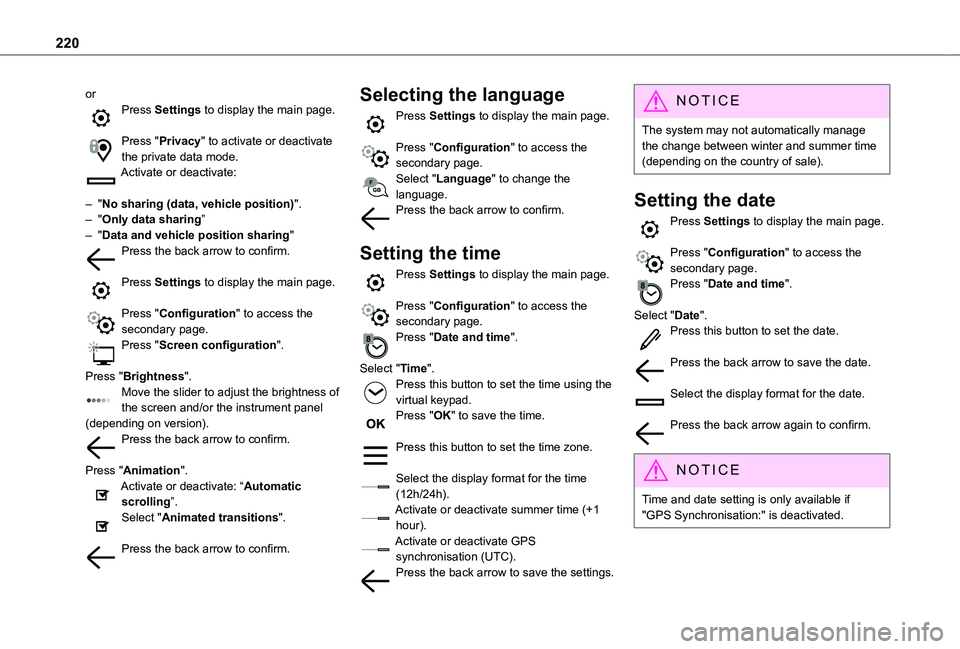
Press "Privacy" to activate or deactivate the private data mode.Activate or deactivate:
– "No sharing (data, vehicle position)".– "Only data sharing”– "Data and vehicle position sharing"Press the back arrow to confirm.
Press Settings to display the main page.
Press "Configuration" to access the secondary page.Press "Screen configuration".
Press "Brightness".Move the slider to adjust the brightness of the screen and/or the instrument panel (depending on version).Press the back arrow to confirm.
Press "Animation".Activate or deactivate: “Automatic scrolling”.Select "Animated transitions".
Press the back arrow to confirm.
Selecting the language
Press Settings to display the main page.
Press "Configuration" to access the secondary page.Select "Language" to change the language.Press the back arrow to confirm.
Setting the time
Press Settings to display the main page.
Press "Configuration" to access the secondary page.Press "Date and time".
Select "Time".Press this button to set the time using the virtual keypad.Press "OK" to save the time.
Press this button to set the time zone.
Select the display format for the time (12h/24h).Activate or deactivate summer time (+1 hour).Activate or deactivate GPS synchronisation (UTC).Press the back arrow to save the settings.
NOTIC E
The system may not automatically manage the change between winter and summer time (depending on the country of sale).
Setting the date
Press Settings to display the main page.
Press "Configuration" to access the secondary page.Press "Date and time".
Select "Date".Press this button to set the date.
Press the back arrow to save the date.
Select the display format for the date.
Press the back arrow again to confirm.
NOTIC E
Time and date setting is only available if "GPS Synchronisation:" is deactivated.
Page 225 of 272
225
TOYOTA Connect Nav
12
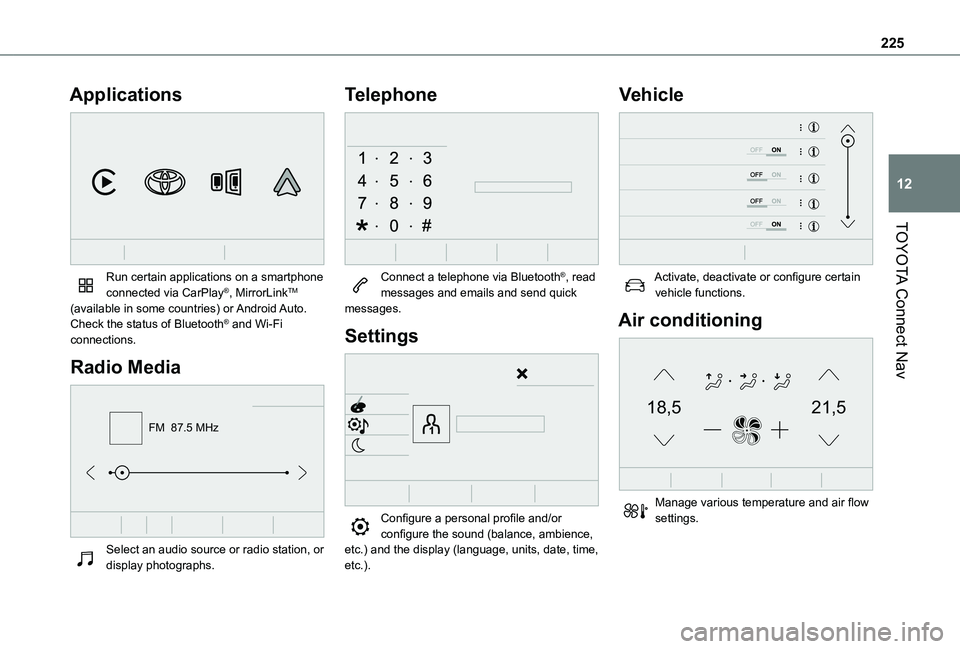
Applications
Run certain applications on a smartphone connected via CarPlay®, MirrorLinkTM (available in some countries) or Android Auto.Check the status of Bluetooth® and Wi-Fi connections.
Radio Media
FM 87.5 MHz
Select an audio source or radio station, or display photographs.
Telephone
Connect a telephone via Bluetooth®, read messages and emails and send quick messages.
Settings
Configure a personal profile and/or configure the sound (balance, ambience,
etc.) and the display (language, units, date, time, etc.).
Vehicle
Activate, deactivate or configure certain vehicle functions.
Air conditioning
21,518,5
Manage various temperature and air flow settings.
Page 226 of 272
226
Voice commands
Steering wheel-mounted
controls
Voice commands:Voice commands can be issued from any screen page after a short press on the "Voice commands" button located on the steering wheel or at the end of the lighting control lever (depending on equipment), as long as there is no telephone call in progress.
WARNI NG
To ensure that voice commands are always recognised by the system, please follow these recommendations: – use natural language in a normal tone without breaking up words or raising your voice.– always wait for the "beep" (audible signal) before speaking.– for best results, closing the windows and sunroof is recommended, to avoid extraneous interference (depending on version).– before issuing a voice command, ask any other passengers to refrain from speaking.
First steps
Example of a "voice command" for navigation:"Navigate to address 11 regent street, London"Example of a "voice command" for the radio and media:"Play artist Madonna"Example of a "voice command" for the telephone:"Call David Miller"
WARNI NG
The voice commands, with a choice of 17 languages (Arabic, Brazilian, Czech, Danish, Dutch, English, Farsi, French, German, Italian, Norwegian, Polish, Portuguese, Russian, Spanish, Swedish, Turkish), are made using the language previously chosen and set in the system.For some voice commands, there are alternative synonyms.Example: Guide to / Navigate to / Go to / ...The voice commands in Arabic for: "Navigate to address" and "Display POI in the city", are not available.
Information - Using the
system
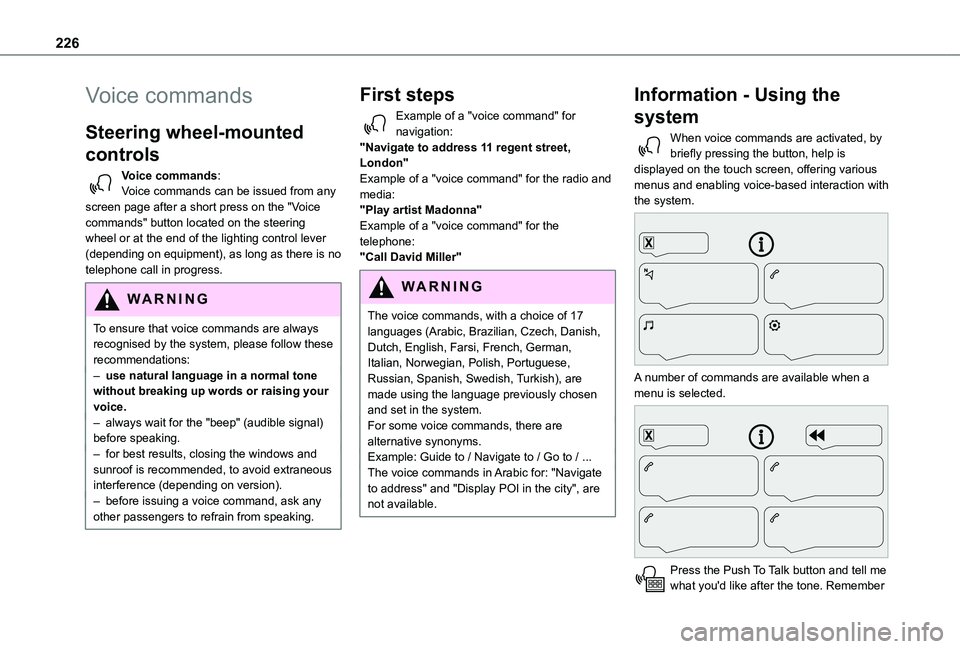
When voice commands are activated, by briefly pressing the button, help is displayed on the touch screen, offering various menus and enabling voice-based interaction with the system.
A number of commands are available when a menu is selected.
Press the Push To Talk button and tell me what you'd like after the tone. Remember
Page 228 of 272
228
To choose a POI, say something like "select line 2". If you've searched for a Point of Interest and don't see the one you're after, you can filter further by saying something like "select POI in line 2", or "select the city in line 3". You can also scroll through the list by saying "next page" or "previous page".
NOTIC E
Depending on the country, give destination (address) instructions in the language configured for the system.
"Radio Media" voice
commands
Voice commands
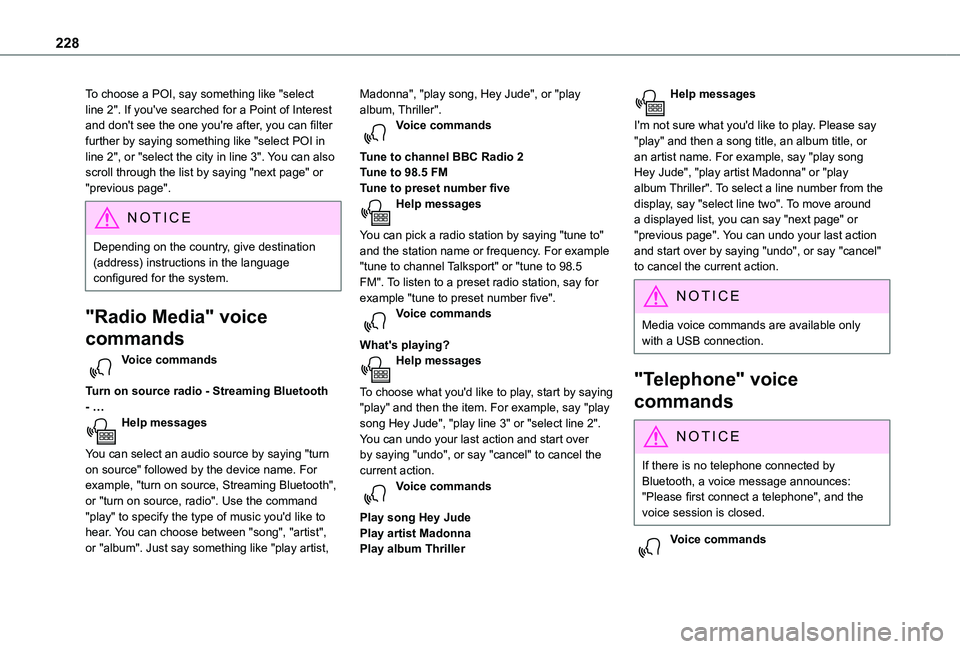
Turn on source radio - Streaming Bluetooth - …Help messages
You can select an audio source by saying "turn on source" followed by the device name. For example, "turn on source, Streaming Bluetooth", or "turn on source, radio". Use the command "play" to specify the type of music you'd like to hear. You can choose between "song", "artist", or "album". Just say something like "play artist,
Madonna", "play song, Hey Jude", or "play album, Thriller". Voice commands
Tune to channel BBC Radio 2Tune to 98.5 FMTune to preset number fiveHelp messages
You can pick a radio station by saying "tune to" and the station name or frequency. For example "tune to channel Talksport" or "tune to 98.5 FM". To listen to a preset radio station, say for example "tune to preset number five". Voice commands
What's playing?Help messages
To choose what you'd like to play, start by saying "play" and then the item. For example, say "play song Hey Jude", "play line 3" or "select line 2". You can undo your last action and start over
by saying "undo", or say "cancel" to cancel the current action.Voice commands
Play song Hey JudePlay artist MadonnaPlay album Thriller
Help messages
I'm not sure what you'd like to play. Please say "play" and then a song title, an album title, or an artist name. For example, say "play song Hey Jude", "play artist Madonna" or "play album Thriller". To select a line number from the display, say "select line two". To move around a displayed list, you can say "next page" or "previous page". You can undo your last action and start over by saying "undo", or say "cancel" to cancel the current action.
NOTIC E
Media voice commands are available only with a USB connection.
"Telephone" voice
commands
NOTIC E
If there is no telephone connected by Bluetooth, a voice message announces: "Please first connect a telephone", and the voice session is closed.
Voice commands