2021 TOYOTA PROACE CITY VERSO air condition
[x] Cancel search: air conditionPage 157 of 272
157
Practical information
7
Energy economy mode
System which manages the duration of use of certain functions to conserve a sufficient level of charge in the battery.After switching off the engine and for a maximum cumulative period of around 40 minutes, you can continue to use functions such as the audio and telematics system, the wipers, the dipped beam headlamps, the courtesy lamps, etc.
Switching to the mode
A message indicating that the vehicle has switched to economy mode is displayed on the instrument panel screen and the active functions are put on standby.
NOTIC E
If a telephone call is in progress at the time, it will be maintained for around 10 minutes using your audio system’s hands-free system.
Exiting the mode
These functions will be automatically reactivated the next time the vehicle is used.In order to restore the use of these functions immediately, start the engine and let it run:– for less than 10 minutes, to use the equipment for approximately 5 minutes,– for more than 10 minutes, to use the equipment for approximately 30 minutes.
Let the engine run for the duration specified to ensure that the battery charge is sufficient.Do not repeatedly and continuously restart the engine in order to charge the battery.
WARNI NG
A flat battery prevents the engine from starting.For more information on the 12 V battery,
refer to the corresponding section.
Load reduction mode
System that manages the use of certain functions according to the level of charge remaining in the battery.When the vehicle is being driven, the load reduction function temporarily deactivates certain functions, such as the air conditioning and the heated rear screen.The deactivated functions are reactivated automatically as soon as conditions permit.
Roof bars / Roof rack
WARNI NG
RecommendationsDistribute the load uniformly, taking care to avoid overloading one of the sides.Arrange the heaviest part of the load as close as possible to the roof.Secure the load firmly.Drive gently: the vehicle will be more susceptible to the effects of side winds and its stability may be affected.Regularly check the security and tight fastening of the roof bars and racks, at least before each trip.Remove the roof bars once they are no longer needed.
WARNI NG
In the event of loading (not exceeding 40 cm
(1 ft 3") in height) on the roof, do not exceed the following loads:– Transverse bars on longitudinal bars: 80 kg (176 lb).– Two transverse bars bolted to the roof: 100 kg (220 lb).– Three transverse bars bolted to the roof: 150 kg (330 lb).– An aluminium rack: 120 kg (264 lb).
– A steel rack: 115 kg (253 lb).
Page 163 of 272

163
Practical information
7
NOTIC E
A clogged passenger compartment filter can adversely affect air conditioning system performance and generate undesirable odours.
Air filter
Depending on the environment and the use of the vehicle (e.g. dusty atmosphere, city driving), change it twice as often, if necessary.
Oil filter
Change the oil filter each time the engine oil is changed.
Particle filter (Diesel)
When the particle filter is approaching saturation, this warning lamp comes on temporarily, accompanied by a message warning of the risk
of filter clogging.As soon as the traffic conditions permit, regenerate the filter by driving at a speed of at least 60 km/h (37 mph) until the warning lamp goes off.
NOTIC E
If the warning lamp stays on, this indicates a low Diesel additive level.For more information on Checking levels, refer to the corresponding section.
NOTIC E
Following prolonged operation of the vehicle at very low speed or at idle, you may, in exceptional circumstances, notice the emission of water vapour at the exhaust while accelerating. This has no impact on the vehicle’s behaviour or the environment.
NOTIC E
New vehicleDuring the first few particle filter regeneration operations, you may notice a "burning" smell. This is perfectly normal.
Manual gearbox
The gearbox does not require any maintenance (no oil change).
Automatic gearbox
The gearbox does not require any maintenance (no oil change).
Brake pads
Brake wear depends on the style of driving, particularly in the case of vehicles used in town, over short distances. It may be necessary to have the condition of the brakes checked, even between vehicle services.Unless there is a leak in the circuit, a drop in the brake fluid level indicates that the brake pads are worn.
NOTIC E
After washing the vehicle, moisture, or in wintry conditions, ice can form on the brake discs and pads: braking efficiency may be reduced. Gently dab the brakes to dry and defrost them.
Brake disc wear
For information on checking brake disc wear, contact a TOYOTA dealer or a qualified workshop.
Page 165 of 272
165
Practical information
7
NOTIC E
For more information on the Warning and indicator lamps and the associated alerts, or the Indicators, please refer to the corresponding sections.
WARNI NG
Once the AdBlue® tank is empty, a system
required by legislation prevents starting of the engine.If the SCR system is faulty, the level of emissions from the vehicle will no longer meet the Euro 6 standard: the vehicle becomes polluting.In the event of a confirmed SCR system malfunction, it is essential to visit a TOYOTA dealer or a qualified workshop. After 1,100 km (680 miles), a device is automatically activated to prevent the engine from starting.In both cases, a range indicator indicates the distance that can be travelled before the vehicle is stopped.
NOTIC E
Freezing of the AdBlue®
AdBlue® freezes at temperatures below around -11°C.The SCR system includes a heater for the AdBlue® tank, allowing you to continue driving in very cold conditions.
Supply of AdBlue®
It is recommended that the AdBlue® be topped up as soon as the first alert is issued indicating that the reserve level has been reached.
WARNI NG
In order to ensure that the SCR system operates correctly:– Use only AdBlue® fluid that meets the ISO 22241 standard.– Never transfer AdBlue® to another container: it would lose its purity.
– Never dilute AdBlue® with water.
You can obtain AdBlue® from a TOYOTA dealer or in a qualified workshop.
NOTIC E
You can also visit a service station equipped with AdBlue® pumps specially designed for private vehicles.
WARNI NG
Never top up from an AdBlue® dispenser reserved for heavy goods vehicles.
Storage recommendations
AdBlue® freezes at about -11°C and deteriorates above +25°C. Containers should be stored in a cool area and protected from direct sunlight.Under these conditions, the fluid can be kept for at least a year.If the fluid has frozen, it can be used once it has completely thawed out in the ambient air.
WARNI NG
Never store AdBlue® containers in your vehicle.
Precautions for use
AdBlue® is a urea-based solution. This fluid is non-flammable, colourless and odourless (when kept in a cool place).In the event of contact with the skin, wash the affected area with soap and running water. In the event of contact with the eyes, immediately rinse the eyes with large amounts of water or with an eye wash solution for at least 15 minutes. Seek medical attention if you feel a persistent burning sensation or irritation.
Page 176 of 272
176
NOTIC E
Fitting a steel or "space-saver" type spare wheelIf the vehicle is equipped with alloy wheels, the washers do not make contact with the steel or "space-saver" type spare wheel. The wheel is secured by the conical contact of each bolt.
WARNI NG
After changing a wheelStow the punctured wheel in the carrier.Go to a TOYOTA dealer or a qualified workshop as soon as possible.Have the punctured tyre examined. After inspection, the technician will advise you on whether the tyre can be repaired or if it must be replaced.
NOTIC E
Some driving aid functions should be disabled, e.g. the Active Safety Brake.
NOTIC E
If your vehicle has tyre under-inflation detection, check the tyre pressures and reinitialise the system.For more information on Under-inflation detection, refer to the corresponding section.
NOTIC E
Wheel with wheel trimWhen refitting the wheel, refit the wheel trim, starting by aligning the cutout with the valve and then pushing the trim into place all round its edge with the palm of your hand.
NOTIC E
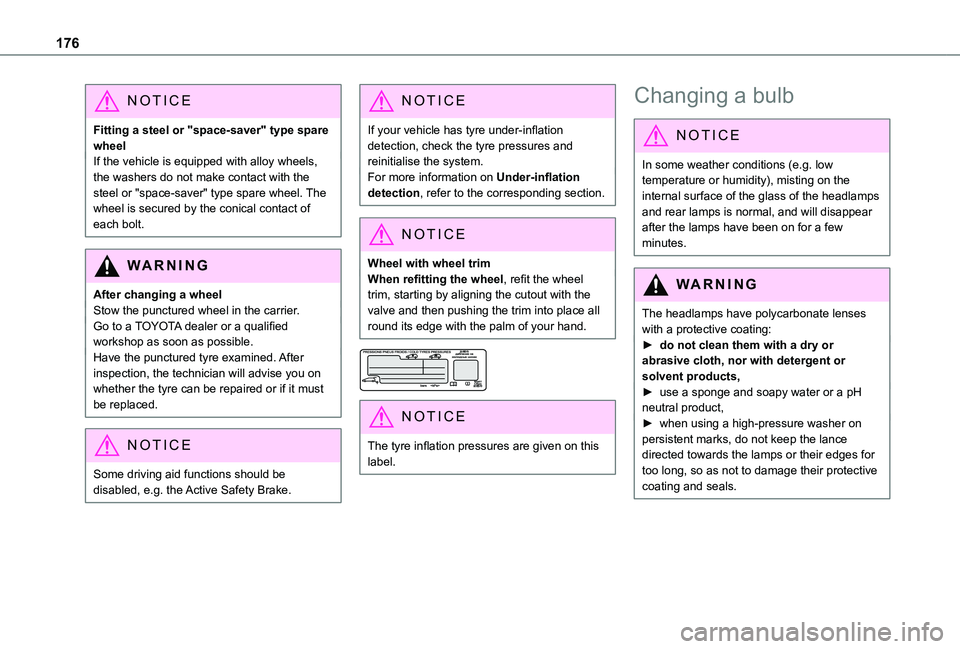
The tyre inflation pressures are given on this label.
Changing a bulb
NOTIC E
In some weather conditions (e.g. low temperature or humidity), misting on the internal surface of the glass of the headlamps and rear lamps is normal, and will disappear after the lamps have been on for a few minutes.
WARNI NG
The headlamps have polycarbonate lenses with a protective coating:► do not clean them with a dry or abrasive cloth, nor with detergent or solvent products,► use a sponge and soapy water or a pH neutral product,► when using a high-pressure washer on persistent marks, do not keep the lance
directed towards the lamps or their edges for too long, so as not to damage their protective coating and seals.
Page 207 of 272
207
Bluetooth® audio system
10
The USB stick has not been recognised, or may be corrupted.► Reformat the USB memory stick.The CD is systematically ejected or is not played.The CD is upside down, cannot be read, does not contain audio files or contains audio files of a format not recognised by the audio system.The CD is protected by an anti-pirating system not recognised by the audio system.► Check that the CD is inserted in the player the right way up.► Check the condition of the CD: the CD cannot be played if it is too badly damaged.► Check the content in the case of a burned CD: read the recommendations in the "Audio" section.Due to poor quality, certain burned CDs will not be played by the audio system.The CD audio quality is is poor.The CD is scratched or of poor quality.► Insert good quality CDs and store them in suitable conditions.
The audio settings (bass, treble, ambience) are unsuitable.► Return bass and treble settings to 0, without selecting an ambience.I am unable to play the music files on my smartphone via the USB port.Depending on the smartphone, access by the audio system to music on the smartphone may have to be approved on the latter.
► Manually activate the MTP profile on the smartphone (USB settings menu).
Telephone
I am unable to access my voicemail.Few telephones or service providers allow the use of this function.► Call your voicemail, via the telephone menu, using the number provided by your operator.I am unable to access my directory of contacts.► Check the compatibility of your telephone.You did not grant access to your contacts when pairing the telephone.► Accept or confirm access by the system to the contacts on your telephone.I am unable to continue a conversation when getting into my vehicle.Handset mode is activated.► Deselect handset mode to transfer the call to the vehicle.I am unable to pair my telephone by Bluetooth.
Telephones (models, versions of operating systems) have their own specificities in the pairing procedure and some telephones are not compatible.► Before starting the pairing procedure, delete the telephone pairing from the system and the system pairing from the telephone, in order to view the compatibility of the telephones.
Page 208 of 272
208
TOYOTA Connect Radio
Multimedia audio system -
Applications - Bluetooth®
telephone
NOTIC E
The functions and settings described vary
according to the vehicle version and configuration.
WARNI NG
For safety reasons and because they require sustained attention by the driver, the following operations must be carried out with the vehicle stationary and the ignition on:– Pairing the smartphone with the system in Bluetooth mode.– Using the smartphone.– Connection to the CarPlay®, MirrorLinkTM or Android Auto applications (certain applications interrupt their display while the vehicle is moving).– Changing the system settings and configuration.
NOTIC E
The system is protected in such a way that it will only operate in the vehicle.The Energy Economy Mode message is displayed when the system is about to enter the corresponding mode.
First steps
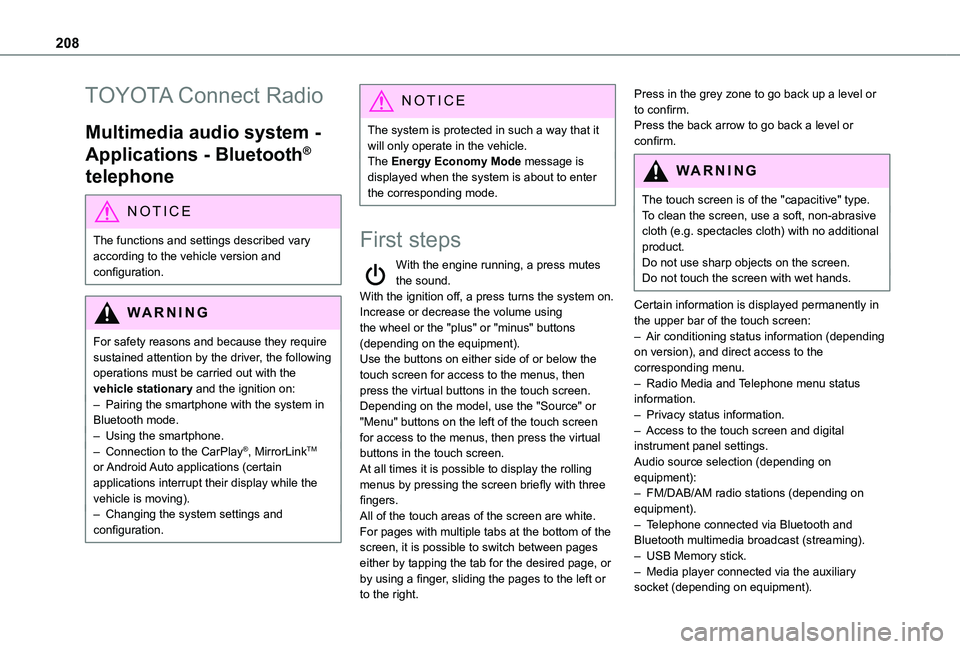
With the engine running, a press mutes the sound.With the ignition off, a press turns the system on.Increase or decrease the volume using the wheel or the "plus" or "minus" buttons (depending on the equipment).Use the buttons on either side of or below the touch screen for access to the menus, then press the virtual buttons in the touch screen.Depending on the model, use the "Source" or "Menu" buttons on the left of the touch screen for access to the menus, then press the virtual
buttons in the touch screen.At all times it is possible to display the rolling menus by pressing the screen briefly with three fingers.All of the touch areas of the screen are white.For pages with multiple tabs at the bottom of the screen, it is possible to switch between pages either by tapping the tab for the desired page, or by using a finger, sliding the pages to the left or to the right.
Press in the grey zone to go back up a level or to confirm.Press the back arrow to go back a level or confirm.
WARNI NG
The touch screen is of the "capacitive" type.To clean the screen, use a soft, non-abrasive cloth (e.g. spectacles cloth) with no additional
product.Do not use sharp objects on the screen.Do not touch the screen with wet hands.
Certain information is displayed permanently in the upper bar of the touch screen:– Air conditioning status information (depending on version), and direct access to the corresponding menu.– Radio Media and Telephone menu status information.– Privacy status information.– Access to the touch screen and digital instrument panel settings.Audio source selection (depending on equipment):– FM/DAB/AM radio stations (depending on equipment).– Telephone connected via Bluetooth and Bluetooth multimedia broadcast (streaming).– USB Memory stick.– Media player connected via the auxiliary socket (depending on equipment).
Page 211 of 272
2 11
TOYOTA Connect Radio
11
Navigation
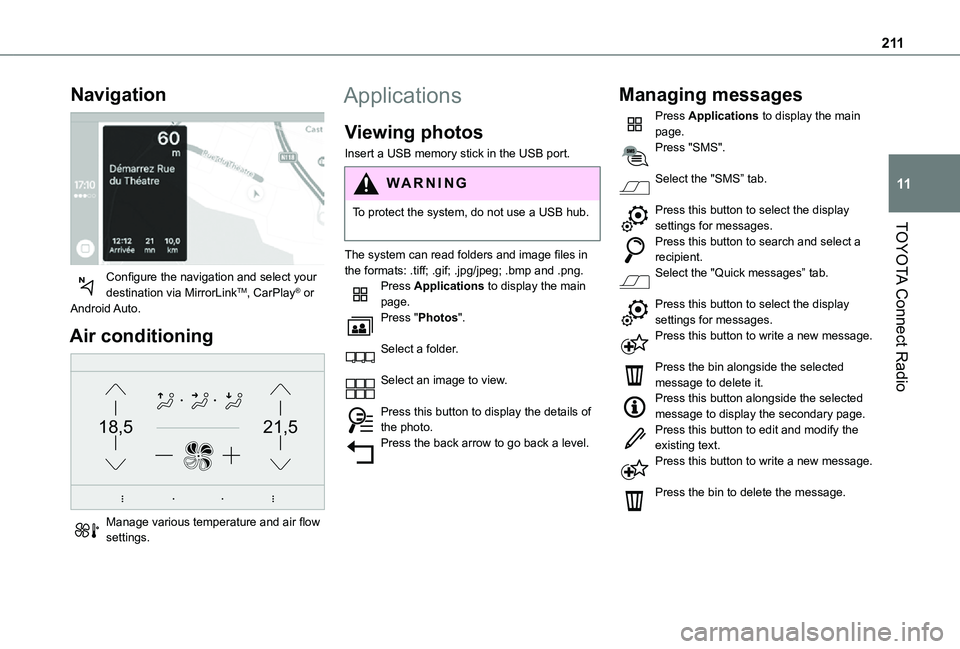
Configure the navigation and select your destination via MirrorLinkTM, CarPlay® or Android Auto.
Air conditioning
21,518,5
Manage various temperature and air flow settings.
Applications
Viewing photos
Insert a USB memory stick in the USB port.
WARNI NG
To protect the system, do not use a USB hub.
The system can read folders and image files in the formats: .tiff; .gif; .jpg/jpeg; .bmp and .png.Press Applications to display the main page.Press "Photos".
Select a folder.
Select an image to view.
Press this button to display the details of the photo.Press the back arrow to go back a level.
Managing messages
Press Applications to display the main page.Press "SMS".
Select the "SMS” tab.
Press this button to select the display settings for messages.Press this button to search and select a recipient.Select the "Quick messages” tab.
Press this button to select the display settings for messages.Press this button to write a new message.
Press the bin alongside the selected message to delete it.Press this button alongside the selected message to display the secondary page.Press this button to edit and modify the
existing text.Press this button to write a new message.
Press the bin to delete the message.
Page 223 of 272
223
TOYOTA Connect Nav
12
TOYOTA Connect Nav
GPS navigation -
Applications - Multimedia
audio system - Bluetooth®
telephone
NOTIC E
The functions and settings described vary according to the vehicle version and configuration.
WARNI NG
For safety reasons and because they require sustained attention by the driver, the following operations must be carried out with the vehicle stationary and the ignition on:– Pairing the smartphone with the system in Bluetooth mode.– Using the smartphone.– Connection to the CarPlay®, MirrorLinkTM or Android Auto applications (certain applications interrupt their display while the vehicle is moving).– Watching a video (the video stops when the
vehicle starts to move again).– Changing the system settings and configuration.
NOTIC E
The system is protected in such a way that it will only operate in the vehicle.The Energy Economy Mode message is displayed when the system is about to enter the corresponding mode.
NOTIC E
System and map updates can be downloaded from the Brand’s website.The update procedure is also available on the website.
First steps
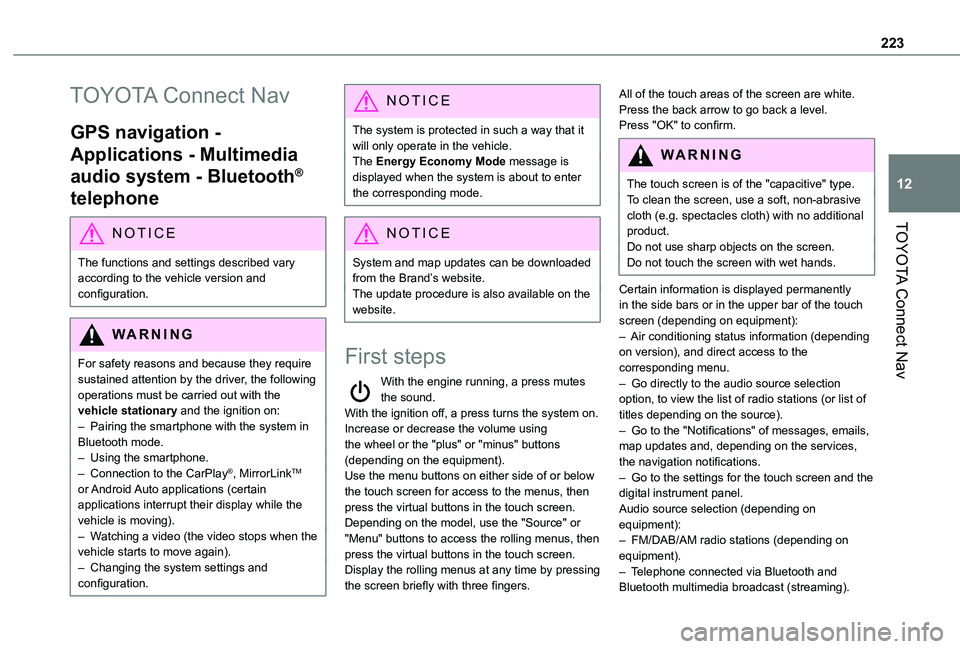
With the engine running, a press mutes the sound.With the ignition off, a press turns the system on.Increase or decrease the volume using the wheel or the "plus" or "minus" buttons (depending on the equipment).Use the menu buttons on either side of or below the touch screen for access to the menus, then press the virtual buttons in the touch screen.Depending on the model, use the "Source" or "Menu" buttons to access the rolling menus, then press the virtual buttons in the touch screen.Display the rolling menus at any time by pressing the screen briefly with three fingers.
All of the touch areas of the screen are white.Press the back arrow to go back a level.Press "OK" to confirm.
WARNI NG
The touch screen is of the "capacitive" type.To clean the screen, use a soft, non-abrasive cloth (e.g. spectacles cloth) with no additional product.
Do not use sharp objects on the screen.Do not touch the screen with wet hands.
Certain information is displayed permanently in the side bars or in the upper bar of the touch screen (depending on equipment):– Air conditioning status information (depending on version), and direct access to the corresponding menu.– Go directly to the audio source selection option, to view the list of radio stations (or list of titles depending on the source).– Go to the "Notifications" of messages, emails, map updates and, depending on the services, the navigation notifications.– Go to the settings for the touch screen and the digital instrument panel.Audio source selection (depending on equipment):– FM/DAB/AM radio stations (depending on equipment).– Telephone connected via Bluetooth and Bluetooth multimedia broadcast (streaming).