2021 TOYOTA PROACE CITY VERSO tow
[x] Cancel search: towPage 3 of 272
3
Contents
Cruise control - particular recommendations 126Programmable cruise control 126Adaptive Cruise Control 129Memorising speeds 133Active Safety Brake with Collision Risk Alert and Intelligent emergency braking assistance 133Active Lane Departure Warning System 136Blind Spot Monitoring System 139Active Blind Spot Monitoring System 141Distraction detection 141Parking sensors 143Top Rear Vision 145Park Assist 147
7Practical information
Compatibility of fuels 151Refuelling 151Misfuel prevention (Diesel) 153Snow chains 153Towing device 154Towing device with quickly
detachable towball 156Energy economy mode 157Roof bars / Roof rack 157Bonnet 158Engine compartment 159Checking levels 160Speed checks 162AdBlue® (Diesel engines) 164Free-wheeling 167
Advice on care and maintenance 167
8In the event of a breakdown
Running out of fuel (Diesel) 169Tool kit 169Temporary puncture repair kit 170Spare wheel 173Changing a bulb 176Changing a fuse 18212 V battery 184Towing 188
9Technical data
Dimensions 190Engine technical data and towed loads 191Identification markings 194
10Bluetooth® audio system
First steps 195Steering mounted controls 196Menus 197Radio 197DAB (Digital Audio Broadcasting) radio 198
Media 200Telephone 202Frequently asked questions 206
11TOYOTA Connect Radio
First steps 208Steering mounted controls 209Menus 210Applications 2 11
Radio 212DAB (Digital Audio Broadcasting) radio 213Media 214Telephone 215Settings 219Frequently asked questions 221
12TOYOTA Connect Nav
First steps 223Steering mounted controls 224Menus 224Voice commands 226Navigation 230Connected navigation 232Applications 235Radio 238DAB (Digital Audio Broadcasting) radio 240Media 240Telephone 242Settings 245Frequently asked questions 247
■Alphabetical index
Page 13 of 272
13
Instruments
1
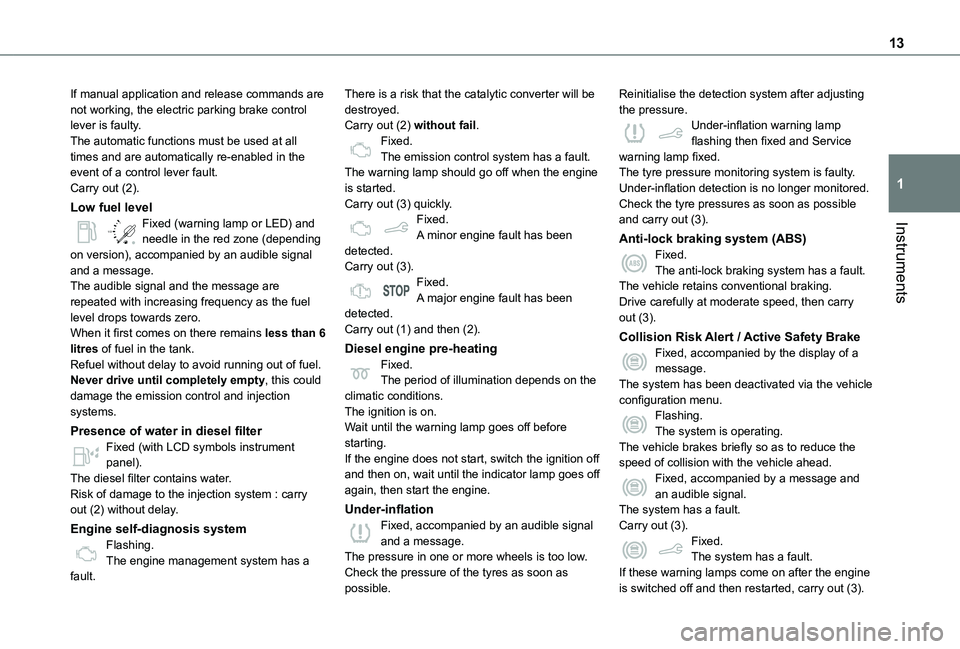
If manual application and release commands are not working, the electric parking brake control lever is faulty.The automatic functions must be used at all times and are automatically re-enabled in the event of a control lever fault.Carry out (2).
Low fuel level
/2
1 1Fixed (warning lamp or LED) and needle in the red zone (depending on version), accompanied by an audible signal and a message.The audible signal and the message are repeated with increasing frequency as the fuel level drops towards zero.When it first comes on there remains less than 6 litres of fuel in the tank.Refuel without delay to avoid running out of fuel.Never drive until completely empty, this could damage the emission control and injection systems.
Presence of water in diesel filter
Fixed (with LCD symbols instrument panel).The diesel filter contains water.Risk of damage to the injection system : carry out (2) without delay.
Engine self-diagnosis systemFlashing.The engine management system has a fault.
There is a risk that the catalytic converter will be destroyed.Carry out (2) without fail.Fixed.The emission control system has a fault.The warning lamp should go off when the engine is started.Carry out (3) quickly.Fixed.A minor engine fault has been detected.Carry out (3).Fixed.A major engine fault has been detected.Carry out (1) and then (2).
Diesel engine pre-heatingFixed.The period of illumination depends on the climatic conditions.The ignition is on.Wait until the warning lamp goes off before starting.
If the engine does not start, switch the ignition off and then on, wait until the indicator lamp goes off again, then start the engine.
Under-inflationFixed, accompanied by an audible signal and a message.The pressure in one or more wheels is too low.Check the pressure of the tyres as soon as possible.
Reinitialise the detection system after adjusting the pressure.Under-inflation warning lamp flashing then fixed and Service warning lamp fixed.The tyre pressure monitoring system is faulty.Under-inflation detection is no longer monitored.Check the tyre pressures as soon as possible and carry out (3).
Anti-lock braking system (ABS)Fixed.The anti-lock braking system has a fault.The vehicle retains conventional braking.Drive carefully at moderate speed, then carry out (3).
Collision Risk Alert / Active Safety BrakeFixed, accompanied by the display of a message.The system has been deactivated via the vehicle configuration menu.Flashing.The system is operating.
The vehicle brakes briefly so as to reduce the speed of collision with the vehicle ahead.Fixed, accompanied by a message and an audible signal.The system has a fault.Carry out (3).Fixed.The system has a fault.If these warning lamps come on after the engine is switched off and then restarted, carry out (3).
Page 25 of 272
25
Access
2
Advice
WARNI NG
Remote controlThe remote control is a sensitive, high-frequency device; avoid handling it in your pocket, due to the risk of unintentionally unlocking the vehicle.Avoid pressing the remote control buttons
while out of range of the vehicle, due to the risk of rendering the remote control inoperative. It would then be necessary to reset it.The remote control does not work when the key is in the ignition switch, even when the ignition is switched off.
WARNI NG
Anti-theft protectionDo not modify the electronic vehicle immobiliser, as this might result in malfunctions.For vehicles with a key ignition switch, remember to remove the key and turn the steering wheel to engage the steering lock.
WARNI NG
Locking the vehicleDriving with the doors locked could make it more difficult for the emergency services to enter the vehicle in an emergency.As a safety precaution, remove the key from the ignition or take the electronic key with you when leaving the vehicle, even for a short time.
NOTIC E
Purchasing a second-hand vehicleHave the key codes memorised by a TOYOTA dealer, to ensure that the keys in your possession are the only ones able to start the vehicle.
WARNI NG
Accumulations (water, dust, grime, salt, etc.) on the inner surface of the door handle may affect detection.If cleaning the inner surface of the door handle using a cloth does not restore detection, contact a TOYOTA dealer or a qualified workshop.A sudden splash of water (stream of water, high pressure jet washer, etc.) may be identified by the system as the desire to open the vehicle.
Unlocking
NOTIC E
Unlocking is signalled by rapid flashing of the direction indicators for a few seconds.Depending on version, the door mirrors unfold and the alarm is deactivated.
With the key
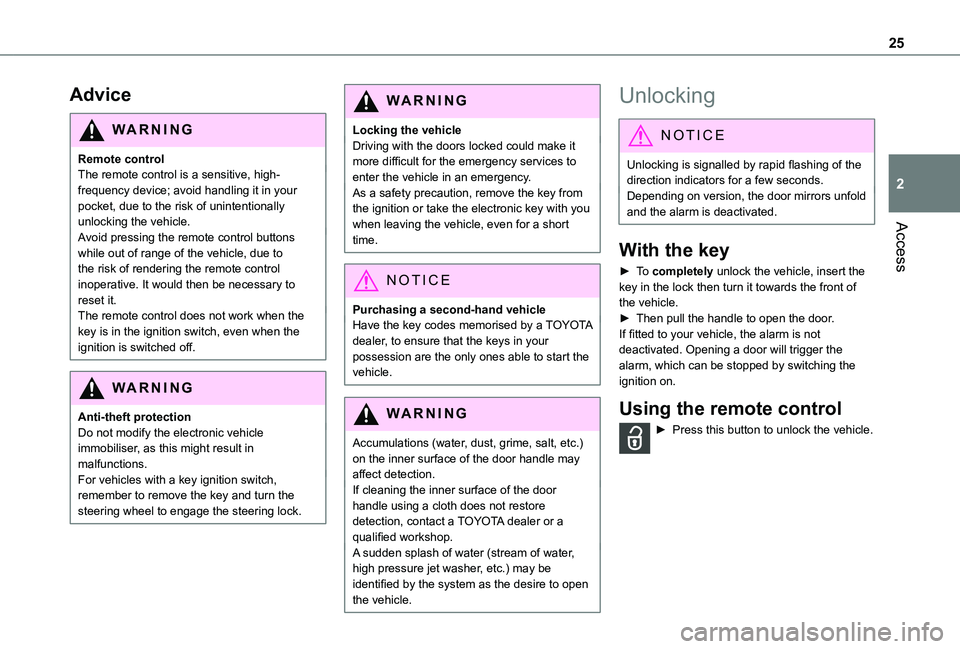
► To completely unlock the vehicle, insert the key in the lock then turn it towards the front of the vehicle.► Then pull the handle to open the door.If fitted to your vehicle, the alarm is not deactivated. Opening a door will trigger the alarm, which can be stopped by switching the ignition on.
Using the remote control
► Press this button to unlock the vehicle.
Page 26 of 272
26
With the Keyless Entry and
Starting "on your person"
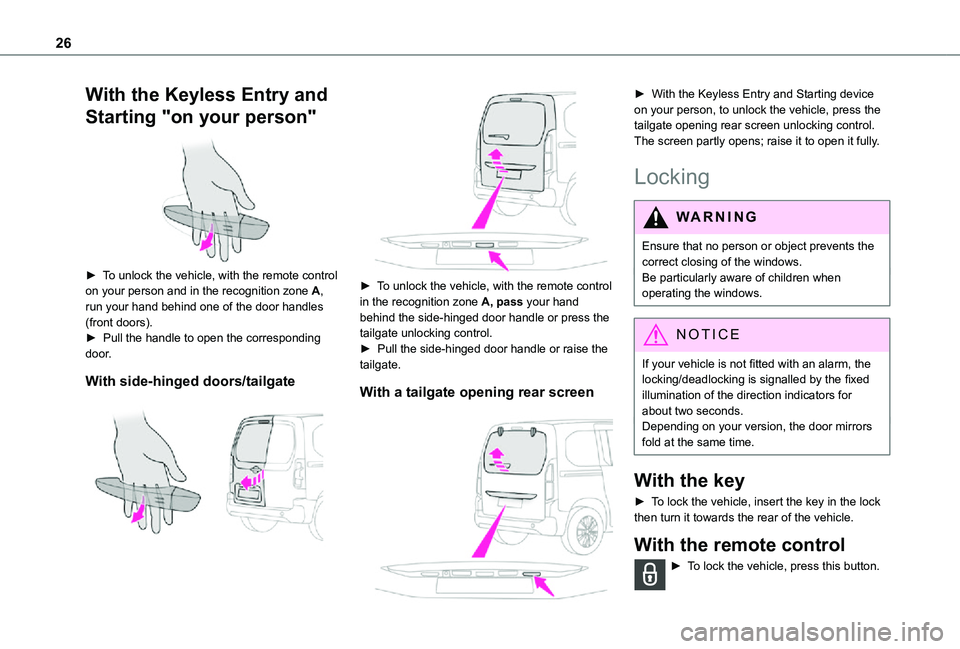
► To unlock the vehicle, with the remote control on your person and in the recognition zone A, run your hand behind one of the door handles (front doors).► Pull the handle to open the corresponding door.
With side-hinged doors/tailgate
► To unlock the vehicle, with the remote control in the recognition zone A, pass your hand behind the side-hinged door handle or press the tailgate unlocking control. ► Pull the side-hinged door handle or raise the tailgate.
With a tailgate opening rear screen
► With the Keyless Entry and Starting device on your person, to unlock the vehicle, press the tailgate opening rear screen unlocking control. The screen partly opens; raise it to open it fully.
Locking
WARNI NG
Ensure that no person or object prevents the correct closing of the windows.Be particularly aware of children when operating the windows.
NOTIC E
If your vehicle is not fitted with an alarm, the locking/deadlocking is signalled by the fixed illumination of the direction indicators for about two seconds.Depending on your version, the door mirrors fold at the same time.
With the key
► To lock the vehicle, insert the key in the lock then turn it towards the rear of the vehicle.
With the remote control
► To lock the vehicle, press this button.
Page 27 of 272
27
Access
2
NOTIC E
If your vehicle is so equipped, pressing and holding this button closes the windows. The window stops in position when you release the button.
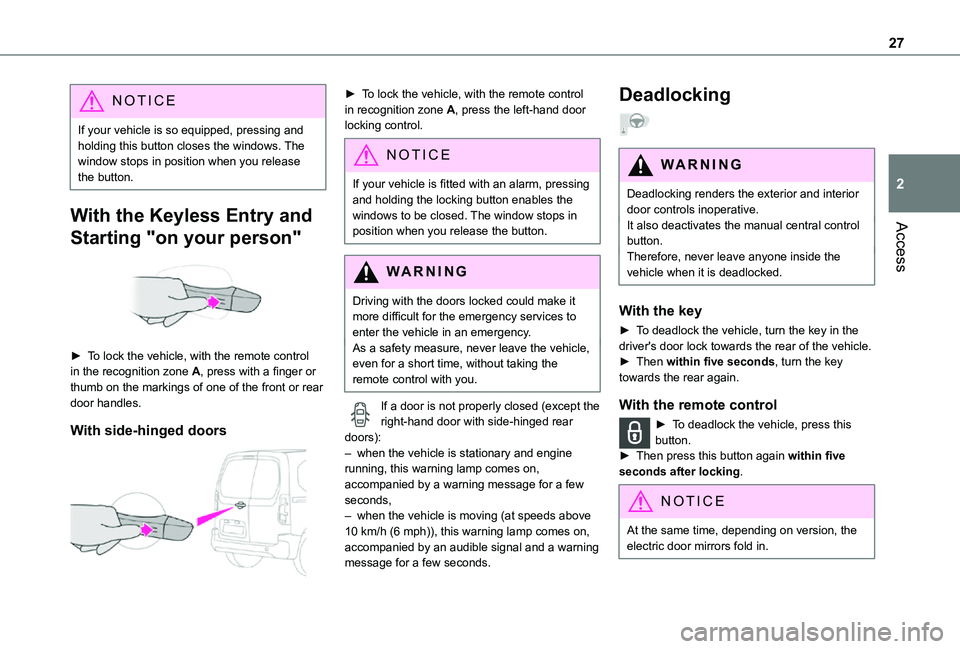
With the Keyless Entry and
Starting "on your person"
► To lock the vehicle, with the remote control in the recognition zone A, press with a finger or thumb on the markings of one of the front or rear door handles.
With side-hinged doors
► To lock the vehicle, with the remote control in recognition zone A, press the left-hand door locking control.
NOTIC E
If your vehicle is fitted with an alarm, pressing and holding the locking button enables the windows to be closed. The window stops in position when you release the button.
WARNI NG
Driving with the doors locked could make it more difficult for the emergency services to enter the vehicle in an emergency.As a safety measure, never leave the vehicle, even for a short time, without taking the remote control with you.
If a door is not properly closed (except the right-hand door with side-hinged rear doors):– when the vehicle is stationary and engine running, this warning lamp comes on, accompanied by a warning message for a few seconds, – when the vehicle is moving (at speeds above 10 km/h (6 mph)), this warning lamp comes on,
accompanied by an audible signal and a warning message for a few seconds.
Deadlocking
WARNI NG
Deadlocking renders the exterior and interior door controls inoperative.It also deactivates the manual central control button.
Therefore, never leave anyone inside the vehicle when it is deadlocked.
With the key
► To deadlock the vehicle, turn the key in the driver's door lock towards the rear of the vehicle.► Then within five seconds, turn the key towards the rear again.
With the remote control
► To deadlock the vehicle, press this button.► Then press this button again within five seconds after locking.
NOTIC E
At the same time, depending on version, the
electric door mirrors fold in.
Page 28 of 272
28
NOTIC E
If your vehicle is fitted with an alarm, pressing and holding the locking button enables the windows to be closed. The window stops in position when you release the button.
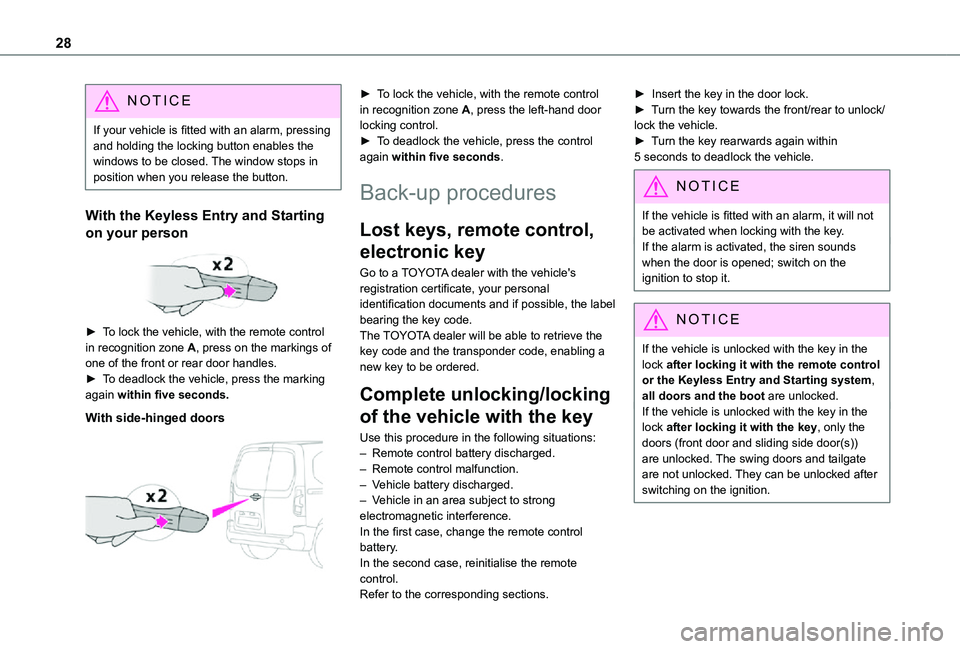
With the Keyless Entry and Starting
on your person
► To lock the vehicle, with the remote control in recognition zone A, press on the markings of one of the front or rear door handles.► To deadlock the vehicle, press the marking again within five seconds.
With side-hinged doors
► To lock the vehicle, with the remote control in recognition zone A, press the left-hand door locking control.► To deadlock the vehicle, press the control again within five seconds.
Back-up procedures
Lost keys, remote control,
electronic key
Go to a TOYOTA dealer with the vehicle's registration certificate, your personal identification documents and if possible, the label bearing the key code.The TOYOTA dealer will be able to retrieve the key code and the transponder code, enabling a new key to be ordered.
Complete unlocking/locking
of the vehicle with the key
Use this procedure in the following situations:
– Remote control battery discharged.– Remote control malfunction.– Vehicle battery discharged.– Vehicle in an area subject to strong electromagnetic interference.In the first case, change the remote control battery.In the second case, reinitialise the remote control.Refer to the corresponding sections.
► Insert the key in the door lock.► Turn the key towards the front/rear to unlock/lock the vehicle.► Turn the key rearwards again within 5 seconds to deadlock the vehicle.
NOTIC E
If the vehicle is fitted with an alarm, it will not be activated when locking with the key.
If the alarm is activated, the siren sounds when the door is opened; switch on the ignition to stop it.
NOTIC E
If the vehicle is unlocked with the key in the lock after locking it with the remote control or the Keyless Entry and Starting system, all doors and the boot are unlocked.If the vehicle is unlocked with the key in the lock after locking it with the key, only the doors (front door and sliding side door(s)) are unlocked. The swing doors and tailgate are not unlocked. They can be unlocked after switching on the ignition.
Page 35 of 272
35
Access
2
The alarm is triggered if anyone breaks a window, enters the passenger compartment or moves inside the vehicle.
NOTIC E
If your vehicle is fitted with Additional Heating / Ventilation, volumetric monitoring is not compatible with this system.For more information on Additional Heating / Ventilation, refer to the corresponding section.
Anti-tilt monitoring
The system checks for any change in the attitude of the vehicle.The alarm is triggered if the vehicle is lifted or moved.
NOTIC E
When the vehicle is parked, the alarm will not be triggered if the vehicle is knocked.
Locking the vehicle with full
alarm system
Activation
► Switch off the engine and exit the vehicle.► Lock the vehicle using the remote control or the "Keyless Entry and Starting" system.
The monitoring system is active: the red indicator lamp in the button flashes every second and the direction indicators come on for about 2 seconds.
NOTIC E
Following an instruction to lock the vehicle, the exterior perimeter monitoring is activated after 5 seconds and the interior volumetric
and anti-tilt monitoring after 45 seconds.
NOTIC E
If an opening (door, boot or bonnet) is not closed properly, the vehicle is not locked but the exterior perimeter monitoring will be activated after 45 seconds at the same time as the interior volumetric and anti-tilt monitoring.
Deactivation
► Press the unlocking button on the remote control.or► Unlock the vehicle with the Keyless Entry and Starting system.The monitoring system is deactivated: the
indicator lamp in the button goes off and the direction indicators flash for about 2 seconds.
NOTIC E
When the vehicle automatically locks itself again (as happens if a door or the boot is not opened within 30 seconds of unlocking), the monitoring system is also reactivated automatically.
Locking the vehicle
with exterior perimeter
monitoring only
Disable volumetric and anti-tilt monitoring to avoid unwanted alarm triggering in certain cases, such as:– Slightly open window or sunroof. – Washing the vehicle.– Changing a wheel.– Towing your vehicle.– Transport on a ship or ferry.
Deactivating the interior volumetric
and anti-tilt monitoring
► Switch off the ignition and within 10 seconds press the alarm button until its red indicator lamp is on fixed.► Get out of the vehicle.► Immediately lock the vehicle using the remote control or the "Keyless Entry and Starting" system.
Page 39 of 272
39
Ease of use and comfort
3
General
recommendations for the
seats
WARNI NG
For safety reasons, seat adjustments must only be made when the vehicle is stationary.
WARNI NG
Folding or unfolding the seat backrests must only be done with the vehicle stationary.
WARNI NG
Before moving the seat backwards, ensure that there is no person or object that might prevent the full travel of the seat.There is a risk of trapping or pinching
passengers if present in the rear seats or of jamming the seat if large objects are placed on the floor behind the seat.
WARNI NG
Do not place hard or heavy objects on the backrests forming a table. They could become
dangerous projectiles in the event of sudden braking or a collision.– Do not remove a head restraint without stowing it; secure it to a support inside the vehicle.– Check that the seat belts remain accessible to the passenger and easy to fasten.– Passengers must never take their seat without adjusting and fastening their seat belt.– In row 3, be careful not to leave your feet under the row 2 seat while it is being tilted.– When a row 3 seat is in the fully folded position, ensure that the strap is correctly hooked to the Top Tether fixing of the row 2 backrest: risk of unexpected tipping of the seat.
WARNI NG
Before carrying out the manoeuvres, check that nothing and no one is obstructing the moving elements and their locking.
To avoid sudden folding, take care to hold the backrest and support it until it is horizontal.Never put your hand underneath the seat cushion to guide the seat downwards or upwards, you could get your fingers trapped. Place your hand on the grip/strap (depending on equipment) at the top of the seat cushion.
WARNI NG
Please note: an incorrectly latched backrest compromises the safety of passengers in the event of sudden braking or an impact.The contents of the boot may be thrown forward - risk of severe injury!
Front seats
Correct driving position
Before taking to the road and to make the most of the ergonomic layout of the instruments and controls, carry out these adjustments in the following order:– head restraint height.– seat backrest angle.– seat cushion height.– longitudinal seat position.– steering wheel height and reach.– rear view mirror and door mirrors.