2021 TOYOTA PROACE CITY VERSO EV maintenance
[x] Cancel search: maintenancePage 1 of 320
Welcome
Thank you for choosing Toyota Proace City Verso or Toyota Proace CityThis document presents the key information and recommendations required for you to be able to explore your vehicle in complete safety. We strongly recommend familiarising yourself with this document and the Maintenance and Warranty Guide.003C00470052004600580050004800510057country in which it was sold.The descriptions and illustrations are for guidance only.
0037and accessories without having to update this document.If ownership of your vehicle is transferred, please ensure this Han is passed on to the new owner.
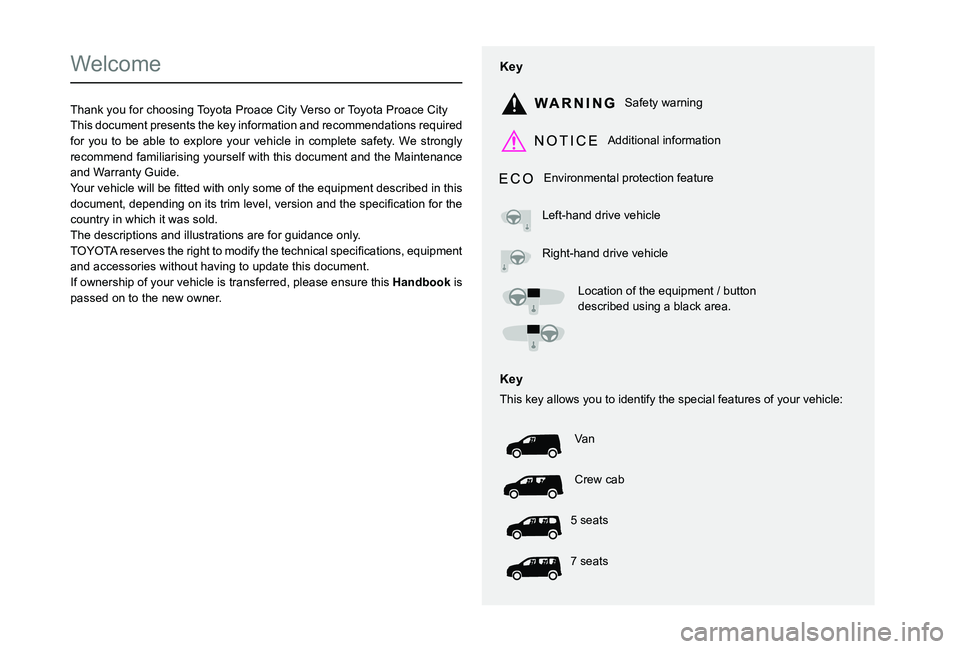
Key
Safety warning
Additional information
Environmental protection feature
Left-hand drive vehicle
Right-hand drive vehicle
Location of the equipment / button described using a black area.
Key
This key allows you to identify the special features of your vehicle:
Va n
Crew cab
5 seats
7 seats
Page 3 of 320
3
Contents
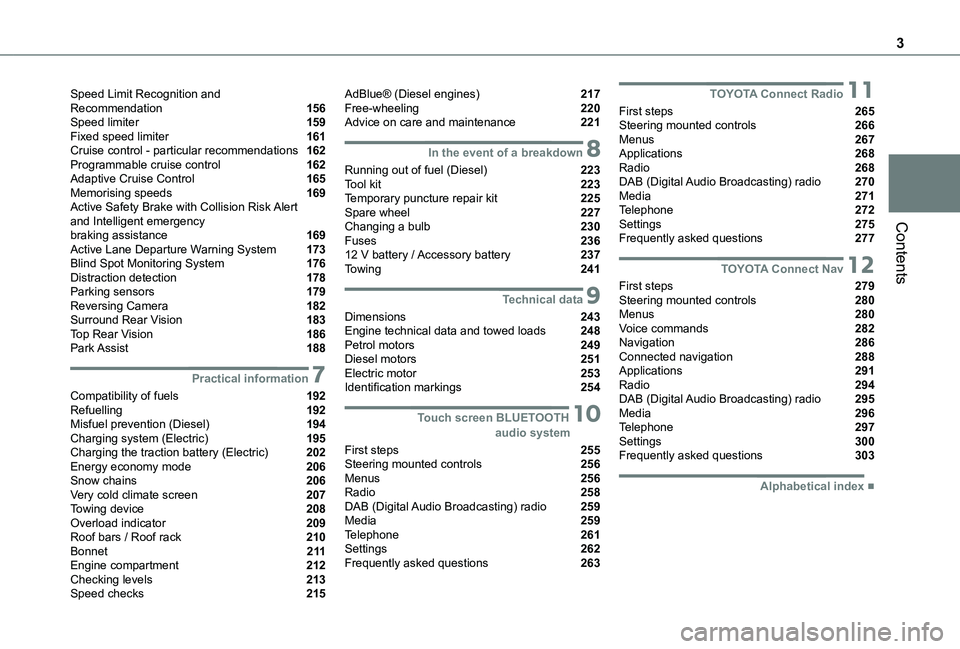
Speed Limit Recognition and Recommendation 156Speed limiter 159Fixed speed limiter 161Cruise control - particular recommendations 162Programmable cruise control 162Adaptive Cruise Control 165Memorising speeds 169Active Safety Brake with Collision Risk Alert and Intelligent emergency braking assistance 169Active Lane Departure Warning System 173Blind Spot Monitoring System 176Distraction detection 178Parking sensors 179Reversing Camera 182Surround Rear Vision 183Top Rear Vision 186Park Assist 188
7Practical information
Compatibility of fuels 192Refuelling 192Misfuel prevention (Diesel) 194Charging system (Electric) 195Charging the traction battery (Electric) 202Energy economy mode 206Snow chains 206Very cold climate screen 207Towing device 208Overload indicator 209Roof bars / Roof rack 210Bonnet 2 11Engine compartment 212Checking levels 213Speed checks 215
AdBlue® (Diesel engines) 217Free-wheeling 220Advice on care and maintenance 221
8In the event of a breakdown
Running out of fuel (Diesel) 223Tool kit 223Temporary puncture repair kit 225Spare wheel 227Changing a bulb 230Fuses 23612 V battery / Accessory battery 237Towing 241
9Technical data
Dimensions 243Engine technical data and towed loads 248Petrol motors 249Diesel motors 251Electric motor 253Identification markings 254
10 Touch screen BLUETOOTH audio system
First steps 255Steering mounted controls 256Menus 256Radio 258DAB (Digital Audio Broadcasting) radio 259Media 259Telephone 261Settings 262Frequently asked questions 263
11TOYOTA Connect Radio
First steps 265Steering mounted controls 266Menus 267Applications 268Radio 268DAB (Digital Audio Broadcasting) radio 270Media 271Telephone 272Settings 275Frequently asked questions 277
12TOYOTA Connect Nav
First steps 279Steering mounted controls 280Menus 280Voice commands 282Navigation 286Connected navigation 288Applications 291Radio 294DAB (Digital Audio Broadcasting) radio 295Media 296Telephone 297Settings 300Frequently asked questions 303
■Alphabetical index
Page 96 of 320
96
WARNI NG
MaintenanceClean the windscreen regularly, particularly the area in front of the camera.The internal surface of the windscreen can also become misted around the camera. In humid and cold weather, demist the windscreen regularly.Do not allow snow to accumulate on the bonnet or roof of the vehicle as this could obstruct the camera.
Automatic headlamp
dipping
WARNI NG
For more information, refer to the General recommendations for automatic lighting systems.
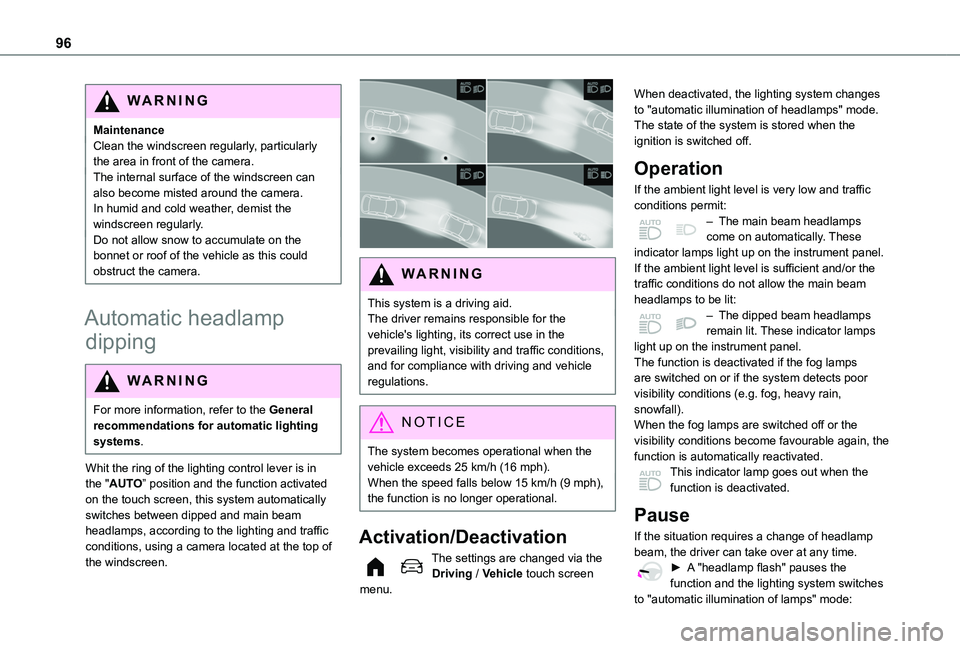
Whit the ring of the lighting control lever is in the "AUTO” position and the function activated on the touch screen, this system automatically switches between dipped and main beam headlamps, according to the lighting and traffic conditions, using a camera located at the top of the windscreen.
WARNI NG
This system is a driving aid.The driver remains responsible for the vehicle's lighting, its correct use in the prevailing light, visibility and traffic conditions, and for compliance with driving and vehicle regulations.
NOTIC E
The system becomes operational when the vehicle exceeds 25 km/h (16 mph).When the speed falls below 15 km/h (9 mph), the function is no longer operational.
Activation/Deactivation
The settings are changed via the Driving / Vehicle touch screen menu.
When deactivated, the lighting system changes to "automatic illumination of headlamps" mode.The state of the system is stored when the ignition is switched off.
Operation
If the ambient light level is very low and traffic conditions permit:– The main beam headlamps come on automatically. These indicator lamps light up on the instrument panel.If the ambient light level is sufficient and/or the traffic conditions do not allow the main beam headlamps to be lit:– The dipped beam headlamps remain lit. These indicator lamps light up on the instrument panel.The function is deactivated if the fog lamps are switched on or if the system detects poor visibility conditions (e.g. fog, heavy rain, snowfall).When the fog lamps are switched off or the visibility conditions become favourable again, the
function is automatically reactivated.This indicator lamp goes out when the function is deactivated.
Pause
If the situation requires a change of headlamp beam, the driver can take over at any time.► A "headlamp flash" pauses the function and the lighting system switches
to "automatic illumination of lamps" mode:
Page 99 of 320
99
Lighting and visibility
4
Off.
Intermittent wipe.
Screenwash-wipe.
Reverse gear
When reverse gear is engaged, the rear wiper will come into operation automatically if the front windscreen wipers are operating.
Activation/Deactivation
The settings are changed via the Driving / Vehicle touch screen menu.
NOTIC E
This function is activated by default.
WARNI NG
In the event of accumulation of snow or hard frost or if a bicycle carrier is fitted to a towing device, deactivate the automatic rear wiper via the touch screen's Driving / Vehicle menu.
Special position of the
windscreen wipers
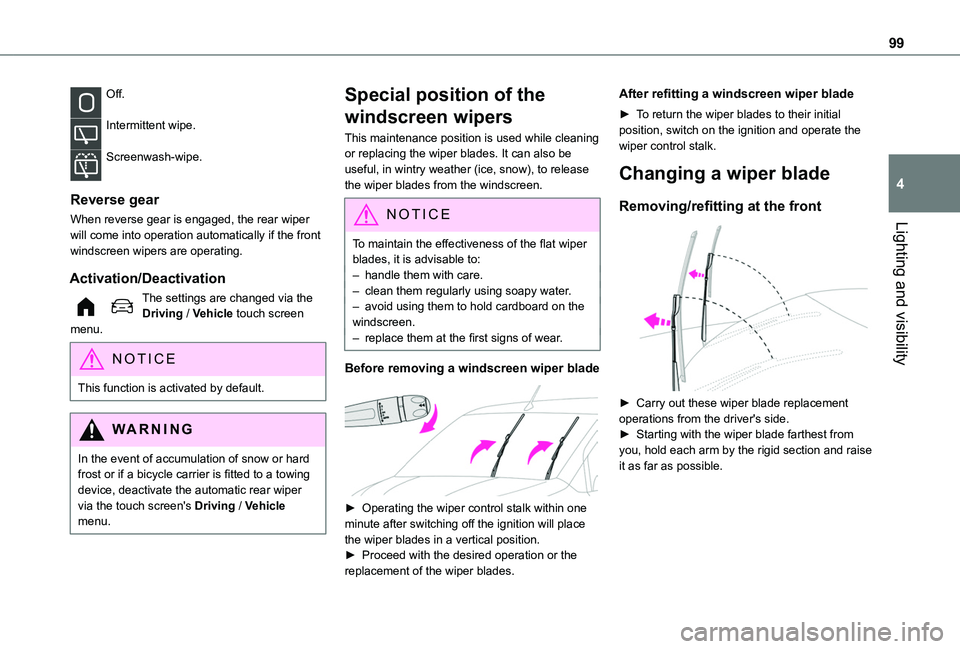
This maintenance position is used while cleaning or replacing the wiper blades. It can also be useful, in wintry weather (ice, snow), to release the wiper blades from the windscreen.
NOTIC E
To maintain the effectiveness of the flat wiper blades, it is advisable to:– handle them with care.– clean them regularly using soapy water.– avoid using them to hold cardboard on the windscreen.– replace them at the first signs of wear.
Before removing a windscreen wiper blade
► Operating the wiper control stalk within one minute after switching off the ignition will place the wiper blades in a vertical position.► Proceed with the desired operation or the replacement of the wiper blades.
After refitting a windscreen wiper blade
► To return the wiper blades to their initial position, switch on the ignition and operate the wiper control stalk.
Changing a wiper blade
Removing/refitting at the front
► Carry out these wiper blade replacement operations from the driver's side.► Starting with the wiper blade farthest from
you, hold each arm by the rigid section and raise it as far as possible.
Page 113 of 320
11 3
Safety
5
Unfastened
After the ignition is switched on, warning lamp 1 (depending on version) and the corresponding indicator lamps light up if the driver and/or one or more passengers unfasten their seat belts.At a speed greater than 12 mph (20 km/h), these warning lamps flash, accompanied by an audible signal for approximately two minutes. After this time, these warning lamps remain on as long as the seatbelts are not refastened.
Advice
WARNI NG
The driver must ensure that passengers use the seat belts correctly and that they are all fastened before setting off.Wherever seated in the vehicle, you must always fasten the seat belt, even for short journeys.Do not invert the seat belt buckles, as they will not fulfil their role properly.To ensure the proper functioning of the belt buckles, make sure that there are no foreign bodies present (e.g. a coin) before fastening.Before and after use, ensure that the seat belt is reeled in correctly.After folding or moving a seat or rear bench seat, ensure that the seat belt is positioned and reeled in correctly.
WARNI NG
InstallationThe lower part of the strap must be positioned as low as possible over the pelvis.The upper part must be positioned in the hollow of the shoulder.At the front, adjusting the position of the seat belt may require the seat height to be adjusted.In order to be effective, a seat belt must:– be tightened as close to the body as possible.– be pulled in front of you with a smooth movement, ensuring that it is not twisted.– must only be used to secure one person.– not show signs of tearing or fraying.– not be changed or modified, in order to avoid affecting its performance.
WARNI NG
Recommendations for childrenUse a suitable child seat if the passenger is less than 12 years old or shorter than 1.5 metres (4 ft 11").Never use the same seat belt to secure more than one child.Never carry a child on your lap.For more information on Child seats, refer to the corresponding section.
WARNI NG
MaintenanceIn accordance with current safety regulations, for all work on your vehicle's seat belts, contact a qualified workshop with the skills and equipment needed, which any authorized Toyota retailer or Toyota authorized repairer, or any reliable repairer is able to provide.Have the seat belts checked regularly by any authorized Toyota retailer or Toyota authorized repairer, or any reliable repairer, particularly if the straps show signs of damage.Clean the seat belt straps with soapy water or a textile cleaning product, sold by any authorized Toyota retailer or Toyota authorized repairer, or any reliable repairer.
WARNI NG
In the event of an impact
Depending on the nature and seriousness of impacts, the pyrotechnic pretensioner device may trigger before and independently of airbag deployment. Deployment of the pretensioners is accompanied by a slight discharge of harmless smoke and a noise, due to the activation of the pyrotechnic cartridge incorporated in the system.
Page 142 of 320
142
Moving off
► With your foot on the brake, select position P.► Start the engine.If the conditions are not met, there is an audible signal, accompanied by a message on the instrument panel screen.► Release the parking brake, unless it is set to automatic mode (with electric parking brake).► Select position R, N or D.
WARNI NG
If you are setting off from a steep slope with a loaded vehicle, depress the brake pedal, select position D, release the parking brake, unless it is set to automatic mode (with electric parking brake), then release the brake pedal.
► Gradually release the brake pedal.Or► Accelerate gradually in order to release the electric parking brake (if it is set to automatic mode).The vehicle moves off immediately.
NOTIC E
If P is displayed on the instrument panel but the selector is in another position, place the selector in position P to allow the engine to be started.If position N is selected inadvertently while driving, allow the engine to return to idle, then select position D to accelerate.
WARNI NG
When the engine is running at idle with the brakes released, if position R, D or M is selected, the vehicle moves even without the accelerator being pressed.Never leave children inside the vehicle unsupervised.As a safety measure, never leave the vehicle without taking your key or remote control with you, even for a short time.When carrying out maintenance with the engine running, apply the parking brake and select position P.
WARNI NG
With an automatic gearbox, never try to start
the engine by pushing the vehicle.
Automatic operation
► Select position D for automatic changing of the gears.The gearbox then operates in auto-adaptive mode, without any intervention on the part of the driver. It continuously selects the most suitable gear according to the driving style, the road profile and the load in the vehicle.► For maximum acceleration without touching the selector, fully depress the accelerator pedal (kick-down).The gearbox changes down automatically or holds the gear selected until the maximum engine speed is reached.When braking, the gearbox changes down automatically to provide effective engine braking.If you release the accelerator sharply, the gearbox will not shift to a higher gear for safety reasons.
WARNI NG
Never select position N while the vehicle is moving.Never select positions P or R unless the vehicle is completely stationary.
Page 156 of 320
156
The sensors do not systematically detect obstacles that are too low (pavements, studs) or too thin (trees, posts, wire fences).Certain obstacles located in the sensors’ blind spots may not be detected or may no longer be detected during the manoeuvre.Certain materials (fabrics) absorb sound waves: pedestrians may not be detected.
NOTIC E
MaintenanceClean the bumpers and door mirrors and the field of vision of the cameras regularly.When washing your vehicle at high pressure, direct the spray from at least 30 cm away from the radar, sensors and cameras.
WARNI NG
Mats/Pedal trimsThe use of mats or pedal trims not approved
by TOYOTA may interfere with the operation of the speed limiter or cruise control.To avoid any risk of jamming the pedals:– Ensure that the mat is secured correctly.– Never fit one mat on top of another.
NOTIC E
Units of speedEnsure that the units of speed displayed on the instrument panel (km/h or mph) are those for the country you are driving in.If this is not the case, when the vehicle is stationary, set the display to the required units of speed so that it complies with what is authorised locally.In case of doubt, contact any authorized Toyota retailer or Toyota authorized repairer, or any reliable repairer.
Speed Limit Recognition
and Recommendation
WARNI NG
For more information, refer to the General recommendations on the use of driving and manoeuvring aids.
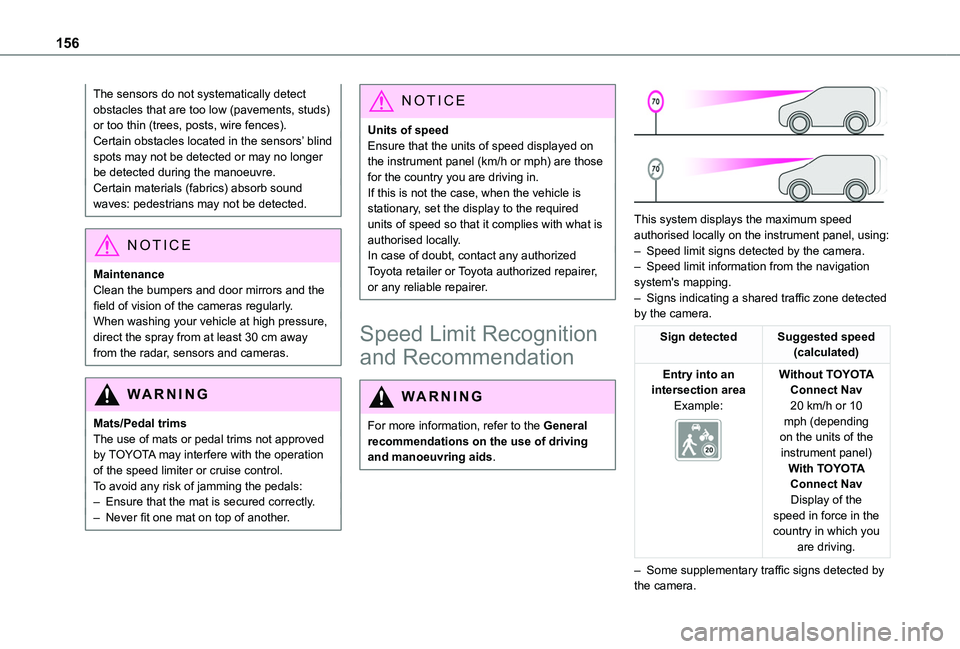
This system displays the maximum speed authorised locally on the instrument panel, using:
– Speed limit signs detected by the camera.– Speed limit information from the navigation system's mapping.– Signs indicating a shared traffic zone detected by the camera.
Sign detectedSuggested speed (calculated)
Entry into an intersection areaExample:
Without TOYOTA Connect Nav20 km/h or 10 mph (depending on the units of the instrument panel)With TOYOTA Connect NavDisplay of the speed in force in the country in which you are driving.
– Some supplementary traffic signs detected by the camera.
Page 183 of 320
183
Driving
6
Operating limits
The system may be disrupted (or even damaged) and not work in the following situations:– Installation of a bicycle carrier on the tailgate or side-hinged door (depending on version).– Attachment of a trailer to the towball.– Driving with a door open.
WARNI NG
Please note, the camera must not be obscured (by a sticker, a bicycle carrier, etc.).
NOTIC E
The field of vision of the camera may vary depending on the load in vehicle.
Maintenance
recommendations
In bad or wintry weather, ensure that the camera is not covered by mud, frost or snow.Check the cleanliness of the camera lens regularly.If necessary, clean the camera with a soft, dry cloth.
When washing the vehicle using a high-pressure jet, keep the spray directed at least 30 cm (0 ft 11") away from the camera.
Surround Rear Vision
WARNI NG
For more information, refer to the General recommendations on the use of driving and manoeuvring aids.
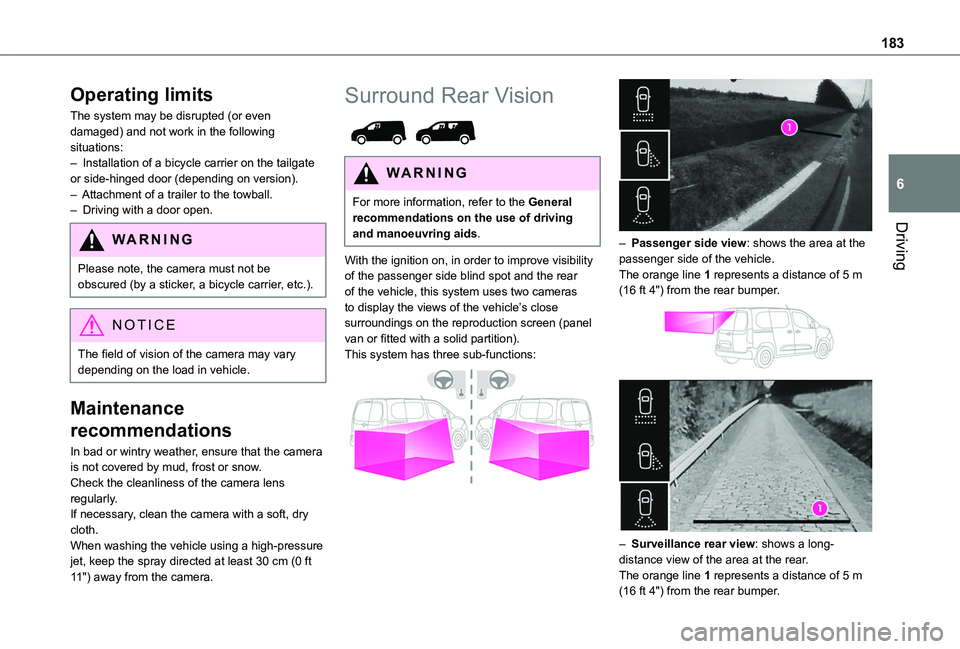
With the ignition on, in order to improve visibility of the passenger side blind spot and the rear of the vehicle, this system uses two cameras to display the views of the vehicle’s close surroundings on the reproduction screen (panel van or fitted with a solid partition).This system has three sub-functions:
– Passenger side view: shows the area at the passenger side of the vehicle.The orange line 1 represents a distance of 5 m (16 ft 4") from the rear bumper.
– Surveillance rear view: shows a long-distance view of the area at the rear.The orange line 1 represents a distance of 5 m (16 ft 4") from the rear bumper.