2021 TOYOTA PROACE CITY run flat
[x] Cancel search: run flatPage 2 of 272
2
■Overview
Labels 4
■Eco-driving
Eco-coaching 8
1Instruments
Instrument Panel 9Warning and indicator lamps 11Indicators 16Trip computer 21Setting the date and time 22
2Access
Electronic key with remote control function and built-in key, 23Back-up procedures 30Central locking / unlocking 33Doors 35General recommendations for
the sliding side doors 36Rear roof flap 37Alarm 38Electric windows 40Tilting rear door windows 41
3Ease of use and comfort
General recommendations for the seats 42Front seats 42
Steering wheel adjustment 45
Mirrors 452-seat front bench seat 46Rear bench seat 48Interior fittings 49Extenso cabin 54Crew cab 56Heating and Ventilation 60Heating 61Manual air conditioning 61Dual-zone automatic air conditioning 62Front demisting - defrosting 64Rear screen and/or door mirrors demisting - defrosting 66Additional heating/ventilation system 66
4Lighting and visibility
Lighting control lever 70Direction indicators 71Automatic illumination of headlamps 71Daytime running lamps / Sidelamps 72Parking lamps 72Automatic headlamp dipping 73
Headlamp beam height adjustment 74Wiper control lever 75Changing a wiper blade 77Automatic wiping 77
5Safety
General safety recommendations 79Emergency or assistance call 80Hazard warning lamps 82
Horn 82Electronic stability control (ESC) 82Advanced Grip Control 85Hill Assist Descent Control 86Seat belts 87Airbags 90Child seats 93Deactivating the front passenger airbag 95Manual child lock 98Electric child lock 98
6Driving
Driving recommendations 99Starting/switching off the engine 101Manual parking brake 105Electric parking brake 105Hill start assist 1085-speed manual gearbox 1096-speed manual gearbox 109Automatic gearbox 11 0Gear efficiency indicator 11 4Stop & Start 11 4
Under-inflation detection 11 6Head-up display 11 8Driving and manoeuvring aids - General recommendations 11 9Speed Limit Recognition and Recommendation 121Speed limiter 124Cruise control - particular recommendations 126Programmable cruise control 127
Adaptive Cruise Control 129
Page 13 of 272
13
Instruments
1
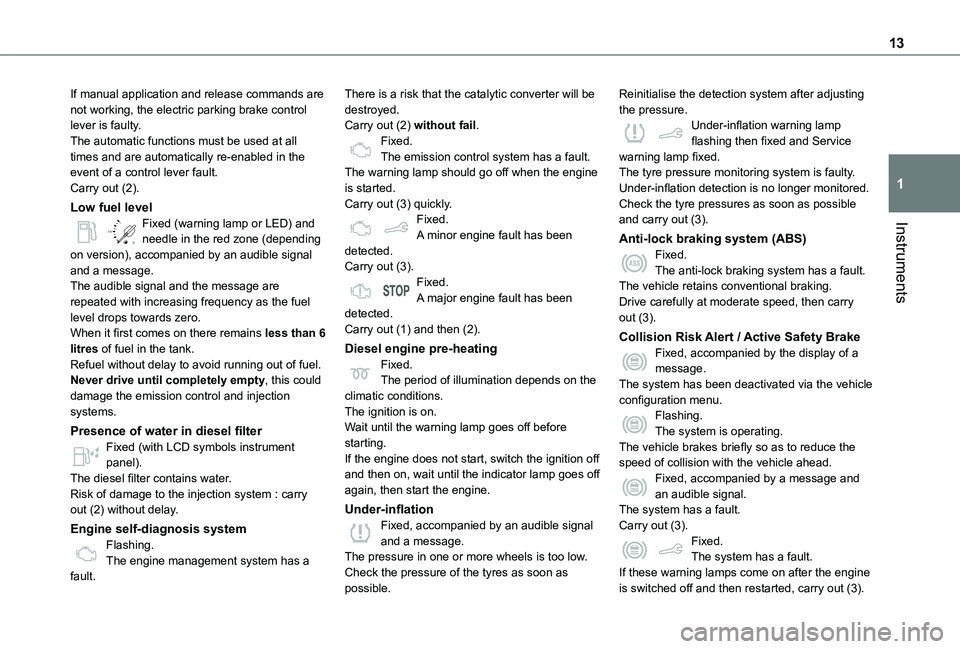
If manual application and release commands are not working, the electric parking brake control lever is faulty.The automatic functions must be used at all times and are automatically re-enabled in the event of a control lever fault.Carry out (2).
Low fuel level
/2
1 1Fixed (warning lamp or LED) and needle in the red zone (depending on version), accompanied by an audible signal and a message.The audible signal and the message are repeated with increasing frequency as the fuel level drops towards zero.When it first comes on there remains less than 6 litres of fuel in the tank.Refuel without delay to avoid running out of fuel.Never drive until completely empty, this could damage the emission control and injection systems.
Presence of water in diesel filter
Fixed (with LCD symbols instrument panel).The diesel filter contains water.Risk of damage to the injection system : carry out (2) without delay.
Engine self-diagnosis systemFlashing.The engine management system has a fault.
There is a risk that the catalytic converter will be destroyed.Carry out (2) without fail.Fixed.The emission control system has a fault.The warning lamp should go off when the engine is started.Carry out (3) quickly.Fixed.A minor engine fault has been detected.Carry out (3).Fixed.A major engine fault has been detected.Carry out (1) and then (2).
Diesel engine pre-heatingFixed.The period of illumination depends on the climatic conditions.The ignition is on.Wait until the warning lamp goes off before starting.
If the engine does not start, switch the ignition off and then on, wait until the indicator lamp goes off again, then start the engine.
Under-inflationFixed, accompanied by an audible signal and a message.The pressure in one or more wheels is too low.Check the pressure of the tyres as soon as possible.
Reinitialise the detection system after adjusting the pressure.Under-inflation warning lamp flashing then fixed and Service warning lamp fixed.The tyre pressure monitoring system is faulty.Under-inflation detection is no longer monitored.Check the tyre pressures as soon as possible and carry out (3).
Anti-lock braking system (ABS)Fixed.The anti-lock braking system has a fault.The vehicle retains conventional braking.Drive carefully at moderate speed, then carry out (3).
Collision Risk Alert / Active Safety BrakeFixed, accompanied by the display of a message.The system has been deactivated via the vehicle configuration menu.Flashing.The system is operating.
The vehicle brakes briefly so as to reduce the speed of collision with the vehicle ahead.Fixed, accompanied by a message and an audible signal.The system has a fault.Carry out (3).Fixed.The system has a fault.If these warning lamps come on after the engine is switched off and then restarted, carry out (3).
Page 104 of 272
104
Key left in the ignition
NOTIC E
When opening the driver's door, an alert message is displayed, accompanied by an audible signal, to remind you that the key is still in the ignition switch at position 1 (Stop).If the key has been left in the ignition switch at position 2 (Ignition on), the ignition will be
switched off automatically after one hour.To switch the ignition back on, turn the key to position 1 (Stop), then back to position 2 (Ignition on).
With Keyless Entry and Starting
► With the remote control in the recognition zone, press the "START/STOP" button.With a manual gearbox, the engine switches off and the steering column locks.With the EAT8 automatic gearbox, the engine switches off.
NOTIC E
If the vehicle is not immobilised, the engine will not stop.
Switching on the ignition
with Keyless Entry and
Starting
With the Keyless Entry and Starting system’s electronic key inside the vehicle, pressing the "START/STOP" button, with no action on the pedals, allows the ignition to be switched on.► Pressing this button again switches off the ignition and allows the vehicle to be locked.
Back-up starting with
Keyless Entry and Starting
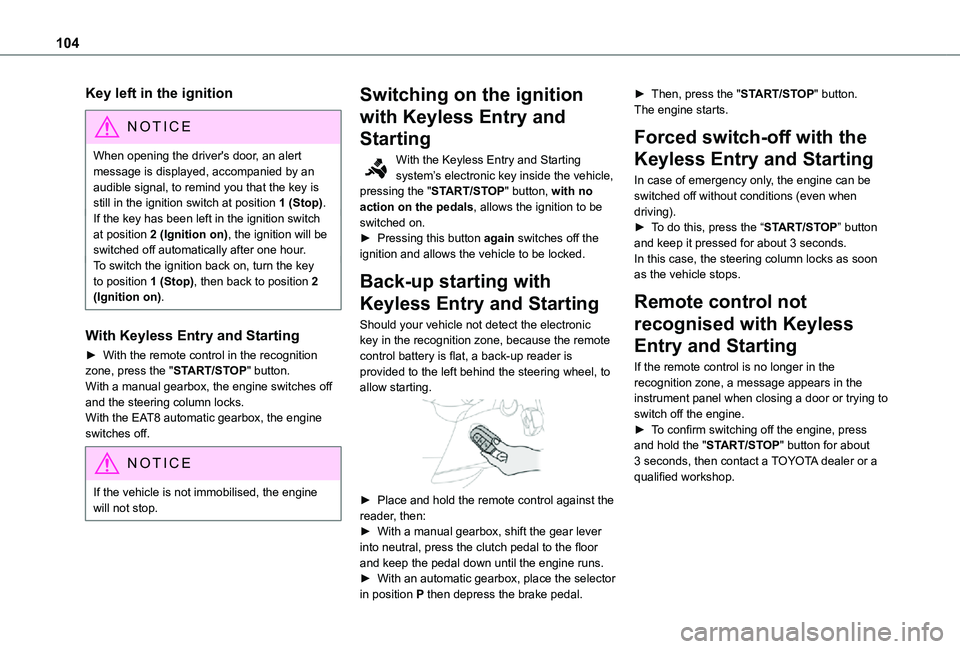
Should your vehicle not detect the electronic key in the recognition zone, because the remote control battery is flat, a back-up reader is provided to the left behind the steering wheel, to allow starting.
► Place and hold the remote control against the reader, then:► With a manual gearbox, shift the gear lever into neutral, press the clutch pedal to the floor and keep the pedal down until the engine runs.► With an automatic gearbox, place the selector in position P then depress the brake pedal.
► Then, press the "START/STOP" button.The engine starts.
Forced switch-off with the
Keyless Entry and Starting
In case of emergency only, the engine can be switched off without conditions (even when driving).► To do this, press the “START/STOP” button and keep it pressed for about 3 seconds.In this case, the steering column locks as soon as the vehicle stops.
Remote control not
recognised with Keyless
Entry and Starting
If the remote control is no longer in the recognition zone, a message appears in the instrument panel when closing a door or trying to switch off the engine.► To confirm switching off the engine, press
and hold the "START/STOP" button for about 3 seconds, then contact a TOYOTA dealer or a qualified workshop.
Page 113 of 272
11 3
Driving
6
Invalid value during manual
operation
This symbol is displayed if a gear is not engaged correctly (gear selector between two positions).► Place the selector "correctly" at a position.
Stopping the vehicle
Before switching off the engine, select position P then apply the parking brake to immobilise the vehicle.
NOTIC E
A point of resistance may be noticed when moving to position P.If the selector is not in position P when the driver's door is opened or approximately 45 seconds after the ignition is switched off, an audible signal sounds and a message appears.► Return the gear selector to position P; the audible signal stops and the message disappears.
WARNI NG
On a steep slope with a loaded vehicle, press the brake pedal, select position P, apply the parking brake then release the brake pedal.
WARNI NG
In all circumstances, ensure that the selector
is in position P before leaving your vehicle.
Operating fault
When the ignition is on, a message appears in the instrument panel screen to indicate a gearbox fault.In this case, the gearbox switches to back-up mode and is locked in 3rd gear. You may feel a substantial knock when changing from P to R and from N to R. This will not cause any damage to the gearbox.Do not exceed 100 km/h (60 mph), local speed restrictions permitting.Have it checked by a TOYOTA dealer or a qualified workshop.
WARNI NG
There is a risk of damage to the gearbox:– if you press the accelerator and brake pedals at the same time (braking or acceleration must be done only with the right foot),– if you force the selector from position P to another position when the battery is flat.
EC O
To reduce fuel consumption when stationary for long periods with the engine running (traffic jam, etc.), position the selector on N and apply the parking brake.
WARNI NG
If your vehicle has an automatic gearbox, do not try to start the engine by pushing the vehicle.
Page 156 of 272
156
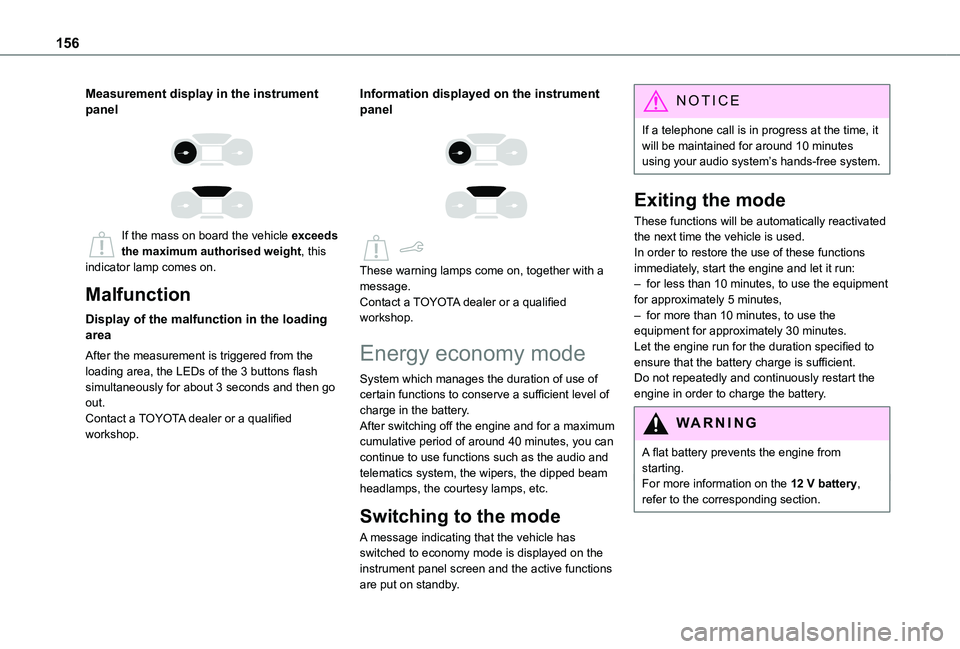
Measurement display in the instrument panel
If the mass on board the vehicle exceeds the maximum authorised weight, this indicator lamp comes on.
Malfunction
Display of the malfunction in the loading area
After the measurement is triggered from the loading area, the LEDs of the 3 buttons flash simultaneously for about 3 seconds and then go out.Contact a TOYOTA dealer or a qualified workshop.
Information displayed on the instrument panel
These warning lamps come on, together with a message.Contact a TOYOTA dealer or a qualified workshop.
Energy economy mode
System which manages the duration of use of certain functions to conserve a sufficient level of charge in the battery.After switching off the engine and for a maximum cumulative period of around 40 minutes, you can continue to use functions such as the audio and telematics system, the wipers, the dipped beam headlamps, the courtesy lamps, etc.
Switching to the mode
A message indicating that the vehicle has switched to economy mode is displayed on the instrument panel screen and the active functions are put on standby.
NOTIC E
If a telephone call is in progress at the time, it will be maintained for around 10 minutes using your audio system’s hands-free system.
Exiting the mode
These functions will be automatically reactivated the next time the vehicle is used.In order to restore the use of these functions immediately, start the engine and let it run:– for less than 10 minutes, to use the equipment for approximately 5 minutes,– for more than 10 minutes, to use the equipment for approximately 30 minutes.Let the engine run for the duration specified to ensure that the battery charge is sufficient.Do not repeatedly and continuously restart the engine in order to charge the battery.
WARNI NG
A flat battery prevents the engine from starting.For more information on the 12 V battery, refer to the corresponding section.
Page 184 of 272
184
Starting using another
battery
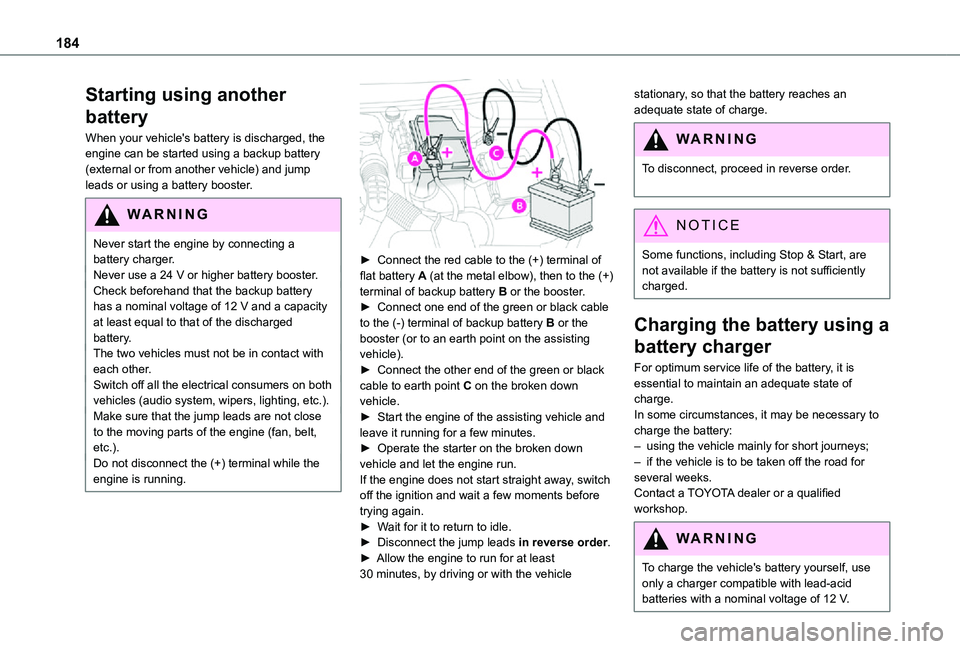
When your vehicle's battery is discharged, the engine can be started using a backup battery (external or from another vehicle) and jump leads or using a battery booster.
WARNI NG
Never start the engine by connecting a battery charger.Never use a 24 V or higher battery booster.Check beforehand that the backup battery has a nominal voltage of 12 V and a capacity at least equal to that of the discharged battery.The two vehicles must not be in contact with each other.Switch off all the electrical consumers on both vehicles (audio system, wipers, lighting, etc.).Make sure that the jump leads are not close to the moving parts of the engine (fan, belt, etc.).Do not disconnect the (+) terminal while the engine is running.
► Connect the red cable to the (+) terminal of flat battery A (at the metal elbow), then to the (+) terminal of backup battery B or the booster.► Connect one end of the green or black cable to the (-) terminal of backup battery B or the booster (or to an earth point on the assisting vehicle).► Connect the other end of the green or black cable to earth point C on the broken down vehicle.► Start the engine of the assisting vehicle and leave it running for a few minutes.► Operate the starter on the broken down vehicle and let the engine run.If the engine does not start straight away, switch off the ignition and wait a few moments before trying again.► Wait for it to return to idle.► Disconnect the jump leads in reverse order.► Allow the engine to run for at least 30 minutes, by driving or with the vehicle
stationary, so that the battery reaches an adequate state of charge.
WARNI NG
To disconnect, proceed in reverse order.
NOTIC E
Some functions, including Stop & Start, are not available if the battery is not sufficiently charged.
Charging the battery using a
battery charger
For optimum service life of the battery, it is essential to maintain an adequate state of charge.In some circumstances, it may be necessary to charge the battery:– using the vehicle mainly for short journeys;– if the vehicle is to be taken off the road for several weeks.Contact a TOYOTA dealer or a qualified workshop.
WARNI NG
To charge the vehicle's battery yourself, use only a charger compatible with lead-acid batteries with a nominal voltage of 12 V.
Page 187 of 272
187
In the event of a breakdown
8
WARNI NG
A professional recovery service must be called if:– broken down on a motorway or main road;
– not possible to put the gearbox into neutral, unlock the steering, or release the parking brake;– not possible to tow a vehicle with an automatic gearbox, with the engine running;
– towing with only two wheels on the ground;– four-wheel drive vehicle;– no approved towbar available.
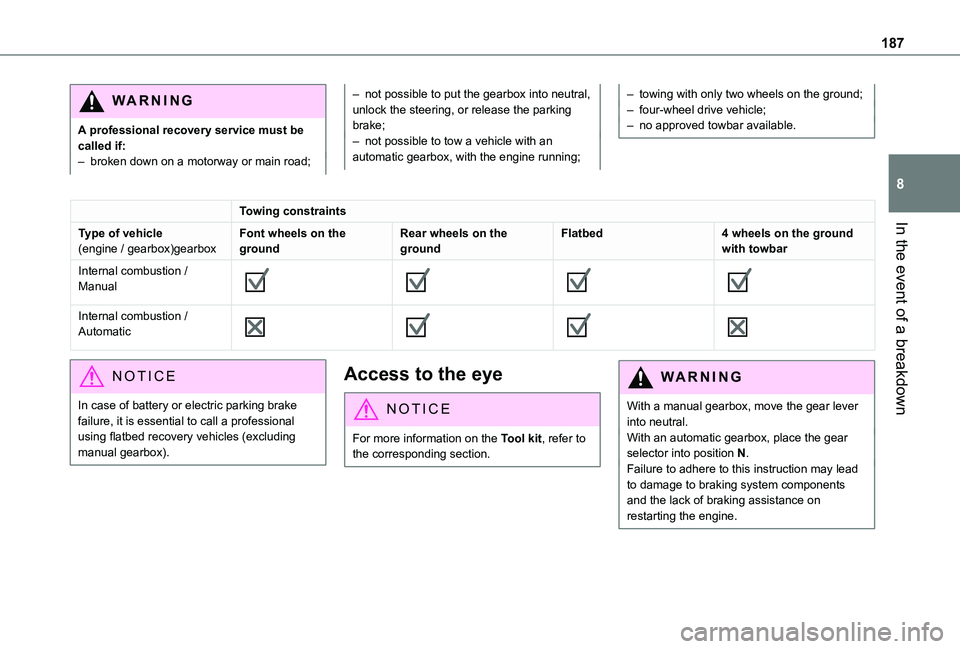
Towing constraints
Type of vehicle
(engine / gearbox)gearbox
Font wheels on the
ground
Rear wheels on the
ground
Flatbed4 wheels on the ground
with towbar
Internal combustion / Manual
Internal combustion / Automatic
NOTIC E
In case of battery or electric parking brake failure, it is essential to call a professional using flatbed recovery vehicles (excluding
manual gearbox).
Access to the eye
NOTIC E
For more information on the Tool kit, refer to
the corresponding section.
WARNI NG
With a manual gearbox, move the gear lever into neutral.With an automatic gearbox, place the gear selector into position N.Failure to adhere to this instruction may lead to damage to braking system components and the lack of braking assistance on restarting the engine.
Page 256 of 272
256
Rear screen, demisting 66Recharging the battery 184–185Recirculation, air 62–63Recovery 186Reduction of electrical load 157Regeneration of the particle filter 162Reinitialisation of the under-inflation detection system 11 7Reinitialising the remote control 32Reminder, key in ignition 104Reminder, lighting on 71Remote control 23–27, 29–30, 101Removing a wheel 173–175Removing the mat 49Replacing bulbs 175–176Replacing fuses 181–183Replacing the air filter 162Replacing the oil filter 162Replacing the passenger compartment filter 162Reservoir, screenwash 161Reversing camera 120, 145Reversing lamps 179
Roof bars 157Roof flap 37Running out of fuel (Diesel) 168
S
Safety, children 90, 93–94, 96–97Saturation of the particle filter (Diesel) 162Screen menu map 218
Screen, multifunction (with audio system) 199Screenwash, front 75Screenwash, rear 76SCR (Selective Catalytic Reduction) 163Seat belts 87–89, 96Seat, bench front, 2-seat 46, 48, 88Seat, rear bench 48Seats, front 42–44, 46–48Seats, front bench 46–48Seats, heated 44Seats, Multiflex ~ Extenso Cab 54Seats, rear 42, 46, 48, 94Sensors (warnings) 120Serial number, vehicle 196Service indicator 16Servicing 16, 161Settings, system 221, 247Sidelamps 70, 72, 176–177Side parking sensors 144Side repeater 177Sliding side door, electric 29, 36Snow chains 11 6, 152–153
Snow chains, link 153Socket, 12 V accessory 49–50Socket, 220 V 51Socket, auxiliary 202Socket, Jack 202Speed limiter 123–126, 133Speed limit recognition 121–122Speedometer 120Stability control (ESC) 82–86Starting a Diesel engine 150
Starting the engine 101Starting the vehicle 102, 104, 11 0–11 3Starting using another battery 184Station, radio 199, 214, 240–241Stay, bonnet 158Steering mounted controls, audio 198, 2 11, 226Steering wheel, adjustment 45Stickers, customising ~ Stickers, expressive 167Stopping the vehicle 104, 11 0–11 3Stop & Start 22, 61, 65, 11 4–11 5, 150, 158, 162, 183, 186Storage 50Stowing rings 53Sunshine sensor 60Surround Rear Vision 146Switching off the engine 101, 103Synchronising the remote control 32
T
Tables of fuses 181–183Tank, fuel 150–152Technical data 194–195Telephone 51, 204–207, 219–221, 243–246Telephone, Bluetooth with voice recognition 207Temperature, coolant 16Three flashes (direction indicators) 71Time (setting) 222, 248TMC (Traffic info) 234