2021 TOYOTA PROACE CITY mirror
[x] Cancel search: mirrorPage 33 of 272
33
Access
2
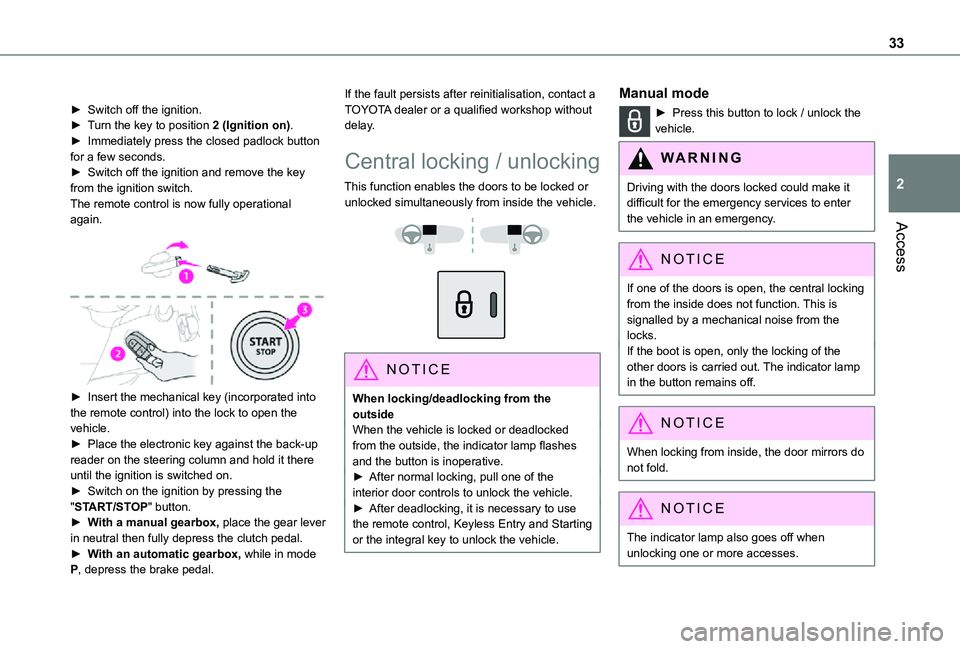
► Switch off the ignition.► Turn the key to position 2 (Ignition on).► Immediately press the closed padlock button for a few seconds.► Switch off the ignition and remove the key from the ignition switch.The remote control is now fully operational again.
► Insert the mechanical key (incorporated into the remote control) into the lock to open the vehicle.► Place the electronic key against the back-up
reader on the steering column and hold it there until the ignition is switched on.► Switch on the ignition by pressing the "START/STOP" button.► With a manual gearbox, place the gear lever in neutral then fully depress the clutch pedal.► With an automatic gearbox, while in mode P, depress the brake pedal.
If the fault persists after reinitialisation, contact a TOYOTA dealer or a qualified workshop without delay.
Central locking / unlocking
This function enables the doors to be locked or unlocked simultaneously from inside the vehicle.
NOTIC E
When locking/deadlocking from the outsideWhen the vehicle is locked or deadlocked from the outside, the indicator lamp flashes and the button is inoperative.► After normal locking, pull one of the interior door controls to unlock the vehicle.► After deadlocking, it is necessary to use the remote control, Keyless Entry and Starting or the integral key to unlock the vehicle.
Manual mode
► Press this button to lock / unlock the vehicle.
WARNI NG
Driving with the doors locked could make it difficult for the emergency services to enter the vehicle in an emergency.
NOTIC E
If one of the doors is open, the central locking from the inside does not function. This is signalled by a mechanical noise from the locks.If the boot is open, only the locking of the other doors is carried out. The indicator lamp in the button remains off.
NOTIC E
When locking from inside, the door mirrors do not fold.
NOTIC E
The indicator lamp also goes off when unlocking one or more accesses.
Page 42 of 272
42
General
recommendations for the
seats
WARNI NG
For safety reasons, seat adjustments must only be made when the vehicle is stationary.
WARNI NG
Folding or unfolding the seat backrests must only be done with the vehicle stationary.
WARNI NG
Before moving the seat backwards, ensure that there is no person or object that might prevent the full travel of the seat.There is a risk of trapping or pinching
passengers if present in the rear seats or of jamming the seat if large objects are placed on the floor behind the seat.
WARNI NG
Do not place hard or heavy objects on the backrests forming a table. They could become
dangerous projectiles in the event of sudden braking or a collision.– Do not remove a head restraint without stowing it; secure it to a support inside the vehicle.– Check that the seat belts remain accessible to the passenger and easy to fasten.– Passengers must never take their seat without adjusting and fastening their seat belt.
WARNI NG
Before carrying out the manoeuvres, check that nothing and no one is obstructing the moving elements and their locking.To avoid sudden folding, take care to hold the backrest and support it until it is horizontal.Never put your hand underneath the seat cushion to guide the seat downwards or upwards, you could get your fingers trapped. Place your hand on the grip/strap (depending on equipment) at the top of the seat cushion.
WARNI NG
Please note: an incorrectly latched backrest compromises the safety of passengers in the event of sudden braking or an impact.The contents of the boot may be thrown forward - risk of severe injury!
Front seats
Correct driving position
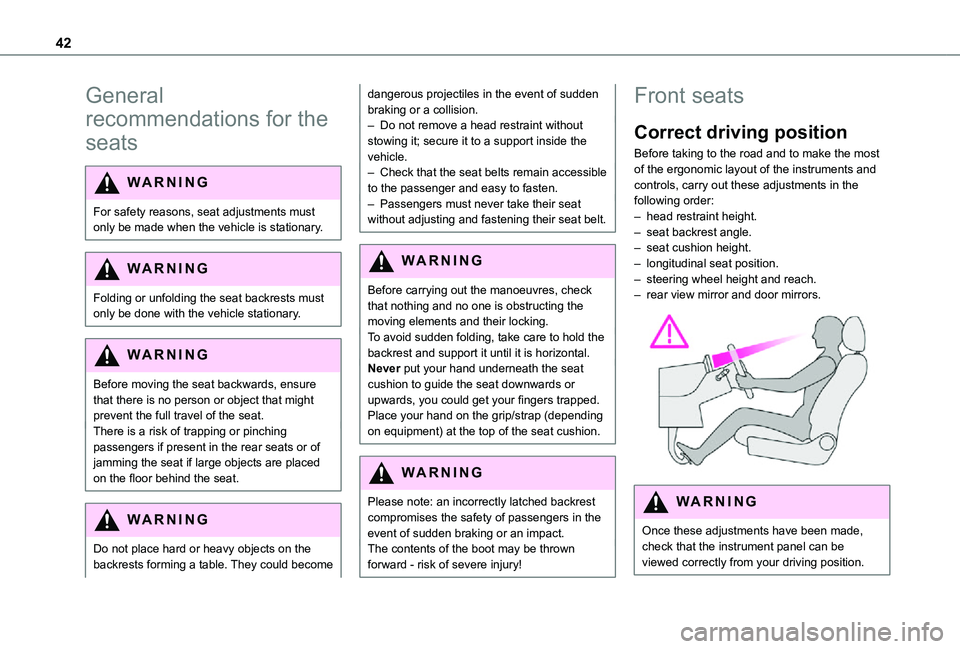
Before taking to the road and to make the most of the ergonomic layout of the instruments and controls, carry out these adjustments in the following order:– head restraint height.– seat backrest angle.– seat cushion height.– longitudinal seat position.– steering wheel height and reach.– rear view mirror and door mirrors.
WARNI NG
Once these adjustments have been made,
check that the instrument panel can be viewed correctly from your driving position.
Page 45 of 272
45
Ease of use and comfort
3
Steering wheel
adjustment
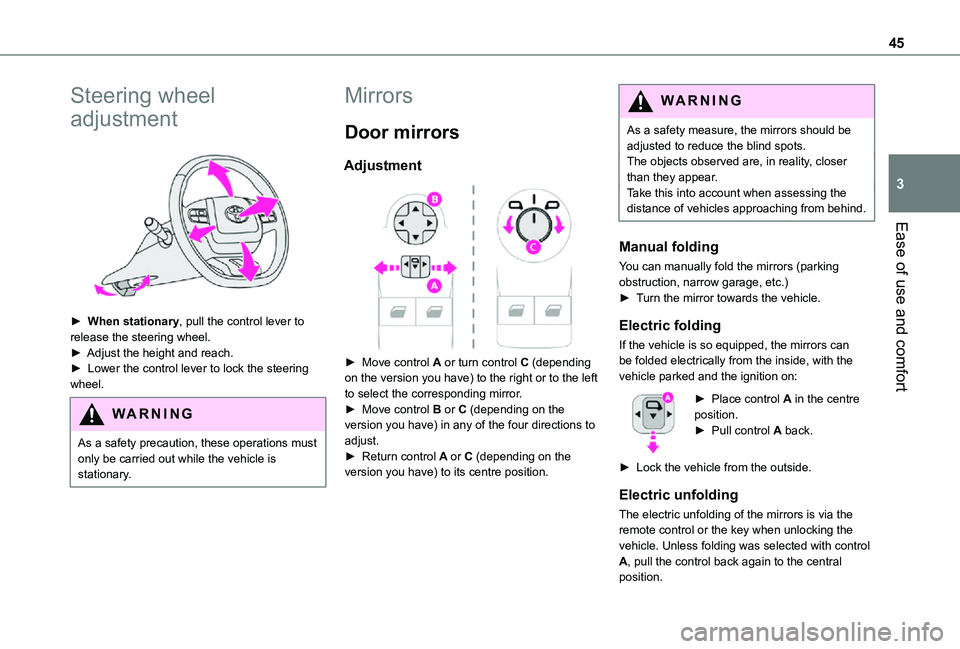
► When stationary, pull the control lever to release the steering wheel.► Adjust the height and reach.► Lower the control lever to lock the steering wheel.
WARNI NG
As a safety precaution, these operations must only be carried out while the vehicle is stationary.
Mirrors
Door mirrors
Adjustment
► Move control A or turn control C (depending on the version you have) to the right or to the left to select the corresponding mirror.► Move control B or C (depending on the version you have) in any of the four directions to adjust.
► Return control A or C (depending on the version you have) to its centre position.
WARNI NG
As a safety measure, the mirrors should be adjusted to reduce the blind spots.The objects observed are, in reality, closer than they appear.Take this into account when assessing the distance of vehicles approaching from behind.
Manual folding
You can manually fold the mirrors (parking obstruction, narrow garage, etc.)► Turn the mirror towards the vehicle.
Electric folding
If the vehicle is so equipped, the mirrors can be folded electrically from the inside, with the vehicle parked and the ignition on:
► Place control A in the centre position.► Pull control A back.
► Lock the vehicle from the outside.
Electric unfolding
The electric unfolding of the mirrors is via the remote control or the key when unlocking the vehicle. Unless folding was selected with control A, pull the control back again to the central position.
Page 46 of 272
46
NOTIC E
The folding / unfolding on locking / unlocking can be deactivated. Contact a TOYOTA dealer or a qualified workshop.If necessary, it is possible to fold the mirrors manually.
Heated mirrors
► Press this button.
NOTIC E
For more information on Rear screen
demisting/defrosting, refer to the corresponding section.
Interior rear view mirror
Equipped with an anti-dazzle system, which darkens the mirror glass and reduces the nuisance to the driver caused by the sun, headlamps of other vehicles, etc.
Manual model
Day/night position
► Pull the lever to change to the anti-dazzle
"night” position.► Push the lever to change to the normal "day" position.Adjustment► Set the mirror to the normal “day” position.
Automatic "electrochrome" model
This system automatically and gradually transitions between day and night use, with the aid of a sensor that measures the light arriving from the rear of the vehicle.
NOTIC E
To ensure optimum visibility while manoeuvring, the mirror lightens automatically when reverse gear is engaged.
2-seat front bench seat
Central seat
Table position
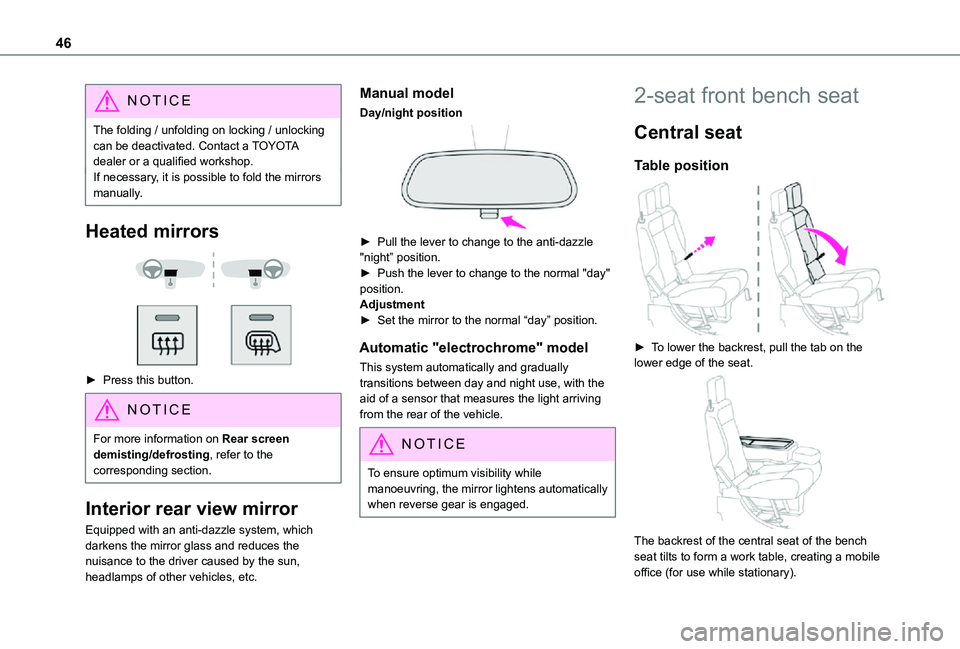
► To lower the backrest, pull the tab on the lower edge of the seat.
The backrest of the central seat of the bench seat tilts to form a work table, creating a mobile office (for use while stationary).
Page 51 of 272
51
Ease of use and comfort
3
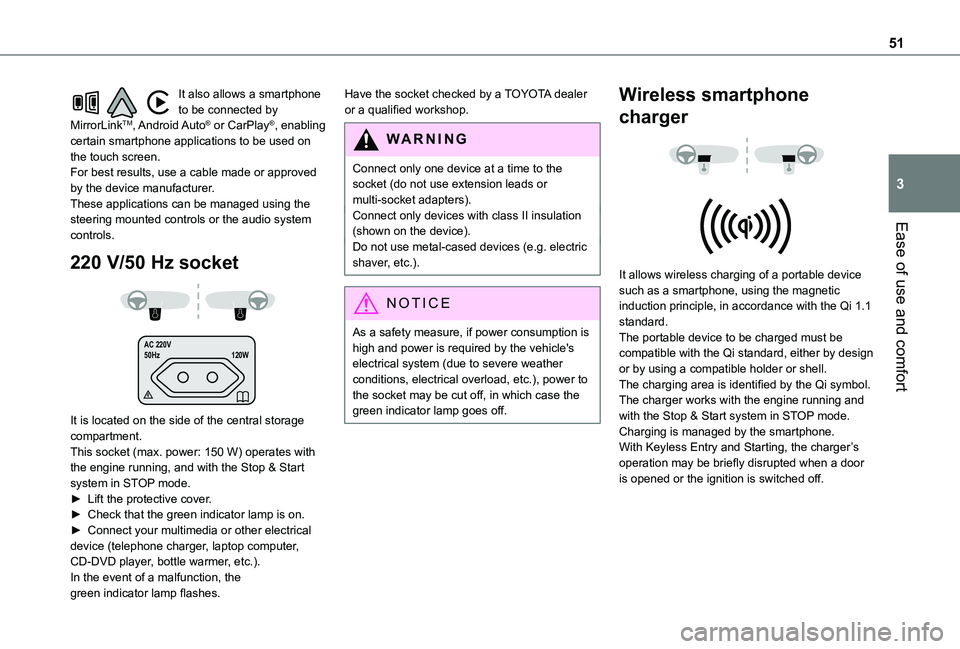
It also allows a smartphone to be connected by MirrorLinkTM, Android Auto® or CarPlay®, enabling certain smartphone applications to be used on the touch screen.For best results, use a cable made or approved by the device manufacturer.These applications can be managed using the steering mounted controls or the audio system controls.
220 V/50 Hz socket
AC 220V
50Hz 120W
It is located on the side of the central storage compartment.This socket (max. power: 150 W) operates with the engine running, and with the Stop & Start system in STOP mode.► Lift the protective cover.► Check that the green indicator lamp is on.► Connect your multimedia or other electrical device (telephone charger, laptop computer, CD-DVD player, bottle warmer, etc.).In the event of a malfunction, the green indicator lamp flashes.
Have the socket checked by a TOYOTA dealer or a qualified workshop.
WARNI NG
Connect only one device at a time to the socket (do not use extension leads or multi-socket adapters).Connect only devices with class II insulation (shown on the device).
Do not use metal-cased devices (e.g. electric shaver, etc.).
NOTIC E
As a safety measure, if power consumption is high and power is required by the vehicle's electrical system (due to severe weather conditions, electrical overload, etc.), power to the socket may be cut off, in which case the green indicator lamp goes off.
Wireless smartphone
charger
It allows wireless charging of a portable device such as a smartphone, using the magnetic induction principle, in accordance with the Qi 1.1 standard.The portable device to be charged must be compatible with the Qi standard, either by design or by using a compatible holder or shell.The charging area is identified by the Qi symbol.The charger works with the engine running and with the Stop & Start system in STOP mode.Charging is managed by the smartphone.With Keyless Entry and Starting, the charger’s operation may be briefly disrupted when a door is opened or the ignition is switched off.
Page 66 of 272
66
Rear screen and/or
door mirrors demisting
- defrosting
On/Off
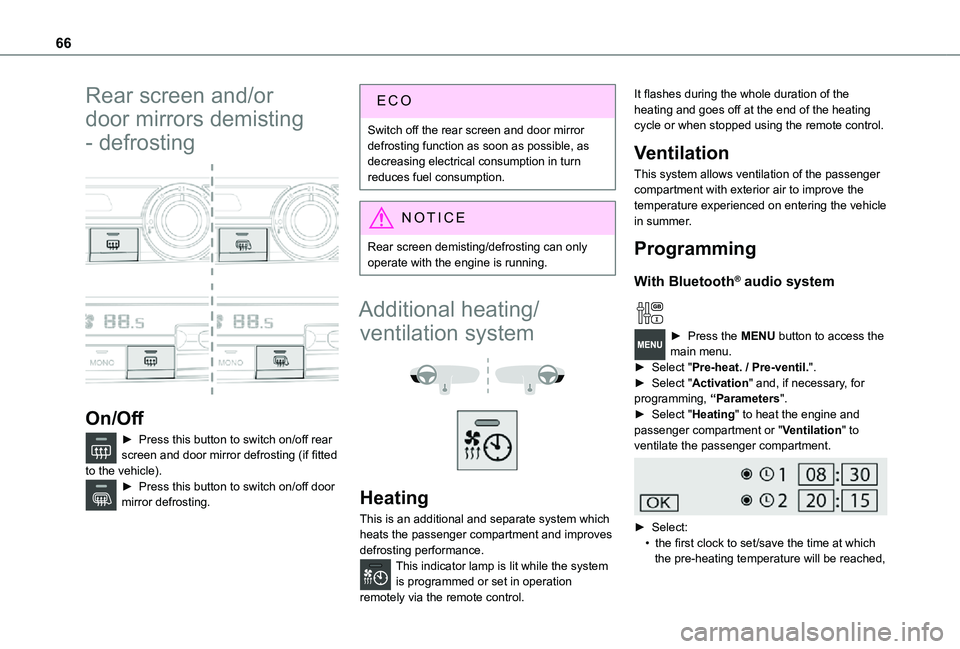
► Press this button to switch on/off rear screen and door mirror defrosting (if fitted to the vehicle).► Press this button to switch on/off door mirror defrosting.
Switch off the rear screen and door mirror defrosting function as soon as possible, as decreasing electrical consumption in turn reduces fuel consumption.
NOTIC E
Rear screen demisting/defrosting can only operate with the engine is running.
Additional heating/
ventilation system
Heating
This is an additional and separate system which heats the passenger compartment and improves defrosting performance.This indicator lamp is lit while the system is programmed or set in operation
remotely via the remote control.
It flashes during the whole duration of the heating and goes off at the end of the heating cycle or when stopped using the remote control.
Ventilation
This system allows ventilation of the passenger compartment with exterior air to improve the temperature experienced on entering the vehicle in summer.
Programming
With Bluetooth® audio system
► Press the MENU button to access the main menu. ► Select "Pre-heat. / Pre-ventil.".► Select "Activation" and, if necessary, for programming, “Parameters".► Select "Heating" to heat the engine and passenger compartment or "Ventilation" to
ventilate the passenger compartment.
► Select:• the first clock to set/save the time at which the pre-heating temperature will be reached,
Page 72 of 272
72
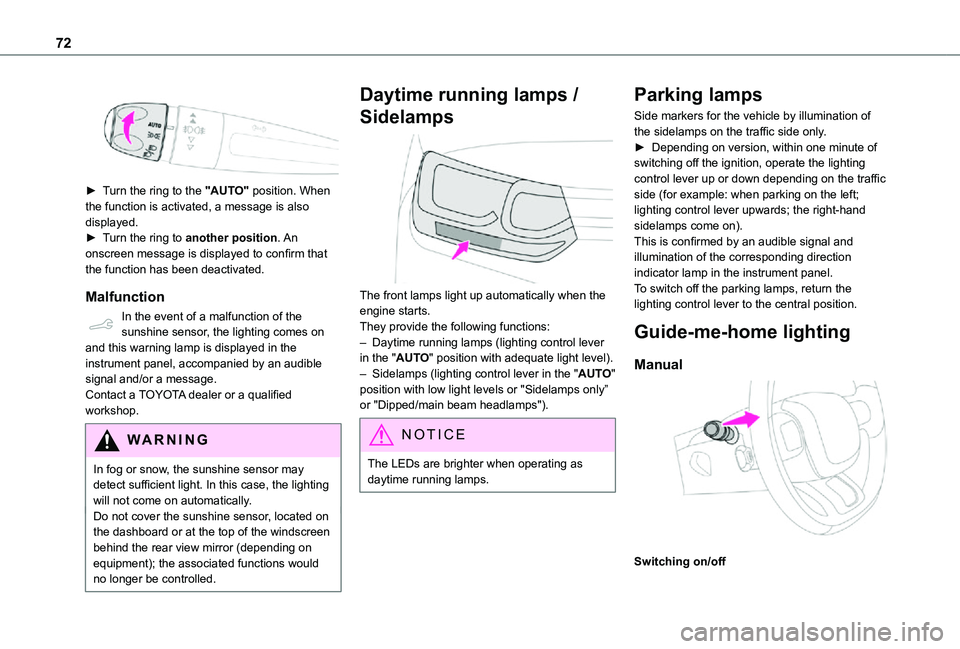
► Turn the ring to the "AUTO" position. When the function is activated, a message is also displayed.► Turn the ring to another position. An
onscreen message is displayed to confirm that the function has been deactivated.
Malfunction
In the event of a malfunction of the sunshine sensor, the lighting comes on and this warning lamp is displayed in the instrument panel, accompanied by an audible signal and/or a message.Contact a TOYOTA dealer or a qualified workshop.
WARNI NG
In fog or snow, the sunshine sensor may detect sufficient light. In this case, the lighting will not come on automatically.Do not cover the sunshine sensor, located on the dashboard or at the top of the windscreen behind the rear view mirror (depending on equipment); the associated functions would no longer be controlled.
Daytime running lamps /
Sidelamps
The front lamps light up automatically when the engine starts.They provide the following functions:– Daytime running lamps (lighting control lever in the "AUTO" position with adequate light level).– Sidelamps (lighting control lever in the "AUTO" position with low light levels or "Sidelamps only” or "Dipped/main beam headlamps").
NOTIC E
The LEDs are brighter when operating as daytime running lamps.
Parking lamps
Side markers for the vehicle by illumination of the sidelamps on the traffic side only.► Depending on version, within one minute of switching off the ignition, operate the lighting control lever up or down depending on the traffic side (for example: when parking on the left; lighting control lever upwards; the right-hand sidelamps come on).This is confirmed by an audible signal and illumination of the corresponding direction indicator lamp in the instrument panel.To switch off the parking lamps, return the lighting control lever to the central position.
Guide-me-home lighting
Manual
Switching on/off
Page 77 of 272
77
Lighting and visibility
4
► Actuating the wiper control lever within one minute of switching off the ignition will position the wiper blades vertically.► Proceed with the desired operation or replace the wiper blades.
After refitting a windscreen wiper blade
► To return the wiper blades to their initial position, switch on the ignition and operate the wiper control lever.
Changing a wiper blade
Removing/refitting at the front
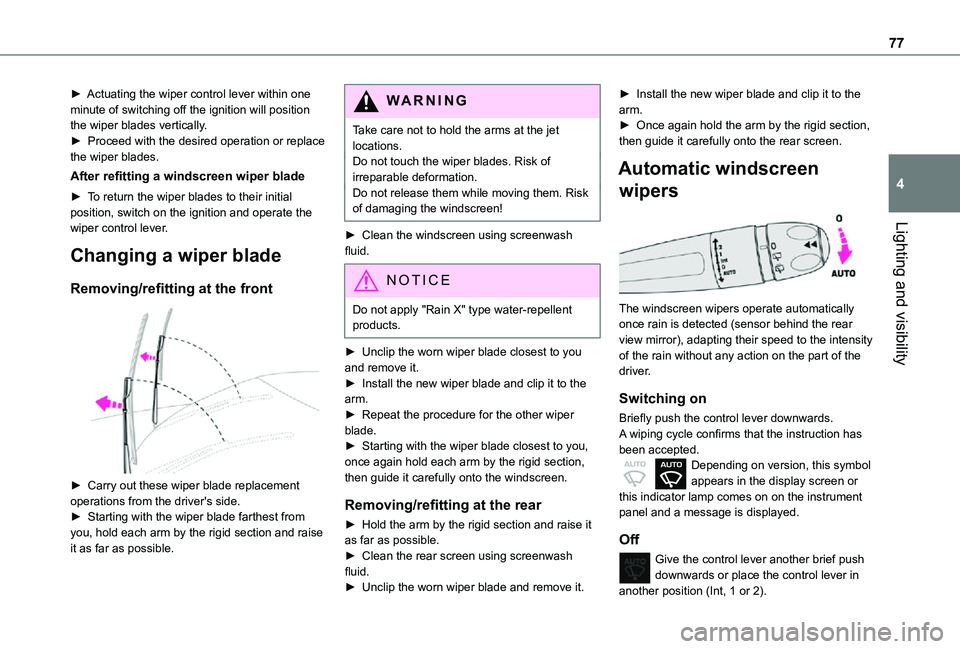
► Carry out these wiper blade replacement operations from the driver's side.► Starting with the wiper blade farthest from you, hold each arm by the rigid section and raise it as far as possible.
WARNI NG
Take care not to hold the arms at the jet locations.Do not touch the wiper blades. Risk of irreparable deformation.Do not release them while moving them. Risk of damaging the windscreen!
► Clean the windscreen using screenwash fluid.
NOTIC E
Do not apply "Rain X" type water-repellent products.
► Unclip the worn wiper blade closest to you and remove it.► Install the new wiper blade and clip it to the arm.► Repeat the procedure for the other wiper blade.► Starting with the wiper blade closest to you, once again hold each arm by the rigid section, then guide it carefully onto the windscreen.
Removing/refitting at the rear
► Hold the arm by the rigid section and raise it as far as possible.► Clean the rear screen using screenwash fluid.► Unclip the worn wiper blade and remove it.
► Install the new wiper blade and clip it to the arm.► Once again hold the arm by the rigid section, then guide it carefully onto the rear screen.
Automatic windscreen
wipers
The windscreen wipers operate automatically once rain is detected (sensor behind the rear view mirror), adapting their speed to the intensity of the rain without any action on the part of the driver.
Switching on
Briefly push the control lever downwards.A wiping cycle confirms that the instruction has been accepted.Depending on version, this symbol appears in the display screen or this indicator lamp comes on on the instrument panel and a message is displayed.
Off
Give the control lever another brief push downwards or place the control lever in another position (Int, 1 or 2).