2021 TOYOTA PROACE CITY auto start stop
[x] Cancel search: auto start stopPage 2 of 272
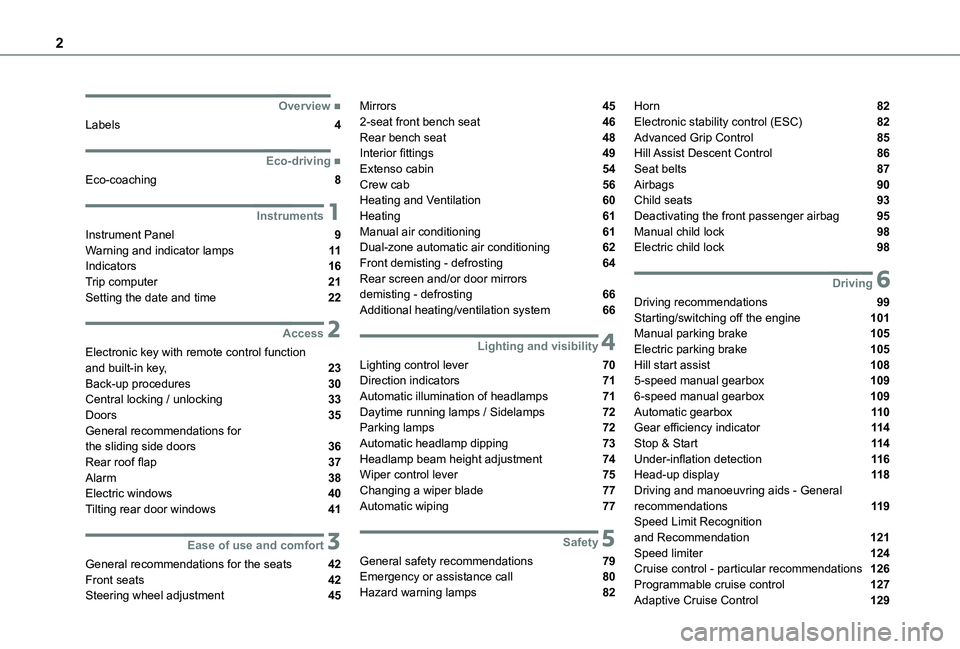
2
■Overview
Labels 4
■Eco-driving
Eco-coaching 8
1Instruments
Instrument Panel 9Warning and indicator lamps 11Indicators 16Trip computer 21Setting the date and time 22
2Access
Electronic key with remote control function and built-in key, 23Back-up procedures 30Central locking / unlocking 33Doors 35General recommendations for
the sliding side doors 36Rear roof flap 37Alarm 38Electric windows 40Tilting rear door windows 41
3Ease of use and comfort
General recommendations for the seats 42Front seats 42
Steering wheel adjustment 45
Mirrors 452-seat front bench seat 46Rear bench seat 48Interior fittings 49Extenso cabin 54Crew cab 56Heating and Ventilation 60Heating 61Manual air conditioning 61Dual-zone automatic air conditioning 62Front demisting - defrosting 64Rear screen and/or door mirrors demisting - defrosting 66Additional heating/ventilation system 66
4Lighting and visibility
Lighting control lever 70Direction indicators 71Automatic illumination of headlamps 71Daytime running lamps / Sidelamps 72Parking lamps 72Automatic headlamp dipping 73
Headlamp beam height adjustment 74Wiper control lever 75Changing a wiper blade 77Automatic wiping 77
5Safety
General safety recommendations 79Emergency or assistance call 80Hazard warning lamps 82
Horn 82Electronic stability control (ESC) 82Advanced Grip Control 85Hill Assist Descent Control 86Seat belts 87Airbags 90Child seats 93Deactivating the front passenger airbag 95Manual child lock 98Electric child lock 98
6Driving
Driving recommendations 99Starting/switching off the engine 101Manual parking brake 105Electric parking brake 105Hill start assist 1085-speed manual gearbox 1096-speed manual gearbox 109Automatic gearbox 11 0Gear efficiency indicator 11 4Stop & Start 11 4
Under-inflation detection 11 6Head-up display 11 8Driving and manoeuvring aids - General recommendations 11 9Speed Limit Recognition and Recommendation 121Speed limiter 124Cruise control - particular recommendations 126Programmable cruise control 127
Adaptive Cruise Control 129
Page 5 of 272
5
Overview
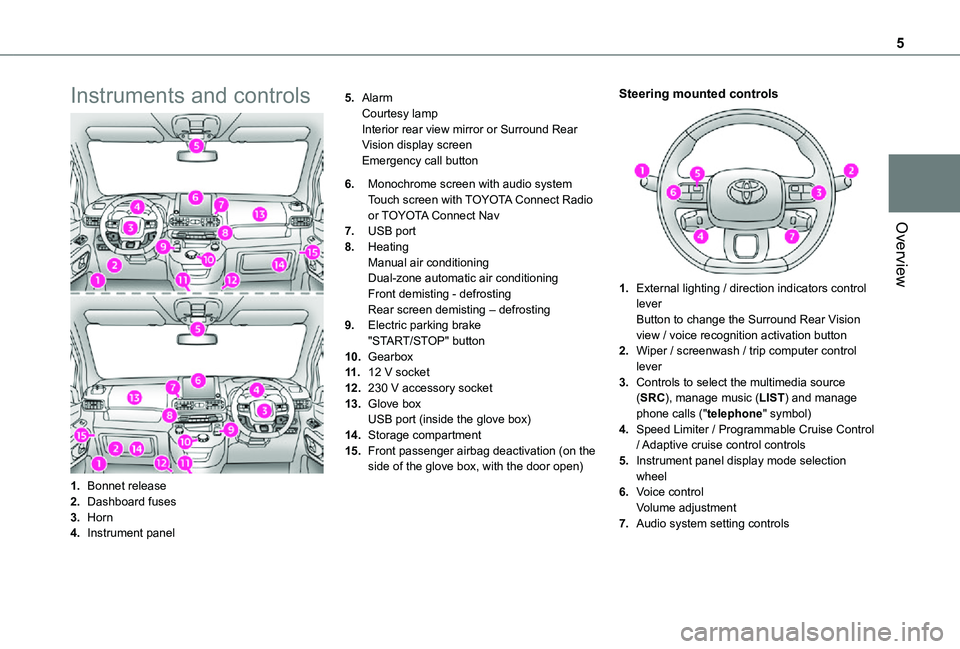
Instruments and controls
1.Bonnet release
2.Dashboard fuses
3.Horn
4.Instrument panel
5.AlarmCourtesy lampInterior rear view mirror or Surround Rear Vision display screenEmergency call button
6.Monochrome screen with audio systemTouch screen with TOYOTA Connect Radio or TOYOTA Connect Nav
7.USB port
8.HeatingManual air conditioningDual-zone automatic air conditioningFront demisting - defrostingRear screen demisting – defrosting
9.Electric parking brake"START/STOP" button
10.Gearbox
11 .12 V socket
12.230 V accessory socket
13.Glove boxUSB port (inside the glove box)
14.Storage compartment
15.Front passenger airbag deactivation (on the side of the glove box, with the door open)
Steering mounted controls
1.External lighting / direction indicators control leverButton to change the Surround Rear Vision view / voice recognition activation button
2.Wiper / screenwash / trip computer control lever
3.Controls to select the multimedia source (SRC), manage music (LIST) and manage phone calls ("telephone" symbol)
4.Speed Limiter / Programmable Cruise Control
/ Adaptive cruise control controls
5.Instrument panel display mode selection wheel
6.Voice controlVolume adjustment
7.Audio system setting controls
Page 11 of 272
11
Instruments
1
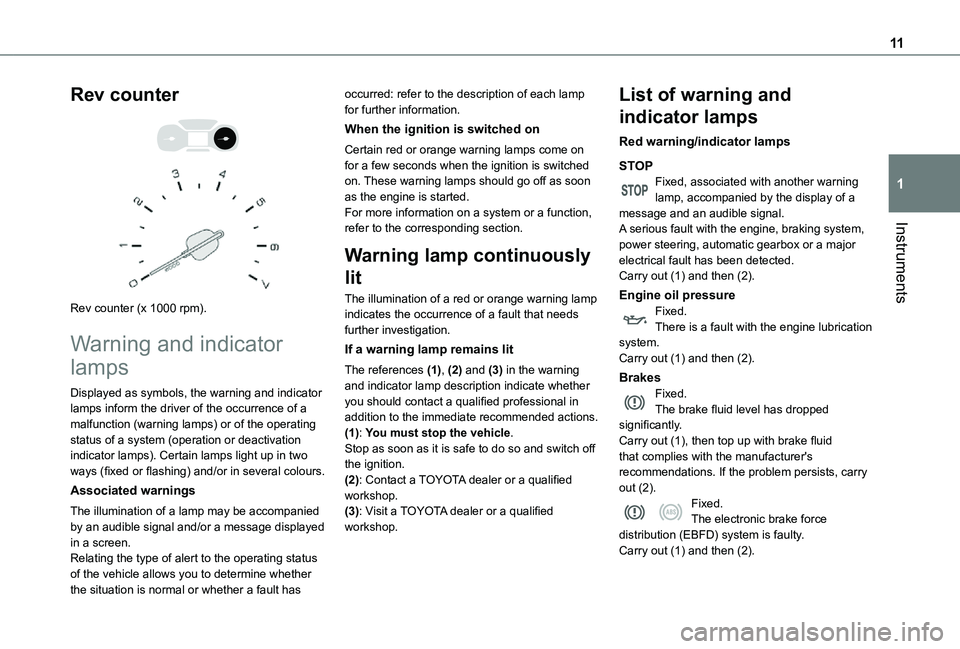
Rev counter
Rev counter (x 1000 rpm).
Warning and indicator
lamps
Displayed as symbols, the warning and indicator lamps inform the driver of the occurrence of a malfunction (warning lamps) or of the operating status of a system (operation or deactivation indicator lamps). Certain lamps light up in two ways (fixed or flashing) and/or in several colours.
Associated warnings
The illumination of a lamp may be accompanied by an audible signal and/or a message displayed in a screen.
Relating the type of alert to the operating status of the vehicle allows you to determine whether the situation is normal or whether a fault has
occurred: refer to the description of each lamp for further information.
When the ignition is switched on
Certain red or orange warning lamps come on for a few seconds when the ignition is switched on. These warning lamps should go off as soon as the engine is started.For more information on a system or a function, refer to the corresponding section.
Warning lamp continuously
lit
The illumination of a red or orange warning lamp indicates the occurrence of a fault that needs further investigation.
If a warning lamp remains lit
The references (1), (2) and (3) in the warning and indicator lamp description indicate whether you should contact a qualified professional in addition to the immediate recommended actions.(1): You must stop the vehicle.
Stop as soon as it is safe to do so and switch off the ignition.(2): Contact a TOYOTA dealer or a qualified workshop.(3): Visit a TOYOTA dealer or a qualified workshop.
List of warning and
indicator lamps
Red warning/indicator lamps
STOPFixed, associated with another warning lamp, accompanied by the display of a message and an audible signal.A serious fault with the engine, braking system, power steering, automatic gearbox or a major electrical fault has been detected.Carry out (1) and then (2).
Engine oil pressureFixed.There is a fault with the engine lubrication system.Carry out (1) and then (2).
BrakesFixed.The brake fluid level has dropped significantly.Carry out (1), then top up with brake fluid
that complies with the manufacturer's recommendations. If the problem persists, carry out (2).Fixed.The electronic brake force distribution (EBFD) system is faulty.Carry out (1) and then (2).
Page 15 of 272
15
Instruments
1
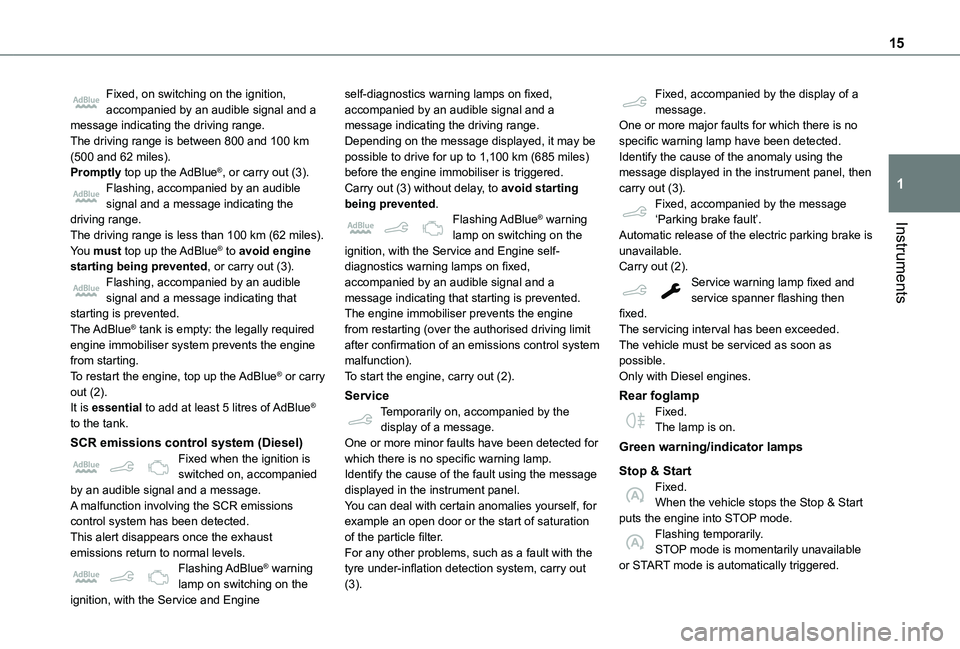
Fixed, on switching on the ignition, accompanied by an audible signal and a message indicating the driving range.The driving range is between 800 and 100 km (500 and 62 miles).Promptly top up the AdBlue®, or carry out (3).Flashing, accompanied by an audible signal and a message indicating the driving range.The driving range is less than 100 km (62 miles).You must top up the AdBlue® to avoid engine starting being prevented, or carry out (3).Flashing, accompanied by an audible signal and a message indicating that starting is prevented.The AdBlue® tank is empty: the legally required engine immobiliser system prevents the engine from starting.To restart the engine, top up the AdBlue® or carry out (2).It is essential to add at least 5 litres of AdBlue® to the tank.
SCR emissions control system (Diesel)
Fixed when the ignition is switched on, accompanied by an audible signal and a message.A malfunction involving the SCR emissions control system has been detected.This alert disappears once the exhaust emissions return to normal levels.Flashing AdBlue® warning lamp on switching on the
ignition, with the Service and Engine
self-diagnostics warning lamps on fixed, accompanied by an audible signal and a message indicating the driving range.Depending on the message displayed, it may be possible to drive for up to 1,100 km (685 miles) before the engine immobiliser is triggered.Carry out (3) without delay, to avoid starting being prevented.Flashing AdBlue® warning lamp on switching on the ignition, with the Service and Engine self-diagnostics warning lamps on fixed, accompanied by an audible signal and a message indicating that starting is prevented.The engine immobiliser prevents the engine from restarting (over the authorised driving limit after confirmation of an emissions control system malfunction).To start the engine, carry out (2).
ServiceTemporarily on, accompanied by the display of a message.One or more minor faults have been detected for
which there is no specific warning lamp.Identify the cause of the fault using the message displayed in the instrument panel.You can deal with certain anomalies yourself, for example an open door or the start of saturation of the particle filter.For any other problems, such as a fault with the tyre under-inflation detection system, carry out (3).
Fixed, accompanied by the display of a message.One or more major faults for which there is no specific warning lamp have been detected.Identify the cause of the anomaly using the message displayed in the instrument panel, then carry out (3).Fixed, accompanied by the message ‘Parking brake fault’.Automatic release of the electric parking brake is unavailable.Carry out (2).Service warning lamp fixed and service spanner flashing then fixed.The servicing interval has been exceeded.The vehicle must be serviced as soon as possible.Only with Diesel engines.
Rear foglampFixed.The lamp is on.
Green warning/indicator lamps
Stop & StartFixed.When the vehicle stops the Stop & Start puts the engine into STOP mode.Flashing temporarily.STOP mode is momentarily unavailable or START mode is automatically triggered.
Page 16 of 272
16
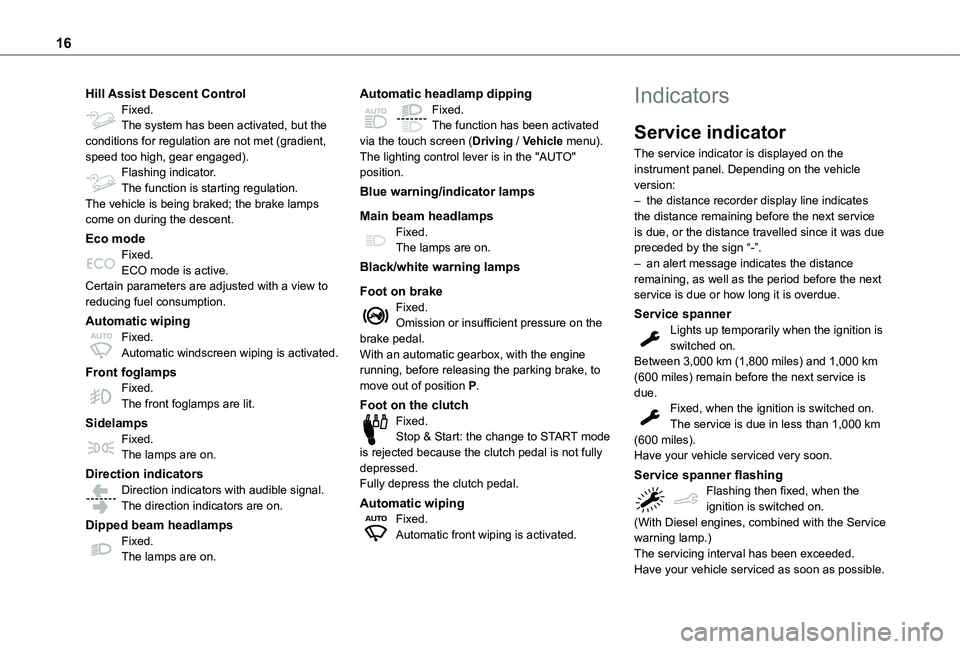
Hill Assist Descent ControlFixed.The system has been activated, but the conditions for regulation are not met (gradient, speed too high, gear engaged).Flashing indicator.The function is starting regulation.The vehicle is being braked; the brake lamps come on during the descent.
Eco modeFixed.ECO mode is active.Certain parameters are adjusted with a view to reducing fuel consumption.
Automatic wipingFixed.Automatic windscreen wiping is activated.
Front foglampsFixed.The front foglamps are lit.
SidelampsFixed.
The lamps are on.
Direction indicatorsDirection indicators with audible signal.The direction indicators are on.
Dipped beam headlampsFixed.The lamps are on.
Automatic headlamp dippingFixed.The function has been activated via the touch screen (Driving / Vehicle menu).The lighting control lever is in the "AUTO" position.
Blue warning/indicator lamps
Main beam headlampsFixed.The lamps are on.
Black/white warning lamps
Foot on brakeFixed.Omission or insufficient pressure on the brake pedal.With an automatic gearbox, with the engine running, before releasing the parking brake, to move out of position P.
Foot on the clutchFixed.Stop & Start: the change to START mode
is rejected because the clutch pedal is not fully depressed.Fully depress the clutch pedal.
Automatic wipingFixed.Automatic front wiping is activated.
Indicators
Service indicator
The service indicator is displayed on the instrument panel. Depending on the vehicle version:– the distance recorder display line indicates the distance remaining before the next service is due, or the distance travelled since it was due preceded by the sign “-”.– an alert message indicates the distance remaining, as well as the period before the next service is due or how long it is overdue.
Service spannerLights up temporarily when the ignition is switched on.Between 3,000 km (1,800 miles) and 1,000 km (600 miles) remain before the next service is due.Fixed, when the ignition is switched on.The service is due in less than 1,000 km (600 miles).
Have your vehicle serviced very soon.
Service spanner flashingFlashing then fixed, when the ignition is switched on.(With Diesel engines, combined with the Service warning lamp.)The servicing interval has been exceeded.Have your vehicle serviced as soon as possible.
Page 33 of 272
33
Access
2
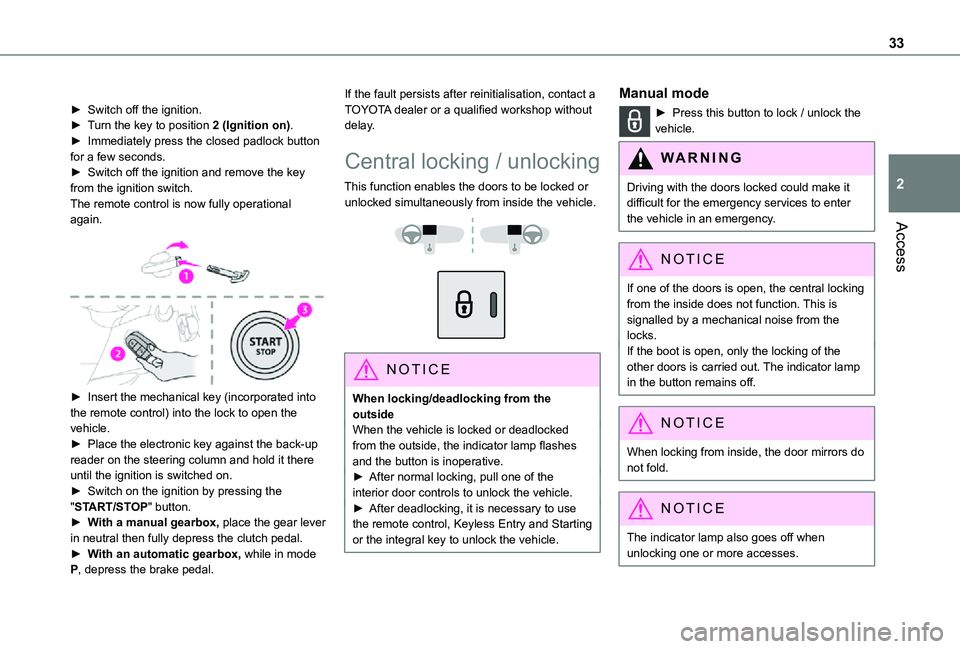
► Switch off the ignition.► Turn the key to position 2 (Ignition on).► Immediately press the closed padlock button for a few seconds.► Switch off the ignition and remove the key from the ignition switch.The remote control is now fully operational again.
► Insert the mechanical key (incorporated into the remote control) into the lock to open the vehicle.► Place the electronic key against the back-up
reader on the steering column and hold it there until the ignition is switched on.► Switch on the ignition by pressing the "START/STOP" button.► With a manual gearbox, place the gear lever in neutral then fully depress the clutch pedal.► With an automatic gearbox, while in mode P, depress the brake pedal.
If the fault persists after reinitialisation, contact a TOYOTA dealer or a qualified workshop without delay.
Central locking / unlocking
This function enables the doors to be locked or unlocked simultaneously from inside the vehicle.
NOTIC E
When locking/deadlocking from the outsideWhen the vehicle is locked or deadlocked from the outside, the indicator lamp flashes and the button is inoperative.► After normal locking, pull one of the interior door controls to unlock the vehicle.► After deadlocking, it is necessary to use the remote control, Keyless Entry and Starting or the integral key to unlock the vehicle.
Manual mode
► Press this button to lock / unlock the vehicle.
WARNI NG
Driving with the doors locked could make it difficult for the emergency services to enter the vehicle in an emergency.
NOTIC E
If one of the doors is open, the central locking from the inside does not function. This is signalled by a mechanical noise from the locks.If the boot is open, only the locking of the other doors is carried out. The indicator lamp in the button remains off.
NOTIC E
When locking from inside, the door mirrors do not fold.
NOTIC E
The indicator lamp also goes off when unlocking one or more accesses.
Page 40 of 272
40
Reactivating the interior volumetric
and anti-tilt monitoring
► Deactivate the perimeter monitoring by unlocking the vehicle with the remote control or the Keyless Entry and Starting system.The indicator lamp in the button goes off.► Reactivate all monitoring by locking the vehicle with the remote control or the Keyless Entry and Starting system.The red indicator lamp in the button once again flashes every second.
Triggering of the alarm
This is indicated by sounding of the siren and flashing of the direction indicators for 30 seconds.Depending on the country of sale, certain monitoring functions remain active until the alarm has been triggered eleven times consecutively.When the vehicle is unlocked using the remote control or the "Keyless Entry and Starting" system, rapid flashing of the red indicator lamp
in the button informs you that the alarm was triggered during your absence. When the ignition is switched on, the flashing stops immediately.
Failure of the remote control
To deactivate the monitoring functions:► unlock the vehicle using the key (integral to the remote control) in the driver's door lock,► open the door; the alarm is triggered,► switch on the ignition; the alarm stops; the indicator lamp in the button goes off.
Locking the vehicle without
activating the alarm
► Lock or deadlock the vehicle using the key (integral to the remote control) in the driver's door lock.
Malfunction
When the ignition is switched on, fixed illumination of the red indicator lamp in the button indicates a malfunction of the system.Have it checked by a TOYOTA dealer or a qualified workshop.
Automatic activation
(Depending on the country of sale)The system is activated automatically 2 minutes after the last door or the boot is closed.► To avoid triggering the alarm on entering the vehicle, first press the unlocking button on the remote control or unlock the vehicle using the “Keyless Entry and Starting” system.
Electric windows
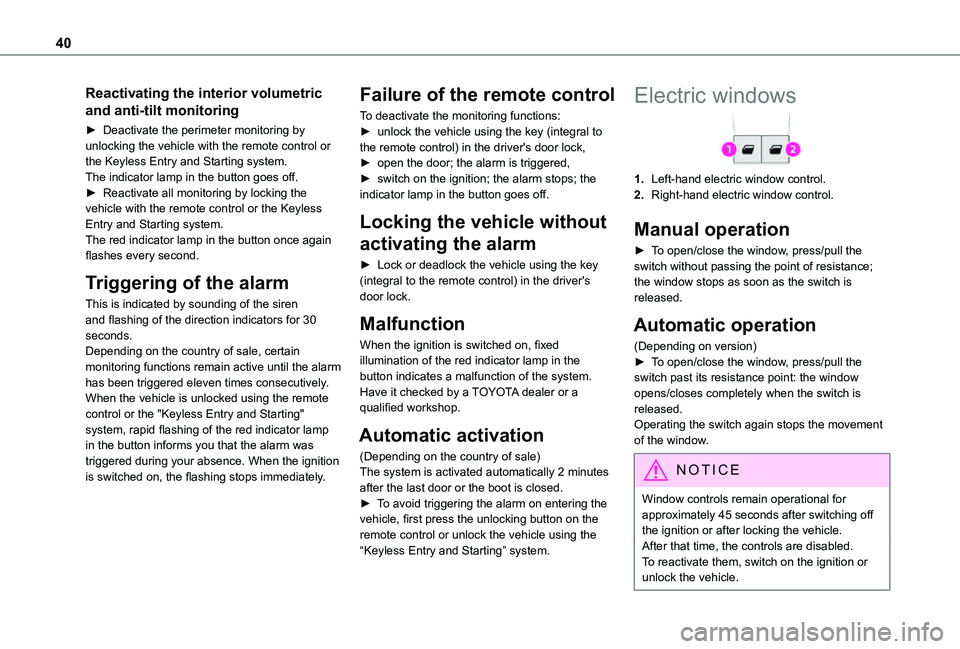
1.Left-hand electric window control.
2.Right-hand electric window control.
Manual operation
► To open/close the window, press/pull the switch without passing the point of resistance; the window stops as soon as the switch is released.
Automatic operation
(Depending on version)► To open/close the window, press/pull the switch past its resistance point: the window opens/closes completely when the switch is released.Operating the switch again stops the movement of the window.
NOTIC E
Window controls remain operational for approximately 45 seconds after switching off the ignition or after locking the vehicle.After that time, the controls are disabled. To reactivate them, switch on the ignition or unlock the vehicle.
Page 51 of 272
51
Ease of use and comfort
3
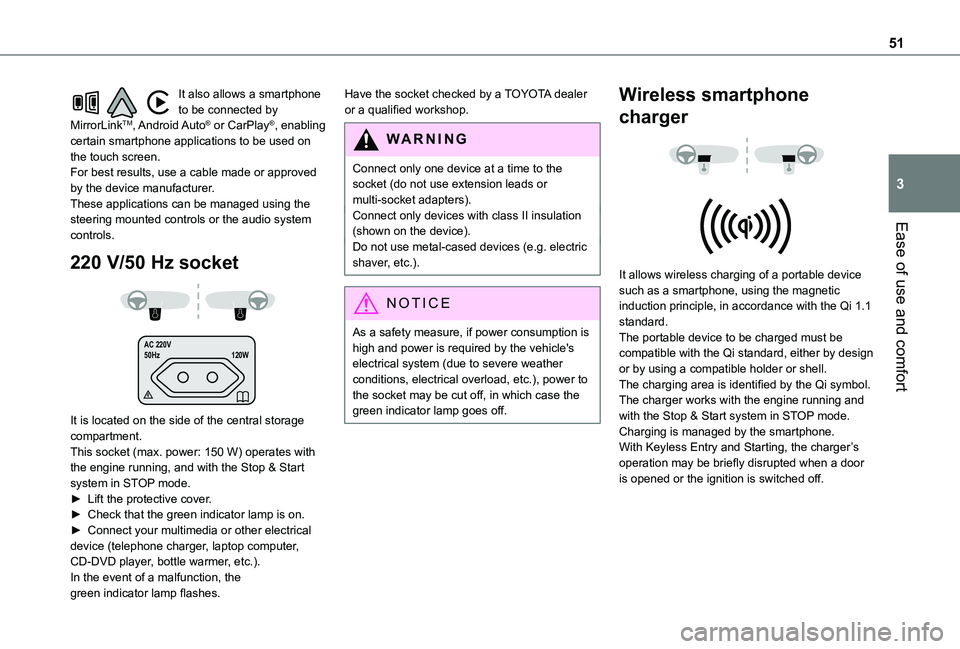
It also allows a smartphone to be connected by MirrorLinkTM, Android Auto® or CarPlay®, enabling certain smartphone applications to be used on the touch screen.For best results, use a cable made or approved by the device manufacturer.These applications can be managed using the steering mounted controls or the audio system controls.
220 V/50 Hz socket
AC 220V
50Hz 120W
It is located on the side of the central storage compartment.This socket (max. power: 150 W) operates with the engine running, and with the Stop & Start system in STOP mode.► Lift the protective cover.► Check that the green indicator lamp is on.► Connect your multimedia or other electrical device (telephone charger, laptop computer, CD-DVD player, bottle warmer, etc.).In the event of a malfunction, the green indicator lamp flashes.
Have the socket checked by a TOYOTA dealer or a qualified workshop.
WARNI NG
Connect only one device at a time to the socket (do not use extension leads or multi-socket adapters).Connect only devices with class II insulation (shown on the device).
Do not use metal-cased devices (e.g. electric shaver, etc.).
NOTIC E
As a safety measure, if power consumption is high and power is required by the vehicle's electrical system (due to severe weather conditions, electrical overload, etc.), power to the socket may be cut off, in which case the green indicator lamp goes off.
Wireless smartphone
charger
It allows wireless charging of a portable device such as a smartphone, using the magnetic induction principle, in accordance with the Qi 1.1 standard.The portable device to be charged must be compatible with the Qi standard, either by design or by using a compatible holder or shell.The charging area is identified by the Qi symbol.The charger works with the engine running and with the Stop & Start system in STOP mode.Charging is managed by the smartphone.With Keyless Entry and Starting, the charger’s operation may be briefly disrupted when a door is opened or the ignition is switched off.