Page 239 of 560
2394-5. Using the driving support systems
4
Driving
WARNING
●Do not subject the front camera to a strong impact.
●Do not change the installation position or direction of the front camera or
remove it.
●Do not disassemble the front camera.
●Do not modify any components of the vehicle around the front camera
(inside rear view mirror, etc.) or ceiling.
●Do not attach any accessories to the hood, front grille or front bumper that
may obstruct the front camera. Contact your Toyota dealer for details.
●If a surfboard or other long object is to be mounted on the roof, make sure
that it will not obstruct the front camera.
●Do not modify the headlights or other lights.
Page 256 of 560

2564-5. Using the driving support systems
WARNING
■Situations unsuitable for LDA system
Do not use the LDA system in the following situations.
The system may not operate properly and lead to an accident, resulting in
death or serious injury.
●A spare tire, tire chains, etc. are equipped.
●When the tires have been excessively worn, or when the tire inflation pres-
sure is low.
●Tires which differ by structure, manufacturer, brand or tread pattern are
used.
●Objects or patterns that could be mistaken for white (yellow) lines are
present on the side of the road (guardrails, curbs, reflective poles, etc.).
●Vehicle is driven on a snow-covered road.
●White (yellow) lines are difficult to see due to rain, snow, fog, dust, etc.
●Asphalt repair marks, white (yellow) line marks, etc. are present due to
road repair.
●Vehicle is driven in a temporary lane or restricted lane due to construction
work.
●Vehicle is driven on a road surface which is slippery due to rainy weather,
fallen snow, freezing, etc.
●Vehicle is driven in traffic lanes other than on highways and freeways.
●Vehicle is driven in a construction zone.
■Preventing LDA system malfunctions and operations performed by
mistake
●Do not modify the headlights or place stickers, etc. on the surface of the
lights.
●Do not modify the suspension etc. If the suspension etc. needs to be
replaced, contact your Toyota dealer.
●Do not install or place anything on the hood or grille. Also, do not install a
grille guard (bull bars, kangaroo bar, etc.).
●If your windshield needs repairs, contact your Toyota dealer.
Page 266 of 560

2664-5. Using the driving support systems
This mode employs a radar sensor to detect the presence of vehicles
up to approximately 328 ft. (100 m) ahead, determines the current
vehicle-to-vehicle following distance, and operates to maintain a suit-
able following distance from the vehicle ahead.
Note that vehicle-to-vehicle distance will close in when traveling on down-
hill slopes.
Example of constant speed cruising
When there are no vehicles ahead
The vehicle travels at the speed set by the driver. The desired vehicle-to-
vehicle distance can also be set by operating the vehicle-to-vehicle dis-
tance switch.
Example of deceleration cruising and follow-up cruising
When a preceding vehicle driving slower than the set speed
appears
When a vehicle is detected running ahead of you, the system automatically
decelerates your vehicle. When a greater reduction in vehicle speed is
necessary, the system applies the brakes (the stop lights will come on at
this time). The system will respond to changes in the speed of the vehicle
ahead in order to maintain the vehicle-to-vehicle distance set by the driver.
Approach warning warns you when the system cannot decelerate suffi-
ciently to prevent your vehicle from closing in on the vehicle ahead.
When the vehicle ahead of you stops, your vehicle will also stop (vehicle is
stopped by system control). After the vehicle ahead starts off, pressing the
“+ RES” switch or depressing the accelerator pedal will resume follow-up
cruising.
Driving in vehicle-to-vehicle distance control mode
1
2
Page 418 of 560
4186-3. Do-it-yourself maintenance
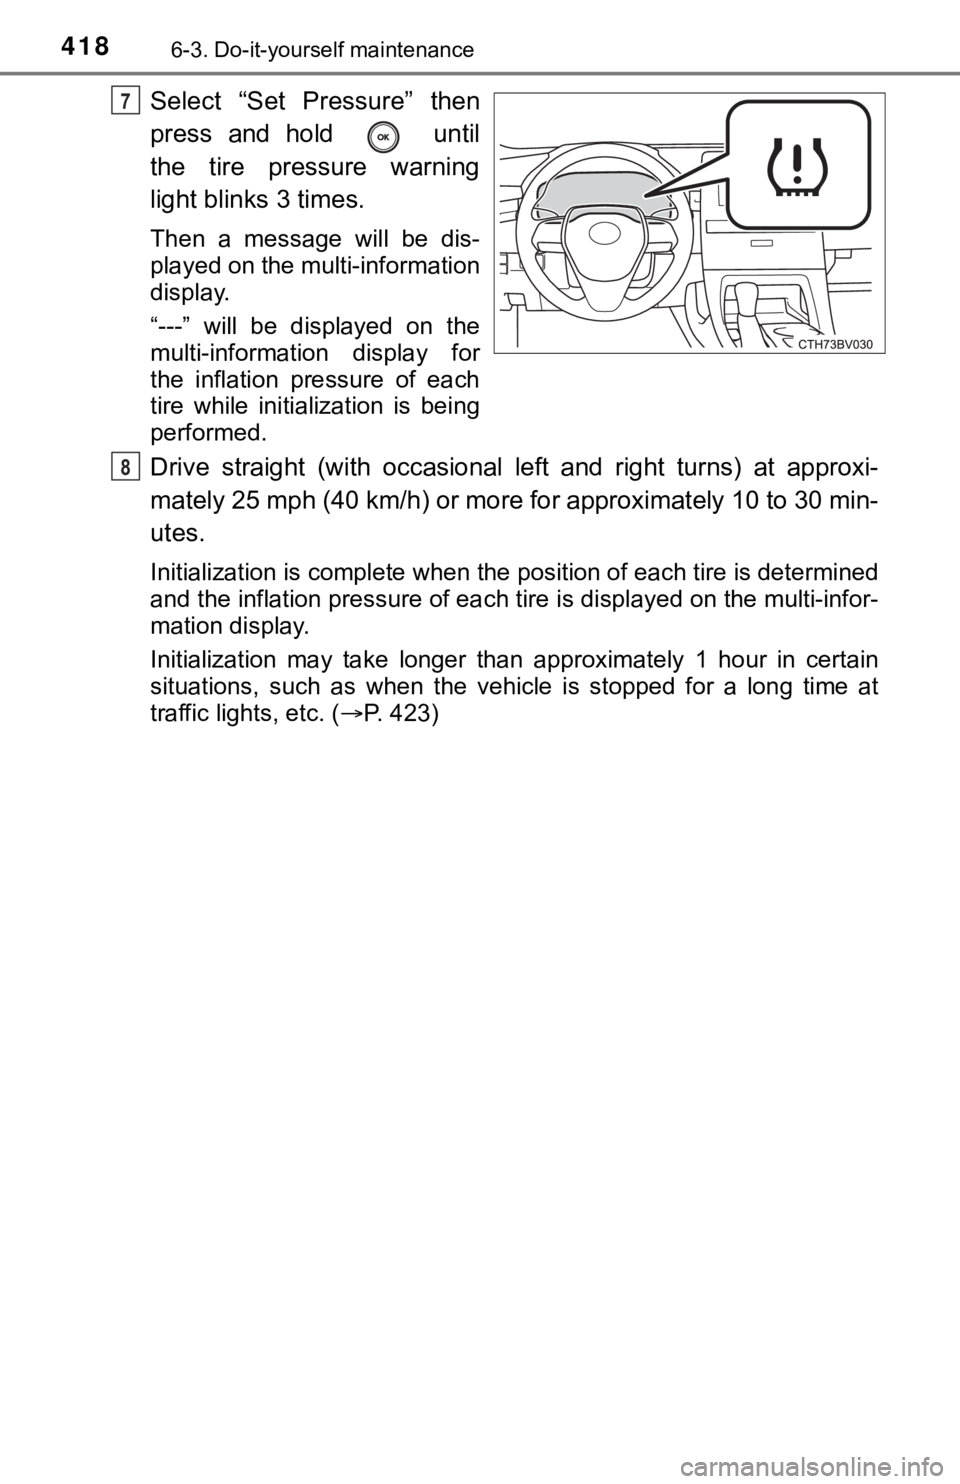
Select “Set Pressure” then
press and hold until
the tire pressure warning
light blinks 3 times.
Then a message will be dis-
played on the multi-information
display.
“---” will be displayed on the
multi-information display for
the inflation pressure of each
tire while initialization is being
performed.
Drive straight (with occasional left and right turns) at approxi-
mately 25 mph (40 km/h) or more for approximately 10 to 30 min-
utes.
Initialization is complete when the position of each tire is determined
and the inflation pressure of each tire is displayed on the multi-infor-
mation display.
Initialization may take longer than approximately 1 hour in certain
situations, such as when the vehicle is stopped for a long time at
traffic lights, etc. (P. 423)
7
8
Page 419 of 560
4196-3. Do-it-yourself maintenance
6
Maintenance and care
◆Registering ID codes
Every tire pressure warning valve and transmitter has a unique ID
code. When replacing a tire pressure warning valve and transmitter,
it is necessary to register the ID codes.
The ID codes can be registered on of the multi-information dis-
play.
■How to register the ID codes
Select on the multi-information display using the meter con-
trol switches on the steering wheel. (P. 1 1 1 )
Select and then press and hold .
Select “TPWS” and then press .
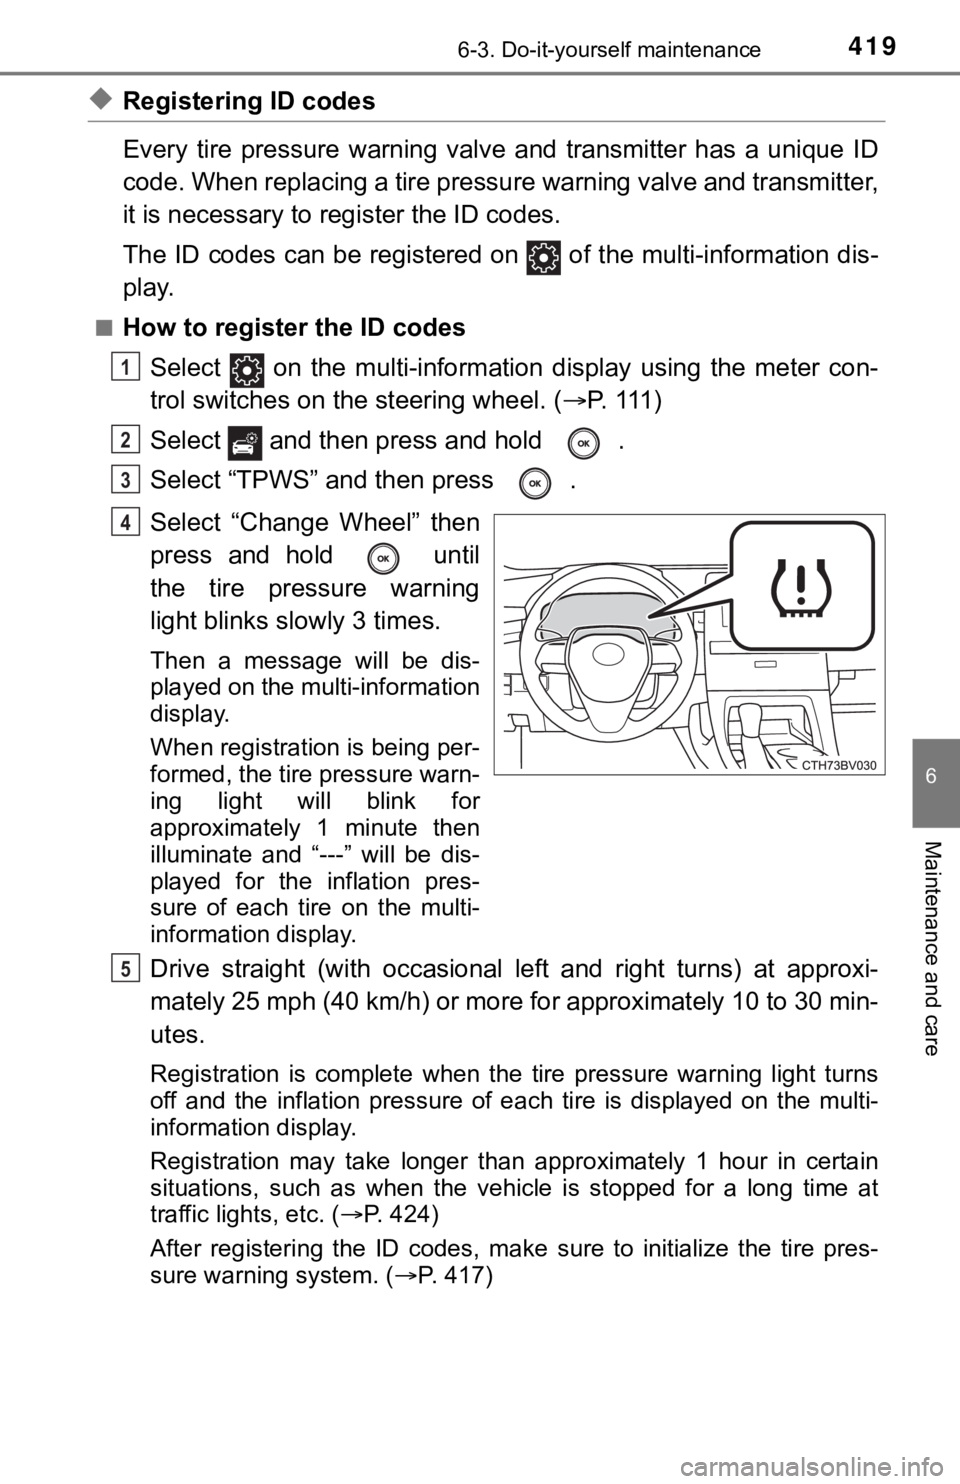
Select “Change Wheel” then
press and hold until
the tire pressure warning
light blinks slowly 3 times.
Then a message will be dis-
played on the multi-information
display.
When registration is being per-
formed, the tire pressure warn-
ing light will blink for
approximately 1 minute then
illuminate and “---” will be dis-
played for the inflation pres-
sure of each tire on the multi-
information display.
Drive straight (with occasional left and right turns) at approxi-
mately 25 mph (40 km/h) or more for approximately 10 to 30 min-
utes.
Registration is complete when the tire pressure warning light turns
off and the inflation pressure of each tire is displayed on the multi-
information display.
Registration may take longer than approximately 1 hour in certain
situations, such as when the vehicle is stopped for a long time at
traffic lights, etc. (P. 424)
After registering the ID codes, make sure to initialize the tire pres-
sure warning system. (P. 417)
1
2
3
4
5
Page 444 of 560
4446-3. Do-it-yourself maintenance
■After a fuse is replaced
●If the lights do not turn on even after the fuse has been replaced, a bulb may
need replacement. (P. 445)
●If the replaced fuse blows again, have the vehicle inspected by your Toyota
dealer.
■If there is an overload in a circuit
The fuses are designed to blow, protecting the wiring harness from damage.
WARNING
■To prevent system breakdowns and vehicle fire
Observe the following precautions.
Failure to do so may cause damage to the vehicle, and possibly a fire or
injury.
●Never use a fuse of a higher amperage rating than that indicated, or use
any other object in place of a fuse.
●Always use a genuine Toyota fuse or equivalent.
Never replace a fuse with a wire, even as a temporary fix.
●Do not modify the fuses or fuse boxes.
NOTICE
■Before replacing fuses
Have the cause of electrical overload determined and repaired by your
Toyota dealer as soon as possible.
Page 455 of 560

4557-2. Steps to take in an emergency
7
When trouble arises
If a warning light turns on or a war ning
buzzer sounds
Calmly perform the following actions if any of the warning lights
comes on or flashes. If a light comes on or flashes, but then
goes off, this does not necessarily indicate a malfunction in the
system. However, if this continues to occur, have the vehicle
inspected by your Toyota dealer.
Warning light and warning buzzer list
Warning lightWarning light/Details/Actions
(Red)
Brake system warning light (warning buzzer)
Indicates that:
• The brake fluid level is low; or
• The brake system is malfunctioning
Immediately stop the vehicle in a safe place and con-
tact your Toyota dealer. Continuing to drive the vehi-
cle may be dangerous.
(Yellow)
Brake system warning light (warning buzzer)
Indicates a malfunction in:
• The regenerative braking system;
• The electronically controlled brake system; or
• The electric parking brake
Have the vehicle inspected by your Toyota dealer
immediately.
High coolant temperature warning light (warning
buzzer)
*1
Indicates that the engine coolant temperature is too high
Immediately stop the vehicle in a safe place.
Handling method (P. 494)
Charging system warning light*1
<002c00510047004c0046004400570048005600030044000300500044004f00490058005100460057004c005200510003004c005100030057004b0048000300590048004b004c0046004f004800b6005600030046004b00440055004a004c0051004a000300
56005c0056005700480050[
Immediately stop the vehicle in a safe place and con-
tact your Toyota dealer.
Low engine oil pressure warning light (warning
buzzer)
*1
Indicates that the engine oil pressure is too low
Immediately stop the vehicle in a safe place and con-
tact your Toyota dealer.
Page 458 of 560

4587-2. Steps to take in an emergency
Slip indicator
Indicates a malfunction in:
• The VSC (Vehicle Stability Control) system;
• The TRAC (Traction Control) system
• The ABS; or
• The hill-start assist control system
The light will flash when the ABS, VSC or TRAC system is
operating.
Have the vehicle inspected by your Toyota dealer
immediately.
Low fuel level warning light
Indicates that remaining fuel is approximately 1.8 gal. (6.7
L, 1.5 Imp. gal.) or less
Refuel the vehicle.
Driver’s and front passenger’s seat belt reminder light
(warning buzzer)
*3
Warns the driver and/or front passenger to fasten their
seat belts
Fasten the seat belt.
If the front passenger’s seat is occupied, the front
passenger’s seat belt also needs to be fastened to
make the warning light (warning buzzer) turn off.
Rear passengers’ seat belt reminder lights (warning
buzzer)
*4
Warns the rear passengers to fasten their seat belts.
Fasten the seat belt.
Master warning light (warning buzzer)
A buzzer sounds and the warning light comes on and
flashes to indicate that the master warning system has
detected a malfunction.
P. 465
Tire pressure warning light
Indicates the following:
• Low tire pressure due to flat tire;
• Low tire pressure due to natural causes; or
• The tire pressure warning system is malfunctioning
Immediately stop the vehicle in a safe place.
Handling method (P. 4 6 1 )
Warning lightWarning light/Details/Actions