2021 Peugeot Landtrek snow chains
[x] Cancel search: snow chainsPage 5 of 176

3
Contents
7Practical information
Recommended fuel 88
Refuelling 88
Towing device 89
Snow chains 89
Roof bars 90
Bonnet 90
Engine compartment 91
Checking levels 92
Checks
94
Maintenance 96
Free-wheeling 102
Advice on care and maintenance 102
8In the event of a breakdown
Warning triangle 104
Fire extinguisher 104
Running out of fuel (Diesel) 105
Tool kit 105
Spare wheel 106
Changing a bulb 11 0
Changing a fuse 11 3
12
V battery 11 6
Towing the vehicle 11 9
9Technical data
Engine technical data and towed loads 122
Petrol engines 123
Diesel engines 124
Dimensions 125
Identification markings 125
10Bluetooth® radio
Menus 127
Steering mounted controls 128
Radio 128
Media 129
Telephone 129
11Peugeot Connect 10" Touchscreen
First steps 131
Steering mounted controls
131
Menus 132
Navigation 133
Radio 133
Music player 133
Telephone 134
Applications 135
Settings 136
■
Alphabetical index
Page 78 of 176

76
Driving
To return to the speed setting, release the
accelerator pedal (when the set speed is
reached again, the displayed speed stops
flashing).
Operating limits
Never use the system in the following
situations:
– In an urban area with the risk of
pedestrians crossing the road.
– In heavy traffic.
– On winding or steep roads.
– On slippery or flooded roads.
– In poor weather conditions.
– Driving on a speed circuit.
– Driving on a rolling road.
– When using snow chains, non-slip covers
or studded tyres.
Cruise control
Refer to the General recommendations on the
use of driving and manoeuvring aids and to
Cruise control - particular recommendations.
This system automatically keeps the vehicle’s speed at the cruise value
programmed by the driver (speed setting),
without using the accelerator pedal.
Cruise control is switched on manually.
It requires a minimum vehicle speed of 25 mph
(40 km/h).
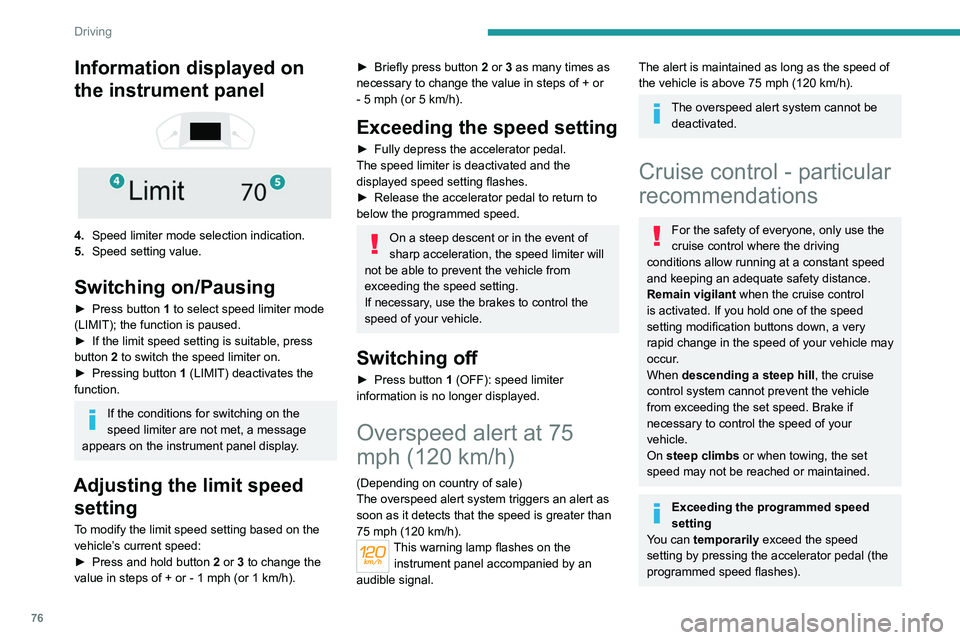
Information displayed on
the instrument panel
4. Speed limiter mode selection indication.
5. Speed setting value.
Switching on/Pausing
► Press button 1 to select speed limiter mode
(LIMIT); the function is paused.
►
If the limit speed setting is suitable, press
button
2 to switch the speed limiter on.
►
Pressing button 1
(LIMIT) deactivates the
function.
If the conditions for switching on the
speed limiter are not met, a message
appears on the instrument panel display.
Adjusting the limit speed setting
To modify the limit speed setting based on the
vehicle’s current speed:
►
Press and hold button
2
or 3 to change the
value in steps of +
or - 1 mph (or 1 km/h).
► Briefly press button 2 or 3 as many times as
necessary to change the value in steps of + or
-
5 mph (or 5 km/h).
Exceeding the speed setting
► Fully depress the accelerator pedal.
The speed limiter is deactivated and the
displayed speed setting flashes.
►
Release the accelerator pedal to return to
below the programmed speed.
On a steep descent or in the event of
sharp acceleration, the speed limiter will
not be able to prevent the vehicle from
exceeding the speed setting.
If necessary, use the brakes to control the
speed of your vehicle.
Switching off
► Press button 1 (OFF): speed limiter
information is no longer displayed.
Overspeed alert at 75
mph (120 km/h)
(Depending on country of sale)
The overspeed alert system triggers an alert as
soon as it detects that the speed is greater than
75 mph (120 km/h).
This warning lamp flashes on the
instrument panel accompanied by an
audible signal.
The alert is maintained as long as the speed of
the vehicle is above 75 mph (120 km/h).
The overspeed alert system cannot be deactivated.
Cruise control - particular
recommendations
For the safety of everyone, only use the
cruise control where the driving
conditions allow running at a constant speed
and keeping an adequate safety distance.
Remain vigilant when the cruise control
is activated. If you hold one of the speed
setting modification buttons down, a very
rapid change in the speed of your vehicle may
occur.
When descending a steep hill , the cruise
control system cannot prevent the vehicle
from exceeding the set speed. Brake if
necessary to control the speed of your
vehicle.
On steep climbs or when towing, the set
speed may not be reached or maintained.
Exceeding the programmed speed
setting
You can temporarily exceed the speed
setting by pressing the accelerator pedal (the
programmed speed flashes).
Page 79 of 176

77
Driving
6To return to the speed setting, release the
accelerator pedal (when the set speed is
reached again, the displayed speed stops
flashing).
Operating limits
Never use the system in the following
situations:
–
In an urban area with the risk of
pedestrians crossing the road.
–
In heavy traffic.
–
On winding or steep roads.
–
On slippery or flooded roads.
–
In poor weather conditions.
–
Driving on a speed circuit.
–
Driving on a rolling road.
–
When using snow chains, non-slip covers
or studded tyres.
Cruise control
Refer to the General recommendations on the
use of driving and manoeuvring aids and to
Cruise control - particular recommendations.
This system automatically keeps the vehicle’s speed at the cruise value
programmed by the driver (speed setting),
without using the accelerator pedal.
Cruise control is switched on manually.
It requires a minimum vehicle speed of 25 mph
(40
km/h).
With a manual gearbox, third gear or higher must
be engaged.
With an automatic gearbox, mode
D
or second
gear or higher in manual mode must be
engaged.
Switching off the ignition cancels any
speed setting.
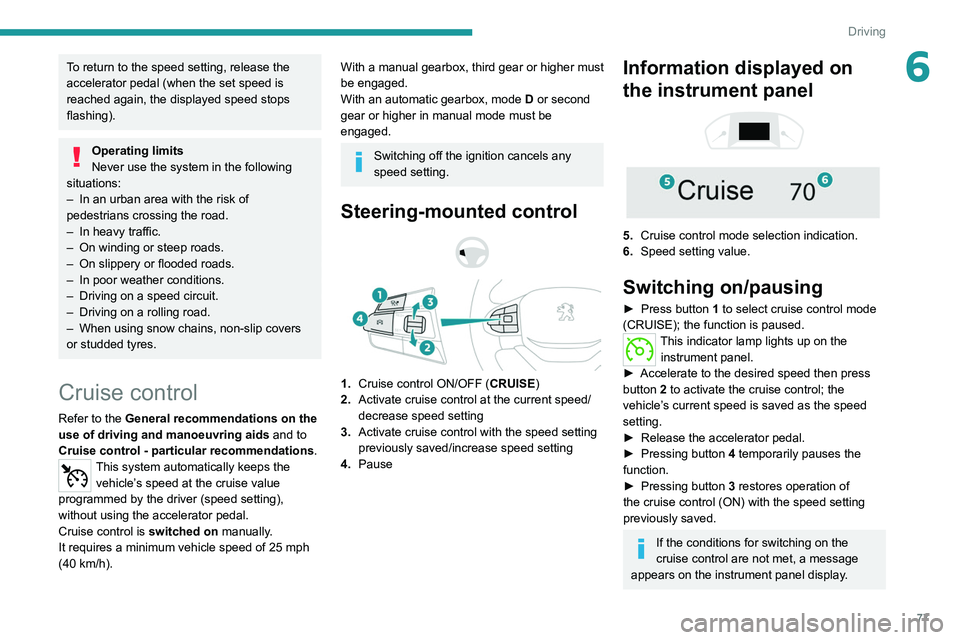
Steering-mounted control
1. Cruise control ON/OFF (CRUISE)
2. Activate cruise control at the current speed/
decrease speed setting
3. Activate cruise control with the speed setting
previously saved/increase speed setting
4. Pause
Information displayed on
the instrument panel
5. Cruise control mode selection indication.
6. Speed setting value.
Switching on/pausing
► Press button 1 to select cruise control mode
(CRUISE); the function is paused.
This indicator lamp lights up on the instrument panel.
►
Accelerate to the desired speed then press
button
2 to activate the cruise control; the
vehicle’s current speed is saved as the speed
setting.
►
Release the accelerator pedal.
►
Pressing button 4
temporarily pauses the
function.
►
Pressing button 3
restores operation of
the cruise control (ON) with the speed setting
previously saved.
If the conditions for switching on the
cruise control are not met, a message
appears on the instrument panel display.
Page 91 of 176

89
Practical information
7► Turn the filler cap to the left, remove it and
place it on its support (on the filler flap).
►
Introduce the filler nozzle and push it in as far
as possible before starting to refuel (to minimise
the risk of splashing).
Do not continue after the nozzle’
s third cut-
out. Doing so may cause malfunctions.
►
Put the filler cap back in place and turn it to
the right.
►
Close the fuel filler flap.
If you have put in the wrong fuel for the
vehicle, you must have the fuel tank
drained and filled with the correct fuel before
starting the engine.
Depending on version, the vehicle is fitted with
a catalytic converter, which helps to reduce the
level of harmful emissions in the exhaust gases.
For petrol engines, you must use unleaded
fuel.
The filler neck is narrower, admitting unleaded
petrol nozzles only.
Towing device
Load distribution
► Distribute the load in the trailer so that the
heaviest items are as close as possible to the
axle, and the nose weight approaches the
maximum permitted without exceeding it.
Air density decreases with altitude, thus reducing
engine performance.
The maximum towable load
must be reduced by 10% per 1,000 metres of
altitude.
Use genuine towing devices and their
wiring harnesses approved by
PEUGEOT. We recommend having them
fitted by a PEUGEOT dealer or a qualified
workshop.
If not fitted by a PEUGEOT dealer, they must
still be fitted in accordance with the vehicle
manufacturer's instructions.
Certain driving or manoeuvring aid functions
are automatically deactivated while an
approved towing system is in use.
For more information about driving with a
towing device fitted to a trailer and associated
with the Trailer stability assist, refer to the
corresponding section.
Comply with the maximum authorised
towable weight, as indicated on your
vehicle's registration certificate, on the
manufacturer's label and in the Technical
data section of this guide.
Complying with the maximum authorised
nose weight (towball weight) also includes
the use of accessories (bicycle carriers,
tow boxes, etc.).
Observe the legislation in force in the
country where you are driving.
Snow chains
In wintry conditions, snow chains improve
traction as well as the behaviour of the vehicle
when braking.
Snow chains must be fitted only to
driving wheels.
Observe the legislation in force in your
country relating to the use of snow
chains and maximum authorised speeds.
Only use chains designed for the vehicle's wheel
type:
Tyre size Link size
245/70 R16 13 to 16
mm
265/65 R17 13 to 16
mm
265/60R18 13 to 16
mm
It is also possible to use snow socks.
For more information on snow chains, contact a
PEUGEOT dealer or a qualified workshop.
Installation tips
► To fit the snow chains during a journey, stop
the vehicle on a flat surface at the side of the
road.
►
Apply the parking brake and position any
wheel chocks under the wheels to prevent
movement of the vehicle.
Page 92 of 176

90
Practical information
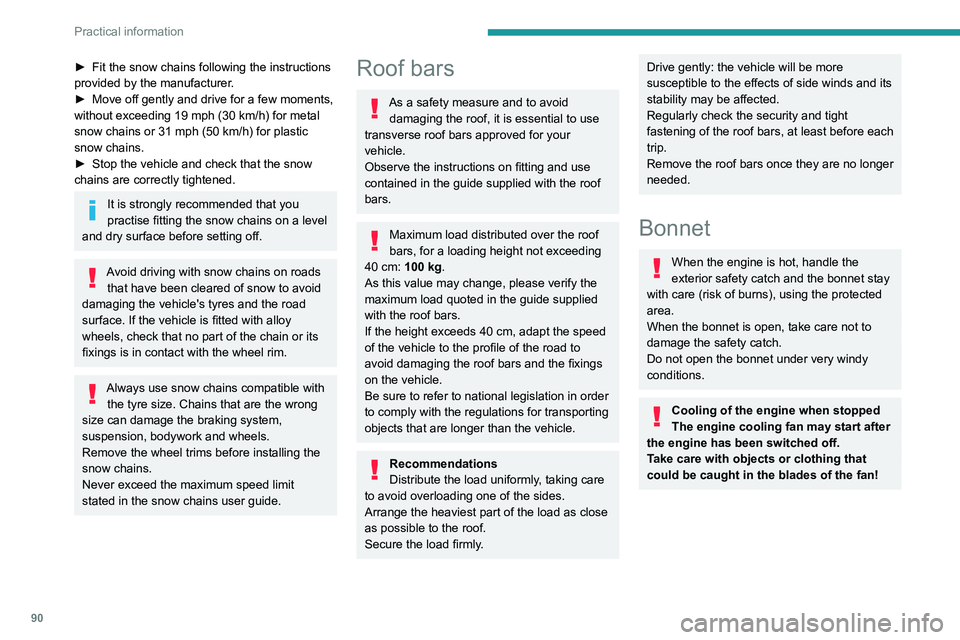
Opening
► Open the left-hand front door.
► Pull the interior release lever, located at the
bottom of the dashboard, towards you.
► Tilt the exterior safety catch to the left and
raise the bonnet.
► Unclip the stay from its housing and place it
in the support slot to hold the bonnet open.
* Depending on engine.
► Fit the snow chains following the instructions
provided by the manufacturer .
►
Move off gently and drive for a few moments,
without exceeding 19
mph (30 km/h) for metal
snow chains or 31 mph (50 km/h) for plastic
snow chains.
►
Stop the vehicle and check that the snow
chains are correctly tightened.
It is strongly recommended that you
practise fitting the snow chains on a level
and dry surface before setting off.
Avoid driving with snow chains on roads that have been cleared of snow to avoid
damaging the vehicle's tyres and the road
surface. If the vehicle is fitted with alloy
wheels, check that no part of the chain or its
fixings is in contact with the wheel rim.
Always use snow chains compatible with the tyre size. Chains that are the wrong
size can damage the braking system,
suspension, bodywork and wheels.
Remove the wheel trims before installing the
snow chains.
Never exceed the maximum speed limit
stated in the snow chains user guide.
Roof bars
As a safety measure and to avoid damaging the roof, it is essential to use
transverse roof bars approved for your
vehicle.
Observe the instructions on fitting and use
contained in the guide supplied with the roof
bars.
Maximum load distributed over the roof
bars, for a loading height not exceeding
40 cm: 100
kg.
As this value may change, please verify the
maximum load quoted in the guide supplied
with the roof bars.
If the height exceeds 40 cm, adapt the speed
of the vehicle to the profile of the road to
avoid damaging the roof bars and the fixings
on the vehicle.
Be sure to refer to national legislation in order
to comply with the regulations for transporting
objects that are longer than the vehicle.
Recommendations
Distribute the load uniformly, taking care
to avoid overloading one of the sides.
Arrange the heaviest part of the load as close
as possible to the roof.
Secure the load firmly.
Drive gently: the vehicle will be more
susceptible to the effects of side winds and its
stability may be affected.
Regularly check the security and tight
fastening of the roof bars, at least before each
trip.
Remove the roof bars once they are no longer
needed.
Bonnet
When the engine is hot, handle the
exterior safety catch and the bonnet stay
with care (risk of burns), using the protected
area.
When the bonnet is open, take care not to
damage the safety catch.
Do not open the bonnet under very windy
conditions.
Cooling of the engine when stopped
The engine cooling fan may start after
the engine has been switched off.
Take care with objects or clothing that
could be caught in the blades of the fan!
Page 144 of 176

142
Alphabetical index
Serial number, vehicle 125
Servicing
94, 96
Settings, equipment
13–15
Sidelamps
43–44, 110, 112
Snow chains
89
Socket, 12 V accessory
36
Speed limiter
75–76
Speedometer
7, 75
Sport mode
71
Stability control (ESC)
49–50
Starting a Diesel engine
88
Starting the engine
63
Starting the vehicle
63–65
Starting using another battery
66, 117
Station, radio
128, 133
Stay, bonnet
91
Steering mounted controls, audio
128, 131
Steering wheel
95
Steering wheel, adjustment
27
Stickers, customising ~ Stickers,
expressive
103
Stopping the vehicle
63–65
Storage
36–40
Storage boxes
39
Storage compartments
36
Stowing rings
39
Sunshine sensor
31
Sun visor
36
Suspension
96
Switching off the engine
63
Synchronising the remote control
21T
Tables of engines 123–124
Tables of fuses
113, 115
Tailgate
22
Tank, fuel
88
Technical data
123–124
Telephone
129–130, 134–135
Temperature, coolant
11
Ticket holder
36
Time (setting)
13, 136
Tipper truck fittings
39
Tipper truck lighting
40
Tools
105–106, 106–107
Top Tether (fixing)
59
Total distance recorder
12
Touch screen
14
Towbar
50, 89
Towed loads
122
Towing another vehicle
119, 121
Traction control (ASR)
49–50
Trailer
50, 89
Trailer stability assist (TSA)
50
Trajectory control systems
49
Triangle, warning
104
Trip computer
12–13
Trip distance recorder
12
Tyres
95, 126
Tyre under-inflation detection
73
U
Under-inflation (detection) 73
Unlocking
16–18
Unlocking from the inside
19
Unlocking the doors
19
Updating the time
136
USB
129, 133–135
V
Ventilation 31–33
Visibility
35
W
Warning and indicator lamps 8
Warning lamp, driver''s seat belt
not fastened
53
Warning lamps
8
Warning lamp, seat belts
53
Warnings and indicators
8
Washing
75
Washing (advice)
102–103
Weights
122
Wheel, spare
95, 105–107
Windscreen wipers
45, 47
Wiper blades (changing)
46
Wipers
45, 47
Wipers, automatic rain sensitive
47