2021 PEUGEOT BOXER trip computer
[x] Cancel search: trip computerPage 4 of 212

2
Contents
■
Overview
■
Eco-driving
1InstrumentsInstrument panel 8
Warning and indicator lamps 9
Indicators 13
Vehicle configuration (MODE) 15
Touch screen audio and multimedia system 21
Setting the date and time 21
Trip computer 22
Trip computer 22
2AccessKey 23
Remote control 23
Front doors 26
Sliding side door 26
Rear doors 27
Alarm 27
Electric windows 28
3Ease of use and comfortFront seats 30
Front bench seat 31
Rear seats 32
Rear bench seat 32
Steering wheel adjustment 33
Mirrors 34
Heating and Ventilation 35
Heating/Manual air conditioning 35
Automatic air conditioning 36
Heating (Electric) 37
Additional heating systems 39
Rear heating/air conditioning 39
Additional programmable heating 40
Front demist - defrost 42
Rear screen de-icing 42
Cab layout 43
Rear fittings 47
Exterior fittings 49
4Lighting and visibilityLighting control stalk 51
Direction indicators 51
LED daytime running lamps 51
Automatic headlamp dipping 52
Headlamp beam height adjustment 54
Wiper control stalk 54
Changing a wiper blade 55
5SafetyGeneral safety recommendations 56
Hazard warning lamps 56
Horn 56
Pedestrian horn (Electric) 57
Electronic stability control (ESC) 57
Seat belts 60
Airbags 62
Child seats 63
Deactivating the front passenger airbag 65
ISOFIX seats 66
Child lock 68
6DrivingDriving recommendations 69
Starting-switching off the engine 72
Battery standby system 73
Parking brake 74
Gearbox 74
Drive selector (Electric) 75
Gear shift indicator 75
Stop & Start 76
Hill start assist 77
Tyre under-inflation detection 78
Pneumatic suspension 79
Driving and manoeuvring aids - General
recommendations
80
Road signs recognition 82
Speed limiter 83
Cruise control - Specific recommendations 85
Cruise control 85
Lane departure warning system 86
Blind spot monitoring with trailer detection 89
Active Safety Brake with Collision Risk Alert and
Intelligent emergency braking assistance
90
Rear parking sensors 93
Reversing camera 94
7Practical informationFuel 96
Compatibility of fuels 97
Charging system (Electric) 97
Charging the traction battery (Electric) 101
Snow chains 103
Towing a trailer 104
Towbar with quickly detachable towball 104
Roof-mounted carrying system 107
Bonnet 107
Page 6 of 212

4
Overview
Presentation
These illustrations and descriptions are intended
as a guide. The presence and location of certain
elements may vary, depending on the version or
trim level.
Instruments and controls
1. Instrument panel with display screen
2. Lighting control and direction indicator stalk
3. Wiper/Screenwash
control stalk
Trip computer (Diesel)
4. Vehicle configuration/Headlamps beam
height/Front/rear foglamps 5.
Steering mounted controls for the audio
system
6. Driver's front airbag/Horn
7. Ignition switch
8. Additional programmable heating (Diesel)
Heating (Electric)
9. Fusebox
10. Cruise control/speed limiter controls (Diesel)
11 . Pneumatic suspension/Reading spotlamps/
Additional rear ventilation (Diesel)
Centre console
1. Audio system/Navigation
2. Heating/Air conditioning
3. Storage compartment/Removable ashtray
4. 12 volt accessory socket (180
W max)
5. USB socket/Cigarette lighter
6. Dynamic stability control (DSC/ASR)
Intelligent traction control (Diesel)
7. Hill Assist Descent Control
8. Lane departure warning system
9. Hazard warning lamps
10. Central locking
11 . De-icing/Demisting
12. Gear lever (Diesel)
Drive selector (Electric)
Page 23 of 212

21
Instruments
1Touch screen audio and telematics system
This audio system control panel, located in the
centre of the dashboard, gives access to menus
in order to customise some equipment.
The corresponding information is displayed in
the touch screen.
It is available in 9 languages: German, English,
Spanish, French, Italian, Dutch, Polish,
Portuguese and Turkish.
For safety reasons, some menus are only
accessible with the ignition off.
Provides access to the “Settings” menu.
Allows you to scroll up in a menu or
increase a value.
Allows you to scroll down in a menu or decrease a value.
"Settings" menu
1. "Display"
2. "Voice commands"
3. “Clock and Date”
4. "Safety/Assistance"
5. “Lights”
6. “Doors & locking”
7. "Audio"
8. "Telephone/Bluetooth"
9. “Radio setting”
10. "Restore Settings" to return to the
manufacturer’s default settings.
11 . “Delete pers. data“ to delete all your
personal data, related to the Bluetooth
equipment, in the audio system.
For more information on audio,
telephone, radio and navigation, refer to
the corresponding sections.
The settings in sub-menus 4, 5 and 6
vary depending on the equipment
installed on the vehicle.
From the "Display" sub-menu, it is possible to:
–
select "Languages" and choose one of the
languages mentioned above,
–
select "Unit of measurement" and set the
consumption (mpg, l/100 km), distances (miles,
km) and temperature (°F
, °C), –
select "T
rip B display" to activate or deactivate
trip B of the trip computer (On, Off).
From the "Safety/Assistance" sub-menu, it is
possible to:
–
select "Parkview Camera", then "Reversing
camera" to activate or deactivate its use (On,
Off),
–
select “Parkview Camera", then "Camera
delay" to activate or deactivate the maintaining
of the display for 10 seconds or up to 1
1 mph (18
km/h) (On, Off),
–
select "T
raffic Sign" to activate or deactivate
its use (On, Off),
–
select "Passenger airbag" to activate or
deactivate its use (On, Off).
From the "Lights" sub-menu, it is possible to:
–
select "Daytime running lamps" to activate or
deactivate their use (On, Off),
–
select "Auto. main beam headlamps" to
activate or deactivate its use (On, Off),
–
select "Headlamp sensor" to adjust its
sensitivity (1, 2, 3).
From the "Doors & locking" sub-menu, it is
possible to:
–
select "Autoclose" to activate or deactivate its
use (On, Off).
Setting the date and time
Using the MODE control panel
► Press the “MODE” button.
Page 24 of 212

22
Instruments
► Select the "Time setting" menu to set the time
and the clock format (24h or 12h) or select the
"Date setting" menu to set the day, month and
year.
For more information on Vehicle configuration
(MODE), refer to the corresponding section.
Using the touch screen audio and
telematics system
From the "Clock and Date" sub-menu:
► Select "T ime setting and format" to set the
hour, minutes and seconds and choose the
format (24h, 12h with am or pm).
►
Select "Date setting" to set the day
, month
and year.
To set the time manually, "Time Synchro" must be deactivated (Off).
Trip computer
Information displayed about the current journey
(range, current fuel consumption, average fuel
consumption, etc.).
This function is not available on electric vehicles.
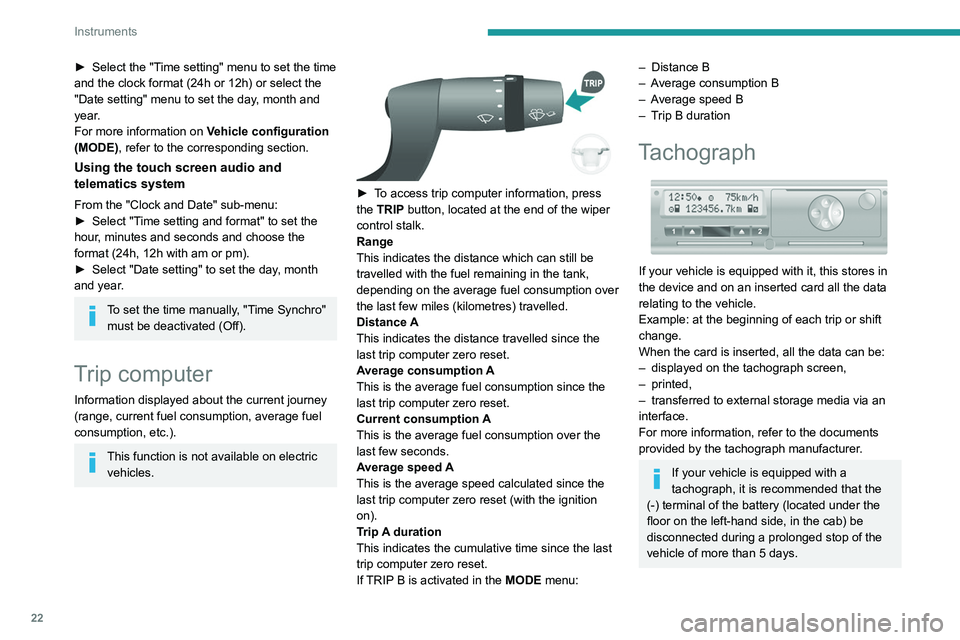
► To access trip computer information, press
the TRIP button, located at the end of the wiper
control stalk.
Range
This indicates the distance which can still be
travelled with the fuel remaining in the tank,
depending on the average fuel consumption over
the last few miles (kilometres) travelled.
Distance A
This
indicates the distance travelled since the
last trip computer zero reset.
Average consumption A
This is the average fuel consumption since the
last trip computer zero reset.
Current consumption A
This is the average fuel consumption over the
last few seconds.
Average speed A
This is the average speed calculated since the
last trip computer zero reset (with the ignition
on).
Trip A duration
This
indicates the cumulative time since the last
trip computer zero reset.
If TRIP B is activated in the MODE menu:
– Distance B
– A verage consumption B
–
A
verage speed B
–
T
rip B duration
Tachograph
If your vehicle is equipped with it, this stores in
the device and on an inserted card all the data
relating to the vehicle.
Example: at the beginning of each trip or shift
change.
When the card is inserted, all the data can be:
–
displayed on the tachograph screen,
–
printed,
–
transferred to external storage media via an
interface.
For more information, refer to the documents
provided by the tachograph manufacturer
.
If your vehicle is equipped with a
tachograph, it is recommended that the
(-) terminal of the battery (located under the
floor on the left-hand side, in the cab) be
disconnected
during a prolonged stop of the
vehicle of more than 5 days.
Page 173 of 212

171
Touch screen audio and telematics system
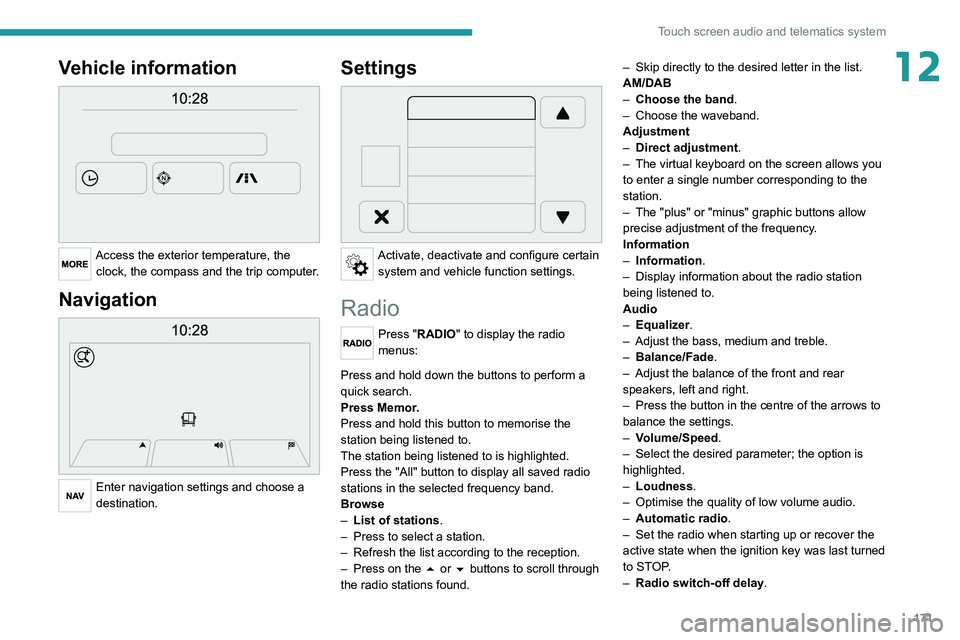
12Vehicle information
Access the exterior temperature, the clock, the compass and the trip computer.
Navigation
Enter navigation settings and choose a
destination.
Settings
Activate, deactivate and configure certain system and vehicle function settings.
Radio
Press "RADIO" to display the radio
menus:
Briefly press on the 9 or : buttons to perform an automatic search.
Press and hold down the buttons to perform a
quick search.
Press Memor.
Press and hold this button to memorise the
station being listened to.
The station being listened to is highlighted.
Press the "All" button to display all saved
radio
stations in the selected frequency band.
Browse
–
List of stations .
–
Press to select a station.
–
Refresh the list according to the reception.
–
Press on the
5 or 6 buttons to scroll through
the radio stations found. –
Skip directly to the desired letter in the list.
AM/DAB
–
Choose the band
.
–
Choose the waveband.
Adjustment
–
Direct adjustment
.
–
The virtual keyboard on the screen allows you
to enter a single number corresponding to the
station.
–
The "plus" or "minus" graphic buttons allow
precise adjustment of the frequency
.
Information
–
Information.
–
Display information about the radio station
being listened to.
Audio
–
Equalizer
.
–
Adjust the bass, medium and treble.
–
Balance/Fade
.
– Adjust the balance of the front and rear
speakers, left and right.
–
Press the button in the centre of the arrows to
balance the settings.
–
V
olume/Speed.
–
Select the desired parameter; the option is
highlighted.
–
Loudness
.
–
Optimise the quality of low volume audio.
–
Automatic radio
.
–
Set the radio when starting up or recover the
active state when the ignition key was last turned
to ST
OP.
–
Radio switch-off delay.
Page 181 of 212

179
Touch screen audio and telematics system
12Press the "Contacts" button or the
"Recent calls" button.
Select the desired contact from the list offered to
start the call.
Vehicle information
Press "MORE" to display the vehicle
information menus:
Exterior temp.
Display the exterior temperature.
Clock
Display
the clock.
Compass
Display
the direction that you are travelling in.
Trip
–
Current info., T
rip A, Trip B.
Display the trip computer.
Press and hold the "Trip A" or "Trip B" button to
reset the trip concerned.
Settings
Press this button to display the settings
menus:
Display
–
Brightness
.
–
Set the brightness of the screen.
–
Display mode
.
–
Set the display mode.
–
Language
.
–
Choose the desired language.
–
Unit of measurement
. –
Set the display units for consumption,
distance
and temperature.
–
T
ouch screen beep.
–
Activate or deactivate the audible signal when
touching a button on the screen.
–
Display T
rip B.
–
Display
Trip B on the driver's screen.
Voice commands
–
V
oice response time.
–
Set the length of the voice system response.
–
Display list of commands
.
–
Display suggestions with the different options
during a voice session.
Clock and Date
–
T
ime setting and format.
–
Setting the time.
–
Display time mode
.
–
Activate or deactivate the display of the digital
clock on the status bar
.
–
Synchro time
.
–
Activate or deactivate the automatic time
display
.
– Date setting .
– Set the date.
Safety/Assistance
–
Reversing camera.
–
Display the reversing camera in reverse.
–
Camera delay.
–
Maintain the on-screen display of the
reversing camera for a maximum of 10 seconds
or up to 1
1 mph (18 km/h).
Lighting
–
Daytime running lamps
.–
Activate or deactivate the automatic
illumination of the headlamps when starting.
Doors & locking
–
Autoclose
.
–
Activate or deactivate the automatic locking of
the doors
when the vehicle is moving.
Audio
–
Equalizer
.
–
Adjust the bass, medium and treble.
–
Balance/Fade
.
–
Adjust the balance of the front and rear
speakers, left and right.
–
Press the button in the centre of the arrows to
balance the settings.
–
V
olume/Speed.
–
Select the desired parameter; the option is
highlighted.
–
Loudness
.
–
Optimise the quality of low volume audio.
–
Automatic radio
.
–
Set the radio when starting up or recover the
active state when the ignition key was last turned
to ST
OP.
– Radio switch-off delay.
–
Set the parameter
.
–
AUX vol. setting.
–
Set the parameters.
T
elephone/Bluetooth
®
– Connected tels.
– Start the Bluetooth® connection of the selected
mobile device.
–
Delete the selected mobile device.
Page 195 of 212

193
Alphabetical index
Sensors (warnings) 53
Service indicator
13
Servicing
13, 83
Settings, equipment
15, 21
Sidelamps
23
Silent vehicle warning sound (Electric)
29, 42
Snow chains
103–104
Socket, auxiliary
136, 145
Socket, Jack
136, 145
Sockets, auxiliary
43–45
Speed limiter
83–84
Speed limit recognition
82–83
Speedometer
53
Stability control (ESC)
29
Stability control (ESP)
30
Starting a Diesel engine
69
Station, radio
135, 143
Steering mounted controls, audio
134, 142
Steering wheel adjustment
21
Stickers, customising ~ Stickers,
expressive
89
Stop & Start
23, 31, 26, 33, 76–77, 79, 84, 104
Storage
43–45
Sunshine sensor
23
Super-fast charging (Electric)
102–103, 109
T
Tables of engines 136–137
Table, writing
43–45
Tank, fuel
68
Technical data 136–137
Telephone
137, 177–178
Temperature, coolant
14
Tools
119–124
Topping-up AdBlue®
87
Touch screen
141, 156
Touch screen audio-telematic system
141, 156
Towball, quickly detachable
104–106
Towbar with quickly detachable
towball
104–106
Towed loads
107
Towing another vehicle
104
Traction battery (Electric)
97–98, 109
Traction control (ASR)
57–58
Traffic information (TA)
135
Trip computer
22
Type of bulbs
97
Tyres
85
Tyre under-inflation detection
78–79
U
Under-inflation (detection) 78–79
USB
163–164, 172–173
V
Vehicle data recording and privacy 159
Ventilation
35–36
Voice commands
166–168, 180–182
W
Wallbox (Electric) 71
Warning and indicator lamps
9
Warning lamps
9
Warning lamp, seat belts
60–61
Warnings and indicators
9
Washing
53
Washing (advice)
70, 116–117
Weights
107
Wheel, spare
85, 119–124
Window controls
18
Wipers
26
Wipers, automatic rain sensitive
26