2021 PEUGEOT BOXER engine
[x] Cancel search: enginePage 16 of 212
14
Instruments
Menu... Select... Allows you to...
Service Service (miles/
km before
service) Display the
remaining
miles/
kilometres to
be travelled
before the
next service.
Oil change
(miles/km
before oil
change) Display the
remaining
miles/
kilometres to
be travelled
before the
next oil
change.
For more information on
Vehicle
configuration (MODE) , refer to the
corresponding section.
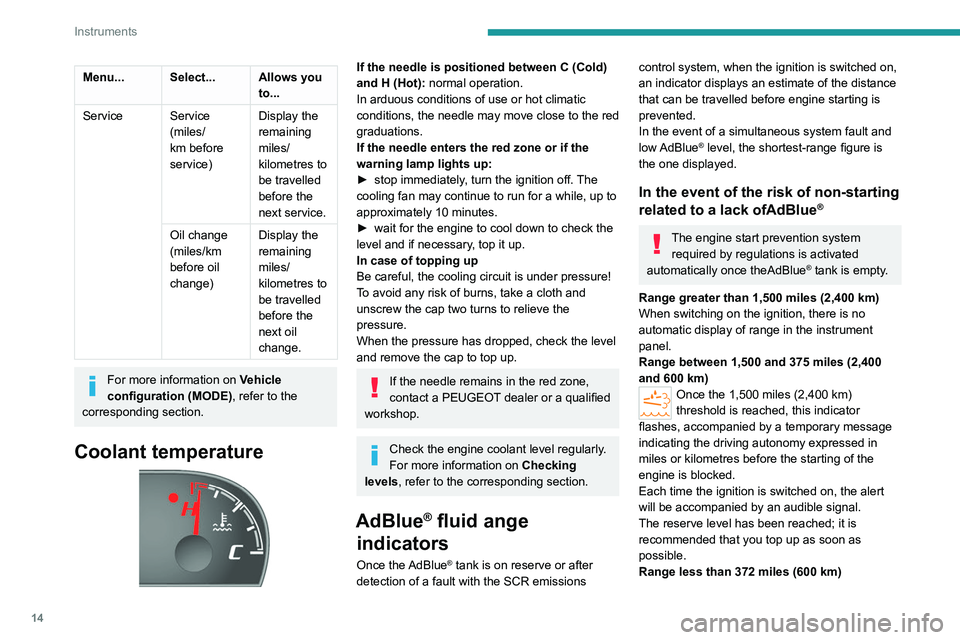
Coolant temperature
If the needle is positioned between C (Cold)
and H (Hot): normal operation.
In arduous conditions of use or hot climatic
conditions, the needle may move close to the red
graduations.
If the needle enters the red zone or if the
warning lamp lights up:
►
stop immediately
, turn the ignition off. The
cooling fan may continue to run for a while, up to
approximately 10 minutes.
►
wait for the engine to cool down to check the
level and if necessary
, top it up.
In case of topping up
Be careful, the cooling circuit is under pressure!
To avoid any risk of burns, take a cloth and
unscrew the cap two turns to relieve the
pressure.
When the pressure has dropped, check the level
and remove the cap to top up.
If the needle remains in the red zone,
contact a PEUGEOT dealer or a qualified
workshop.
Check the engine coolant level regularly.
For more information on Checking
levels, refer to the corresponding section.
AdBlue® fluid ange
indicators
Once the AdBlue® tank is on reserve or after
detection of a fault with the SCR emissions
control system, when the ignition is switched on,
an indicator displays an estimate of the distance
that can be travelled before engine starting is
prevented.
In the event of a simultaneous system fault and
low AdBlue
® level, the shortest-range figure is
the one displayed.
In the event of the risk of non-starting
related to a lack ofAdBlue®
The engine start prevention system required by regulations is activated
automatically once theAdBlue
® tank is empty.
Range greater than 1,500 miles (2,400 km)
When switching on the ignition, there is no
automatic display of range in the instrument
panel.
Range between 1,500 and 375 miles (2,400
and 600 km)
Once the 1,500 miles (2,400 km)
threshold is reached, this indicator
flashes, accompanied by a temporary message
indicating the driving autonomy expressed in
miles or kilometres before the starting of the
engine is blocked.
Each time the ignition is switched on, the alert
will be accompanied by an audible signal.
The reserve level has been reached; it is
recommended that you top up as soon as
possible.
Range less than 372 miles (600 km)
Page 17 of 212
15
Instruments
1Once the 372 miles (600 km) threshold is
reached, this indicator flashes,
accompanied by a message indicating the
driving autonomy expressed in miles or
kilometres before the starting of the engine is
blocked.
The alert will be repeated with update of the
remaining range at each increment of 31 miles
(50 km) travelled.
Each time the ignition is switched on, the alert
will be accompanied by an audible signal.
It is imperative to top up as soon as possible
before the tank empties completely. Otherwise
you will not be able to restart the vehicle.
Breakdown related to a lack of AdBlue
®
0 mile/km range reached: the AdBlue® tank is
empty. An engine immobiliser system required by
legislation prevents starting of the engine.
Unless the AdBlue
® is topped up in the
special additive tank, the vehicle will remain
immobilised.
To be able to restart the engine, you must add at least 5 litres of AdBlue®. You
can also ask a PEUGEOT dealer or a
qualified workshop to carry out the necessary
top-up.
For more information on the AdBlue®
(BlueHDi engines), and in particular on
topping up, refer to the corresponding section.
In the event of a fault with the SCR
emissions control system
Detection
The Engine self-diagnostic warning lamp comes on.
Each time the ignition is switched on, the audible
signal and a message confirm an emissions
control fault.
In the case of a temporary fault, the alert shall
disappear as soon as the level of exhaust
emissions returns to compliance with the
standard.
However, after 31 miles (50 km) travelled
with the warning lamp permanently on,
the fault is confirmed.
An engine immobiliser system will be
automatically activated once 250 miles
(400 km) have been travelled since this
confirmation.
Contact a PEUGEOT dealer or a qualified
workshop.
Fault confirmed
In addition to the previous indications, the
range allowed will be displayed in miles or
kilometres in the instrument panel.
The alert will be repeated every 30 seconds with
an update of the range.
Contact a PEUGEOT dealer or a qualified
workshop. You may not be able to restart the vehicle.
Starting prevented, after the 250 miles
(400 km).
Whenever an attempt is made to start the
engine, the alert is activated and the
starting prevention message is displayed.
In order to be able to restart the engine:
Contact a PEUGEOT dealer or a qualified
workshop.
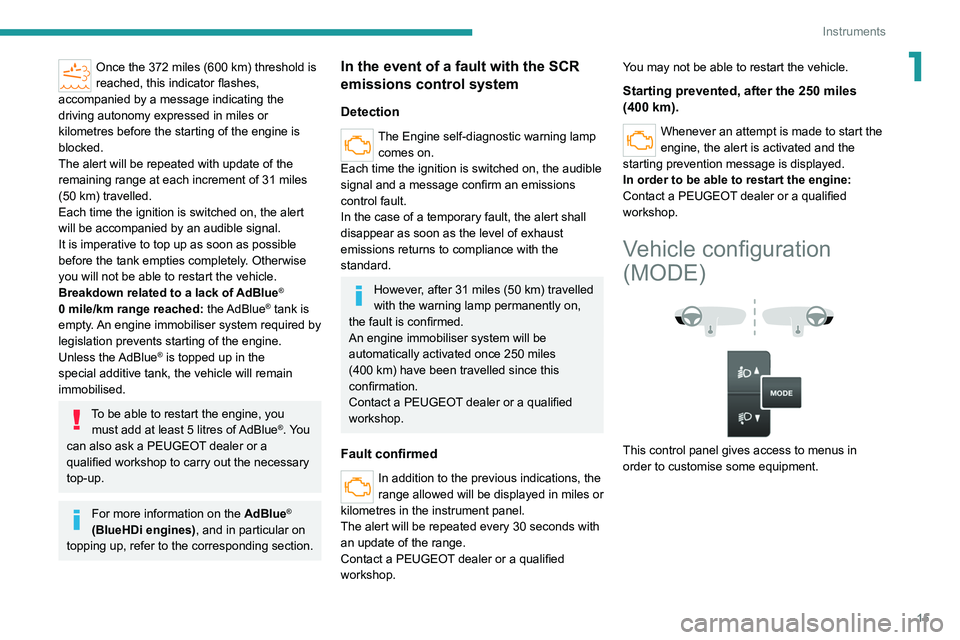
Vehicle configuration
(MODE)
This control panel gives access to menus in
order to customise some equipment.
Page 25 of 212
23
Access
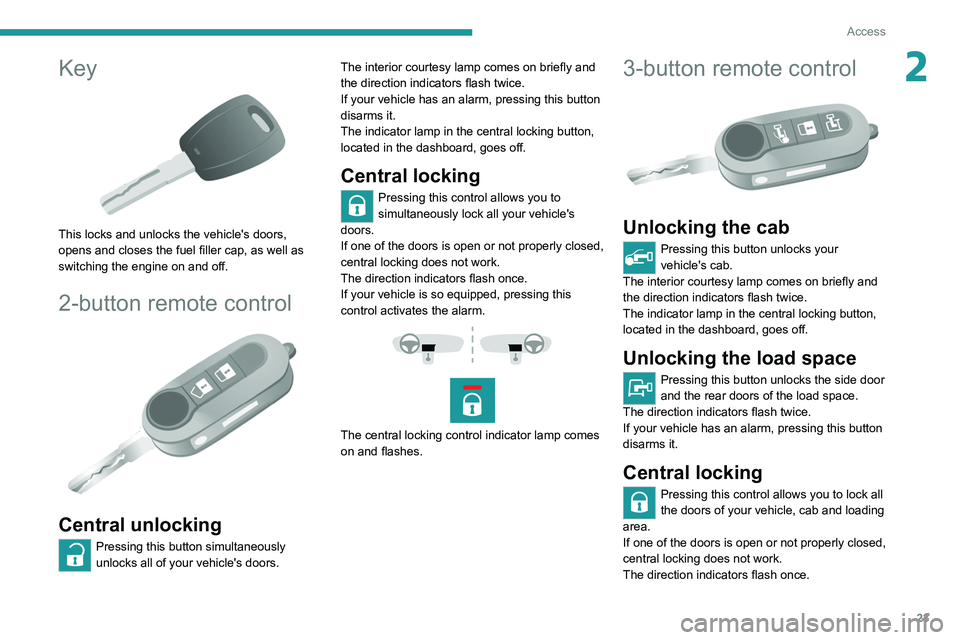
2Key
This locks and unlocks the vehicle's doors,
opens and closes the fuel filler cap, as well as
switching the engine on and off.
2-button remote control
Central unlocking
Pressing this button simultaneously
unlocks all of your vehicle's doors. The interior courtesy lamp comes on briefly and
the direction indicators flash twice.
If your vehicle has an alarm, pressing this button
disarms it.
The indicator lamp in the central locking button,
located in the dashboard, goes off.
Central locking
Pressing this control allows you to
simultaneously lock all your vehicle's
doors.
If one of the doors is open or not properly closed,
central locking does not work.
The direction indicators flash once.
If your vehicle is so equipped, pressing this
control activates the alarm.
The central locking control indicator lamp comes
on and flashes.
3-button remote control
Unlocking the cab
Pressing this button unlocks your
vehicle's cab.
The interior courtesy lamp comes on briefly and
the direction indicators flash twice.
The indicator lamp in the central locking button,
located in the dashboard, goes off.
Unlocking the load space
Pressing this button unlocks the side door
and the rear doors of the load space.
The direction indicators flash twice.
If your vehicle has an alarm, pressing this button
disarms it.
Central locking
Pressing this control allows you to lock all
the doors of your vehicle, cab and loading
area.
If one of the doors is open or not properly closed,
central locking does not work.
The direction indicators flash once.
Page 27 of 212
25
Access
2Summary of the main functions of the key
Type of keyUnlocking the cabLocking the doorsUnlocking the rear doors
Basic key Turn anti-clockwise (driver’s side). Turn clockwise (driver’s side). -
Remote control key
Signalling
Direction indicators 2 flashes.1 flash.2 flashes.
Central locking control indicator
lamp on the dashboard Off.
Fixed for approximately 3
seconds, then flashing.Flashing.
Using the key in the driver's door lock does not activate/deactivate the alarm.
Locking/Unlocking from
the inside
Cab and loading area
► Press this button to lock/unlock the cab doors
and the loading area.
The doors can still be opened from the inside.
If one of the doors is open or not properly
closed, central locking does not work.
The control indicator lamp:
–
comes on when the doors are locked and from
when the ignition is switched on,
–
then flashes when the doors are locked when
stationary with the engine off.
This button is inoperative if the vehicle has been locked or deadlocked using an
exterior control (depending on equipment,
with the key or the remote control).
Driving with locked doors can make it
more difficult for emergency services to
access the vehicle in case of an emergency.
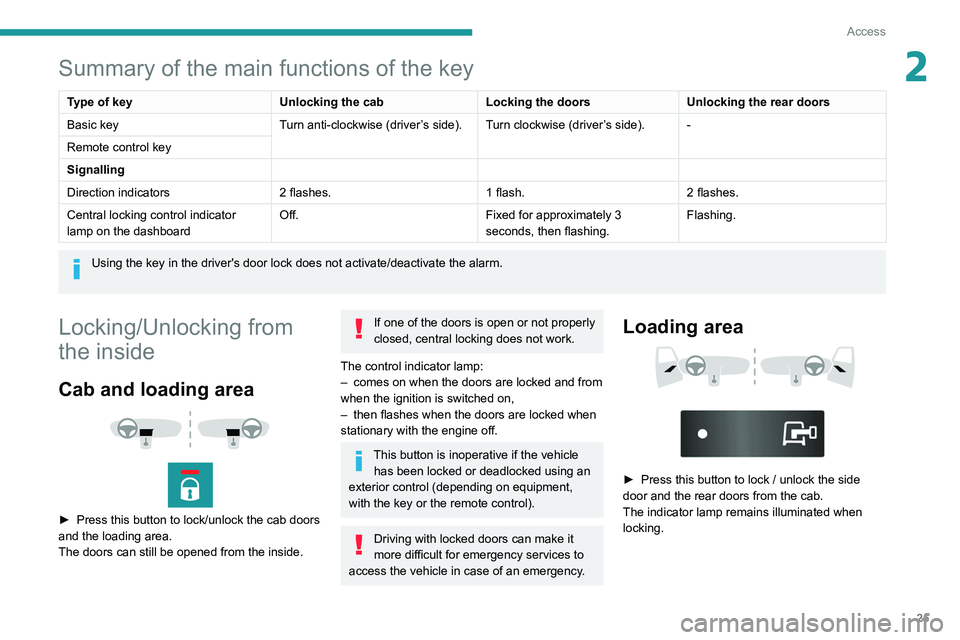
Loading area
► Press this button to lock / unlock the side
door and the rear doors from the cab.
The indicator lamp remains illuminated when
locking.
Page 30 of 212
28
Access
- Anti-tilt monitoring
The system checks for any change in the attitude
of the vehicle.
Activation
► Switch off the ignition and exit the vehicle.► Press this button of the remote
control.
The protections are active after a few seconds.
Triggering of the alarm
This is signalled by the siren sounding and
flashing of the direction indicators for thirty
seconds.
The alarm then returns to monitoring mode but the triggering event is stored
and is indicated by illumination of the electronic
immobiliser warning lamp for about 10 seconds
when the ignition is switched on.
The alarm is also triggered after interruption of
the electrical supply and when it is reconnected.
Deactivation using the
remote control
► Press this button.
The standby mode is deactivated when the
vehicle is unlocked.
Deactivating the anti-tilt
monitoring
(Depending on engine)► Press this button to deactivate the
protection (e.g. when towing the vehicle
with the alarm on).
The protection remains active until the central
opening of the doors.
Failure of the remote control
► Unlock the doors using the key in the lock;
the alarm goes off.
►
T
urn the ignition on; the identification of the
key code will turn off the alarm.
Locking the doors using the key in the
lock does not activate the alarm.
To deactivate the siren quickly
following a false alarm:
►
switch on the ignition, recognition of the
key code stops the alarm,
►
press the unlocking button (cab and key)
on the remote control.
T
o avoid setting the alarm, when washing the
vehicle for example, lock the vehicle using
the key.
Unlocking the vehicle using the remote
control deactivates the siren automatically.
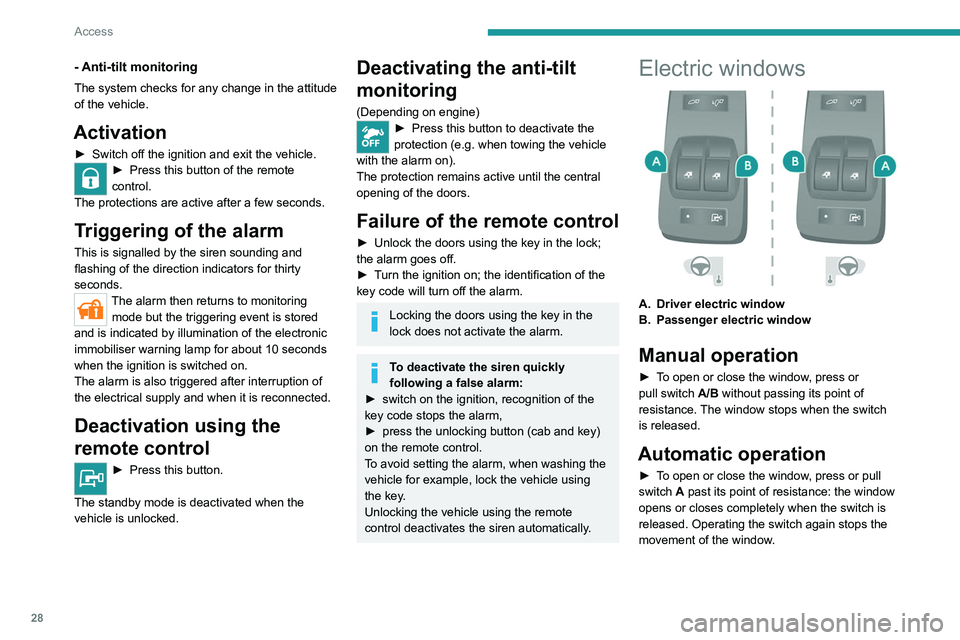
Electric windows
A. Driver electric window
B. Passenger electric window
Manual operation
► To open or close the window, press or
pull switch A/B without passing its point of
resistance. The window stops when the switch
is released.
Automatic operation
► To open or close the window, press or pull
switch A past its point of resistance: the window
opens or closes completely when the switch is
released. Operating the switch again stops the
movement of the window.
Page 37 of 212
35
Ease of use and comfort
3The display is reactivated automatically every
time the ignition is switched on.
For more information on the Display integrated
into the rear view mirror, refer to the
corresponding section.
Heating and Ventilation
Advice
Using the ventilation and air
conditioning system
►
T
o ensure that air is distributed evenly,
keep the external air intake grilles at the base
of the windscreen, the nozzles, the vents, the
air outlets and the air extractor in the boot
free from obstructions.
►
Do not cover the sunshine sensor located
on the dashboard; this sensor is used to
regulate the automatic air conditioning
system.
►
Operate the air conditioning system for at
least 5 to 10 minutes once or twice a month to
keep it in good working order
.
►
If the system does not produce cold air
,
switch it off and contact a PEUGEOT dealer
or a qualified workshop.
When towing a large load on a steep gradient
in high temperatures, switching off the air
conditioning increases the available engine
power, enhancing the towing capacity.
Avoid driving for too long with the ventilation off or with prolonged operation
of interior air recirculation. Risk of misting and
deterioration of the air quality!
If the interior temperature is very high
after the vehicle has stood for a long
time in the sunshine, air the passenger
compartment for a few moments.
Put the air flow control at a setting high
enough to quickly change the air in the
passenger compartment.
Condensation created by the air
conditioning results in a discharge of
water underneath the vehicle. This is perfectly
normal.
Servicing the ventilation and air
conditioning system
►
Ensure that the passenger compartment
filter is in good condition and have the filter
elements replaced regularly
.
We recommend using a composite passenger
compartment filter. Its specific active additive
helps protect against polluting gases and bad
smells.
►
T
o ensure correct operation of the
air conditioning system, have it checked
according to the recommendations in the
Manufacturer’s service schedule.
Contains the fluorinated greenhouse
gas R134A
Depending on version and country of sale,
the air conditioning system may contain
fluorinated greenhouse gas R134A.
Stop & Start
The heating and air conditioning systems
only operate when the engine is running.
Temporarily deactivate the Stop & Start
system to maintain a comfortable temperature
in the passenger compartment.
For more information on the Stop & Start,
refer to the corresponding section.
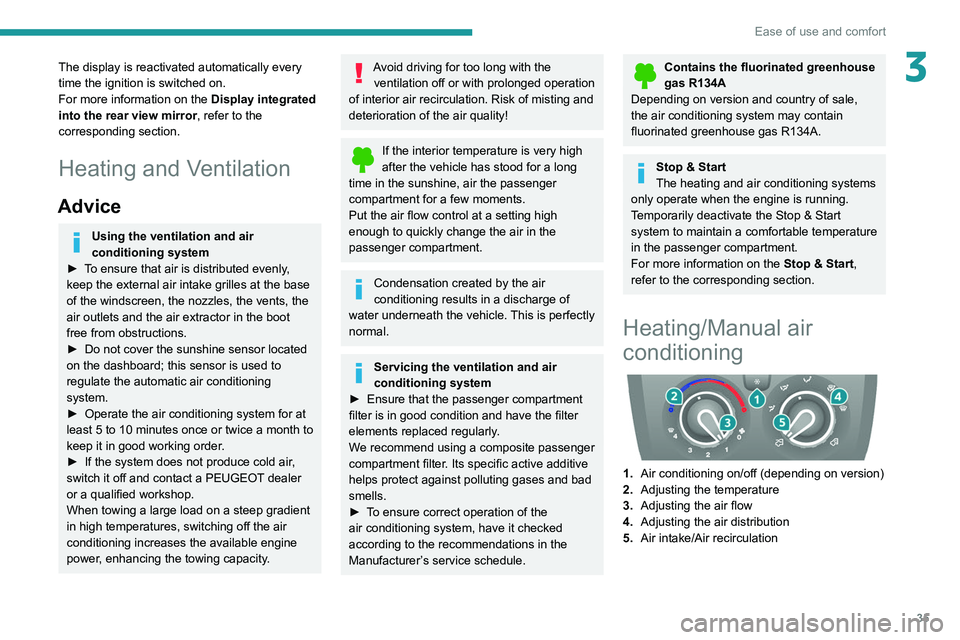
Heating/Manual air
conditioning
1. Air conditioning on/off (depending on version)
2. Adjusting the temperature
3. Adjusting the air flow
4. Adjusting the air distribution
5. Air intake/Air recirculation
Page 38 of 212
36
Ease of use and comfort
Electric vehicles
To heat the passenger compartment, you
must use the control panel located next to the
steering wheel.
For more information, refer to the Heating
(Electric) section.
Air conditioning
The air conditioning mode is only operational
when the engine is running.
The air blower must be set to at least 1.
►
Press button
1 to activate/deactivate the
air conditioning system (confirmed by the LED
coming on/going out).
Temperature
► Turn knob 2 to select a position between blue
(cold) and red (warm).
Air flow
► Set control 3 to the desired position to obtain
the necessary air flow for your comfort.
If the air flow control is in
position 0 (system deactivated), thermal
comfort is no longer managed. A slight flow of
air can still be felt, due to the forward
movement of the vehicle.
Air distribution
The distribution of incoming air is directed by
turning the control towards:
the side vents and central vents,
the side vents, central vents and
footwells,
the footwells,
the windscreen, footwells and side
windows,
the windscreen and side windows.
Air intake/Air recirculation
The intake of exterior air prevents the formation
of mist on the windscreen and side windows.
Recirculating the interior air isolates the
passenger compartment from exterior odours
and fumes.
Used simultaneously with the air conditioning
switched on and the setting for the blown air
strength (from 1 to 4), recirculation makes it
possible to achieve the desired ambient air
comfort for both hot and cold settings.
Return to exterior air intake as soon as possible
to avoid deterioration of the air quality and the
formation of mist.
► Put the control in this position to
activate interior air recirculation.
► Put the control in this position to
restore exterior air intake.
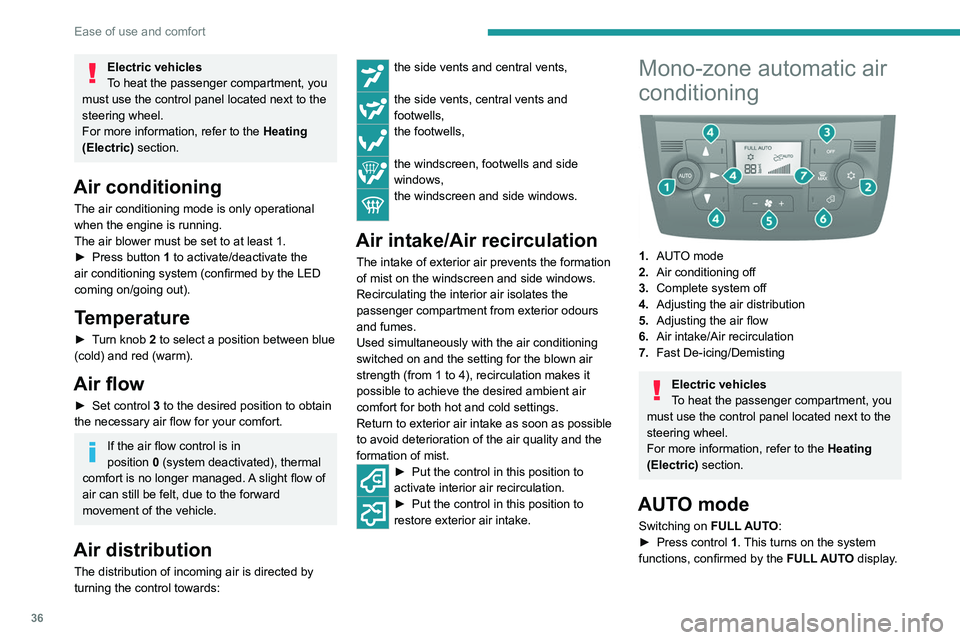
Mono-zone automatic air
conditioning
1. AUTO mode
2. Air conditioning off
3. Complete system off
4. Adjusting the air distribution
5. Adjusting the air flow
6. Air intake/Air recirculation
7. Fast De-icing/Demisting
Electric vehicles
To heat the passenger compartment, you
must use the control panel located next to the
steering wheel.
For more information, refer to the Heating
(Electric) section.
AUTO mode
Switching on FULL AUTO:
► Press control 1. This turns on the system
functions, confirmed by the FULL AUTO display.
Page 41 of 212
39
Ease of use and comfort
3Additional rear ventilation
This system is complementary
to the standard passenger
compartment ventilation
equipment.
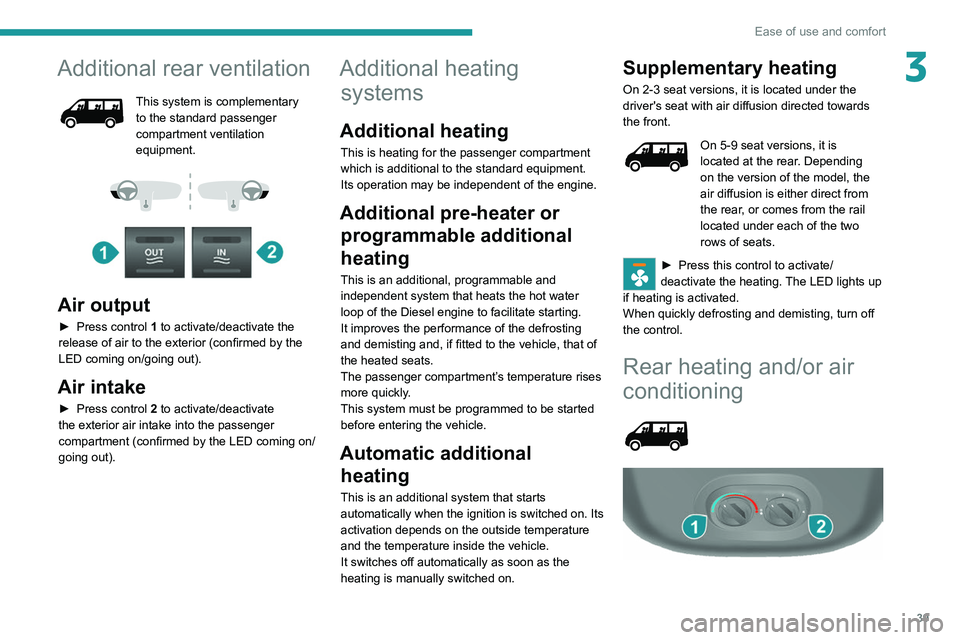
Air output
► Press control 1 to activate/deactivate the
release of air to the exterior (confirmed by the
LED coming on/going out).
Air intake
► Press control 2 to activate/deactivate
the exterior air intake into the passenger
compartment (confirmed by the LED coming on/
going out).
Additional heating systems
Additional heating
This is heating for the passenger compartment
which is additional to the standard equipment.
Its operation may be independent of the engine.
Additional pre-heater or
programmable additional
heating
This is an additional, programmable and
independent system that heats the hot water
loop of the Diesel engine to facilitate starting.
It improves the performance of the defrosting
and demisting and, if fitted to the vehicle, that of
the heated seats.
The passenger compartment’s temperature rises
more quickly.
This system must be programmed to be started
before entering the vehicle.
Automatic additional heating
This is an additional system that starts
automatically when the ignition is switched on. Its
activation depends on the outside temperature
and the temperature inside the vehicle.
It switches off automatically as soon as the
heating is manually switched on.
Supplementary heating
On 2-3 seat versions, it is located under the
driver's seat with air diffusion directed towards
the front.
On 5-9 seat versions, it is
located at the rear. Depending
on the version of the model, the
air diffusion is either direct from
the rear, or comes from the rail
located under each of the two
rows of seats.
► Press this control to activate/
deactivate the heating. The LED lights up
if heating is activated.
When quickly defrosting and demisting, turn off
the control.
Rear heating and/or air
conditioning