2021 PEUGEOT 5008 heating
[x] Cancel search: heatingPage 4 of 292
2
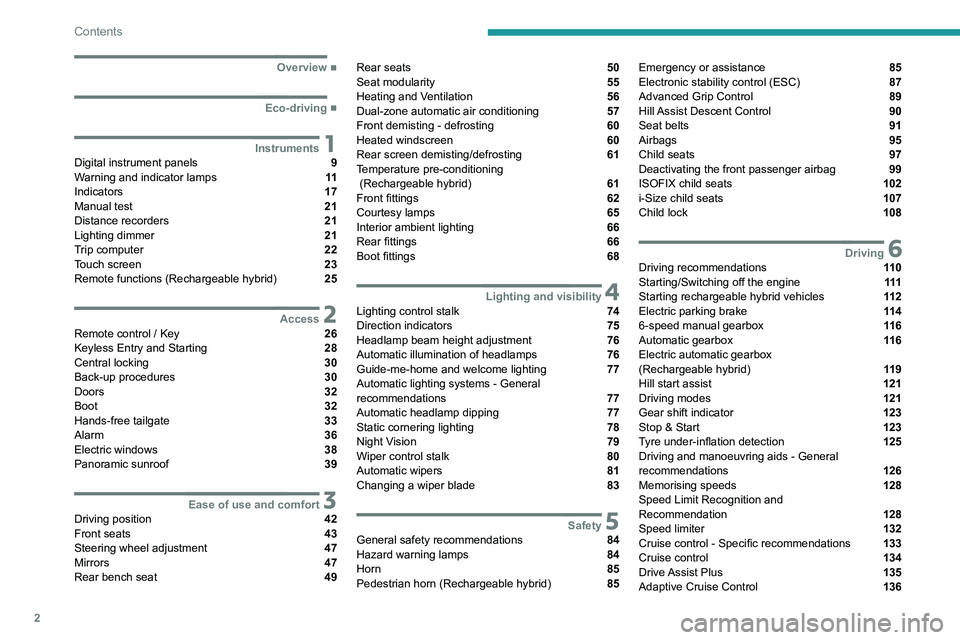
Contents
■
Overview
■
Eco-driving
1InstrumentsDigital instrument panels 9
Warning and indicator lamps 11
Indicators 17
Manual test 21
Distance recorders 21
Lighting dimmer 21
Trip computer 22
Touch screen 23
Remote functions (Rechargeable hybrid) 25
2AccessRemote control / Key 26
Keyless Entry and Starting 28
Central locking 30
Back-up procedures 30
Doors 32
Boot 32
Hands-free tailgate 33
Alarm 36
Electric windows 38
Panoramic sunroof 39
3Ease of use and comfortDriving position 42
Front seats 43
Steering wheel adjustment 47
Mirrors 47
Rear bench seat 49
Rear seats 50
Seat modularity 55
Heating and Ventilation 56
Dual-zone automatic air conditioning 57
Front demisting - defrosting 60
Heated windscreen 60
Rear screen demisting/defrosting 61
Temperature pre-conditioning
(Rechargeable hybrid)
61
Front fittings 62
Courtesy lamps 65
Interior ambient lighting 66
Rear fittings 66
Boot fittings 68
4Lighting and visibilityLighting control stalk 74
Direction indicators 75
Headlamp beam height adjustment 76
Automatic illumination of headlamps 76
Guide-me-home and welcome lighting 77
Automatic lighting systems - General
recommendations
77
Automatic headlamp dipping 77
Static cornering lighting 78
Night Vision 79
Wiper control stalk 80
Automatic wipers 81
Changing a wiper blade 83
5SafetyGeneral safety recommendations 84
Hazard warning lamps 84
Horn 85
Pedestrian horn (Rechargeable hybrid) 85
Emergency or assistance 85
Electronic stability control (ESC) 87
Advanced Grip Control 89
Hill Assist Descent Control 90
Seat belts 91
Airbags 95
Child seats 97
Deactivating the front passenger airbag 99
ISOFIX child seats 102
i-Size child seats 107
Child lock 108
6DrivingDriving recommendations 11 0
Starting/Switching off the engine 111
Starting rechargeable hybrid vehicles 11 2
Electric parking brake 11 4
6-speed manual gearbox 11 6
Automatic gearbox 11 6
Electric automatic gearbox
(Rechargeable hybrid)
11 9
Hill start assist 121
Driving modes 121
Gear shift indicator 123
Stop & Start 123
Tyre under-inflation detection 125
Driving and manoeuvring aids - General
recommendations
126
Memorising speeds 128
Speed Limit Recognition and
Recommendation
128
Speed limiter 132
Cruise control - Specific recommendations 133
Cruise control 134
Drive Assist Plus 135
Adaptive Cruise Control 136
Page 10 of 292
8
Eco-driving
You will only see the fuel consumption of your
new vehicle settle down to a consistent average
after the first 1,900 miles (3,000 kilometres).
Optimising the driving range
(rechargeable hybrid vehicles)
Connect the vehicle as soon as possible.
Favour the ECO zone of the power indicator by
driving smoothly and at a steady speed.
Anticipate slowing down as much as possible
and, if possible, favour decelerations with
regenerative braking mode activated (power
indicator in the CHARGE zone).
With the vehicle connected, carry out
temperature pre-conditioning before setting off.
To optimise consumption during a journey:
►
Programme a destination in the vehicle’
s
GPS navigation system.
►
Select the
Hybrid driving mode.
►
Make sure that the battery charge level is
close to maximum.
►
Do not use the e-Save function while driving.
►
Use the heating/air conditioning system
wisely
.
Page 14 of 292
12
Instruments
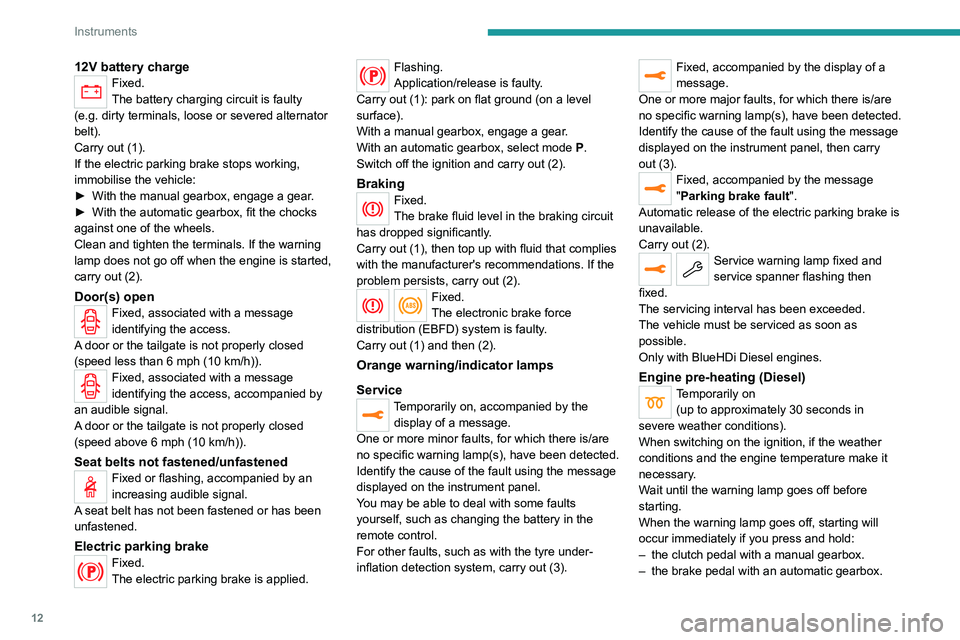
12V battery chargeFixed.
The battery charging circuit is faulty
(e.g.
dirty terminals, loose or severed alternator
belt).
Carry out (1).
If the electric parking brake stops working,
immobilise the vehicle:
►
With the manual gearbox, engage a gear
.
►
With the automatic gearbox, fit the chocks
against one of the wheels.
Clean and tighten the terminals. If the warning
lamp does not go off when the engine is started,
carry out (2).
Door(s) openFixed, associated with a message
identifying the access.
A door or the tailgate is not properly closed
(speed less than 6 mph (10 km/h)).
Fixed, associated with a message
identifying the access, accompanied by
an audible signal.
A door or the tailgate is not properly closed
(speed above 6 mph (10 km/h)).
Seat belts not fastened/unfastenedFixed or flashing, accompanied by an
increasing audible signal.
A seat belt has not been fastened or has been
unfastened.
Electric parking brakeFixed.
The electric parking brake is applied.
Flashing.
Application/release is faulty.
Carry out (1): park on flat ground (on a level
surface).
With a manual gearbox, engage a gear.
With an automatic gearbox, select mode
P
.
Switch off the ignition and carry out (2).
BrakingFixed.
The brake fluid level in the braking circuit
has dropped significantly.
Carry out (1), then top up with fluid that complies
with the manufacturer's recommendations. If the
problem persists, carry out (2).
Fixed.
The electronic brake force
distribution
(EBFD) system is faulty.
Carry out (1) and then (2).
Orange warning/indicator lamps
Service
Temporarily on, accompanied by the display of a message.
One or more minor faults, for which there is/are
no specific warning lamp(s), have been detected.
Identify the cause of the fault using the message
displayed on the instrument panel.
You may be able to deal with some faults
yourself, such as changing the battery in the
remote control.
For other faults, such as with the tyre under-
inflation detection system, carry out (3).
Fixed, accompanied by the display of a
message.
One or more major faults, for which there is/are
no specific warning lamp(s), have been detected.
Identify the cause of the fault using the message
displayed on the instrument panel, then carry
out (3).
Fixed, accompanied by the message
"Parking brake fault".
Automatic release of the electric parking brake is
unavailable.
Carry out (2).
Service warning lamp fixed and
service spanner flashing then
fixed.
The servicing interval has been exceeded.
The vehicle must be serviced as soon as
possible.
Only with BlueHDi Diesel engines.
Engine pre-heating (Diesel)Temporarily on (up to approximately 30 seconds in
severe weather conditions).
When switching on the ignition, if the weather
conditions and the engine temperature make it
necessary.
Wait until the warning lamp goes off before
starting.
When the warning lamp goes off, starting will
occur immediately if you press and hold:
–
the clutch pedal with a manual gearbox.
–
the brake pedal with an automatic gearbox.
Page 24 of 292
22
Instruments
Average speed
(mph or km/h)Calculated since the last trip computer
reset.
Distance travelled
(miles or km)Calculated since the last trip computer
reset.
Stop & Start time counter
(minutes/seconds or hours/minutes)
If your vehicle is fitted with the Stop & Start
function, a time counter calculates the time spent
in STOP mode during a journey.
The time counter is reset each time the ignition is
switched on.
Touch screen
This system gives access to the following elements:
– Permanent display of the time and outside
temperature (a blue warning lamp appears if
there is a risk of ice).
– Heating/air conditioning system controls.
– Vehicle functions and equipment setting
menus.
– Audio system and telephone controls and
display of related information.
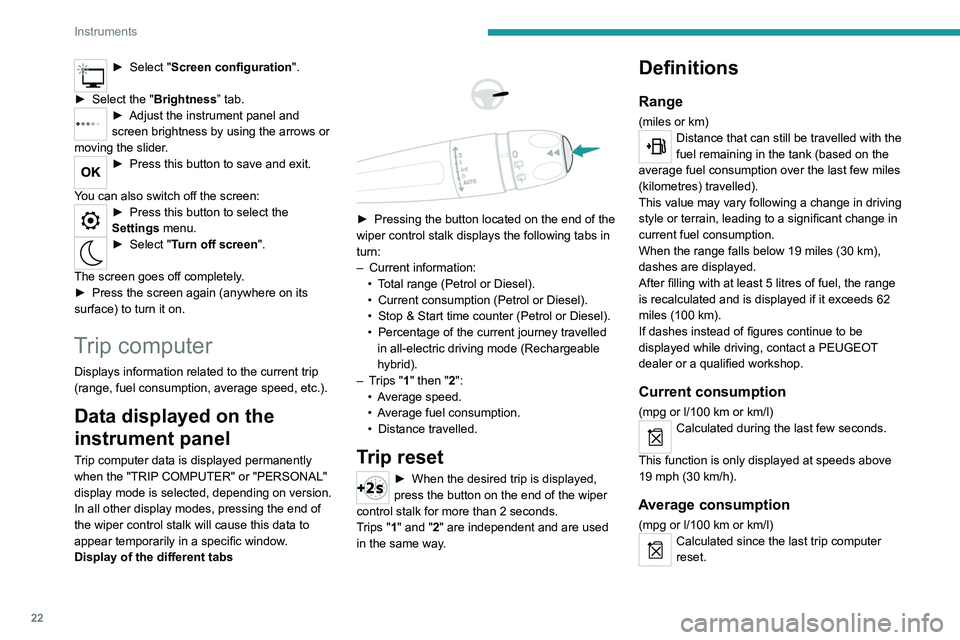
► Select " Screen configuration".
►
Select the "
Brightness” tab.
► Adjust the instrument panel and
screen brightness by using the arrows or
moving the slider
.
► Press this button to save and exit.
You can also switch off the screen:
► Press this button to select the
Settings menu.
► Select " Turn off screen".
The screen goes off completely.
►
Press the screen again (anywhere on its
surface) to turn it on.
Trip computer
Displays information related to the current trip
(range, fuel consumption, average speed, etc.).
Data displayed on the
instrument panel
Trip computer data is displayed permanently
when the "TRIP COMPUTER" or "PERSONAL"
display mode is selected, depending on version.
In all other display modes, pressing the end of
the wiper control stalk will cause this data to
appear temporarily in a specific window.
Display of the different tabs
► Pressing the button located on the end of the
wiper control stalk displays the following tabs in
turn:
–
Current information:
•
T
otal range (Petrol or Diesel).
•
Current consumption (Petrol or Diesel).
•
Stop & Start time counter (Petrol or Diesel).
•
Percentage of the current journey travelled
in all-electric driving mode (Rechargeable
hybrid).
–
T
rips "1" then "2":
•
A
verage speed.
•
A
verage fuel consumption.
•
Distance travelled.
Trip reset
► When the desired trip is displayed,
press the button on the end of the wiper
control stalk for more than 2
seconds.
Trips "1" and "2" are independent and are used
in the same way.
Definitions
Range
(miles or km)Distance that can still be travelled with the
fuel remaining in the tank (based on the
average fuel consumption over the last few miles
(kilometres) travelled).
This value may vary following a change in driving
style or terrain, leading to a significant change in
current fuel consumption.
When the range falls below 19 miles (30
km),
dashes are displayed.
After filling with at least 5 litres of fuel, the range
is recalculated and is displayed if it exceeds 62
miles (100
km).
If dashes instead of figures continue to be
displayed while driving, contact a PEUGEOT
dealer or a qualified workshop.
Current consumption
(mpg or l/100 km or km/l)Calculated during the last few seconds.
This function is only displayed at speeds above
19 mph (30
km/h).
Average consumption
(mpg or l/100 km or km/l)Calculated since the last trip computer
reset.
Page 25 of 292
23
Instruments
1Average speed
(mph or km/h)Calculated since the last trip computer
reset.
Distance travelled
(miles or km)Calculated since the last trip computer
reset.
Stop & Start time counter
(minutes/seconds or hours/minutes)
If your vehicle is fitted with the Stop & Start
function, a time counter calculates the time spent
in STOP mode during a journey.
The time counter is reset each time the ignition is
switched on.
Touch screen
This system gives access to the following elements:
–
Permanent display of the time and outside
temperature (a blue warning lamp appears if
there is a risk of ice).
–
Heating/air conditioning system controls.
–
V
ehicle functions and equipment setting
menus.
–
Audio system and telephone controls and
display of related information.
– Display of visual manoeuvring aid functions
(visual parking sensor information, Park Assist,
etc.).
–
Internet services and display of
related
information.
–
Navigation system controls and
display
of related information (depending on
version).
For safety reasons, always stop the
vehicle before performing operations
that require sustained attention.
Some functions are not accessible while
driving.
Recommendations
This screen is of the capacitive type.
– Do not use pointed objects on the touch
screen.
–
Do not touch the touch screen with wet hands.
–
Use a soft, clean cloth to clean the touch
screen.
Principles
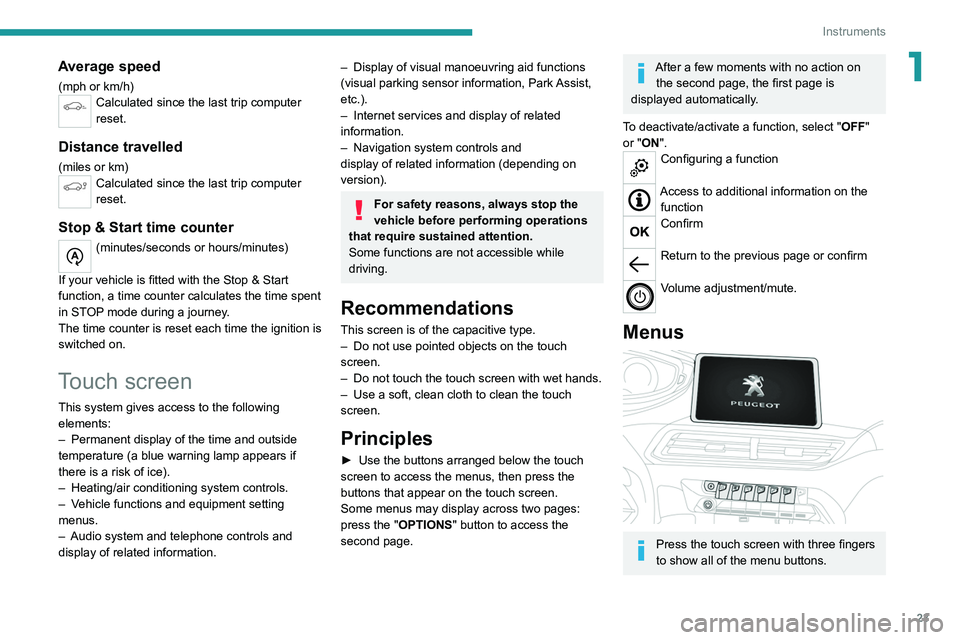
► Use the buttons arranged below the touch
screen to access the menus, then press the
buttons that appear on the touch screen.
Some menus may display across two pages:
press the "OPTIONS" button to access the
second page.
After a few moments with no action on the second page, the first page is
displayed automatically.
To deactivate/activate a function, select " OFF"
or "ON".
Configuring a function
Access to additional information on the function
Confirm
Return to the previous page or confirm
Volume adjustment/mute.
Menus
Press the touch screen with three fingers
to show all of the menu buttons.
Page 38 of 292
36
Access
► remove the electronic key from the
recognition zone, with the tailgate closed.
For more information on the T
owing device
with quickly detachable towball , refer to the
corresponding section.
Memorising an opening
position
To memorise a position, in order to limit the
motorised tailgate opening angle:
►
move the tailgate to the desired position
manually or by pressing the button.
►
press button
C or the exterior control B for
more than 3 seconds (memorisation is confirmed
by a brief audible signal).
Memorising is not available until the
height of opening is more than or equal
to 1 metre between the low position and the
high position of the tailgate.
To delete the memorised position:
►
open the tailgate to any position.
►
press button
C or the exterior control B for
more than 3 seconds (deletion is confirmed by a
long audible signal).
Manual operation
The tailgate can be manoeuvred by hand, even
with motorised operation activated.
The tailgate must be stationary.
When opening and closing the motorised tailgate
manually, there is no assistance from gas struts.
Resistance to opening and closing is therefore
entirely normal.
Repeatedly opening and closing the
motorised tailgate can cause overheating
of its electric motor, after which opening and
closing will not be possible.
Allow at least 10 minutes for the electric
motor to cool down before operating the
tailgate again.
If you are unable to wait, operate it manually.
Manual closing of the
motorised tailgate in case of
failure
This operation is only necessary in the case of
failure of the tailgate motor .
If the failure originates from the battery, it is
recommended to recharge it or change it with the
tailgate closed.
In this situation, a significant force may be
needed to close the tailgate.
►
Close it gently without slamming, as slowly as
possible, by pushing at the centre of the tailgate.
Do not lower the tailgate by pushing at
one of its sides - risk of damage!
Precautions in use
To avoid unintentionally opening the tailgate while operating the towing
device:
–
Deactivate the “Hands-Free
Tailgate
Access” function in advance in the vehicle
configuration menu.
–
Or remove the electronic key from the
recognition zone, with the tailgate closed.
For more information on the T
owing device
with quickly detachable towball , refer to the
corresponding section.
In wintry conditions
To avoid any operating problems, remove
the snow or wait until the ice melts before
requesting motorised opening of the tailgate.
When washing
When washing the vehicle in an
automatic car wash, do not forget to lock
the vehicle to prevent any risk of unwanted
opening.
Alarm
(Depending on version)
Page 48 of 292
46
Ease of use and comfort
► Enter the vehicle and switch the ignition on.
► Adjust your seat and the door mirrors.
►
Press button
M, then press button 1 or 2
within 4 seconds.
An audible signal confirms the memorisation.
Memorising a new position cancels the previous
position.
Recalling a stored position
While the seat is moving, take care that
no person or object hinders the
automatic movement of the seat.
With the ignition on or engine running
►
Press button
1 or 2 to recall the
corresponding position.
An audible signal sounds when adjustment is
complete.
You can interrupt the current movement by
pressing button M, 1 or 2 or by using one of the
seat adjustment controls.
A stored position cannot be recalled while
driving.
The recalling of stored positions is deactivated
45 seconds after switching off the ignition.
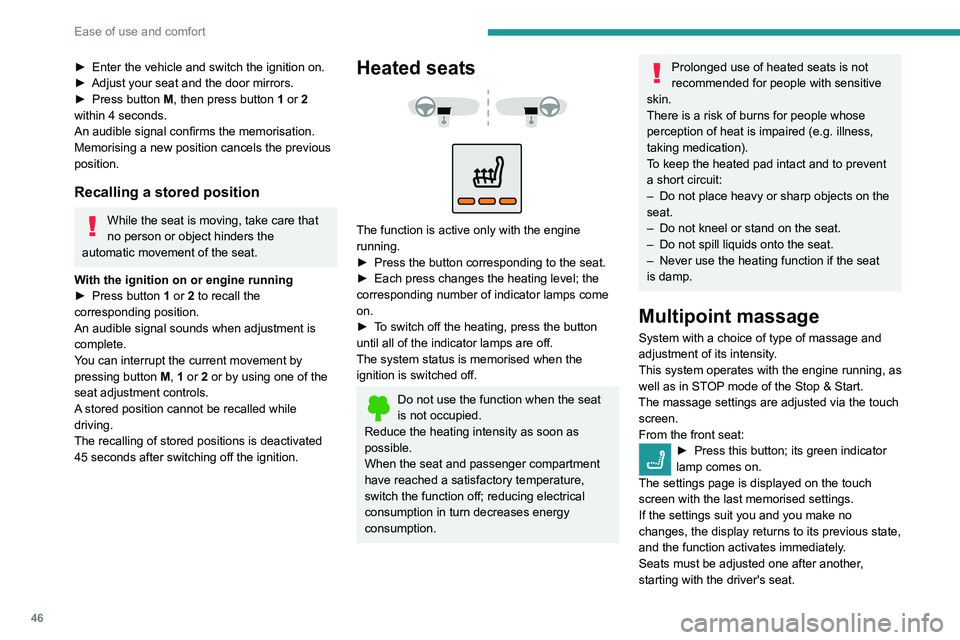
Heated seats
The function is active only with the engine
running.
►
Press the button corresponding to the seat.
►
Each press changes the heating level; the
corresponding number of indicator lamps come
on.
►
T
o switch off the heating, press the button
until all of the indicator lamps are off.
The system status is memorised when the
ignition is switched off.
Do not use the function when the seat
is not occupied.
Reduce the heating intensity as soon as
possible.
When the seat and passenger compartment
have reached a satisfactory temperature,
switch the function off; reducing electrical
consumption in turn decreases energy
consumption.
Prolonged use of heated seats is not
recommended for people with sensitive
skin.
There is a risk of burns for people whose
perception of heat is impaired (e.g.
illness,
taking medication).
To keep the heated pad intact and to prevent
a short circuit:
–
Do not place heavy or sharp objects on the
seat.
–
Do not kneel or stand on the seat.
–
Do not spill liquids onto the seat.
–
Never use the heating function if the seat
is damp.
Multipoint massage
System with a choice of type of massage and
adjustment of its intensity.
This system operates with the engine running, as
well as in STOP mode of the
Stop & Start.
The massage settings are adjusted via the touch screen.
From the front seat:
► Press this button; its green indicator
lamp comes on.
The settings page is displayed on the touch
screen with the last memorised settings.
If the settings suit you and you make no
changes, the display returns to its previous state,
and the function activates immediately
.
Seats must be adjusted one after another,
starting with the driver's seat.
To modify the settings:
► Begin with the driver’s seat.
► Select a massage intensity from the three
levels offered: " 1" (Low), "2" (Normal) or "3"
(High).
► Select another type of massage from those
offered.
► Wait for the driver's seat settings page to
disappear.
► Next, proceed with the passenger's seat in
the same way.
The changes are applied immediately.
Once activated, the system starts a one hour
massage cycle, made up of sequences of 6
minutes of massage followed by 3 minutes at
rest.
The system automatically stops at the end of the
cycle; the indicator lamp for the button goes off.
Steering wheel
adjustment
► When stationary, pull the control to release
the steering wheel.
Page 58 of 292
56
Ease of use and comfort
a continuous storage floor through to the back
of the front seats.
By placing the front passenger seat in the
table position, you obtain a continuous
storage floor through to the dashboard.
Operations on the seats must only be
done when the vehicle is stationary.
Heating and Ventilation
Air intake
The air circulating in the passenger compartment
is filtered and originates either from the
exterior, via the grille located at the base of the
windscreen, or from the inside in air recirculation
mode.
Controls
Depending on version, the controls are
accessible in the Climate touch screen menu
or are grouped together on the centre console
panel.
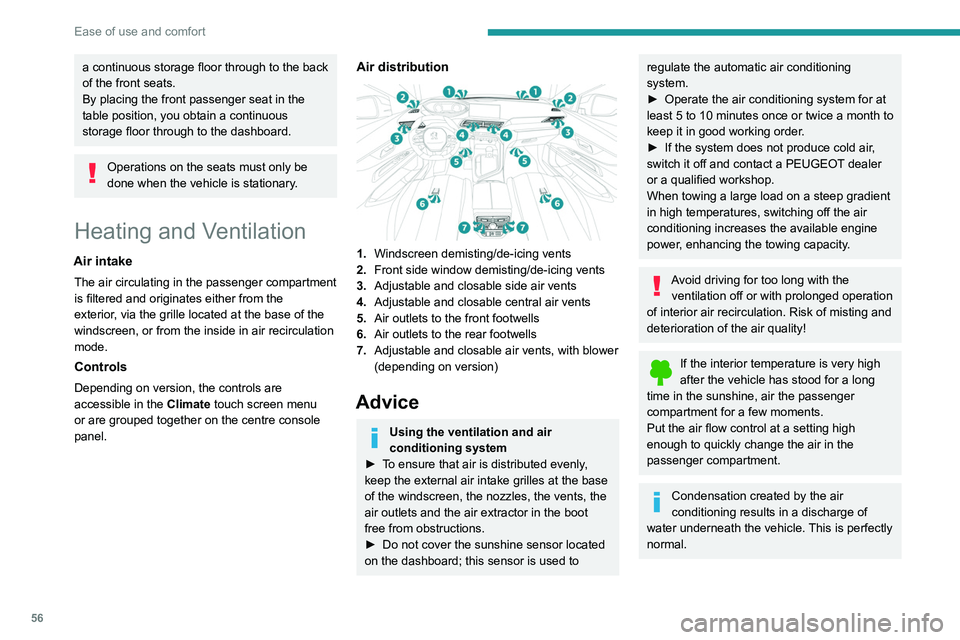
Air distribution
1. Windscreen demisting/de-icing vents
2. Front side window demisting/de-icing vents
3. Adjustable and closable side air vents
4. Adjustable and closable central air vents
5. Air outlets to the front footwells
6. Air outlets to the rear footwells
7. Adjustable and closable air vents, with blower
(depending on version)
Advice
Using the ventilation and air
conditioning system
►
T
o ensure that air is distributed evenly,
keep the external air intake grilles at the base
of the windscreen, the nozzles, the vents, the
air outlets and the air extractor in the boot
free from obstructions.
►
Do not cover the sunshine sensor located
on the dashboard; this sensor is used to
regulate the automatic air conditioning
system.
►
Operate the air conditioning system for at
least 5 to 10 minutes once or twice a month to
keep it in good working order
.
►
If the system does not produce cold air
,
switch it off and contact a PEUGEOT dealer
or a qualified workshop.
When towing a large load on a steep gradient
in high temperatures, switching off the air
conditioning increases the available engine
power, enhancing the towing capacity.
Avoid driving for too long with the ventilation off or with prolonged operation
of interior air recirculation. Risk of misting and
deterioration of the air quality!
If the interior temperature is very high
after the vehicle has stood for a long
time in the sunshine, air the passenger
compartment for a few moments.
Put the air flow control at a setting high
enough to quickly change the air in the
passenger compartment.
Condensation created by the air
conditioning results in a discharge of
water underneath the vehicle. This is perfectly
normal.
Servicing the ventilation and air
conditioning system
► Ensure that the passenger compartment
filter is in good condition and have the filter
elements replaced regularly.
We recommend using a composite passenger
compartment filter. Its specific active additive
helps protect against polluting gases and bad
smells.
► To ensure correct operation of the
air conditioning system, have it checked
according to the recommendations in the
Manufacturer’s service schedule.
Stop & Start
The heating and air conditioning systems
only operate when the engine is running.
Temporarily deactivate the Stop & Start
system to maintain a comfortable temperature
in the passenger compartment.
For more information on the Stop &
Start system, refer to the corresponding
section.
Dual-zone automatic air
conditioning
This system automatically controls the activation
of the air conditioning system, regulating the
temperature, air flow and air distribution inside
the passenger compartment.