2021 PEUGEOT 3008 door lock
[x] Cancel search: door lockPage 188 of 292
186
Practical information
Store AdBlue® out of the reach of
children, in its original container.
Procedure
Before starting the top-up procedure, ensure that
the vehicle is parked on a flat and level surface.
In wintry conditions, ensure that the temperature
of the vehicle is above -11°C. Otherwise the
AdBlue
® may be frozen and so cannot be poured
into the tank. Park the vehicle in a warmer area
for a few hours to allow the top-up to be carried
out.
Never pour the AdBlue® into the Diesel
fuel tank.
If any AdBlue® is splashed, or if there are
any spillages on the bodywork, rinse
immediately with cold water or wipe with a
damp cloth.
If the fluid has crystallised, clean it off using a
sponge and hot water.
Important: in the event of a top-up after
an AdBlue breakdown, you must wait
about 5
minutes before switching on the
ignition, without opening the driver's door,
unlocking the vehicle or bringing the
electronic key into the passenger
compartment.
Switch on the ignition, then wait for 10
seconds before starting the engine. ►
Press the "
START/STOP" button to switch off
the engine.
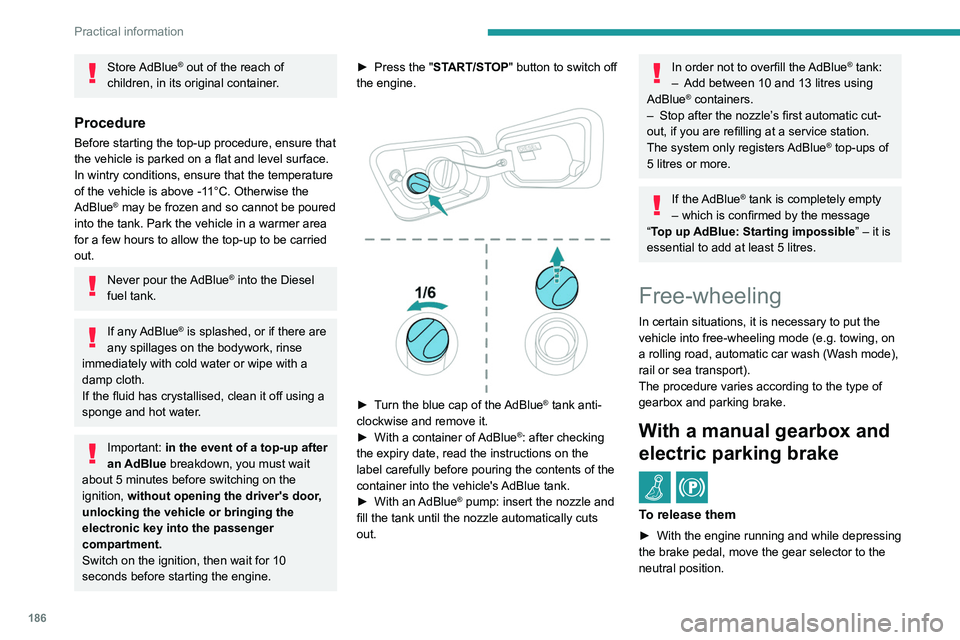
► Turn the blue cap of the AdBlue® tank anti-
clockwise and remove it.
►
With a container of
AdBlue
®: after checking
the expiry date, read the instructions on the
label carefully before pouring the contents of the
container into the vehicle's AdBlue tank.
►
With an
AdBlue® pump: insert the nozzle and
fill the tank until the nozzle automatically cuts
out.
In order not to overfill the AdBlue® tank:
–
Add between 10 and 13 litres using
AdBlue® containers.
–
Stop after the nozzle’ s first automatic cut-
out, if you are refilling at a service station.
The system only registers AdBlue
® top-ups of
5
litres or more.
If the AdBlue® tank is completely empty
– which is confirmed by the message
“Top up
AdBlue: Starting impossible ” – it is
essential to add at least 5 litres.
Free-wheeling
In certain situations, it is necessary to put the
vehicle into free-wheeling mode (e.g. towing, on
a rolling road, automatic car wash (Wash mode),
rail or sea transport).
The procedure varies according to the type of
gearbox and parking brake.
With a manual gearbox and
electric parking brake
/
To release them
► With the engine running and while depressing
the brake pedal, move the gear selector to the
neutral position.
► While depressing the brake pedal, switch off
the ignition.
► Release the brake pedal, then switch on the
ignition again.
► While depressing the brake pedal, press the
control lever to release the parking brake.
► Release the brake pedal, then switch off the
ignition.
Reverting to normal operation
► While depressing the brake pedal, restart the
engine.
With an automatic gearbox
and electric parking brake
/
Release procedure
► With the vehicle stationary and the engine
running, select mode N and switch off the
ignition.
Within 5 seconds:
► Switch on the ignition again.
► While depressing the brake pedal, move the
push selector forwards or backwards to confirm
mode N.
► While depressing the brake pedal, press the
control lever to release the parking brake.
► Release the brake pedal, switch off the
ignition.
Page 189 of 292
187
Practical information
7► While depressing the brake pedal, switch off
the ignition.
►
Release the brake pedal, then switch on the
ignition again.
►
While depressing the brake pedal, press the
control lever to release the parking brake.
►
Release the brake pedal, then switch off the
ignition.
Reverting to normal operation
► While depressing the brake pedal, restart the
engine.
With an automatic gearbox
and electric parking brake
/
Release procedure
► With the vehicle stationary and the engine
running, select mode N and switch off the
ignition.
Within 5
seconds:
►
Switch on the ignition again.
►
While depressing the brake pedal, move the
push selector forwards or backwards to confirm
mode
N.
►
While depressing the brake pedal, press the
control lever to release the parking brake.
►
Release the brake pedal, switch off the
ignition.
If the 5-second time limit is exceeded, the
gearbox engages mode P; it is then necessary to
restart the procedure.
Reverting to normal operation
► While depressing the brake pedal, restart the
engine.
Keyless Entry and Starting
You must not depress the brake pedal
while switching the ignition on again, then
switching it off. If you do, the engine will start,
requiring you to restart the procedure.
Advice on care and maintenance
General recommendations
Observe the following recommendations to avoid
damaging the vehicle.
Exterior
Never use a high-pressure jet wash in
the engine compartment - risk of
damaging the electrical components!
Do not wash the vehicle in bright sunshine or
extremely cold conditions.
When washing the vehicle in an
automatic roller-brush car wash, be sure
to lock the doors and, depending on version,
move the electronic key away and deactivate
the “hands-free” function (Hands-Free
Access).
When using a pressure washer, hold the
lance at least 30 cm from the vehicle
(particularly when cleaning areas containing
chipped paint, sensors or seals).
Promptly clean up any stains containing
chemicals liable to damage the vehicle's paint
(including tree resin, bird droppings, insect
secretions, pollen and tar).
If justified by the environment, clean the
vehicle frequently to remove salty deposits (in
coastal areas), soot (in industrial areas) and
mud (in wet or cold areas). These substances
can be highly corrosive.
Contact a PEUGEOT dealer or a qualified
workshop for advice on removing stubborn
stains requiring special products (such as tar
or insect removers).
Preferably, have paint touch-ups performed
by a PEUGEOT dealer or a qualified
workshop.
Interior
When washing the vehicle, never use a
water hose or high-pressure jet to clean
the interior.
Liquids carried in cups or other open
containers can spill, presenting a risk of
damage to the instruments and controls and
Page 210 of 292
208
In the event of a breakdown
approximately 15 minutes before starting the
engine.
If minor problems nevertheless persist following
this operation, contact a PEUGEOT dealer or a
qualified workshop.
Referring to the relevant section, reinitialise
certain equipment:
– Remote control key or electronic key
(depending on version).
– Sunroof and electric blind.
– Electric windows.
– Date and time.
– Preset radio stations.
After reconnecting the battery, the
message "Collision risk detection
system fault" is displayed on the instrument
panel when the ignition is switched on. This
operation is perfectly normal. The message
will disappear while driving.
The Stop & Start system may not be operational during the trip following the
first engine start.
In this case, the system will only be available
again after a continuous period with the
vehicle immobilised, the duration of which
depends on the exterior temperature and the
state of charge of the battery (up to about 8
hours).
► At the end of the charging operation, switch
off charger B
before disconnecting the cables
from battery A.
If this label is present, use only a 12 V
charger to avoid causing irreversible
damage to the electrical components.
24V
12V
Never try to charge a frozen battery - risk
of explosion!
If the battery has frozen, have it checked by a
PEUGEOT dealer or by a qualified workshop
who will verify that the internal components
have not been damaged and that the case
has not cracked, which would mean a risk of
toxic and corrosive acid leaking.
Some functions, including Stop & Start,
are not available if the battery is not
sufficiently charged.
Disconnecting the battery
In order to maintain an adequate state of
charge for starting the engine, we recommend
disconnecting the battery if the vehicle is to be
unused for an extended period. Before disconnecting the battery:
►
Close all openings (doors, boot, windows,
roof).
►
Switch off all electricity-consuming devices
(audio system, wipers, lamps, etc.).
►
Switch off the ignition and wait for 4
minutes.
After accessing the battery, it is only necessary
to disconnect the (+) terminal.
Quick-release terminal clamp
Disconnecting the (+) terminal
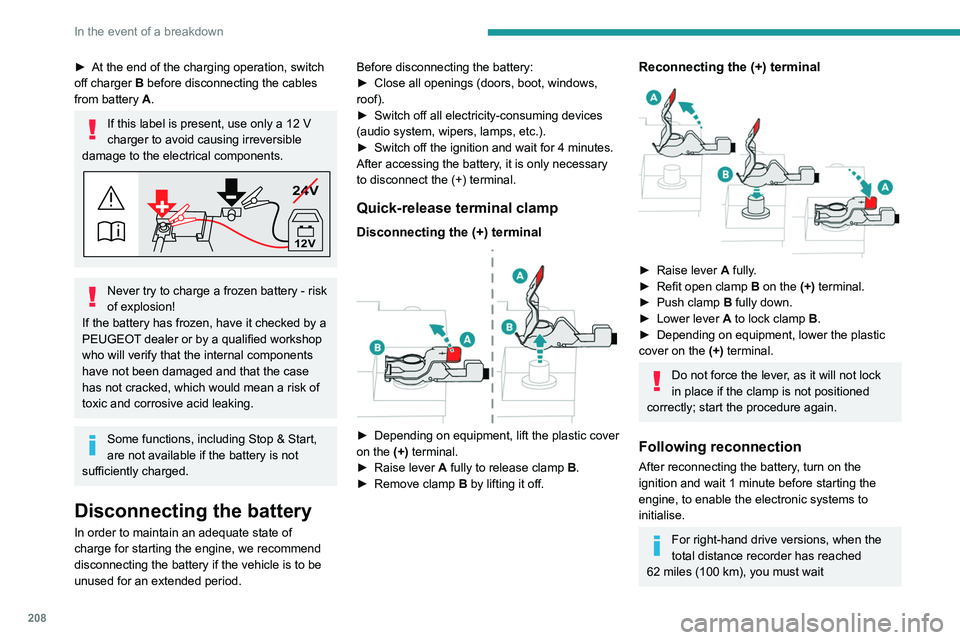
► Depending on equipment, lift the plastic cover
on the (+) terminal.
►
Raise lever
A
fully to release clamp
B
.
►
Remove clamp
B
by lifting it off.
Reconnecting the (+) terminal
► Raise lever A fully.
► Refit open clamp B on the (+) terminal.
►
Push clamp
B fully down.
►
Lower lever
A
to lock clamp B.
►
Depending on equipment, lower the plastic
cover on the
(+) terminal.
Do not force the lever, as it will not lock
in place if the clamp is not positioned
correctly; start the procedure again.
Following reconnection
After reconnecting the battery, turn on the
ignition and wait 1 minute before starting the
engine, to enable the electronic systems to
initialise.
For right-hand drive versions, when the
total distance recorder has reached
62
miles (100 km), you must wait
Page 213 of 292
2 11
In the event of a breakdown
8► Close all other doors.
► Switch off all electrical consumers (audio
system, wipers, lamps, etc.).
►
Switch
off the ignition and wait for the READY
indicator lamp to go out.
►
Observe a waiting time of 4 minutes.
Never reverse the order of the battery
disconnection and reconnection steps
- risk of irreversible damage!
Disconnection
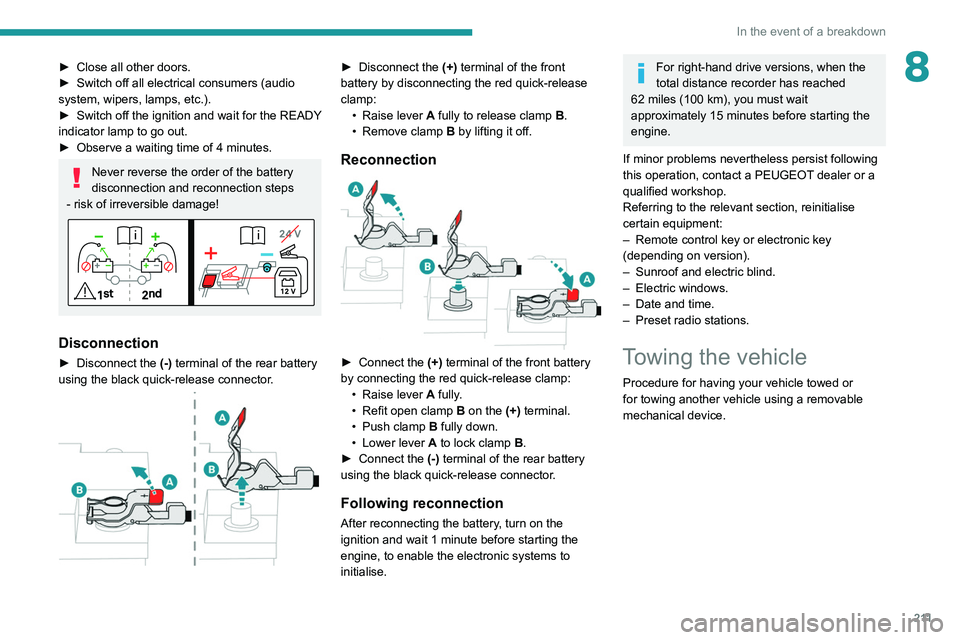
► Disconnect the (-) terminal of the rear battery
using the black quick-release connector.
► Disconnect the (+) terminal of the front
battery by disconnecting the red quick-release
clamp: •
Raise lever
A
fully to release clamp
B
.
•
Remove clamp
B
by lifting it off.
Reconnection
► Connect the (+) terminal of the front battery
by connecting the red quick-release clamp: •
Raise lever
A
fully.
•
Refit open clamp
B
on the (+) terminal.
•
Push clamp
B fully down.
•
Lower lever
A
to lock clamp B.
►
Connect the
(-) terminal of the rear battery
using the black quick-release connector.
Following reconnection
After reconnecting the battery, turn on the
ignition and wait 1 minute before starting the
engine, to enable the electronic systems to
initialise.
For right-hand drive versions, when the
total distance recorder has reached
62
miles (100 km), you must wait
approximately 15
minutes before starting the
engine.
If minor problems nevertheless persist following
this operation, contact a PEUGEOT dealer or a
qualified workshop.
Referring to the relevant section, reinitialise
certain equipment:
–
Remote control key or electronic key
(depending on version).
–
Sunroof and electric blind.
–
Electric windows.
–
Date and time.
–
Preset radio stations.
Towing the vehicle
Procedure for having your vehicle towed or
for towing another vehicle using a removable
mechanical device.
Page 264 of 292
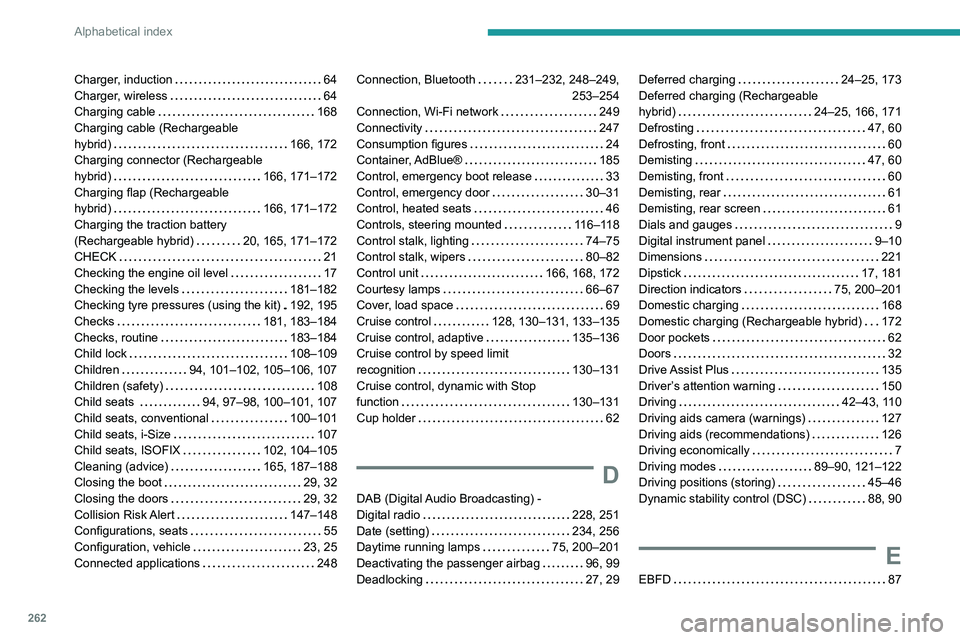
262
Alphabetical index
Charger, induction 64
Charger, wireless
64
Charging cable
168
Charging cable (Rechargeable
hybrid)
166, 172
Charging connector (Rechargeable
hybrid)
166, 171–172
Charging flap (Rechargeable
hybrid)
166, 171–172
Charging the traction battery
(Rechargeable hybrid)
20, 165, 171–172
CHECK
21
Checking the engine oil level
17
Checking the levels
181–182
Checking tyre pressures (using the kit)
192, 195
Checks
181, 183–184
Checks, routine
183–184
Child lock
108–109
Children
94, 101–102, 105–106, 107
Children (safety)
108
Child seats
94, 97–98, 100–101, 107
Child seats, conventional
100–101
Child seats, i-Size
107
Child seats, ISOFIX
102, 104–105
Cleaning (advice)
165, 187–188
Closing the boot
29, 32
Closing the doors
29, 32
Collision Risk Alert
147–148
Configurations, seats
55
Configuration, vehicle
23, 25
Connected applications
248Connection, Bluetooth 231–232, 248–249,
253–254
Connection, Wi-Fi network
249
Connectivity
247
Consumption figures
24
Container, AdBlue®
185
Control, emergency boot release
33
Control, emergency door
30–31
Control, heated seats
46
Controls, steering mounted
116–118
Control stalk, lighting
74–75
Control stalk, wipers
80–82
Control unit
166, 168, 172
Courtesy lamps
66–67
Cover, load space
69
Cruise control
128, 130–131, 133–135
Cruise control, adaptive
135–136
Cruise control by speed limit
recognition
130–131
Cruise control, dynamic with Stop
function
130–131
Cup holder
62
D
DAB (Digital Audio Broadcasting) -
Digital radio
228, 251
Date (setting)
234, 256
Daytime running lamps
75, 200–201
Deactivating the passenger airbag
96, 99
Deadlocking
27, 29
Deferred charging 24–25, 173
Deferred charging (Rechargeable
hybrid)
24–25, 166, 171
Defrosting
47, 60
Defrosting, front
60
Demisting
47, 60
Demisting, front
60
Demisting, rear
61
Demisting, rear screen
61
Dials and gauges
9
Digital instrument panel
9–10
Dimensions
221
Dipstick
17, 181
Direction indicators
75, 200–201
Domestic charging
168
Domestic charging (Rechargeable hybrid)
172
Door pockets
62
Doors
32
Drive Assist Plus
135
Driver’s attention warning
150
Driving
42–43, 110
Driving aids camera (warnings)
127
Driving aids (recommendations)
126
Driving economically
7
Driving modes
89–90, 121–122
Driving positions (storing)
45–46
Dynamic stability control (DSC)
88, 90
E
EBFD 87
Page 266 of 292
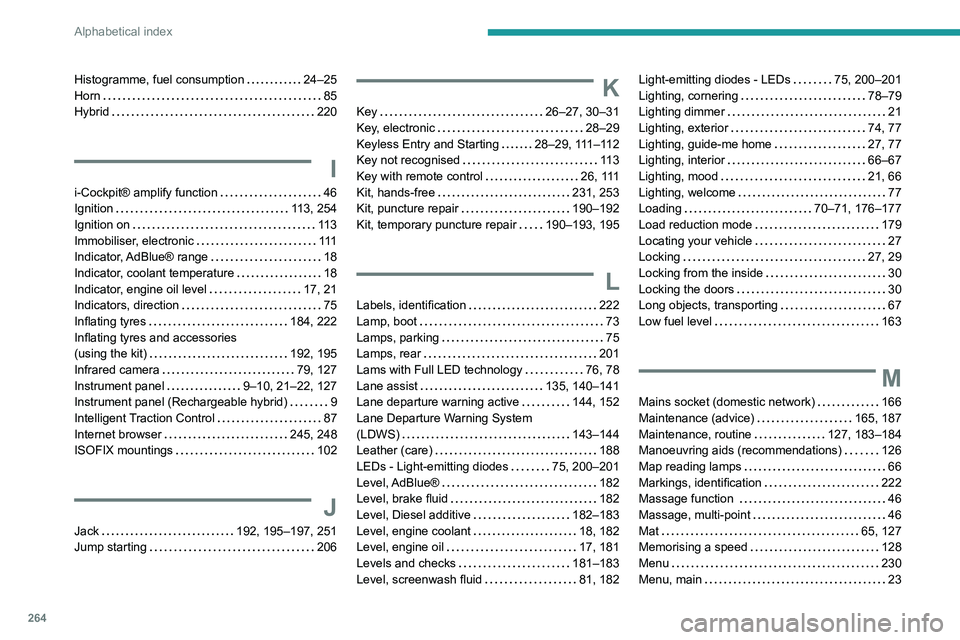
264
Alphabetical index
Histogramme, fuel consumption 24–25
Horn
85
Hybrid
220
I
i-Cockpit® amplify function 46
Ignition
113, 254
Ignition on
11 3
Immobiliser, electronic
111
Indicator, AdBlue® range
18
Indicator, coolant temperature
18
Indicator, engine oil level
17, 21
Indicators, direction
75
Inflating tyres
184, 222
Inflating tyres and accessories
(using the kit)
192, 195
Infrared camera
79, 127
Instrument panel
9–10, 21–22, 127
Instrument panel (Rechargeable hybrid)
9
Intelligent Traction Control
87
Internet browser
245, 248
ISOFIX mountings
102
J
Jack 192, 195–197, 251
Jump starting
206
K
Key 26–27, 30–31
Key, electronic
28–29
Keyless Entry and Starting
28–29, 111–112
Key not recognised
11 3
Key with remote control
26, 111
Kit, hands-free
231, 253
Kit, puncture repair
190–192
Kit, temporary puncture repair
190–193, 195
L
Labels, identification 222
Lamp, boot
73
Lamps, parking
75
Lamps, rear
201
Lams with Full LED technology
76, 78
Lane assist
135, 140–141
Lane departure warning active
144, 152
Lane Departure Warning System
(LDWS)
143–144
Leather (care)
188
LEDs - Light-emitting diodes
75, 200–201
Level, AdBlue®
182
Level, brake fluid
182
Level, Diesel additive
182–183
Level, engine coolant
18, 182
Level, engine oil
17, 181
Levels and checks
181–183
Level, screenwash fluid
81, 182
Light-emitting diodes - LEDs 75, 200–201
Lighting, cornering
78–79
Lighting dimmer
21
Lighting, exterior
74, 77
Lighting, guide-me home
27, 77
Lighting, interior
66–67
Lighting, mood
21, 66
Lighting, welcome
77
Loading
70–71, 176–177
Load reduction mode
179
Locating your vehicle
27
Locking
27, 29
Locking from the inside
30
Locking the doors
30
Long objects, transporting
67
Low fuel level
163
M
Mains socket (domestic network) 166
Maintenance (advice)
165, 187
Maintenance, routine
127, 183–184
Manoeuvring aids (recommendations)
126
Map reading lamps
66
Markings, identification
222
Massage function
46
Massage, multi-point
46
Mat
65, 127
Memorising a speed
128
Menu
230
Menu, main
23
Page 269 of 292
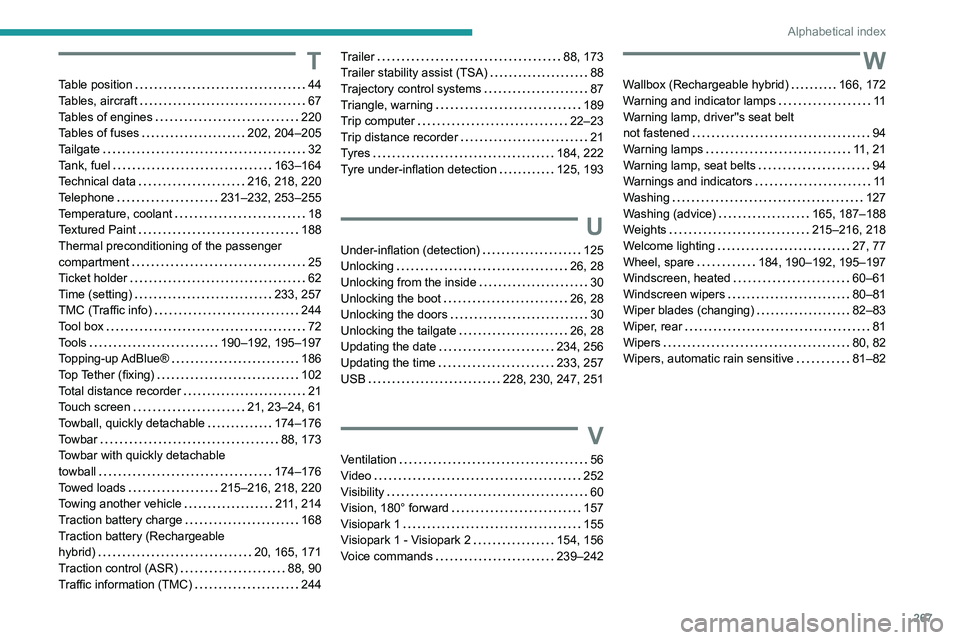
267
Alphabetical index
T
Table position 44
Tables, aircraft
67
Tables of engines
220
Tables of fuses
202, 204–205
Tailgate
32
Tank, fuel
163–164
Technical data
216, 218, 220
Telephone
231–232, 253–255
Temperature, coolant
18
Textured Paint
188
Thermal preconditioning of the passenger
compartment
25
Ticket holder
62
Time (setting)
233, 257
TMC (Traffic info)
244
Tool box
72
Tools
190–192, 195–197
Topping-up AdBlue®
186
Top Tether (fixing)
102
Total distance recorder
21
Touch screen
21, 23–24, 61
Towball, quickly detachable
174–176
Towbar
88, 173
Towbar with quickly detachable
towball
174–176
Towed loads
215–216, 218, 220
Towing another vehicle
211, 214
Traction battery charge
168
Traction battery (Rechargeable
hybrid)
20, 165, 171
Traction control (ASR)
88, 90
Traffic information (TMC)
244
Trailer 88, 173
Trailer stability assist (TSA)
88
Trajectory control systems
87
Triangle, warning
189
Trip computer
22–23
Trip distance recorder
21
Tyres
184, 222
Tyre under-inflation detection
125, 193
U
Under-inflation (detection) 125
Unlocking
26, 28
Unlocking from the inside
30
Unlocking the boot
26, 28
Unlocking the doors
30
Unlocking the tailgate
26, 28
Updating the date
234, 256
Updating the time
233, 257
USB
228, 230, 247, 251
V
Ventilation 56
Video
252
Visibility
60
Vision, 180° forward
157
Visiopark 1
155
Visiopark 1 - Visiopark 2
154, 156
Voice commands
239–242
W
Wallbox (Rechargeable hybrid) 166, 172
Warning and indicator lamps
11
Warning lamp, driver''s seat belt
not fastened
94
Warning lamps
11, 21
Warning lamp, seat belts
94
Warnings and indicators
11
Washing
127
Washing (advice)
165, 187–188
Weights
215–216, 218
Welcome lighting
27, 77
Wheel, spare
184, 190–192, 195–197
Windscreen, heated
60–61
Windscreen wipers
80–81
Wiper blades (changing)
82–83
Wiper, rear
81
Wipers
80, 82
Wipers, automatic rain sensitive
81–82