2021 NISSAN TITAN ECU
[x] Cancel search: ECUPage 139 of 638
Check Rear Seat For All Articles
When the system is enabled, this message
appears when the vehicle comes to a com-
plete stop, the vehicle is transitioned from
the D (Drive) position to P (Park) position,
and the driver exits the vehicle. This mes-
sage alerts the driver, af ter a period of time,
to check for items in the rear seat af ter the
audible alert has been provided.
NOTE:
This system is disabled until a driver en-
ables it using the vehicle information
display. For additional information, see
“How to use the vehicle information dis-
play ” (P. 2-23).
For additional information, see “Rear Door
Alert” (P. 2-63).
Rear Door Alert is activated
When the system is enabled, this message
appears when the Rear Door Alert system
is active and can remind the driver to check
the back seat.
• Using the steering wheel switch, a drivercan select “Dismiss Message” to clear the
display for a period of time. If no selection
is made, this message automatically
turns off af ter a period of time. • Using the steering wheel switch, a driver
can select “Disable Alert” to disable the
horn alert for the remainder of the cur-
rent trip.
WARNING
Selecting “Dismiss Message” during a
stop within a trip temporarily dis-
misses the message for that stop with-
out turning the system off. Alerts can
be provided for other stops during the
trip. Selecting “Disable Alert” turns off
the Rear Door Alert system for the re-
mainder of a trip and no audible alert
will be provided.
NOTE:
This system is disabled until a driver en-
ables it using the vehicle information
display. For additional information, “How
to use the vehicle information display ”
(P. 2-23).
For additional information, “Rear Door Alert”
(P. 2-63).
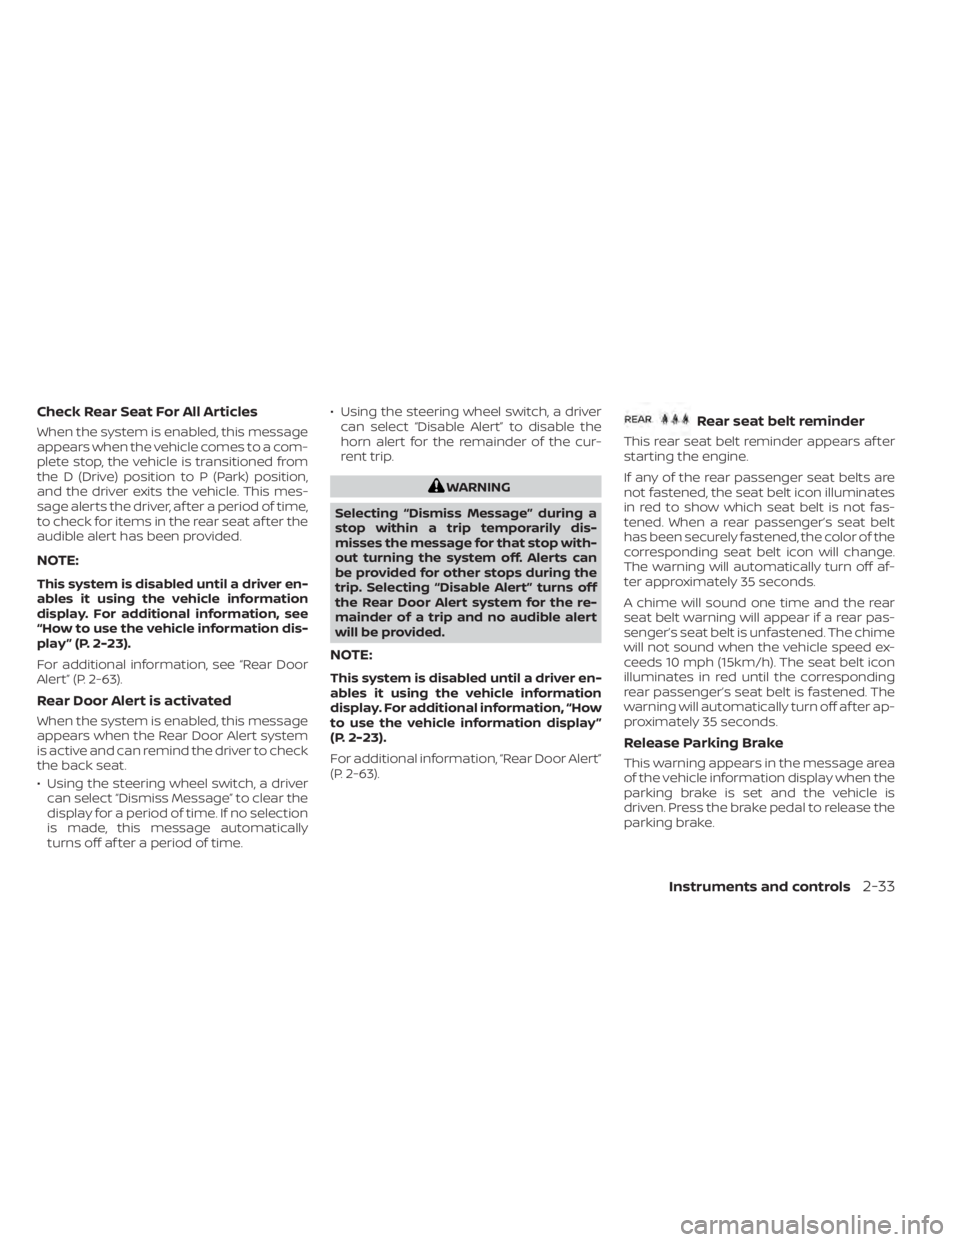
Rear seat belt reminder
This rear seat belt reminder appears af ter
starting the engine.
If any of the rear passenger seat belts are
not fastened, the seat belt icon illuminates
in red to show which seat belt is not fas-
tened. When a rear passenger’s seat belt
has been securely fastened, the color of the
corresponding seat belt icon will change.
The warning will automatically turn off af-
ter approximately 35 seconds.
A chime will sound one time and the rear
seat belt warning will appear if a rear pas-
senger’s seat belt is unfastened. The chime
will not sound when the vehicle speed ex-
ceeds 10 mph (15km/h). The seat belt icon
illuminates in red until the corresponding
rear passenger’s seat belt is fastened. The
warning will automatically turn off af ter ap-
proximately 35 seconds.
Release Parking Brake
This warning appears in the message area
of the vehicle information display when the
parking brake is set and the vehicle is
driven. Press the brake pedal to release the
parking brake.
Instruments and controls2-33
Page 143 of 638

Rear Automatic Braking
(RAB) indicator
This indicator appears to indicate the sta-
tus of the Rear Automatic Braking (RAB)
system. For additional information, see
“Rear Automatic Braking (RAB)” (P. 5-75).
Speed Limit Sign indicator
This message may appear when the Traffic
Sign Recognition system is engaged.
For additional information, see “Traffic Sign
Recognition” (P. 5-24).
System fault See Owner’s Manual
This warning appears if there is a malfunc-
tion in one of the following systems:
• Automatic Emergency Braking (AEB) withPedestrian Detection
• Intelligent Forward Collision Warning (I-FCW)
• Rear Automatic Braking (RAB)
For additional information, see “Automatic
Emergency Braking (AEB) with Pedestrian
Detection” (P. 5-80), “Intelligent Forward Col-
lision Warning (I-FCW)” (P. 5-89) and “Rear
Automatic Braking (RAB)” (P. 5-75).
Unavailable Side Radar Obstruction
This message appears when the Blind
Spot Warning (BSW) or Rear Cross Traffic
Alert (RCTA) systems become unavailable
because a radar blockage is detected. For
additional information, see “Blind Spot
Warning (BSW)” (P. 5-32) and “Rear Cross
Traffic Alert (RCTA)” (P. 5-41).
Vehicle ahead detection
indicator
This indicator appears when the Auto-
matic Emergency Braking (AEB) system is
engaged and has detected a vehicle.
For additional information, see “Automatic
Emergency Braking (AEB) with Pedestrian
Detection” (P. 5-80). Your vehicle has two types of security sys-
tems:
• Vehicle security system
• NISSAN Vehicle Immobilizer System
VEHICLE SECURITY SYSTEM
The vehicle security system provides visual
and audible alarm signals if someone
opens the doors or hood when the system
is armed. It is not, however, a motion detec-
tion type system that activates when a ve-
hicle is moved or when a vibration occurs.
LIC0359
SECURITY SYSTEMS
Instruments and controls2-37
Page 144 of 638

The system helps deter vehicle thef t but
cannot prevent it, nor can it prevent the
thef t of interior or exterior vehicle compo-
nents in all situations. Always secure your
vehicle even if parking for a brief period.
Never leave your keys in the vehicle, and
always lock the vehicle when unattended.
Be aware of your surroundings, and park in
secure, well-lit areas whenever possible.
Many devices offering additional protec-
tion, such as component locks, identifica-
tion markers, and tracking systems, are
available at auto supply stores and spe-
cialty shops. A NISSAN dealer may also offer
such equipment. Check with your insur-
ance company to see if you may be eligible
for discounts for various thef t protection
features.
How to arm the vehicle security
system
1. Close all windows.(The system can be
armed even if the windows are open.)
2. Remove the Intelligent Key from the vehicle.
3. Close all doors. Lock all doors. The doors can be locked with the Intelligent Key or
door handle request switch. 4. Confirm that the
security indicator
light stays on for about 30 seconds. The
vehicle security system is now pre-
armed. The vehicle security system will
automatically shif t into the armed
phase. The
security light begins to
flash once every three seconds. If during
the pre-armed phase one of the follow-
ing occurs, the system will not arm:
• Any door is unlocked with the Intelligent Key or door request switch.
• Ignition switch is placed in ACC or ON position.
• Even when the driver and/or passen-
gers are in the vehicle, the system will
activate with all the doors, hood and
locked with the ignition switch placed
in the LOCK position. When placing the
ignition switch in the ACC or ON posi-
tion, the system will be released.
• The lockable bedside storage com-
partment (if so equipped) is not pro-
tected by the vehicle security system.
Vehicle security system activation
The vehicle security system will give the
following alarm:
• The headlights blink and the horn sounds intermittently but synchronously. • The alarm automatically turns off af ter a
period of time. However, the alarm reacti-
vates if the vehicle is tampered with
again.
The alarm is activated by:
• opening any door or hood without using the Intelligent Key (even if the door is un-
locked by releasing the door inside lock
knob).
How to stop an activated alarm
The alarm stops only by pressing thebutton on the Intelligent Key.
NISSAN VEHICLE IMMOBILIZER
SYSTEM
The NISSAN Vehicle Immobilizer System
will not allow the engine to start without
the use of a registered key.
If the engine fails to start using a registered
key (for example, when interference is
caused by another registered key, an auto-
mated toll road device or automatic pay-
ment device on the key ring), restart the
engine using the following procedures:
1.
Leave the ignition switch placed in the ON
position for approximately 5 seconds.
2-38Instruments and controls
Page 145 of 638

2. Place the ignition switch in the OFF orLOCK position and wait approximately
10 seconds.
3. Repeat steps 1 and 2.
4. Restart the engine while holding the de- vice (which may have caused the inter-
ference) separate from the registered
key.
If the no start condition re-occurs, NISSAN
recommends placing the registered key on
a separate key ring to avoid interference
from other devices.
FCC Notice:
For USA:
This device complies with part 15 of the
FCC Rules. Operation is subject to the fol-
lowing two conditions: (1) This device
may not cause harmful interference, and
(2) this device must accept any interfer-
ence received, including interference
that may cause undesired operation.
NOTE:
Changes or modifications not expressly
approved by the party responsible for
compliance could void the user's author-
ity to operate the equipment. For Canada:
This device complies with Industry
Canada licence-exempt RSS standard(s).
Operation is subject to the following two
conditions: (1) this device may not cause
interference, and (2) this device must ac-
cept any interference, including interfer-
ence that may cause undesired opera-
tion of the device.
Security indicator light
The security indicator light blinks whenever
the ignition switch is placed in the OFF,
LOCK or ACC position.
This function indicates the NISSAN Vehicle
Immobilizer System is operational.
If the NISSAN Vehicle Immobilizer System is
malfunctioning, the light will remain on
while the ignition switch is placed in the ON
position.
LIC0474
Instruments and controls2-39
Page 177 of 638
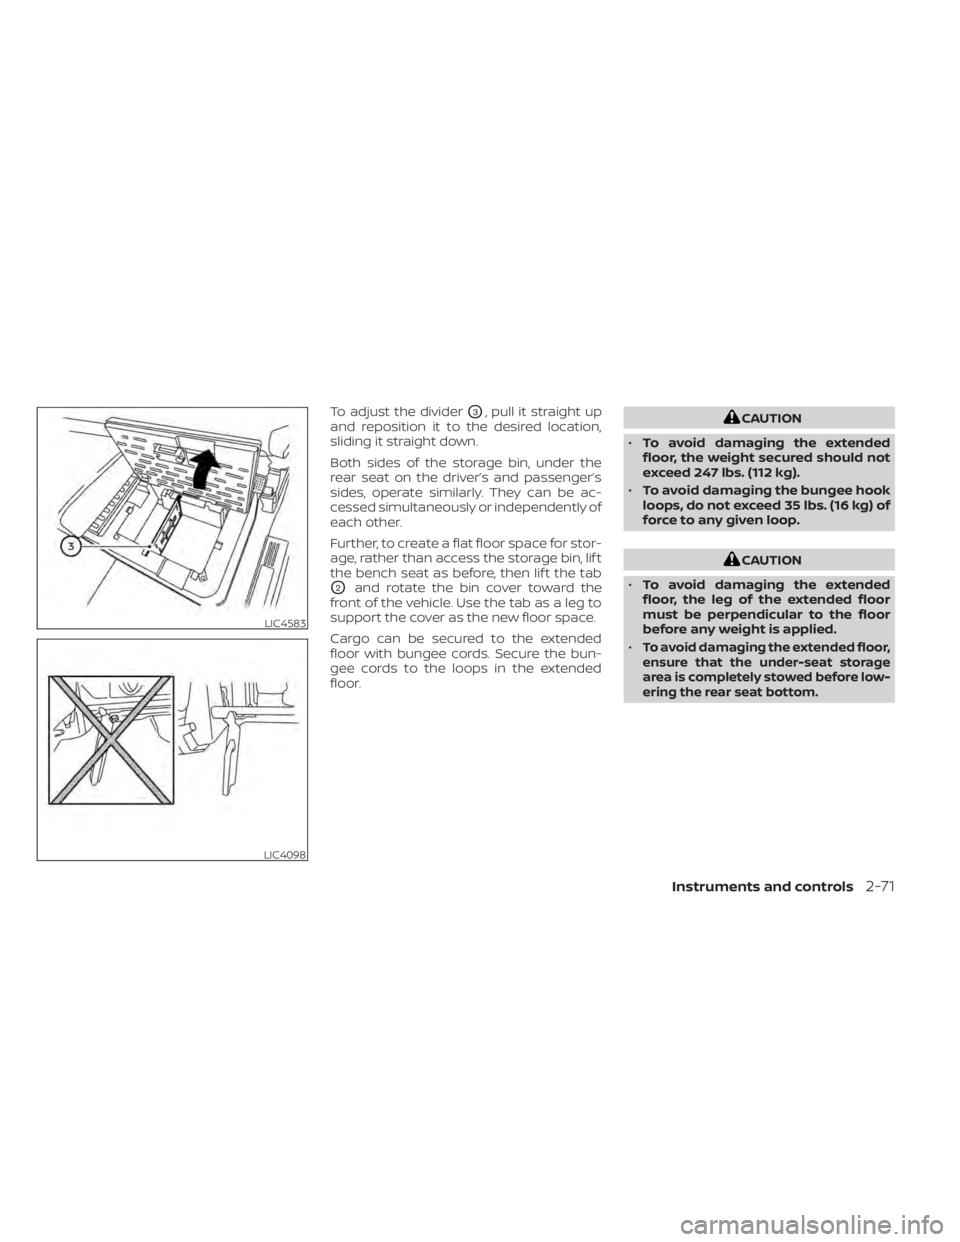
To adjust the dividerO3, pull it straight up
and reposition it to the desired location,
sliding it straight down.
Both sides of the storage bin, under the
rear seat on the driver’s and passenger’s
sides, operate similarly. They can be ac-
cessed simultaneously or independently of
each other.
Further, to create a flat floor space for stor-
age, rather than access the storage bin, lif t
the bench seat as before, then lif t the tab
O2and rotate the bin cover toward the
front of the vehicle. Use the tab as a leg to
support the cover as the new floor space.
Cargo can be secured to the extended
floor with bungee cords. Secure the bun-
gee cords to the loops in the extended
floor.
CAUTION
• To avoid damaging the extended
floor, the weight secured should not
exceed 247 lbs. (112 kg).
• To avoid damaging the bungee hook
loops, do not exceed 35 lbs. (16 kg) of
force to any given loop.
CAUTION
• To avoid damaging the extended
floor, the leg of the extended floor
must be perpendicular to the floor
before any weight is applied.
•
To avoid damaging the extended floor,
ensure that the under-seat storage
area is completely stowed before low-
ering the rear seat bottom.
LIC4583
LIC4098
Instruments and controls2-71
Page 186 of 638
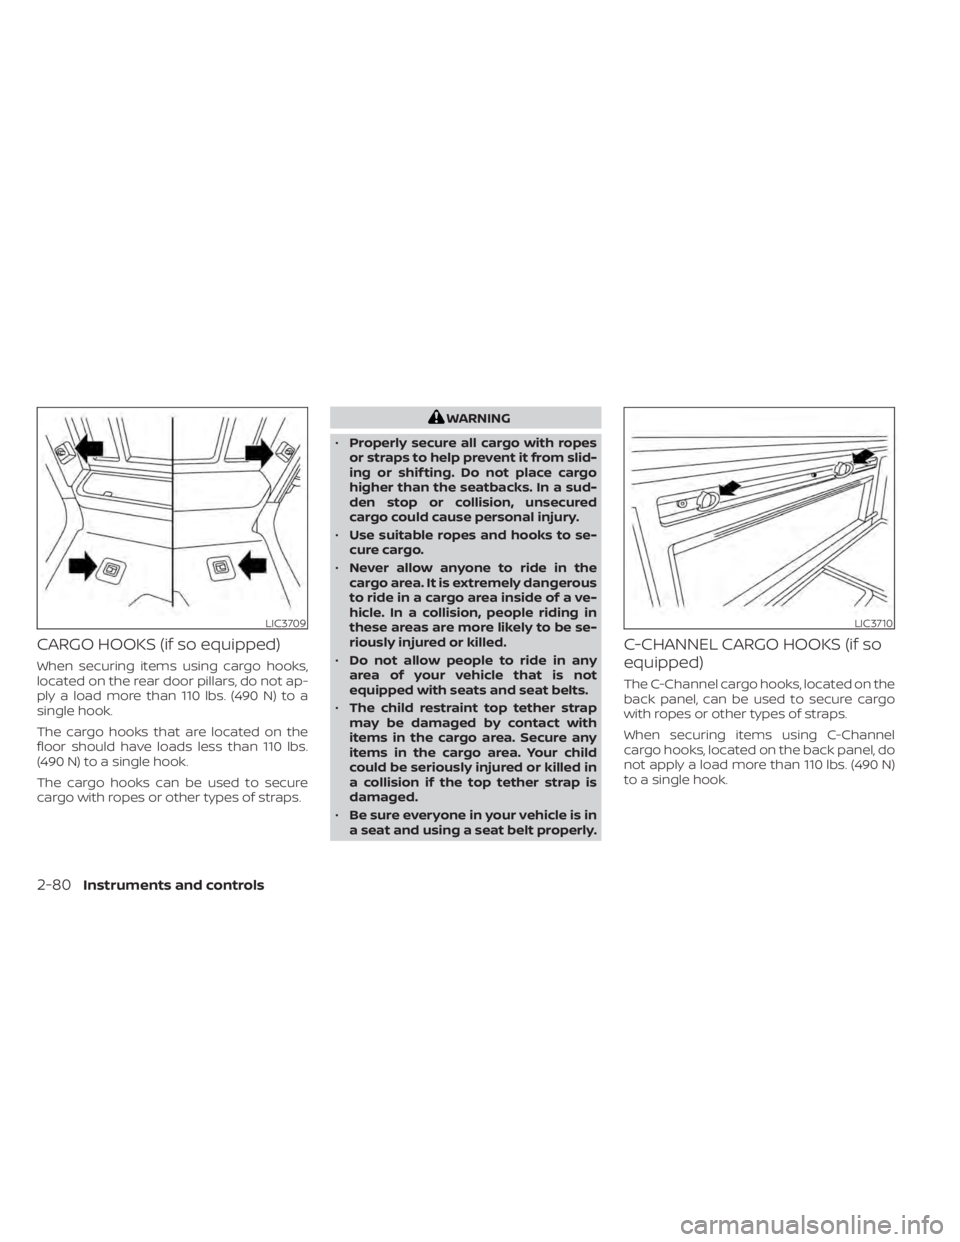
CARGO HOOKS (if so equipped)
When securing items using cargo hooks,
located on the rear door pillars, do not ap-
ply a load more than 110 lbs. (490 N) to a
single hook.
The cargo hooks that are located on the
floor should have loads less than 110 lbs.
(490 N) to a single hook.
The cargo hooks can be used to secure
cargo with ropes or other types of straps.
WARNING
• Properly secure all cargo with ropes
or straps to help prevent it from slid-
ing or shif ting. Do not place cargo
higher than the seatbacks. In a sud-
den stop or collision, unsecured
cargo could cause personal injury.
• Use suitable ropes and hooks to se-
cure cargo.
• Never allow anyone to ride in the
cargo area. It is extremely dangerous
to ride in a cargo area inside of a ve-
hicle. In a collision, people riding in
these areas are more likely to be se-
riously injured or killed.
• Do not allow people to ride in any
area of your vehicle that is not
equipped with seats and seat belts.
• The child restraint top tether strap
may be damaged by contact with
items in the cargo area. Secure any
items in the cargo area. Your child
could be seriously injured or killed in
a collision if the top tether strap is
damaged.
• Be sure everyone in your vehicle is in
a seat and using a seat belt properly.
C-CHANNEL CARGO HOOKS (if so
equipped)
The C-Channel cargo hooks, located on the
back panel, can be used to secure cargo
with ropes or other types of straps.
When securing items using C-Channel
cargo hooks, located on the back panel, do
not apply a load more than 110 lbs. (490 N)
to a single hook.
LIC3709LIC3710
2-80Instruments and controls
Page 187 of 638
WARNING
• Properly secure all cargo with ropes
or straps to help prevent it from slid-
ing or shif ting. Do not place cargo
higher than the seatbacks. In a sud-
den stop or collision, unsecured
cargo could cause personal injury.
• Use suitable ropes and hooks to se-
cure cargo.
• Never allow anyone to ride in the
cargo area. It is extremely dangerous
to ride in a cargo area inside of a ve-
hicle. In a collision, people riding in
these areas are more likely to be se-
riously injured or killed.
• Do not allow people to ride in any
area of your vehicle that is not
equipped with seats and seat belts.
• The child restraint top tether strap
may be damaged by contact with
items in the cargo area. Secure any
items in the cargo area. Your child
could be seriously injured or killed in
a collision if the top tether strap is
damaged.
• Be sure everyone in your vehicle is in
a seat and using a seat belt properly.POWER WINDOWS
WARNING
• Make sure that all passengers have
their hands, etc., inside the vehicle
while it is in motion and before clos-
ing the windows. Use the window
lock switch to prevent unexpected
use of the power windows.
• To help avoid risk of injury or death
through unintended operation of the
vehicle and/or its systems, including
entrapment in windows or inadver-
tent door lock activation, do not
leave children, people who require
the assistance of others or pets unat-
tended in your vehicle. Additionally,
the temperature inside a closed ve-
hicle on a warm day can quickly be-
come high enough to cause a signifi-
cant risk of injury or death to people
and pets. The power windows operate when the ig-
nition switch is placed in the ON position or
for a period of time af ter the ignition switch
is placed in the OFF position. If the driver's
or passenger's door is opened during this
period of time, the power to the windows is
canceled.
WINDOWS
Instruments and controls2-81
Page 195 of 638
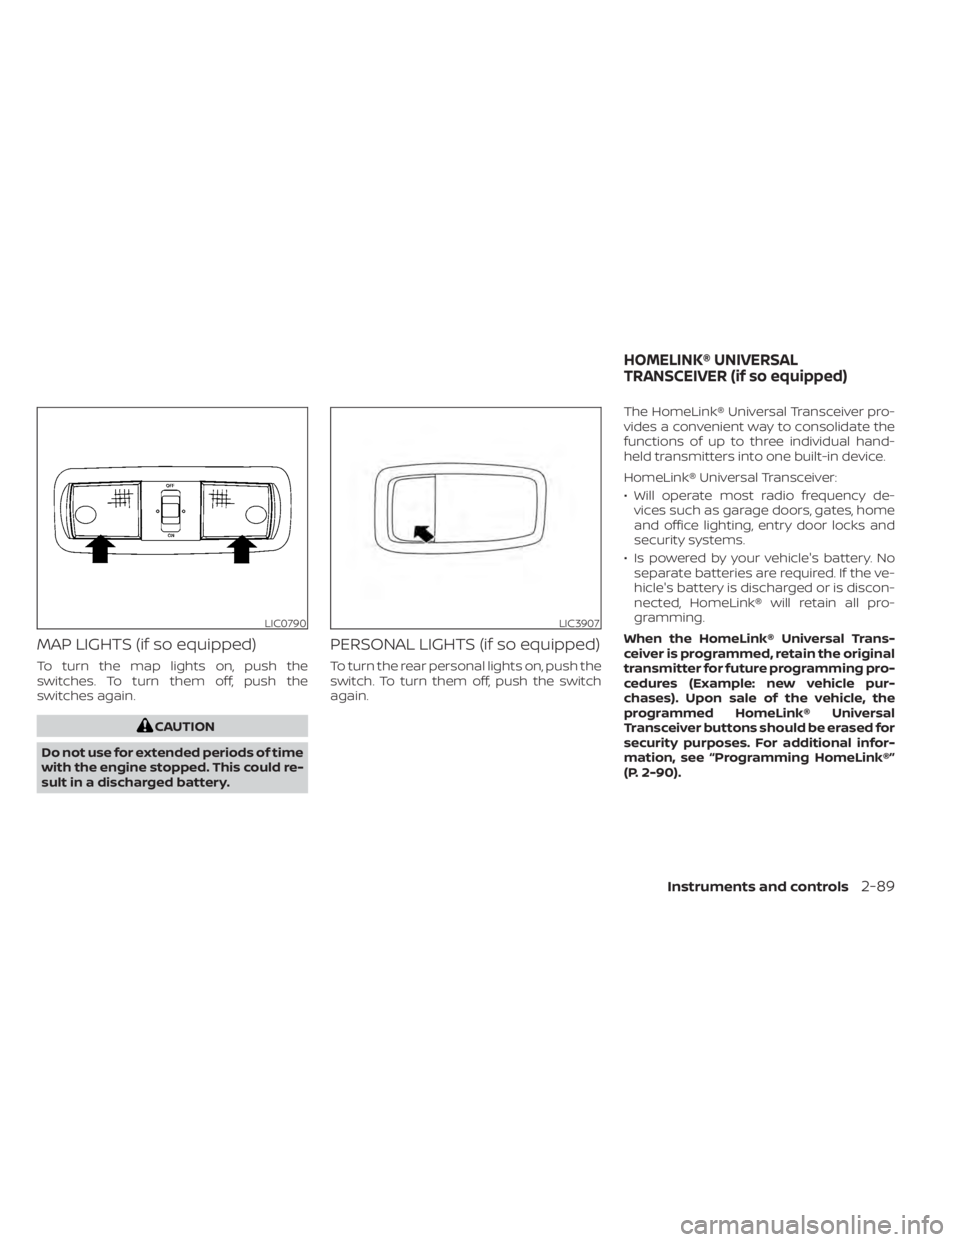
MAP LIGHTS (if so equipped)
To turn the map lights on, push the
switches. To turn them off, push the
switches again.
CAUTION
Do not use for extended periods of time
with the engine stopped. This could re-
sult in a discharged battery.
PERSONAL LIGHTS (if so equipped)
To turn the rear personal lights on, push the
switch. To turn them off, push the switch
again. The HomeLink® Universal Transceiver pro-
vides a convenient way to consolidate the
functions of up to three individual hand-
held transmitters into one built-in device.
HomeLink® Universal Transceiver:
• Will operate most radio frequency de-
vices such as garage doors, gates, home
and office lighting, entry door locks and
security systems.
• Is powered by your vehicle's battery. No separate batteries are required. If the ve-
hicle's battery is discharged or is discon-
nected, HomeLink® will retain all pro-
gramming.
When the HomeLink® Universal Trans-
ceiver is programmed, retain the original
transmitter for future programming pro-
cedures (Example: new vehicle pur-
chases). Upon sale of the vehicle, the
programmed HomeLink® Universal
Transceiver buttons should be erased for
security purposes. For additional infor-
mation, see “Programming HomeLink®”
(P. 2-90).
LIC0790LIC3907
HOMELINK® UNIVERSAL
TRANSCEIVER (if so equipped)
Instruments and controls2-89