2021 NISSAN MURANO start stop button
[x] Cancel search: start stop buttonPage 118 of 508
Power turned off to save the battery
This message appears af ter the ignition
switch is automatically turned to off. For
additional information, see “Push-button
ignition switch positions” (P. 5-13)
Push brake and start
switch to drive
This indicator appears when the shif t lever
is in the P (Park) position.
This indicator also appears when the ve-
hicle has been started using the Remote
Engine Start (if so equipped) function.
This indicator means that the engine will
start by pushing the ignition switch with
the brake pedal depressed. You can start
the engine from any position of the ignition
switch.
Push Ignition to OFF
Af ter the Push Ignition to OFF warning ap-
pears, the warning will appear if the ignition
switch is placed in the ACC position when
the shif t lever is moved to the P (Park)
position.
To turn off the Push warning, place the ig-
nition switch in the ON position and then in
the LOCK position.
Release Parking Brake
This warning appears in the message area
of the vehicle information display when the
parking brake is set and the vehicle is
driven.
Reminder: Turn OFF
Headlights
This warning appears when the headlights
are lef t in the ON position when exiting the
vehicle. Place the headlight switch in the
OFF or AUTO position. For additional infor-
mation, see “Headlight and turn signal
switch” (P. 2-35).
Shif t to Park
This warning appears when the ignition
switch is in the ACC or OFF position and the
shif t lever is not in the P (Park) position. Also,
a chime sounds when the ignition switch is
in the ACC or OFF position.
If this warning appears, move the shif t lever
to the P (Park) position or start the engine.
Shipping Mode On Push Storage Fuse
This warning may appear if the extended
storage switch is not pushed in. When this
warning appears, push in the extended
storage switch to turn off the warning. For
additional information, see “Extended stor-
age switch” (P. 2-51).
Tire Pressure Low - Add Air
This warning appears when the low tire
pressure warning light in the meter illumi-
nates and low tire pressure is detected. The
warning appears each time the ignition
switch is placed in the ON position as long
as the low tire pressure warning light re-
mains illuminated. If this warning appears,
stop the vehicle and adjust the tire pres-
sures of all four tires to the recommended
COLD tire pressure shown on the Tire and
Loading Information label. For additional
information, see “Low tire pressure warning
light” (P. 2-12) and “Tire Pressure Monitoring
System (TPMS)” (P. 5-5).
Transmission Shif t Position
indicator
This indicator shows the transmission shif t
position.
2-26Instruments and controls
Page 123 of 508
•Even when the driver and/or passen-
gers are in the vehicle, the system will
activate when all the doors, hood and
lif tgate are locked with the ignition
switch placed in the LOCK position.
When placing the ignition switch in the
ACC or ON position, the system will be
released.
Vehicle security system activation
The vehicle security system will give the
following alarm:
• The turn signals blink and the horn sounds intermittently.
• The alarm automatically turns off af ter a period of time. However, the alarm reacti-
vates if the vehicle is tampered with
again. The alarm can be shut off by un-
locking the driver's door or lif tgate by
pressing the
button on the Intelli-
gent Key.
The alarm is activated by:
• Opening the door or lif tgate without us- ing the Intelligent Key (even if the door is
unlocked by releasing the door inside
lock switch).
How to stop an activated alarm
The alarm stops only by unlocking the driv-
er’s door or the lif tgate by pressing the
button on the Intelligent Key or push-
ing the request switch on the driver's or
passenger's door with the Intelligent Key in
range of the door handle.
NISSAN VEHICLE IMMOBILIZER
SYSTEM
The NISSAN Vehicle Immobilizer System
will not allow the engine to start without
the use of a registered key.
Never leave these keys in the vehicle.
FCC Notice:
For USA:
This device complies with Part 15 of the
FCC Rules. Operation is subject to the fol-
lowing two conditions: (1) This device
may not cause harmful interference, and
(2) this device must accept any interfer-
ence received, including interference
that may cause undesired operation.
NOTE:
Changes or modifications not expressly
approved by the party responsible for
compliance could void the user's author-
ity to operate the equipment.
For Canada:
This device complies with Industry
Canada licence-exempt RSS standard(s).
Operation is subject to the following two
conditions: (1) this device may not cause
interference, and (2) this device must ac-
cept any interference received, including
interference that may cause undesired
operation of the device.
Instruments and controls2-31
Page 159 of 508
WARNING
• Your vehicle's engine should be
turned off while programming the
HomeLink® Universal Transceiver. For
additional information, see “Push-
button ignition switch” (P. 5-13). Do
not breathe exhaust gases; they con-
tain colorless and odorless carbon
monoxide. Carbon monoxide is dan-
gerous. It can cause unconscious-
ness or death.
• Do not use the HomeLink® Universal
Transceiver with any garage door
opener that lacks safety stop and re-
verse features as required by federal
safety standards. (These standards
became effective for opener models
manufactured af ter April 1, 1982.) A
garage door opener which cannot
detect an object in the path of a clos-
ing garage door and then automati-
cally stop and reverse does not meet
current federal safety standards. Us-
ing a garage door opener without
these features increases the risk of
serious injury or death. •
During the programming procedure
your garage door or security gate will
open and close (if the transmitter is
within range). Make sure that people
or objects are clear of the garage
door, gate, etc., that you are
programming.
PROGRAMMING HOMELINK®
If you have any questions or are having
difficulty programming your HomeLink®
buttons, refer to the HomeLink® web site at:
www.homelink.com or call 1-800-355-3515.
NOTE:
Place the ignition switch in the ON or ACC
position (without starting the engine)
when programming HomeLink®. It is also
recommended that a new battery be
placed in the hand-held transmitter of
the device being programmed to
HomeLink® for quicker programming
and accurate transmission of the radio
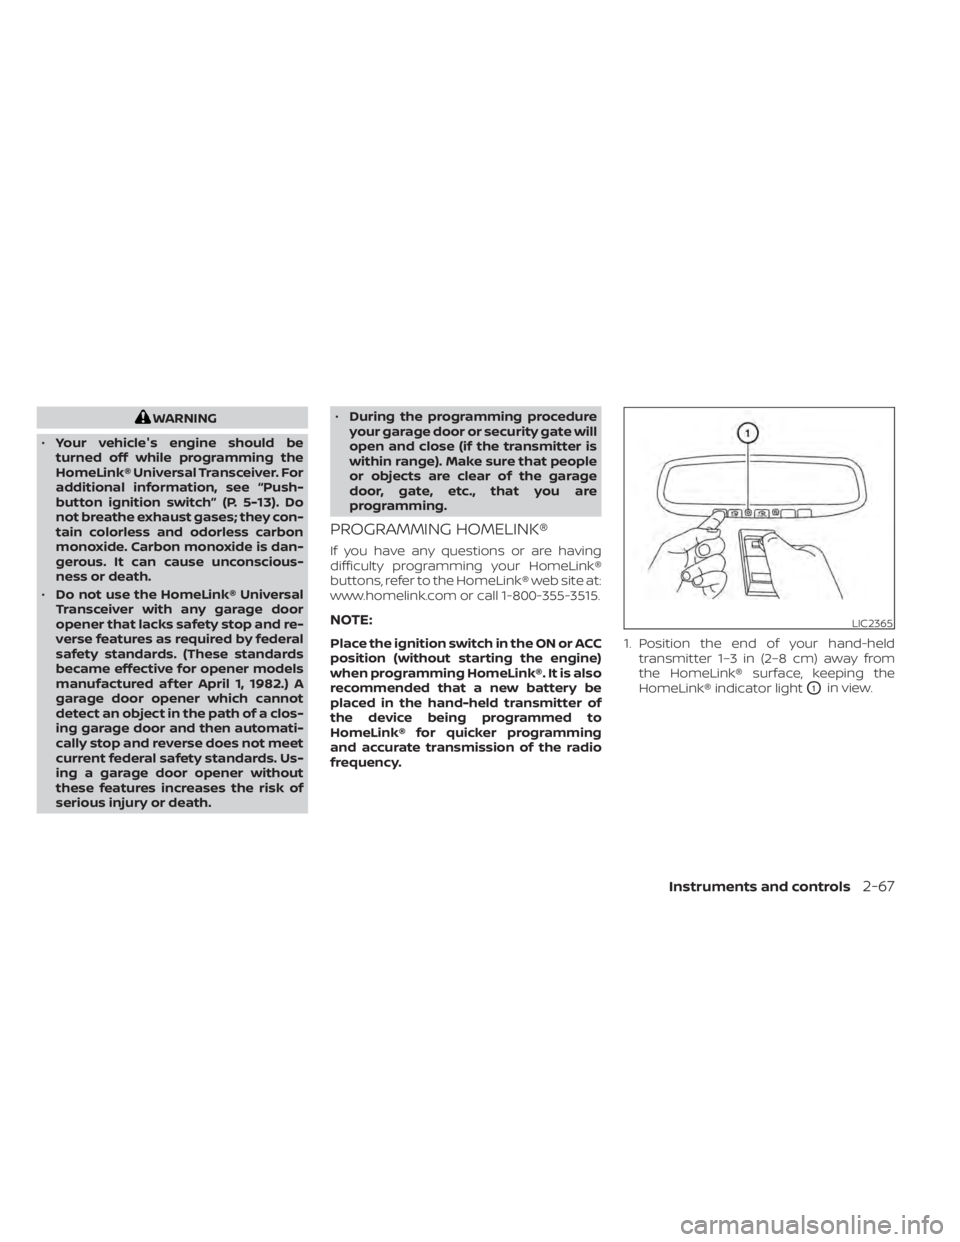
frequency. 1. Position the end of your hand-held
transmitter 1–3 in (2–8 cm) away from
the HomeLink® surface, keeping the
HomeLink® indicator light
O1in view.
LIC2365
Instruments and controls2-67
Page 184 of 508
CONDITIONS THE REMOTE ENGINE
START WILL NOT WORK
The Remote Engine Start will not operate if
any of the following conditions are present:
• The ignition switch is placed in the ONposition.
• The hood is not securely closed.
• The hazard indicator lights are on.
• The engine is still running. The engine must be completely stopped. Wait at
least 6 seconds if the engine goes from
running to off. This is not applicable when
extending engine run time.
• The
button is not pressed and held
for at least 2 seconds.
• The
button is not pressed and held
within 5 seconds of pressing the lock
button.
• The brake is pressed.
• The doors are not closed and locked.
• The lif tgate is open.
• The Key System Fault warning light re- mains solid is in the vehicle information
display.
• The alarm sounds due to illegal entry into the vehicle. • Two Remote Engine Starts, or a single
Remote Engine Start with an extension,
have already been used.
• The vehicle is not in P (Park).
• There is a detected registered key already inside of the vehicle.
• The Remote Engine Start function has been switched to the OFF position in Ve-
hicle Settings of the vehicle information
display. For additional information, see
“Vehicle information display” (P. 2-17).
The Remote Engine Start may display a
warning or indicator in the vehicle informa-
tion display. For additional information, see
“Vehicle information display” (P. 2-17).
3-20Pre-driving checks and adjustments
Page 202 of 508
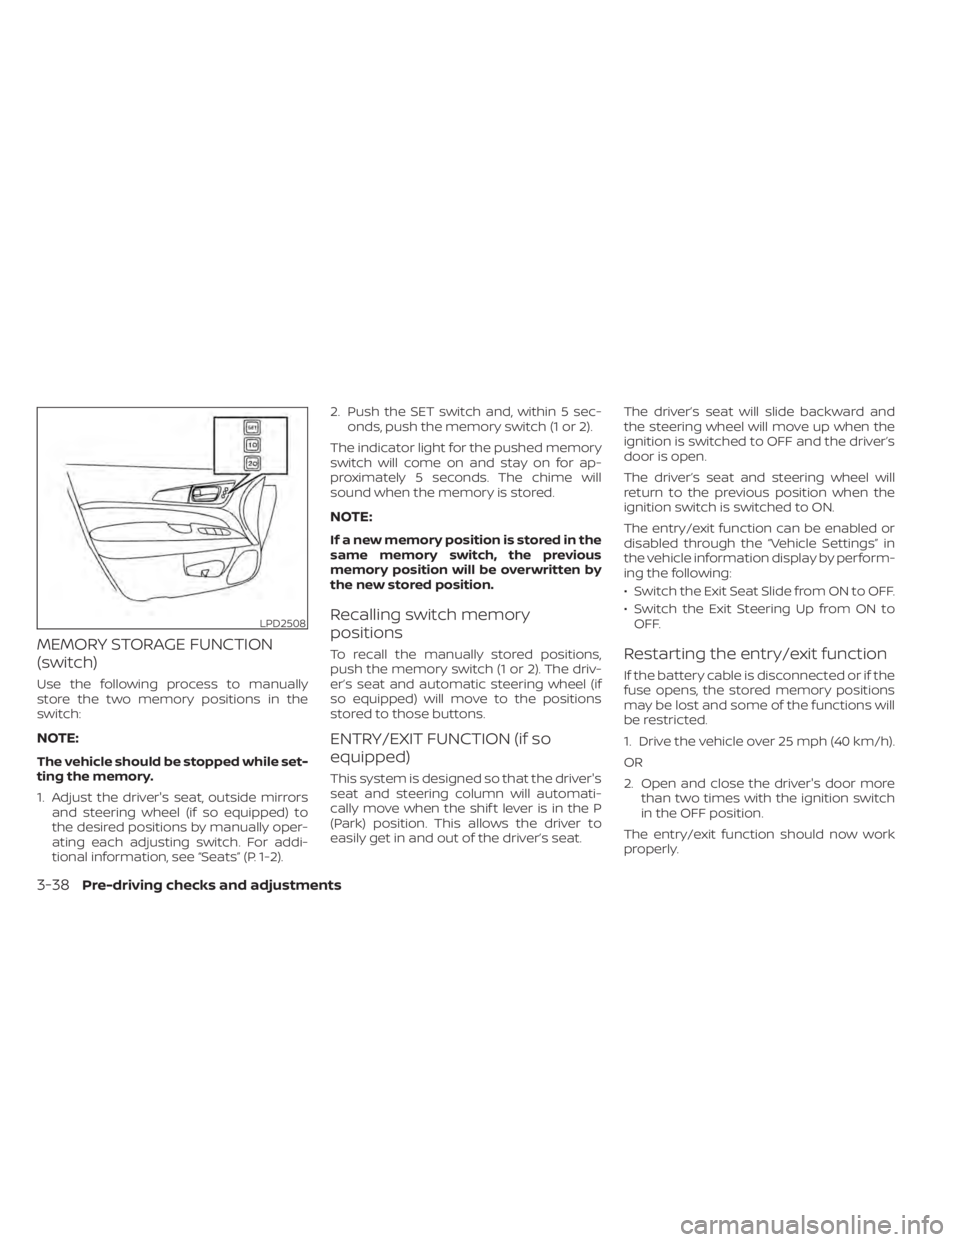
MEMORY STORAGE FUNCTION
(switch)
Use the following process to manually
store the two memory positions in the
switch:
NOTE:
The vehicle should be stopped while set-
ting the memory.
1. Adjust the driver's seat, outside mirrorsand steering wheel (if so equipped) to
the desired positions by manually oper-
ating each adjusting switch. For addi-
tional information, see “Seats” (P. 1-2). 2. Push the SET switch and, within 5 sec-
onds, push the memory switch (1 or 2).
The indicator light for the pushed memory
switch will come on and stay on for ap-
proximately 5 seconds. The chime will
sound when the memory is stored.
NOTE:
If a new memory position is stored in the
same memory switch, the previous
memory position will be overwritten by
the new stored position.
Recalling switch memory
positions
To recall the manually stored positions,
push the memory switch (1 or 2). The driv-
er’s seat and automatic steering wheel (if
so equipped) will move to the positions
stored to those buttons.
ENTRY/EXIT FUNCTION (if so
equipped)
This system is designed so that the driver's
seat and steering column will automati-
cally move when the shif t lever is in the P
(Park) position. This allows the driver to
easily get in and out of the driver’s seat. The driver’s seat will slide backward and
the steering wheel will move up when the
ignition is switched to OFF and the driver’s
door is open.
The driver’s seat and steering wheel will
return to the previous position when the
ignition switch is switched to ON.
The entry/exit function can be enabled or
disabled through the “Vehicle Settings” in
the vehicle information display by perform-
ing the following:
• Switch the Exit Seat Slide from ON to OFF.
• Switch the Exit Steering Up from ON to
OFF.
Restarting the entry/exit function
If the battery cable is disconnected or if the
fuse opens, the stored memory positions
may be lost and some of the functions will
be restricted.
1. Drive the vehicle over 25 mph (40 km/h).
OR
2. Open and close the driver's door more than two times with the ignition switch
in the OFF position.
The entry/exit function should now work
properly.
LPD2508
3-38Pre-driving checks and adjustments
Page 251 of 508
•Whenever you drive off-road through
sand, mud or water as deep as the
wheel hub, more frequent mainte-
nance may be required. For addi-
tional information, see “Maintenance
schedules” (P. 9-7).
WARNING
Do not operate the push-button igni-
tion switch while driving the vehicle ex-
cept in an emergency. (The engine will
stop when the ignition switch is pushed
three consecutive times in less than 1.5
seconds or the ignition switch is
pushed and held for more than 2 sec-
onds.) If the engine stops while the ve-
hicle is being driven, this could lead to a
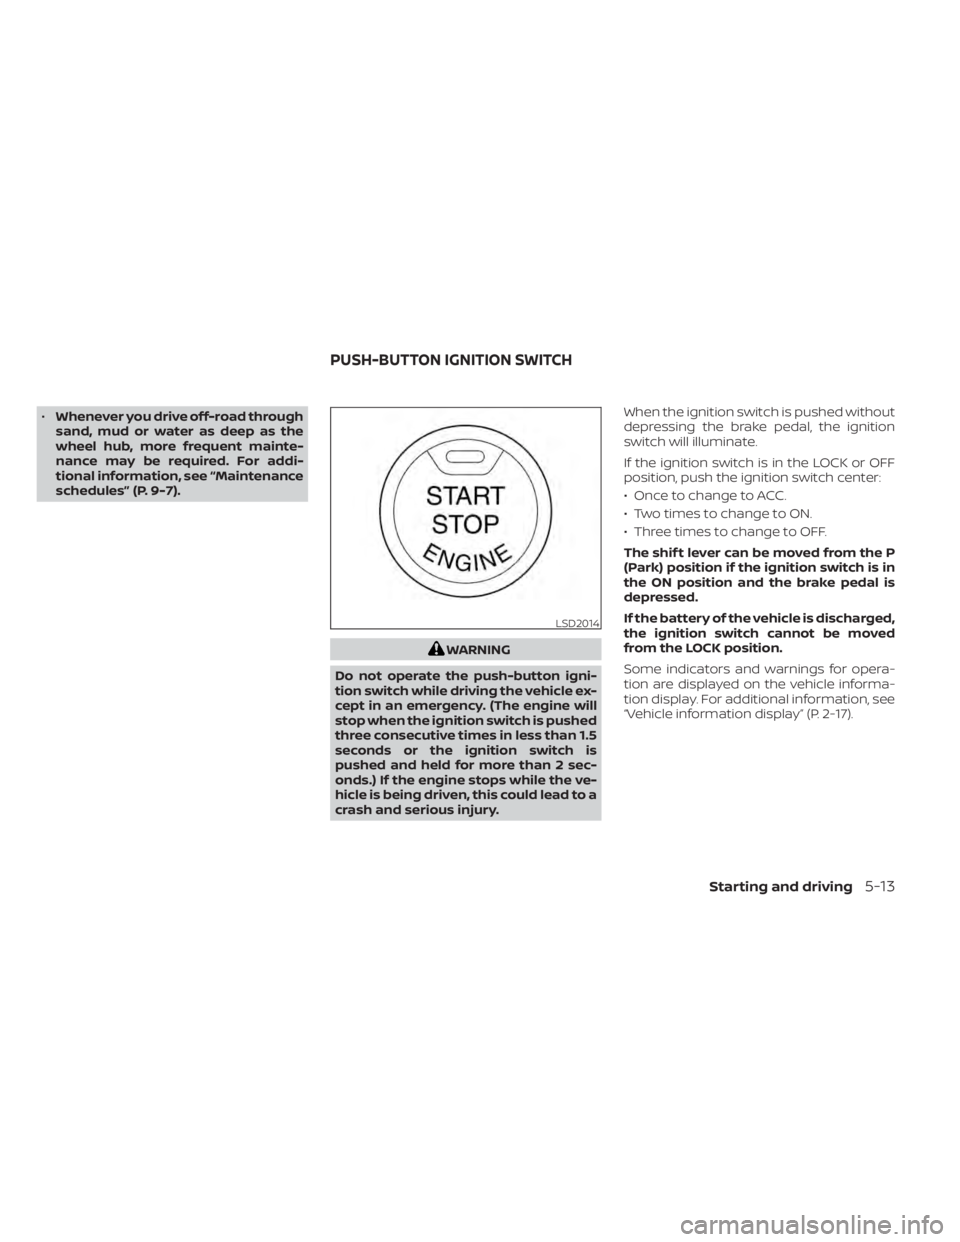
crash and serious injury. When the ignition switch is pushed without
depressing the brake pedal, the ignition
switch will illuminate.
If the ignition switch is in the LOCK or OFF
position, push the ignition switch center:
• Once to change to ACC.
• Two times to change to ON.
• Three times to change to OFF.
The shif t lever can be moved from the P
(Park) position if the ignition switch is in
the ON position and the brake pedal is
depressed.
If the battery of the vehicle is discharged,
the ignition switch cannot be moved
from the LOCK position.
Some indicators and warnings for opera-
tion are displayed on the vehicle informa-
tion display. For additional information, see
“Vehicle information display” (P. 2-17).
LSD2014
PUSH-BUTTON IGNITION SWITCH
Starting and driving5-13
Page 258 of 508
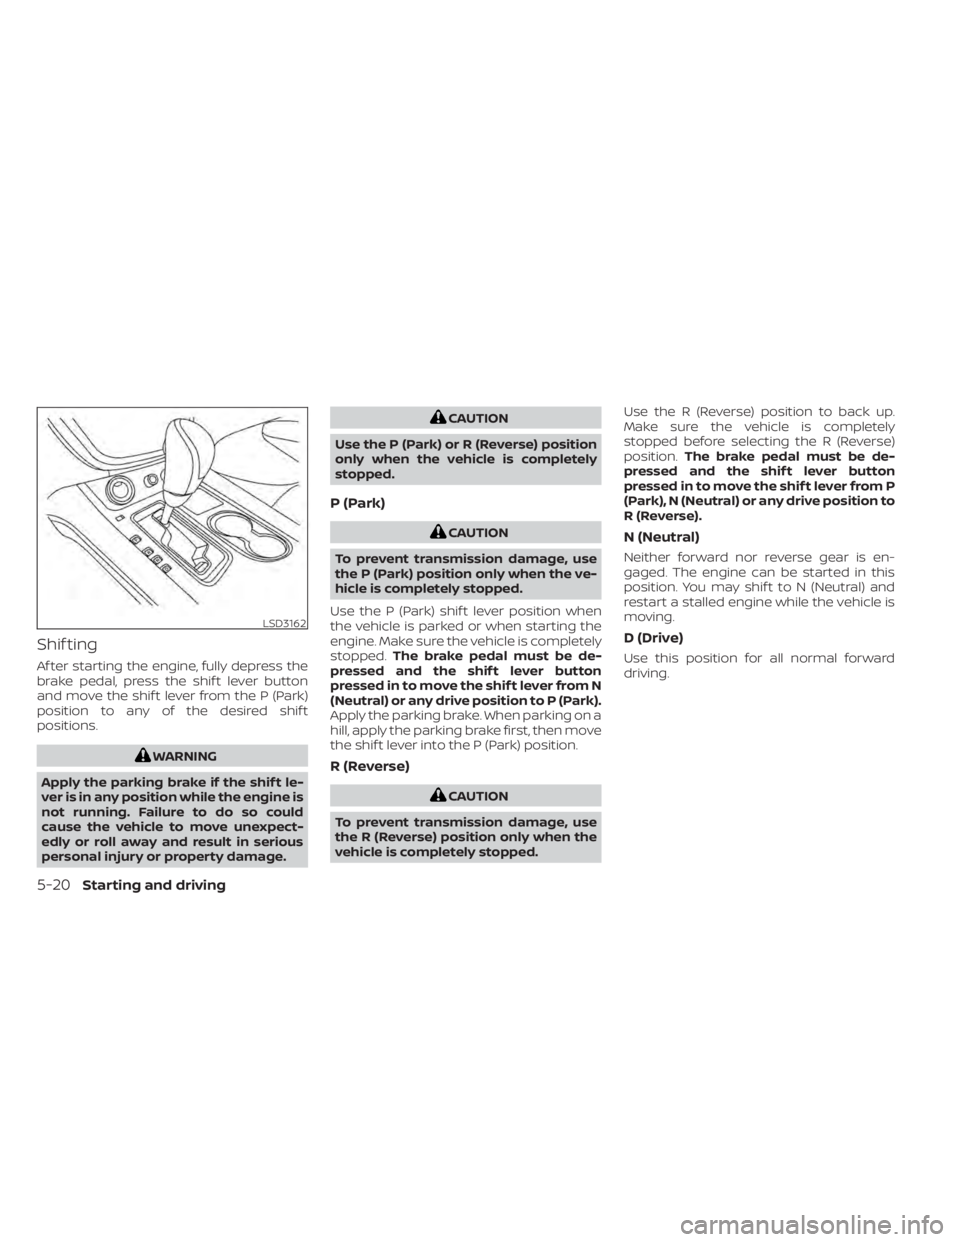
Shif ting
Af ter starting the engine, fully depress the
brake pedal, press the shif t lever button
and move the shif t lever from the P (Park)
position to any of the desired shif t
positions.
WARNING
Apply the parking brake if the shif t le-
ver is in any position while the engine is
not running. Failure to do so could
cause the vehicle to move unexpect-
edly or roll away and result in serious
personal injury or property damage.
CAUTION
Use the P (Park) or R (Reverse) position
only when the vehicle is completely
stopped.
P (Park)
CAUTION
To prevent transmission damage, use
the P (Park) position only when the ve-
hicle is completely stopped.
Use the P (Park) shif t lever position when
the vehicle is parked or when starting the
engine. Make sure the vehicle is completely
stopped. The brake pedal must be de-
pressed and the shif t lever button
pressed in to move the shif t lever from N
(Neutral) or any drive position to P (Park).
Apply the parking brake. When parking on a
hill, apply the parking brake first, then move
the shif t lever into the P (Park) position.
R (Reverse)
CAUTION
To prevent transmission damage, use
the R (Reverse) position only when the
vehicle is completely stopped. Use the R (Reverse) position to back up.
Make sure the vehicle is completely
stopped before selecting the R (Reverse)
position.
The brake pedal must be de-
pressed and the shif t lever button
pressed in to move the shif t lever from P
(Park), N (Neutral) or any drive position to
R (Reverse).
N (Neutral)
Neither forward nor reverse gear is en-
gaged. The engine can be started in this
position. You may shif t to N (Neutral) and
restart a stalled engine while the vehicle is
moving.
D (Drive)
Use this position for all normal forward
driving.
LSD3162
5-20Starting and driving
Page 260 of 508
•When this situation occurs, the Con-
tinuously Variable Transmission (CVT)
position indicator light will blink and
the chime will sound.
• In the manual shif t mode, the trans-
mission may shif t up automatically to a
higher range than selected if the en-
gine speed is too high. When the ve-
hicle speed decreases, the transmis-
sion automatically shif ts down and
shif ts to first gear before the vehicle
comes to a stop.
• CVT operation is limited to automatic drive mode when CVT fluid temperature
is extremely low even if manual shif t
mode is selected. This is not a malfunc-
tion. When CVT fluid warms up, manual
mode can be selected.
• When the CVT fluid temperature is high, the shif t range may upshif t in lower rpm
than usual. This is not a malfunction.
Shif t lock release
If the battery charge is low or discharged,
the shif t lever may not be moved from the
P (Park) position even with the brake pedal
depressed and the shif t lever button
pressed. To move the shif t lever, perform
the following procedure:
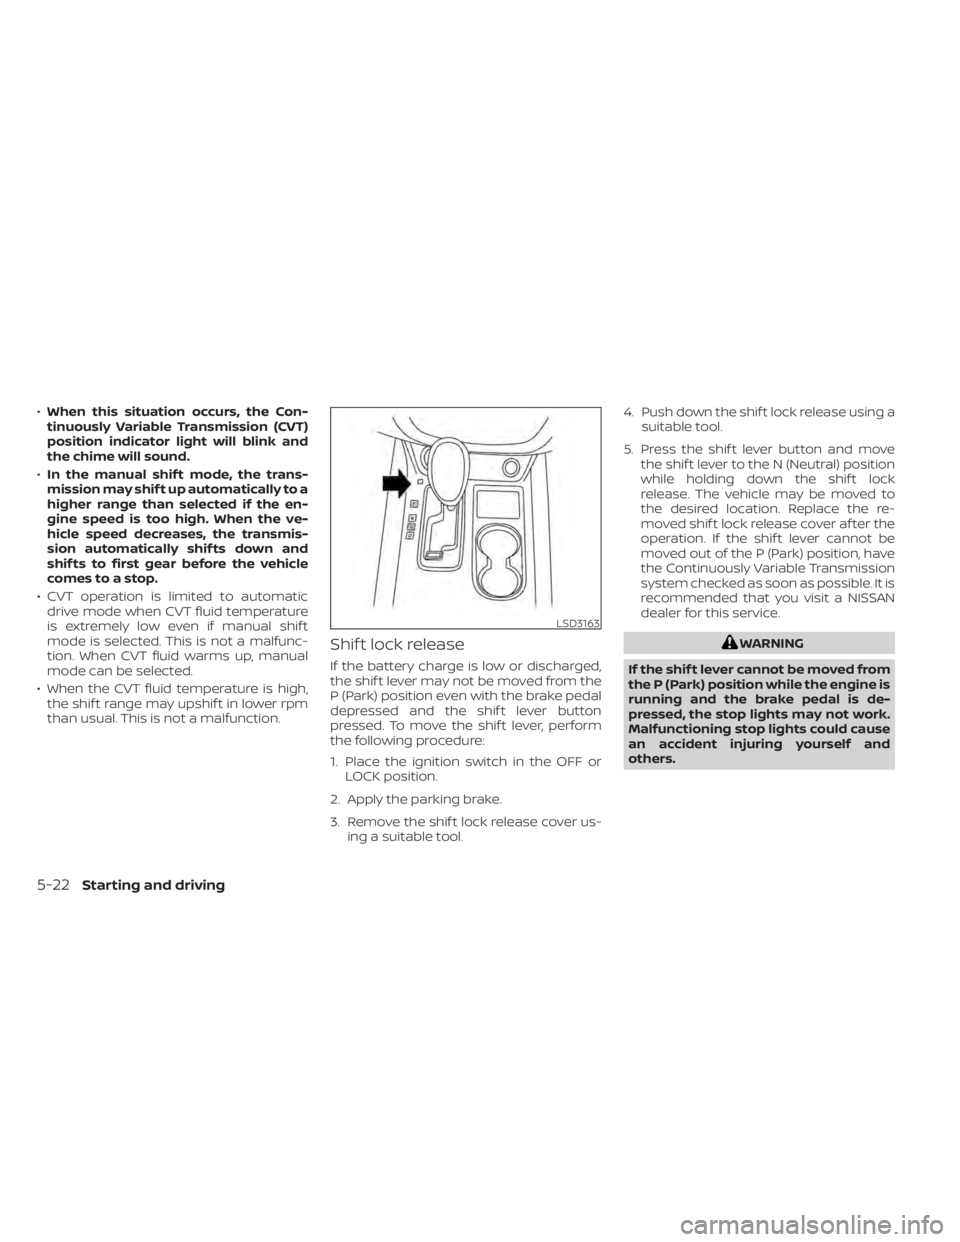
1. Place the ignition switch in the OFF or LOCK position.
2. Apply the parking brake.
3. Remove the shif t lock release cover us- ing a suitable tool. 4. Push down the shif t lock release using a
suitable tool.
5. Press the shif t lever button and move the shif t lever to the N (Neutral) position
while holding down the shif t lock
release. The vehicle may be moved to
the desired location. Replace the re-
moved shif t lock release cover af ter the
operation. If the shif t lever cannot be
moved out of the P (Park) position, have
the Continuously Variable Transmission
system checked as soon as possible. It is
recommended that you visit a NISSAN
dealer for this service.
WARNING
If the shif t lever cannot be moved from
the P (Park) position while the engine is
running and the brake pedal is de-
pressed, the stop lights may not work.
Malfunctioning stop lights could cause
an accident injuring yourself and
others.
LSD3163
5-22Starting and driving