2021 NISSAN KICKS ECO mode
[x] Cancel search: ECO modePage 249 of 500
Automatic Connecting Procedure
If no phone is connected to the system,
press and hold the
button on the
steering wheel for less than 1.5 seconds.
Af ter the prompt, speak “Add Phone”, the
system will announce “transferring to the
add phone settings menu”. The system will
start the pairing procedure. When a com-
patible phone is found, a message with a
PIN appears on the screen. Operate the
Bluetooth® phone to complete the con-
nection process. For additional informa-
tion, refer to “Bluetooth® connections
screen” in this section.
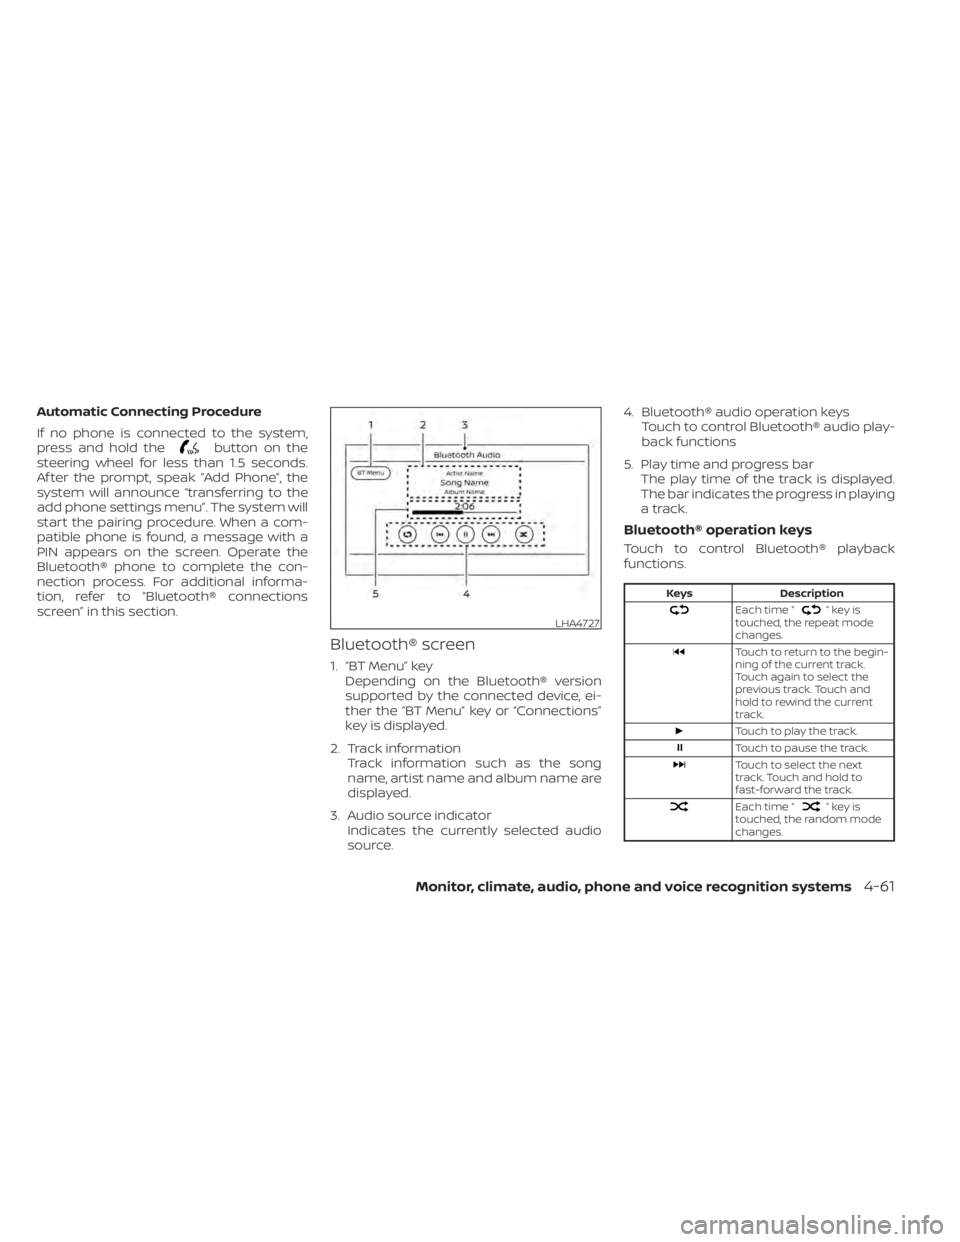
Bluetooth® screen
1. “BT Menu” key Depending on the Bluetooth® version
supported by the connected device, ei-
ther the “BT Menu” key or “Connections”
key is displayed.
2. Track information Track information such as the song
name, artist name and album name are
displayed.
3. Audio source indicator Indicates the currently selected audio
source. 4. Bluetooth® audio operation keys
Touch to control Bluetooth® audio play-
back functions
5. Play time and progress bar The play time of the track is displayed.
The bar indicates the progress in playing
a track.
Bluetooth® operation keys
Touch to control Bluetooth® playback
functions.
”keyis
touched, the repeat mode
changes.
Touch to return to the begin-
ning of the current track.
Touch again to select the
previous track. Touch and
hold to rewind the current
track.
Touch to play the track.
Touch to pause the track.
Touch to select the next
track. Touch and hold to
fast-forward the track.
Each time “”keyis
touched, the random mode
changes.
LHA4727
Page 250 of 500
Bluetooth® audio operation
The ability to pause, change tracks, fast
forward, rewind, randomize and repeat
music may be different between devices.
Some or all of these functions may not be
supported on each device.
NOTE:
Depending on the Bluetooth® audio de-
vice that is connected, it may not be pos-
sible to perform audio operations or a
delay may occur before music is played
back.
Activation and playing
A Bluetooth® audio device can be played by
touching the “Bluetooth” key on the Menu
screen or by touching Bluetooth on the
Launch Bar.
To pause playing the Bluetooth® audio,
touch the “
” key. Touch the “”key
to resume playing.
Changing folders
To change folders, touch the “BT Menu” key.
Fast-forwarding/rewinding
To fast-forward or rewind the track, press
and hold theorbuttons on the
control panel or touch the “”or“”
keys on the screen.
Changing play mode
Repeat mode
Touch the “
” key on the screen to
change the repeat mode.
Random mode
Touch the “
” key on the screen to
change the random mode.
NOTE:
Available repeat/random modes change
depending on the connected device.
BT Menu
Touch the “BT Menu” key on the Bluetooth®
audio screen to display the Bluetooth® au-
dio menu screen. The following items are available.
“Now Playing” key Touch to display the
Bluetooth® audio screen.
“Current List” key (if so
equipped)* A list of track in the cur-
rently selected folder is
displayed.
“Connections” key Touch to display the con- nections screen.
“Folder List” key* Touch to display the folder list. Touch an item
on the list to select the
folder.
*: displayed only when available.
NOTE:
Depending on the connected device, the
“BT Menu” key may not be displayed.
4-62Monitor, climate, audio, phone and voice recognition systems
Page 251 of 500
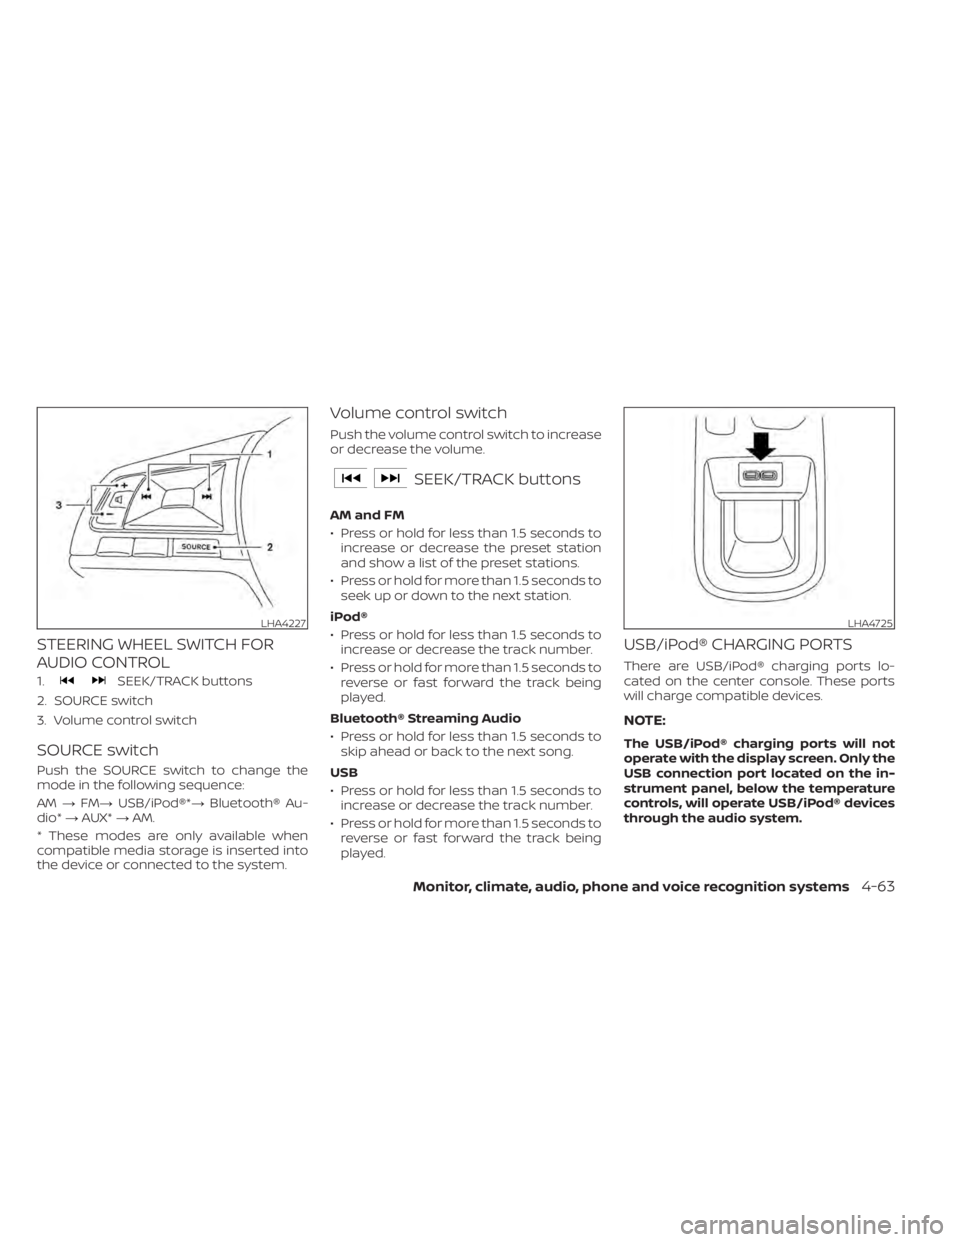
STEERING WHEEL SWITCH FOR
AUDIO CONTROL
1.SEEK/TRACK buttons
2. SOURCE switch
3. Volume control switch
SOURCE switch
Push the SOURCE switch to change the
mode in the following sequence:
AM →FM→ USB/iPod®*→ Bluetooth® Au-
dio* →AUX* →AM.
* These modes are only available when
compatible media storage is inserted into
the device or connected to the system.
Volume control switch
Push the volume control switch to increase
or decrease the volume.
SEEK/TRACK buttons
AM and FM
• Press or hold for less than 1.5 seconds to increase or decrease the preset station
and show a list of the preset stations.
• Press or hold for more than 1.5 seconds to seek up or down to the next station.
iPod®
• Press or hold for less than 1.5 seconds to increase or decrease the track number.
• Press or hold for more than 1.5 seconds to reverse or fast forward the track being
played.
Bluetooth® Streaming Audio
• Press or hold for less than 1.5 seconds to skip ahead or back to the next song.
USB
• Press or hold for less than 1.5 seconds to increase or decrease the track number.
• Press or hold for more than 1.5 seconds to reverse or fast forward the track being
played.
USB/iPod® CHARGING PORTS
There are USB/iPod® charging ports lo-
cated on the center console. These ports
will charge compatible devices.
NOTE:
The USB/iPod® charging ports will not
operate with the display screen. Only the
USB connection port located on the in-
strument panel, below the temperature
controls, will operate USB/iPod® devices
through the audio system.
LHA4725
Page 253 of 500
REQUIREMENTS
Siri® is only available on the iPhone® 4S or
later. Devices released before iPhone® 4S
are not supported by the Siri® Eyes Free
system. Visit www.apple.com/ios/siri for
details about device compatibility.
Siri must be enabled on the phone. Please
check phone settings.
If the device has a lock screen, Siri must be
accessible from the lock screen. Please
check phone settings.
For best results, always update your device
to the latest sof tware version.
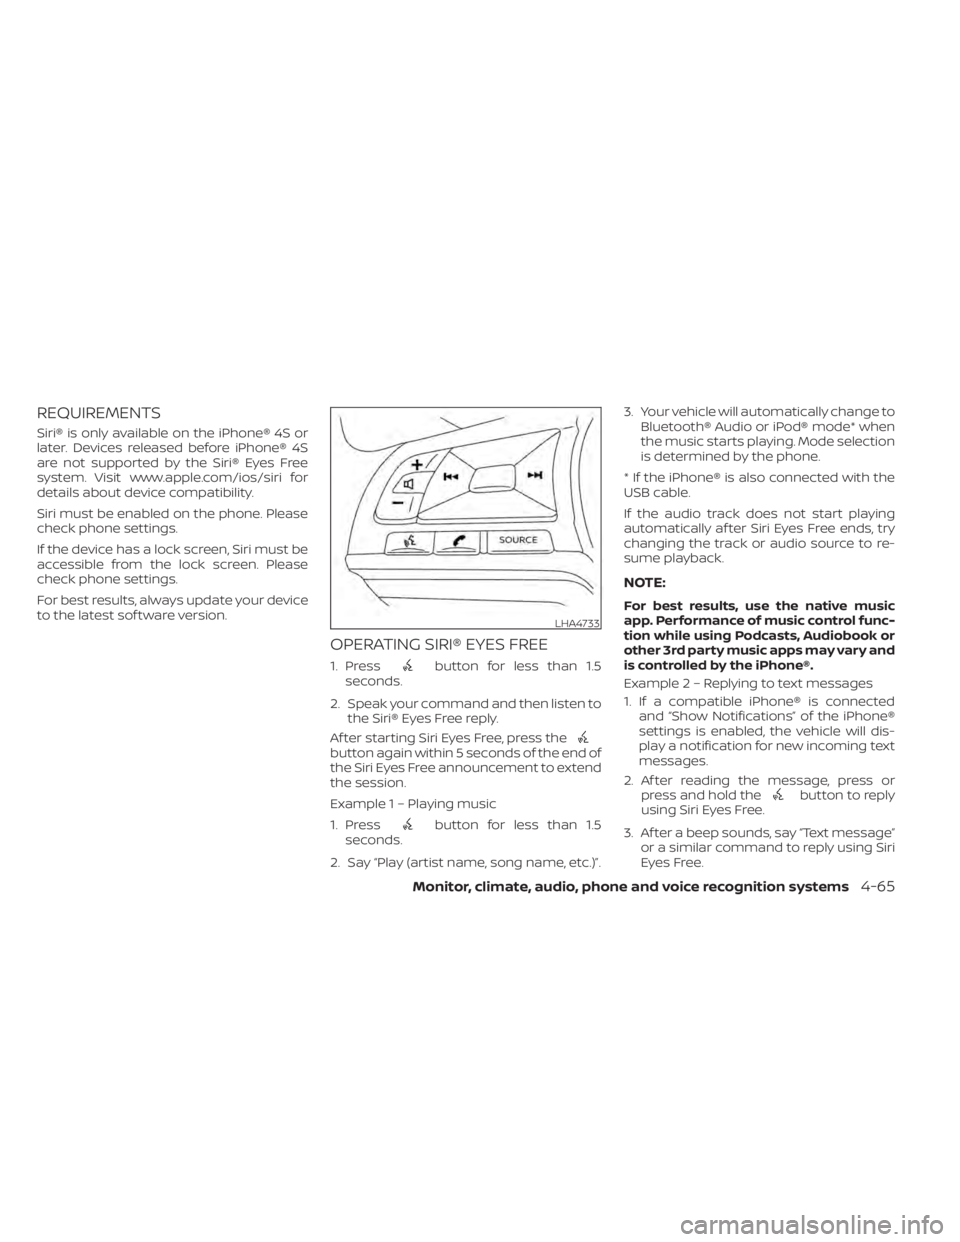
OPERATING SIRI® EYES FREE
1. Pressbutton for less than 1.5
seconds.
2. Speak your command and then listen to the Siri® Eyes Free reply.
Af ter starting Siri Eyes Free, press the
button again within 5 seconds of the end of
the Siri Eyes Free announcement to extend
the session.
Example 1 – Playing music
1. Press
button for less than 1.5
seconds.
2. Say “Play (artist name, song name, etc.)”. 3. Your vehicle will automatically change to
Bluetooth® Audio or iPod® mode* when
the music starts playing. Mode selection
is determined by the phone.
* If the iPhone® is also connected with the
USB cable.
If the audio track does not start playing
automatically af ter Siri Eyes Free ends, try
changing the track or audio source to re-
sume playback.
NOTE:
For best results, use the native music
app. Performance of music control func-
tion while using Podcasts, Audiobook or
other 3rd party music apps may vary and
is controlled by the iPhone®.
Example2–Repl ying to text messages
1. If a compatible iPhone® is connected and “Show Notifications” of the iPhone®
settings is enabled, the vehicle will dis-
play a notification for new incoming text
messages.
2. Af ter reading the message, press or press and hold the
button to reply
using Siri Eyes Free.
3. Af ter a beep sounds, say “Text message” or a similar command to reply using Siri
Eyes Free.
LHA4733
Page 263 of 500
“Select Phone”
Speak this command to access the Con-
nections menu. For additional information,
refer to “Bluetooth® connections screen” in
this section.
“Add Phone”
Speak this command to access the Con-
nections menu. For additional information,
refer to “Bluetooth® connections screen” in
this section.
“Settings”
Speak this command to access the Sys-
tem Voice settings menu. The system will
exit Voice Recognition mode. Touch one of
the following options on the screen to
change the settings.
• Beep Only for Opening PromptBy touching the “ON” key, the indicator
light will illuminate, the system voice will
turn off and only a tone will sound when
the Bluetooth® Hands-Free Phone Sys-
tem is activated. To turn the system voice
back on, touch the “ON” key again, the
indicator light will turn off. • Best Match List
When the system doesn't recognize a
phonebook name or dial number, it will
provide a list of similar sounding results.
To turn this off, touch the “ON” key, the
indicator light will turn off. To turn on,
touch the “ON” key again, the indicator
light will turn on.
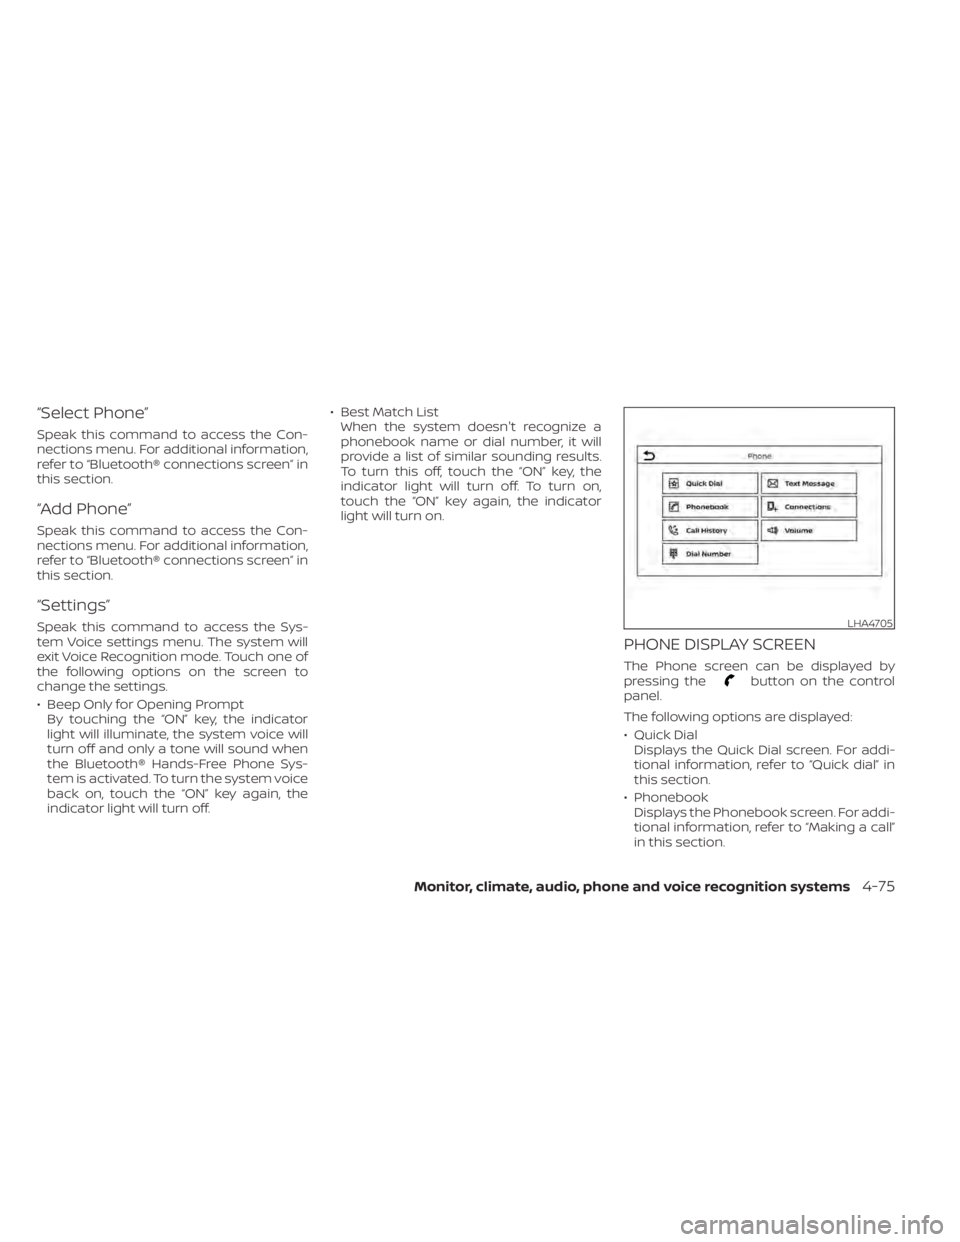
PHONE DISPLAY SCREEN
The Phone screen can be displayed by
pressing thebutton on the control
panel.
The following options are displayed:
• Quick Dial Displays the Quick Dial screen. For addi-
tional information, refer to “Quick dial” in
this section.
• Phonebook Displays the Phonebook screen. For addi-
tional information, refer to “Making a call”
in this section.
LHA4705
Page 293 of 500
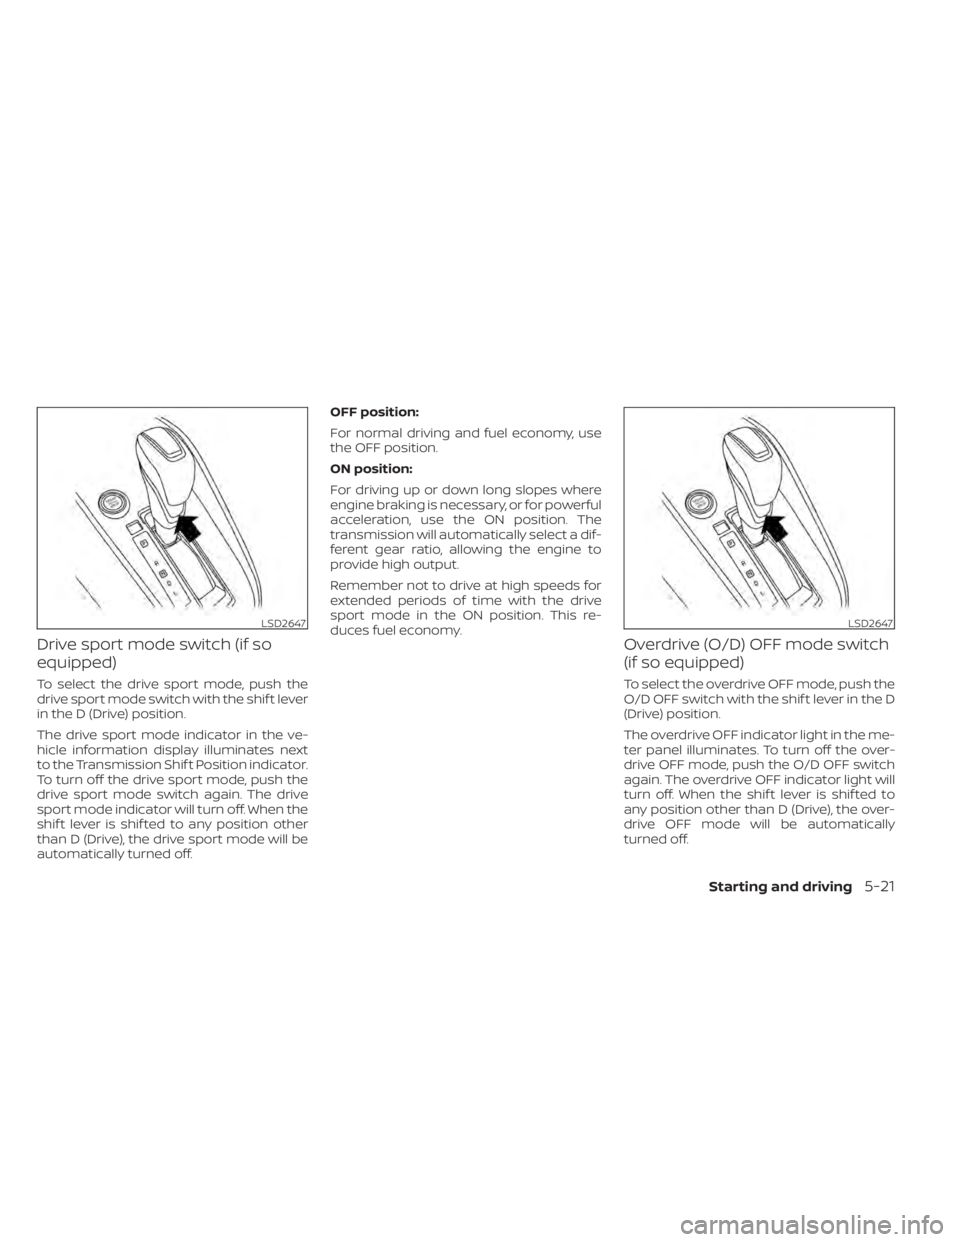
Drive sport mode switch (if so
equipped)
To select the drive sport mode, push the
drive sport mode switch with the shif t lever
in the D (Drive) position.
The drive sport mode indicator in the ve-
hicle information display illuminates next
to the Transmission Shif t Position indicator.
To turn off the drive sport mode, push the
drive sport mode switch again. The drive
sport mode indicator will turn off. When the
shif t lever is shif ted to any position other
than D (Drive), the drive sport mode will be
automatically turned off.OFF position:
For normal driving and fuel economy, use
the OFF position.
ON position:
For driving up or down long slopes where
engine braking is necessary, or for powerful
acceleration, use the ON position. The
transmission will automatically select a dif-
ferent gear ratio, allowing the engine to
provide high output.
Remember not to drive at high speeds for
extended periods of time with the drive
sport mode in the ON position. This re-
duces fuel economy.
Overdrive (O/D) OFF mode switch
(if so equipped)
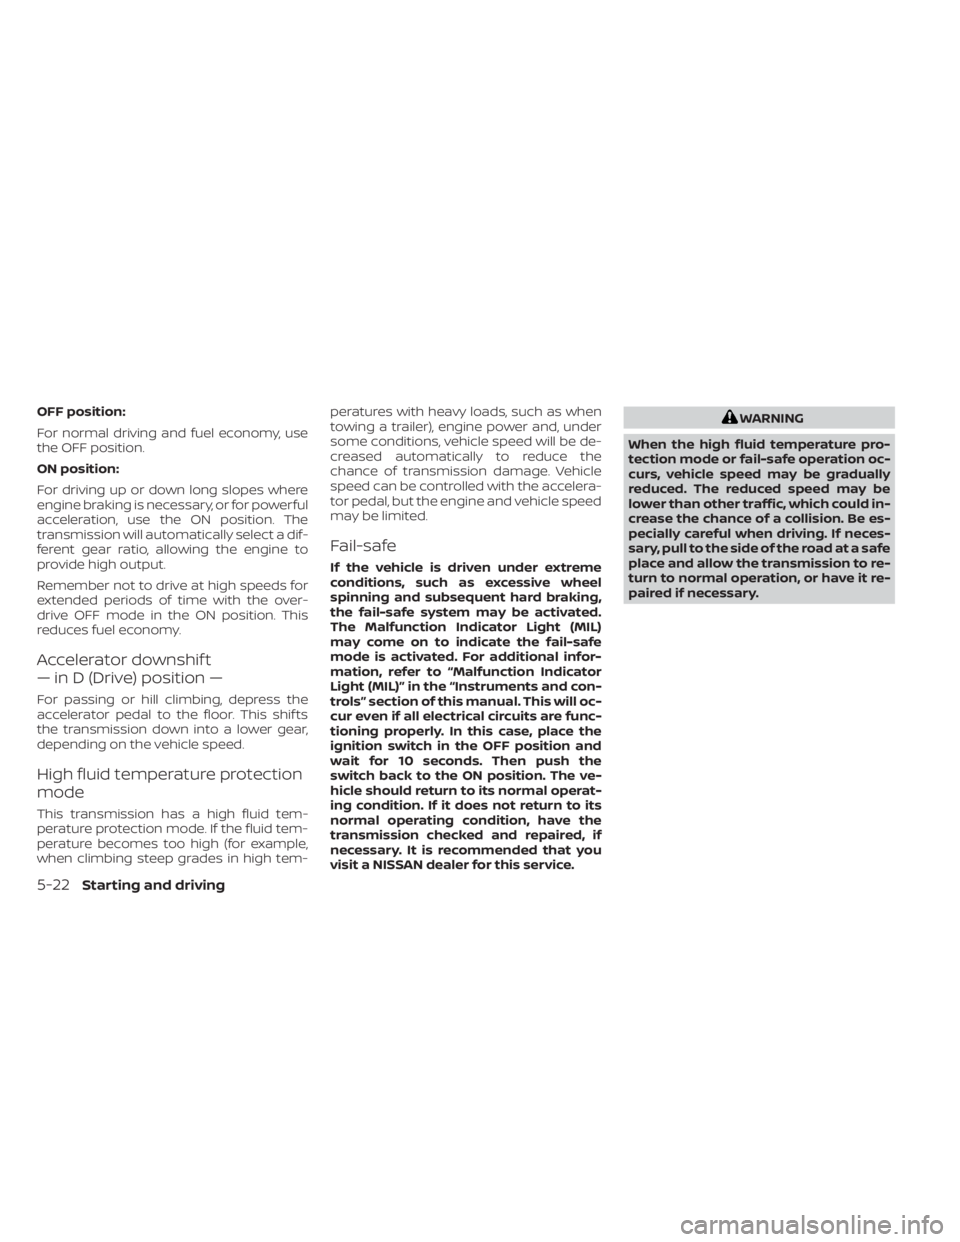
To select the overdrive OFF mode, push the
O/D OFF switch with the shif t lever in the D
(Drive) position.
The overdrive OFF indicator light in the me-
ter panel illuminates. To turn off the over-
drive OFF mode, push the O/D OFF switch
again. The overdrive OFF indicator light will
turn off. When the shif t lever is shif ted to
any position other than D (Drive), the over-
drive OFF mode will be automatically
turned off.
LSD2647LSD2647
Page 294 of 500
OFF position:
For normal driving and fuel economy, use
the OFF position.
ON position:
For driving up or down long slopes where
engine braking is necessary, or for powerful
acceleration, use the ON position. The
transmission will automatically select a dif-
ferent gear ratio, allowing the engine to
provide high output.
Remember not to drive at high speeds for
extended periods of time with the over-
drive OFF mode in the ON position. This
reduces fuel economy.
Accelerator downshif t
— in D (Drive) position —
For passing or hill climbing, depress the
accelerator pedal to the floor. This shif ts
the transmission down into a lower gear,
depending on the vehicle speed.
High fluid temperature protection
mode
This transmission has a high fluid tem-
perature protection mode. If the fluid tem-
perature becomes too high (for example,
when climbing steep grades in high tem-peratures with heavy loads, such as when
towing a trailer), engine power and, under
some conditions, vehicle speed will be de-
creased automatically to reduce the
chance of transmission damage. Vehicle
speed can be controlled with the accelera-
tor pedal, but the engine and vehicle speed
may be limited.
Fail-safe
If the vehicle is driven under extreme
conditions, such as excessive wheel
spinning and subsequent hard braking,
the fail-safe system may be activated.
The Malfunction Indicator Light (MIL)
may come on to indicate the fail-safe
mode is activated. For additional infor-
mation, refer to “Malfunction Indicator
Light (MIL)” in the “Instruments and con-
trols” section of this manual. This will oc-
cur even if all electrical circuits are func-
tioning properly. In this case, place the
ignition switch in the OFF position and
wait for 10 seconds. Then push the
switch back to the ON position. The ve-
hicle should return to its normal operat-
ing condition. If it does not return to its
normal operating condition, have the
transmission checked and repaired, if
necessary. It is recommended that you
visit a NISSAN dealer for this service.
WARNING
When the high fluid temperature pro-
tection mode or fail-safe operation oc-
curs, vehicle speed may be gradually
reduced. The reduced speed may be
lower than other traffic, which could in-
crease the chance of a collision. Be es-
pecially careful when driving. If neces-
sary, pull to the side of the road at a safe
place and allow the transmission to re-
turn to normal operation, or have it re-
paired if necessary.
5-22Starting and driving
Page 351 of 500
• Do not cover or attach stickers, or installany accessory near the sensors. This
could block sensor signals and/or cause
failure or malfunction.
• Do not attach metallic objects near the radar sensor (brush guard, etc.). This
could cause failure or malfunction.
• Do not place reflective materials, such as white paper or a mirror, on the instru-
ment panel. The reflection of sunlight
may adversely affect the camera unit's
detection capability.
• Do not alter, remove or paint the front bumper. Before customizing or restoring
the front bumper, it is recommended that
you visit a NISSAN dealer.
Radio frequency statement
For USA
FCC ID OAYARS4B
This device complies with Part 15 of the
FCC Rules. Operation is subject to the fol-
lowing two conditions:
1. This device may not cause harmful in-
terference, and
2. This device must accept any interfer-
ence received, including interference
that may cause undesired operation. FCC Warning
Changes or modifications not expressly
approved by the party responsible for
compliance could void the user’s author-
ity to operate the equipment.
For Canada
Model: ARS4–B
IC: 4135A-ARS4B
FCC ID: OAYARS4B
This device complies with Part 15 of the
FCC Rules and with Industry Canada
licence-exempt RSS standard(s). Opera-
tion is subject to the following two con-
ditions:
1.
This device may not cause interfer-
ence, and
2. This device must accept any interfer-
ence received, including interference
that may cause undesired operation
of the device.
Le présent appareil est conforme aux
CNR d'Industrie Canada applicables aux
appareils radio exempts de licence.
L'exploitation est autorisée aux deux
conditions suivantes:
1. L'appareil ne doit pas produire de
brouillage, et 2.
L'utilisateur de l'appareil doit accepter
tout brouillage radioélectrique subi,
même si le brouillage est susceptible
d'en compromettre le fonctionnement.
Radio frequency radiation exposure in-
formation:
This equipment complies with FCC and IC
radiation exposure limits set forth for an
uncontrolled environment.
This equipment should be installed and
operated with minimum distance of 30
cm between the radiator and your body.
This transmitter must not be co-located
or operating in conjunction with any
other antenna or transmitter.
Cet équipement est conforme aux limites
d'exposition aux rayonnements IC établies
pour un environnement non contrôlé.
Cet équipement doit être installé et
utilisé avec un minimum de 30 cm de
distance entre la source de rayonnement
et votre corps.
FCC Notice
Changes or modifications not expressly
approved by the party responsible for
compliance could void the user’s author-
ity to operate the equipment.
Starting and driving5-79