2021 NISSAN FRONTIER steering wheel
[x] Cancel search: steering wheelPage 343 of 492
The VDC system uses various sensors to
monitor driver inputs and vehicle motion.
Under certain driving conditions, the VDC
system helps to perform the following
functions:
• Controls brake pressure to reduce wheelslip on one slipping drive wheel so power
is transferred to a non-slipping drive
wheel on the same axle.
• Controls brake pressure and engine out- put to reduce drive wheel slip based on
vehicle speed (traction control function).
• If the 4WD transfer case is shif ted into 4LO the
indicator light will come on and
the VDC system will be turned off. For
additional information, refer to “Using
4–Wheel Drive (4WD)” in this section.
• Controls brake pressure at individual wheels and engine output to help the
driver maintain control of the vehicle in
the following conditions:– Understeer (vehicle tends to not follow the steered path despite increased
steering input)
– Oversteer (vehicle tends to spin due to certain road or driving conditions)
The VDC system can help the driver to
maintain control of the vehicle, but it can-
not prevent loss of vehicle control in all driv-
ing situations. When the VDC system operates, the
indicator light in the instrument panel
flashes so note the following:
• The road may be slippery or the system
may determine some action is required
to help keep the vehicle on the steered
path.
• You may feel a pulsation in the brake pedal and hear a noise or vibration from
under the hood. This is normal and indi-
cates that the VDC system is working
properly.
• Adjust your speed and driving to the road conditions.
For additional information, refer to “Slip in-
dicator light” and ”Vehicle Dynamic Control
(VDC) OFF indicator light” in the ”Instru-
ments and controls” section of this manual.
If a malfunction occurs in the system, the
indicator light will come on in the in-
strument panel. The VDC system auto-
matically turns off when these indicator
lights are off.
The VDC OFF switch is used to turn off the
VDC system. The
indicator light illumi-
nates to indicate the VDC system is off. When the VDC OFF switch is used to turn off
the system, the VDC system still operates
to prevent one drive wheel from slipping by
transferring power to a non-slipping drive
wheel. The
indicator light flashes if this
occurs. All other VDC functions are off and
the
indicator light will not flash.
The VDC system is automatically reset to
on when the ignition switch is placed in the
OFF position then back to the ON position.
The computer has a built-in diagnostic fea-
ture that tests the system each time you
start the engine and move the vehicle for-
ward or in reverse at a slow speed. When
the self-test occurs, you may hear a clunk
noise and/or feel a pulsation in the brake
pedal. This is normal and is not an indica-
tion of a malfunction.
VEHICLE DYNAMIC CONTROL (VDC)
SYSTEM
Starting and driving5-35
Page 344 of 492

WARNING
• The VDC system is designed to help
the driver maintain stability but does
not prevent accidents due to abrupt
steering operation at high speeds or
by careless or dangerous driving
techniques. Reduce vehicle speed
and be especially careful when driv-
ing and cornering on slippery sur-
faces and always drive carefully.
• Do not modif y the vehicle's suspen-
sion. If suspension parts such as
shock absorbers, struts, springs, sta-
bilizer bars, bushings and wheels are
not NISSAN recommended for your
vehicle or are extremely deterio-
rated, the VDC system may not oper-
ate properly. This could adversely af-
fect vehicle handling performance,
and the
indicator light may flash
or theindicator light may
illuminate.
• If brake related parts such as brake
pads, rotors and calipers are not
NISSAN recommended or are ex-
tremely deteriorated, the VDC sys-
tem may not operate properly and
both the
andindicator
lights may illuminate. •
If engine control related parts are not
NISSAN recommended or are ex-
tremely deteriorated, both the
andindicator lights may
illuminate.
• When driving on extremely inclined
surfaces such as higher banked cor-
ners, the VDC system may not oper-
ate properly and the
indicator
light may flash or theindicator
light may illuminate. Do not drive on
these types of roads.
• When driving on an unstable surface
such as a turntable, ferry, elevator or
ramp, the
indicator light may
flash or theindicator light may
illuminate. This is not a malfunction.
Restart the engine af ter driving onto
a stable surface.
• If wheels or tires other than the
NISSAN recommended ones are
used, the VDC system may not oper-
ate properly and the
indicator
light may flash or theindicator
light may illuminate.
• The VDC system is not a substitute
for winter tires or tire chains on a
snow covered road.
BRAKE FORCE DISTRIBUTION
During braking while driving through turns,
the system optimizes the distribution of
force to each of the four wheels depending
on the radius of the turn.
indicator light may flash
or theindicator light may
illuminate.
5-36Starting and driving
Page 422 of 492
brake needs adjustment, it is recom-
mended that you visit a NISSAN dealer for
this service.
Seats:
Check seat position controls such as
seat adjusters, seatback recliner, etc., to en-
sure they operate smoothly and all latches
lock securely in every position. Check that the
head restraints/headrests move up and
down smoothly and the locks (if so equipped)
hold securely in all latched positions.
Seat belts: Check that all parts of the seat
belt system (for example, buckles, anchors,
adjusters and retractors) operate properly
and smoothly, and are installed securely.
Check the belt webbing for cuts, fraying,
wear or damage.
Steering wheel: Check for changes in the
steering system, such as excessive free
play, hard steering or strange noises.
Warning lights and chimes: Make sure all
warning lights and chimes are operating
properly.
Windshield defroster: Check that the air
comes out of the defroster outlets properly
and in sufficient quantity when operating
the heater or air conditioner.
Windshield wiper and washer*: Check
that the wipers and washer operate prop-
erly and that the wipers do not streak.
Under the hood and vehicle
The maintenance items listed here should
be checked periodically (for example, each
time you check the engine oil or refuel).
Battery (for maintenance free batter-
ies)*: This vehicle is equipped with a sealed
maintenance free battery. It is recom-
mended that you visit a NISSAN dealer for
service.
NOTE:
Care should be taken to avoid situations
that can lead to potential battery dis-
charge and potential no-start conditions
such as:
1. Installation or extended use of elec-
tronic accessories that consume bat-
tery power when the engine is not run-
ning (Phone chargers, GPS, DVD
players, etc.).
2. Vehicle is not driven regularly and/or
only driven short distances.
In these cases, the battery may need to
be charged to maintain battery health.
Brake fluid level*: Make sure that the fluid
level is between the MAX and MIN lines on
the reservoir. Engine coolant level*:
Check the coolant
level when the engine is cold.
Engine drive belts*: Make sure the drive
belts are not frayed, worn, cracked or oily.
Engine oil level*: Check the level af ter
parking the vehicle on a level spot and
turning off the engine. Wait more than 15
minutes for the oil to drain back into the oil
pan.
Exhaust system: Make sure there are no
loose supports, cracks or holes. If the
sound of the exhaust seems unusual or
there is a smell of exhaust fumes, immedi-
ately have the exhaust system inspected. It
is recommended that you visit a NISSAN
dealer for this service. For additional infor-
mation, refer to “Exhaust gas (carbon mon-
oxide)” in the “Starting and driving” section
of this manual.
Fluid leaks: Check under the vehicle for
fuel, oil, water or other fluid leaks af ter the
vehicle has been parked for a while. Water
dripping from the air conditioner af ter use
is normal. If you should notice any leaks or if
fuel fumes are evident, check for the cause
and have it corrected immediately.
9-4Maintenance and schedules
Page 468 of 492
Electric trailer brake controller
Trailers equipped with electric brakes may
require the installation of an af termarket
trailer brake controller.
A Genuine NISSAN jumper harness is avail-
able that is specifically designed to be used
when installing an af termarket brake con-
troller.
Install the af termarket electric trailer brake
controller according to the manufacturer's
instructions.
Pre-towing tips
• Be certain your vehicle maintains a levelposition when a loaded and/or unloaded
trailer is hitched. Do not drive the vehicle if
it has an abnormal nose-up or nose-
down condition; check for improper
tongue load, overload, worn suspension
or other possible causes of either condi-
tion.
• Always secure items in the trailer to pre- vent load shif t while driving.
• Keep the cargo load as low as possible in the trailer to keep the trailer center of
gravity low. • Load the trailer so approximately 60% of
the trailer load is in the front half and 40%
is in the back half. Also make sure the load
is balanced side to side.
• Check your hitch, trailer tire pressure, ve- hicle tire pressure, trailer light operation,
and trailer wheel lug nuts every time you
attach a trailer to the vehicle.
• Be certain your rearview mirrors conform to all federal, state or local regulations. If
not, install any mirrors required for towing
before driving the vehicle.
• Determine the overall height of the ve- hicle and trailer so the required clearance
is known.
Trailer towing tips
In order to gain skill and an understanding
of the vehicle's behavior, you should prac-
tice turning, stopping and backing up in an
area which is free from traffic. Steering sta-
bility and braking performance will be
somewhat different than under normal
driving conditions.
• Always secure items in the trailer to pre-vent load shif t while driving.
• Lock the trailer hitch coupler with a pin or lock to prevent the coupler from inadver-
tently becoming unlatched. • Avoid abrupt starts, acceleration or stops.
• Avoid sharp turns or lane changes.
• Always drive your vehicle at a moderate
speed.
• When backing up, hold the bottom of the steering wheel with one hand. Move your
hand in the direction in which you want
the trailer to go. Make small corrections
and back up slowly. If possible, have
someone guide you when you are back-
ing up.
Always block the wheels on both vehicle
and trailer when parking. Parking on a
slope is not recommended; however, if you
must do so:
Page 469 of 492
4. Apply the parking brake.
5. Shif t the transmission into P (Park).
6. Make sure the
indicator light (if so
equipped) indicates the transfer case is
in 4H, 4L, or 2H and that the ATP light is
off. If the
indicator light is flashing,
or the ATP light is ON, make sure the
transmission is in P (Park) (A/T) and turn
the 4WD switch to 2WD or 4H. For addi-
tional information, refer to “Automatic
transmission park warning light” in the
“Instruments and controls” section and
“Using 4-wheel drive (4WD)” in the “Start-
ing and driving” section of this manual.
7. Turn off the engine.
To drive away:
1. Start the vehicle.
2. Apply and hold the brake pedal.
3. Shif t the transmission into gear.
4. Release the parking brake.
5. Drive slowly until the vehicle and trailer are clear from the blocks.
6. Apply and hold the brake pedal. 7. Have someone retrieve and store the
blocks.
• While going downhill, the weight of the trailer pushing on the tow vehicle may
decrease overall stability. Therefore, to
maintain adequate control, reduce your
speed and shif t to a lower gear. Avoid
long or repeated use of the brakes when
descending a hill, as this reduces their
effectiveness and could cause overheat-
ing. Shif ting to a lower gear instead pro-
vides “engine braking” and reduces the
need to brake as frequently.
• If the engine coolant temperature rises to a high temperature, refer to “If your ve-
hicle overheats” in the “In case of emer-
gency” section of this manual.
• Trailer towing requires more fuel than normal circumstances.
• Avoid towing a trailer for your vehicle's first 500 miles (805 km).
•
For the first 500 miles (805 km) that you do
tow, do not drive over 50 mph (80 km/h).
• Have your vehicle serviced more of ten than at intervals specified. For additional
information, refer to “Maintenance
Schedules” in the “Maintenance and
schedules” section of this manual. • When making a turn, your trailer wheels
will be closer to the inside of the turn than
your vehicle wheels. To compensate for
this, make a larger than normal turning
radius during the turn.
• Crosswinds and rough roads will ad- versely affect vehicle/trailer handling,
possibly causing vehicle sway. When be-
ing passed by larger vehicles, be pre-
pared for possible changes in crosswinds
that could affect vehicle handling.
Do the following if the trailer begins to
sway:
1. Take your foot off the accelerator pedal to allow the vehicle to coast and steer as
straight ahead as the road conditions
allow. This combination will help stabilize
the vehicle
– Do not correct trailer sway by steering or applying the brakes.
2. When the trailer sway stops, gently apply the brakes and pull to the side of the
road in a safe area.
Technical and consumer information10-35
Page 478 of 492

Parking brake operation.........5-19Self-adjusting brakes...........8-20Brake fluid....................8-11Brake system.................5-32Brakes......................8-20Break-in schedule...............5-21Brightness control
Instrument panel.............2-33Brightness/contrast button......4-9, 4-15Bulb check/instrument panel........2-15Bulb replacement...............8-28
C
C.M.V.S.S. certification label.........10-12Capacities and recommended
fuel/lubricants................ .10-2Car phone or CB radio............4-79Cargo
(See vehicle loading information).....10-14Cargo lamp switch..............2-34CD care and cleaning.............4-70CD player (See audio system).......4-54Child restraint with top tether strap. . . .1-32Child restraints.......1-25,1-26,1-28, 1-30Precautions on child
restraints.........1-39, 1-42, 1-54, 1-65Top tether strap anchor point
locations.................. .1-33Child safety rear door lock..........3-7Cleaning exterior and interior......7-2,7-4Clock set/adjustment..........4-7,4-13
Clock setting
(models with Navigation System).....4-13Cold weather driving.............5-40Compact disc (CD) player..........4-54Compass....................2-11Compass and outside temperature
display......................2-10Compass display...............2-10Connect phone................4-72Console box..................2-45Control panel buttons.........4-5, 4-10Back button.................4-13Brightness/contrast button. . . .4-9, 4-15Enter button..............4-5, 4-10Setting button...............4-13With navigation system.......4-10,4-11Controls
Audio controls (steering wheel).....4-71Heater and air conditioner controls. .4-34Heater and air conditioner controls
(manual)...................4-22CoolantCapacities and recommended
fuel/lubricants
...............10-2Changing engine coolant.........8-5Checking engine coolant level......8-5Engine coolant temperature gauge. . .2-7Corrosion protection..............7-7Cruise control.................5-19Cup holders................. .2-46Curtain side-impact and rollover
air bag..................... .1-82
D
Daytime Running Lights (DRL) system. .2-32Defroster switch
Rear window and outside mirror
defroster switch
..............2-29Rear window defroster switch.....2-29Dimensions and weights..........10-10Dimmer switch for instrument panel. . .2-33Display controls (see control panel
buttons)................. .4-5, 4-10Door locks................... .3-4Door open warning light...........2-17Drive belt....................8-15Driving
Cold weather driving...........5-40Driving with automatic
transmission................5-14Precautions when starting and
driving.....................5-2Driving the vehicle...............5-14
E
Economy - fuel.................5-23Electronic locking rear differential (E-Lock)
system.....................5-29Electronic locking rear differential (E-Lock)
system switch................ .2-37Emergency engine shutoff.......5-12,6-3Emission control information label. . . .10-12Emission control system warranty. . . .10-38
11-2
Page 482 of 492
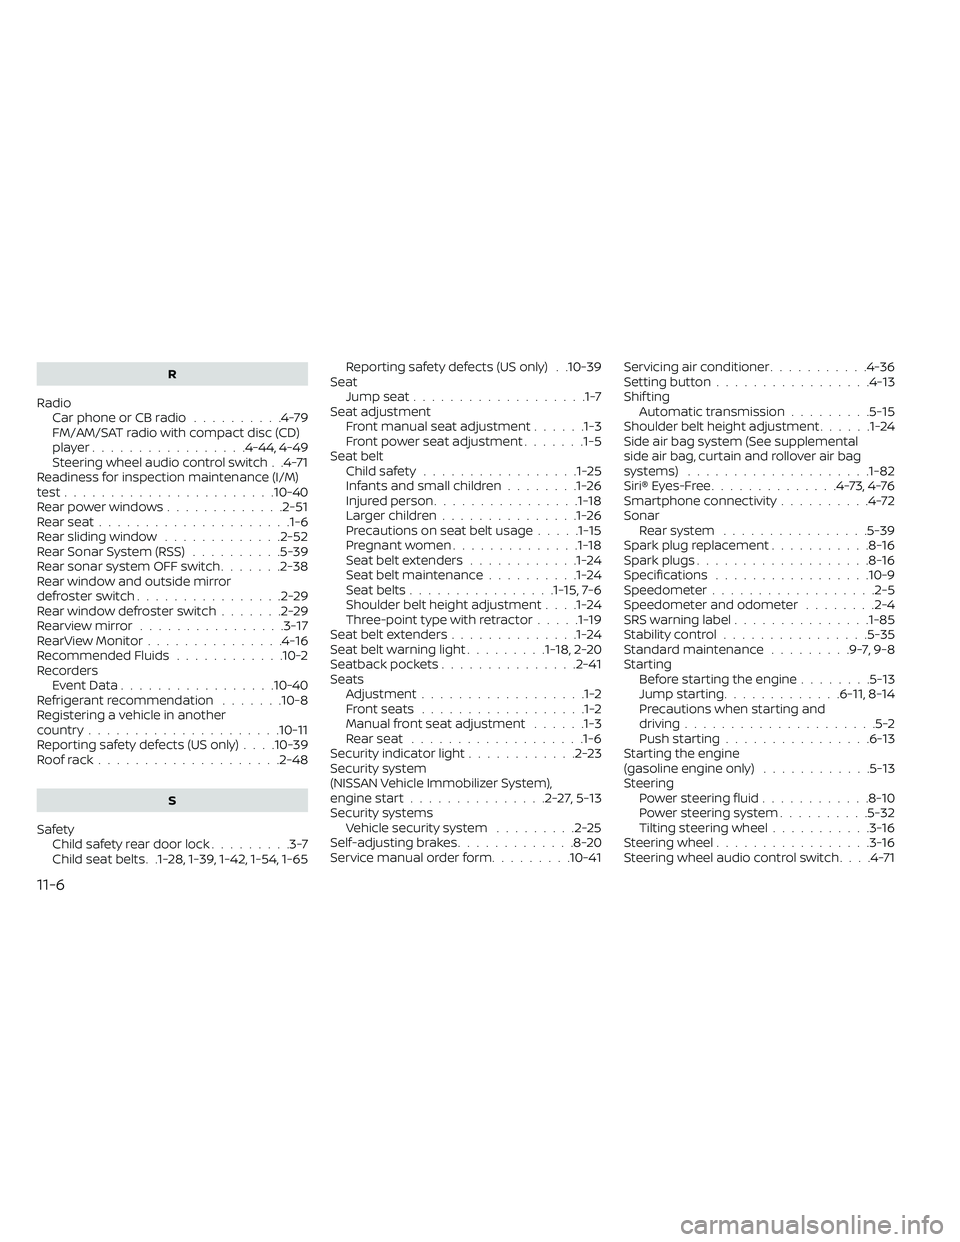
R
RadioCar phone or CB radio..........4-79FM/AM/SAT radio with compact disc (CD)
player................ .4-44, 4-49Steering wheel audio control switch. .4-71Readiness for inspection maintenance (I/M)
test...................... .10-40Rear power windows.............2-51Rear seat.....................1-6Rear sliding window.............2-52Rear Sonar System (RSS)..........5-39Rear sonar system OFF switch.......2-38Rear window and outside mirror
defroster switch................2-29Rear window defroster switch.......2-29Rearview mirror................3-17RearView Monitor...............4-16Recommended Fluids............10-2Recorders
Event Data................ .10-40Refrigerant recommendation.......10-8Registering a vehicle in another
country.................... .10-11Reporting safety defects (US only). . . .10-39Roof rack....................2-48
S
Safety
Child safety rear door lock.........3-7Child seat belts. .1-28, 1-39, 1-42, 1-54, 1-65
Reporting safety defects (US only). .10-39SeatJump seat...................1-7Seat adjustmentFront manual seat adjustment......1-3Front power seat adjustment.......1-5Seat beltChild safety.................1-25Infants and small children........1-26Injured person................1-18Larger children...............1-26Precautions on seat belt usage.....1-15Pregnant women..............1-18Seat belt extenders............1-24Seat belt maintenance..........1-24Seat belts................1-15,7-6Shoulder belt height adjustment. . . .1-24Three-point type with retractor.....1-19Seat belt extenders..............1-24Seat belt warning light.........1-18,2-20Seatback pockets...............2-41SeatsAdjustment..................1-2Front seats..................1-2Manual front seat adjustment......1-3Rear seat.................. .1-6Security indicator light............2-23Security system
(NISSAN Vehicle Immobilizer System),
engine start
...............2-27,5-13Security systems
Vehicle security system.........2-25Self-adjusting brakes.............8-20Service manual order form.........10-41
Servicing air conditioner...........4-36Setting button.................4-13Shif tingAutomatic transmission.........5-15Shoulder belt height adjustment......1-24Side air bag system (See supplemental
side air bag, curtain and rollover air bag
systems)
................... .1-82Siri® Eyes-Free..............4-73,4-76Smartphone connectivity..........4-72Sonar
Rear system................5-39Spark plug replacement...........8-16Spark plugs...................8-16Specifications................ .10-9Speedometer................. .2-5Speedometer and odometer........2-4SRS warning label...............1-85Stability control................5-35Standard maintenance.........9-7,9-8Starting
Before starting the engine........5-13Jump starting.............6-11,8-14Precautions when starting and
driving.....................5-2Push starting................6-13Starting the engine
(gasoline engine only)............5-13SteeringPower steering fluid............8-10Power steering system..........5-32Tilting steering wheel...........3-16Steering wheel.................3-16Steering wheel audio control switch. . . .4-71
11-6
Page 483 of 492
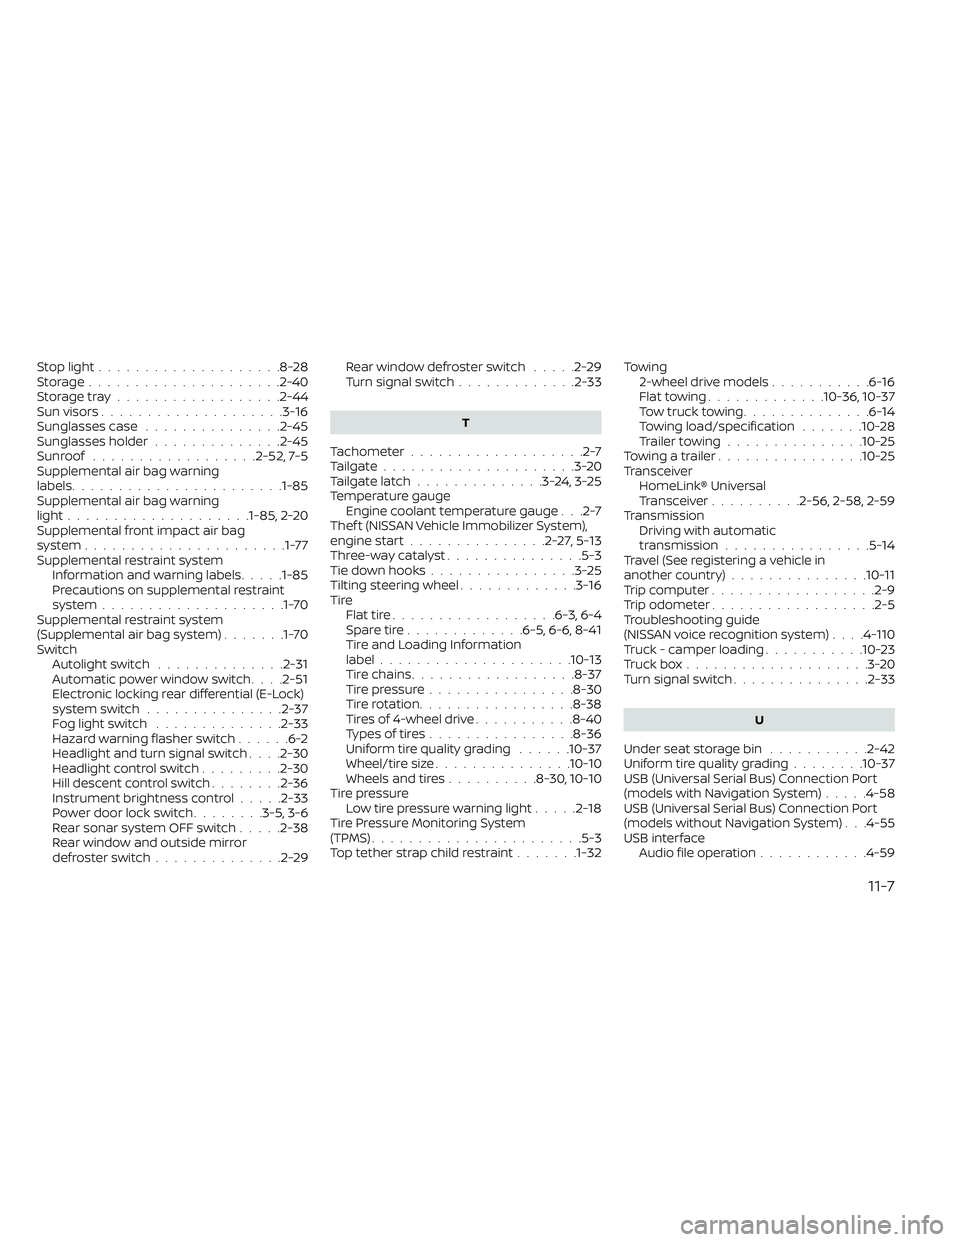
Stop light....................8-28Storage.....................2-40Storage tray..................2-44Sun visors....................3-16Sunglasses case...............2-45Sunglasses holder..............2-45Sunroof..................2-52, 7-5Supplemental air bag warning
labels...................... .1-85Supplemental air bag warning
light....................1-85, 2-20Supplemental front impact air bag
system......................1-77Supplemental restraint system
Information and warning labels.....1-85Precautions on supplemental restraint
system....................1-70Supplemental restraint system
(Supplemental air bag system).......1-70SwitchAutolight switch..............2-31Automatic power window switch. . . .2-51Electronic locking rear differential (E-Lock)
system switch...............2-37Fog light switch..............2-33Hazard warning flasher switch......6-2Headlight and turn signal switch. . . .2-30Headlight control switch.........2-30Hill descent control switch........2-36Instrument brightness control.....2-33Power door lock switch........3-5, 3-6Rear sonar system OFF switch.....2-38Rear window and outside mirror
defroster switch..............2-29
Rear window defroster switch.....2-29Turn signal switch.............2-33
T
Tachometer...................2-7Tailgate.....................3-20Tailgate latch..............3-24,3-25Temperature gaugeEngine coolant temperature gauge. . .2-7Thef t (NISSAN Vehicle Immobilizer System),
engine start...............2-27,5-13Three-way catalyst...............5-3Tie down hooks................3-25Tilting steering wheel.............3-16TireFlat tire................. .6-3, 6-4Spare tire.............6-5, 6-6, 8-41Tire and Loading Information
label.................... .10-13Tire chains..................8-37Tire pressure................8-30Tire rotation.................8-38Tires of 4-wheel drive...........8-40Types of tires................8-36Uniform tire quality grading......10-37Wheel/tire size...............10-10Wheels and tires..........8-30, 10-10Tire pressure
Low tire pressure warning light.....2-18Tire Pressure Monitoring System
(TPMS)...................... .5-3Top tether strap child restraint.......1-32
Towing
2-wheel drive models...........6-16Flat towing.............10-36, 10-37Tow truck towing..............6-14Towing load/specification.......10-28Trailer towing...............10-25Towing a trailer................10-25TransceiverHomeLink® Universal
Transceiver
..........2-56, 2-58, 2-59TransmissionDriving with automatic
transmission
................5-14Travel (See registering a vehicle in
another country)...............10-11Trip computer................. .2-9Trip odometer..................2-5Troubleshooting guide
(NISSAN voice recognition system). . . .4-110Truck - camper loading...........10-23Truck box....................3-20Turn signal switch...............2-33
U
Under seat storage bin...........2-42Uniform tire quality grading........10-37USB (Universal Serial Bus) Connection Port
(models with Navigation System).....4-58USB (Universal Serial Bus) Connection Port
(models without Navigation System). . .4-55USB interface
Audio file operation............4-59
11-7