Page 144 of 492
The headlights must be on and the low
beams selected for the fog lights to oper-
ate. The fog lights automatically turn off
when the high beam headlights are se-
lected.To sound the horn, push the area between
the horn icons on the steering wheel.
LIC0616
HORNCARGO LAMP SWITCH
Page 147 of 492
•The hill descent control may not con-
trol the vehicle speed on a hill under
all load or road conditions. Always be
prepared to depress the brake pedal
to control vehicle speed. Failure to do
so may result in a collision or serious
personal injury.
CAUTION
When the hill descent control system op-
erates continuously for a long time, the
temperature of the brake pads may in-
crease and the hill descent control sys-
tem may be temporarily disabled (the in-
dicator light will blink). If the indicator
light does not come on continuously af-
ter blinking, stop using the system.
The hill descent control system is designed
to reduce driver workload when going down
steep hills. The hill descent control system
helps to control vehicle speed so the driver
can concentrate on steering the vehicle.
To activate the hill descent control system:
• The shif t lever must be in forward or re- verse gear,
• The 4WD switch must be in the 4L posi- tion and the vehicle speed must be under
15 mph (25 km/h) or • The 4WD switch must be in the 4H posi-
tion and the vehicle speed must be under
21 mph (35 km/h), and
• The hill descent control system switch must be ON.
The hill descent control system ON indica-
tor light will come on when the system is
activated. Also, the stop/tail lights illumi-
nate while the hill descent control system
applies the brakes to control vehicle speed.
If the accelerator or brake pedal is depressed
while the hill descent control system is on,
the system will stop operating temporarily.
As soon as the accelerator or brake pedal is
released, the hill descent control system be-
gins to function again if the hill descent con-
trol operating conditions are fulfilled.
The hill descent control system ON indica-
tor light blinks if the switch is on and all
conditions for system activation are not
met or if the system becomes disengaged
for any reason.
To turn off the hill descent control system,
push the switch to the OFF position.
For additional information, refer to “Hill de-
scent control system ON indicator light” in
this section and “Hill descent control sys-
tem” in the “Starting and driving” section of
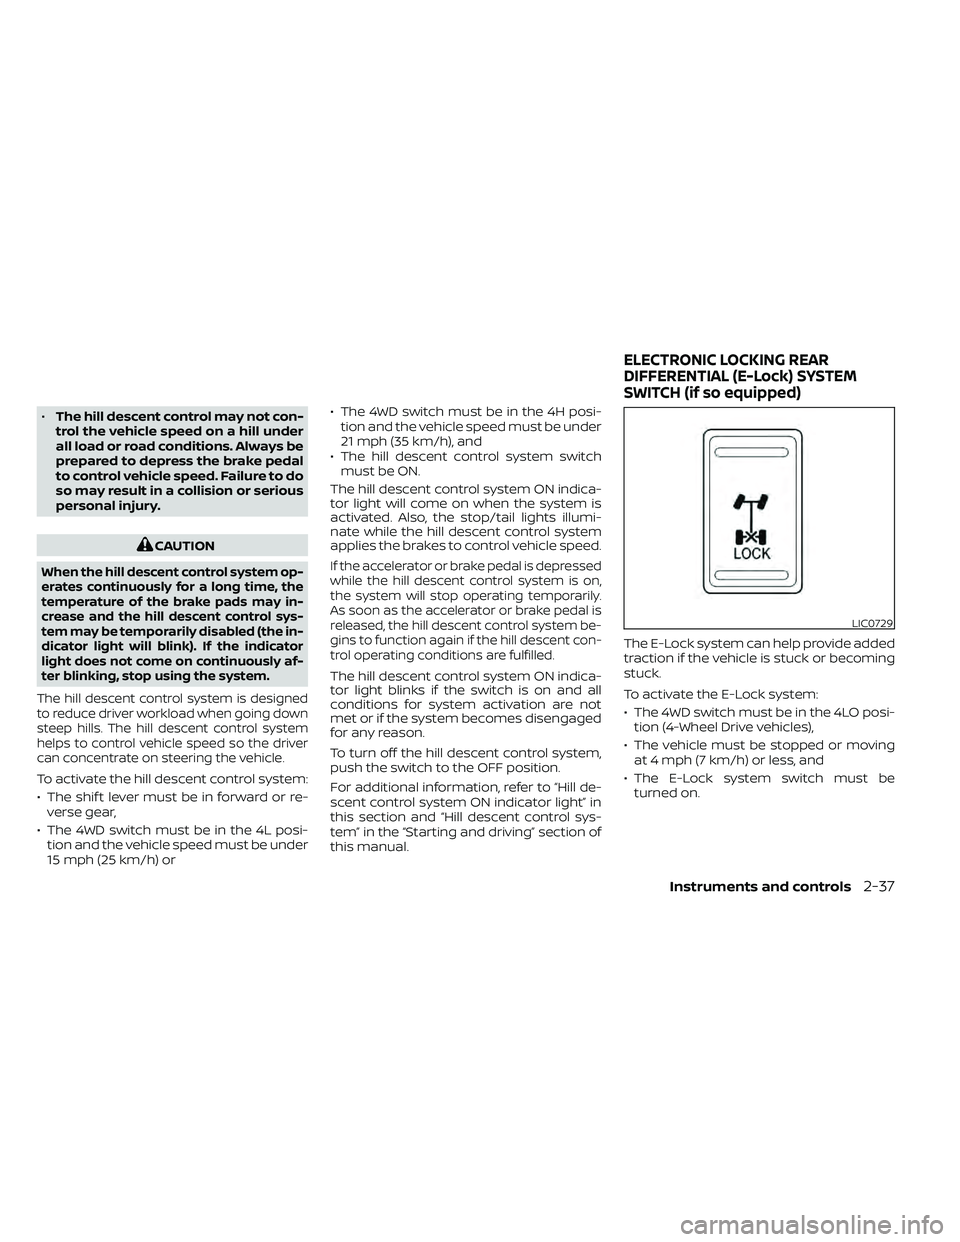
this manual. The E-Lock system can help provide added
traction if the vehicle is stuck or becoming
stuck.
To activate the E-Lock system:
• The 4WD switch must be in the 4LO posi-
tion (4-Wheel Drive vehicles),
• The vehicle must be stopped or moving at 4 mph (7 km/h) or less, and
• The E-Lock system switch must be turned on.
LIC0729
ELECTRONIC LOCKING REAR
DIFFERENTIAL (E-Lock) SYSTEM
SWITCH (if so equipped)
Instruments and controls2-37
Page 150 of 492
•Do not use with accessories that ex-
ceed a 12 volt, 120W (10A) power draw.
• Do not use double adapters or more
than one electrical accessory.
• Use power outlets with the engine
running to avoid discharging the ve-
hicle battery.
• Avoid using power outlets when the
air conditioner, headlights or rear
window defroster is on.
• Before inserting or disconnecting a
plug, be sure the electrical accessory
being used is turned off.
• Push the plug in as far as it will go. If
good contact is not made, the plug
may overheat or the internal tem-
perature fuse may open.
• When not in use, be sure to close the
cap. Do not allow water or any other
liquids to contact the outlet.
FRONT-DOOR POCKETS REAR-DOOR POCKETS
WIC0824LIC0826
Type A (if so equipped)
STORAGE
Page 164 of 492
When tilting down
If the control unit detects something
caught in the moonroof as it tilts down, the
moonroof will immediately tilt up.
If the auto-reverse function malfunctions
and repeats opening or tilting up the
moonroof, keep pushing the tilt down
switch within 5 seconds af ter it happens;
the moonroof will fully close gradually.
Make sure nothing is caught in the moon-
roof.CAUTION
• Remove water drops, snow, ice or
sand from the moonroof before
opening.
• Do not place heavy objects on the
moonroof or surrounding area.
If the moonroof does not close
Have your moonroof checked and re-
paired. It is recommended that you visit a
NISSAN dealer for this service.
Sunshade
Open and close the sunshade by sliding it
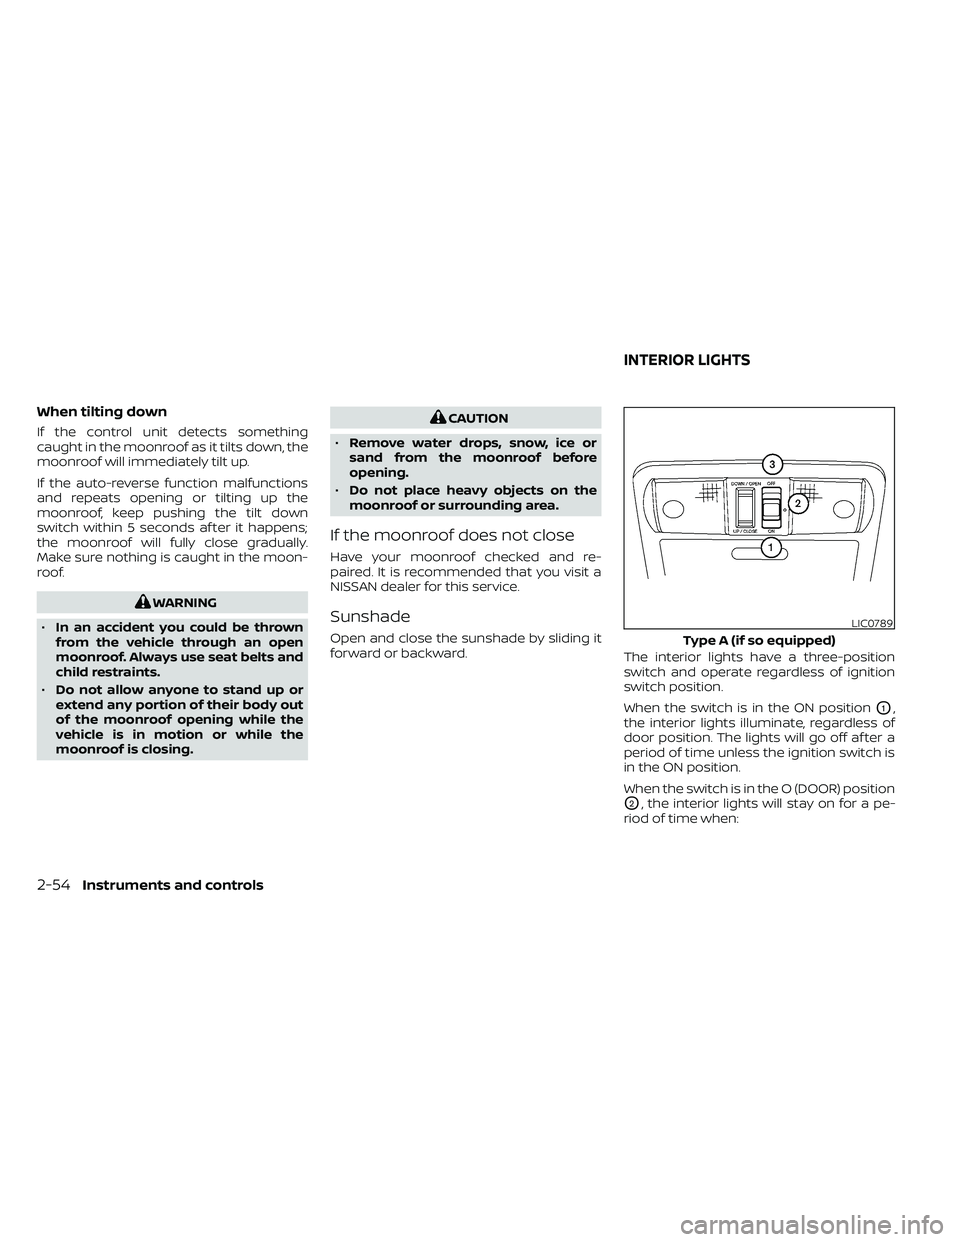
forward or backward. The interior lights have a three-position
switch and operate regardless of ignition
switch position.
When the switch is in the ON position
O1,
the interior lights illuminate, regardless of
door position. The lights will go off af ter a
period of time unless the ignition switch is
in the ON position.
When the switch is in the O (DOOR) position
O2, the interior lights will stay on for a pe-
riod of time when:
LIC0789
Type A (if so equipped)
INTERIOR LIGHTS
Page 165 of 492
• The doors are unlocked by the key fob, akey or the power door lock switch while
all doors are closed and the ignition
switch is in the OFF position.
• The driver’s door is opened and then closed while the key is removed from the
vehicle.
The lights will turn off while the timer is
activated when:
• The driver’s door is locked by the key fob, a key, or the power door lock switch.
• The ignition switch is turned on. The lights will turn off automatically af ter a
period of time while doors are open to pre-
vent the battery from becoming dis-
charged.
When the switch is in the OFF position
O3,
the interior lights do not illuminate, regard-
less of door position.
Page 179 of 492
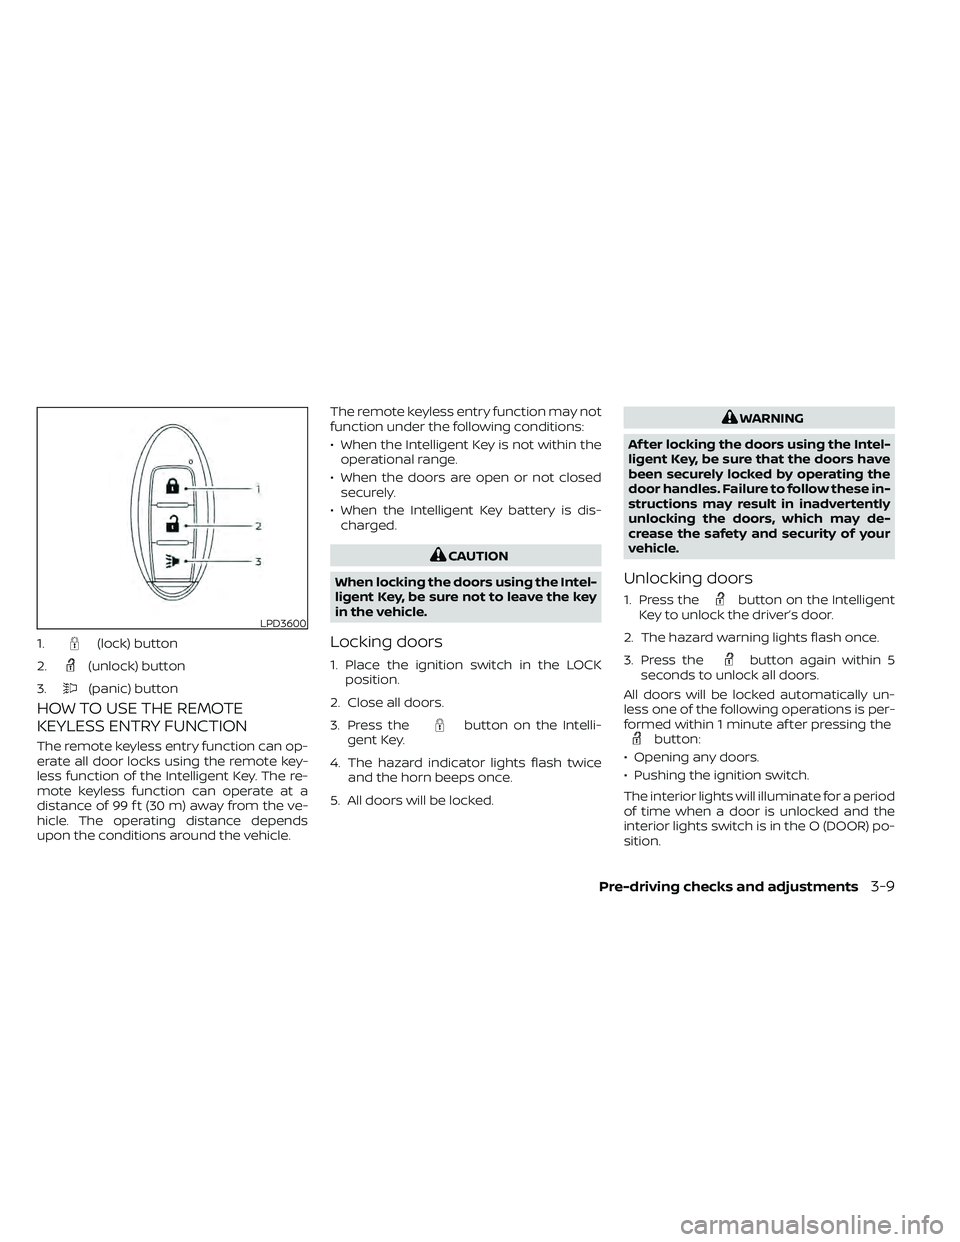
HOW TO USE THE REMOTE
KEYLESS ENTRY FUNCTION
The remote keyless entry function can op-
erate all door locks using the remote key-
less function of the Intelligent Key. The re-
mote keyless function can operate at a
distance of 99 f t (30 m) away from the ve-
hicle. The operating distance depends
upon the conditions around the vehicle.The remote keyless entry function may not
function under the following conditions:
• When the Intelligent Key is not within the
operational range.
• When the doors are open or not closed securely.
• When the Intelligent Key battery is dis- charged.
button on the Intelli-
gent Key.
4. The hazard indicator lights flash twice and the horn beeps once.
5. All doors will be locked.
button on the Intelligent
Key to unlock the driver’s door.
2. The hazard warning lights flash once.
3. Press the
button again within 5
seconds to unlock all doors.
All doors will be locked automatically un-
less one of the following operations is per-
formed within 1 minute af ter pressing the
button:
• Opening any doors.
• Pushing the ignition switch.
The interior lights will illuminate for a period
of time when a door is unlocked and the
interior lights switch is in the O (DOOR) po-
sition.
LPD3600
1.(lock) button
2.
(unlock) button
3.
(panic) button
Page 180 of 492
The lights can be turned off without waiting
by performing one of the following opera-
tions:
• Placing the ignition switch in the ON po-sition.
• Locking the doors with the Intelligent Key.
• Switching the interior lights switch to the OFF position.
For additional information, refer to “Interior
lights” in the “Instruments and controls”
section in this manual.Using the panic alarm
If you are near your vehicle and feel threat-
ened, you may activate the panic alarm to
call attention by pressing and holding the
button on the Intelligent Key for lon-
ger than 0.5 seconds.
The panic alarm and headlights will stay on
for a period of time.
The panic alarm stops when:
• It has run for a period of time.
• Any button is pressed on the Intelligent Key.
• The request switch (if so equipped) on the driver or passenger door is pushed and
the Intelligent Key is in range of the door
handle.
Answer back horn feature
If desired, the answer back horn feature
can be deactivated using the Intelligent
Key. When it is deactivated and the
button is pressed, the hazard indicator
lights flash twice. When thebutton is
pressed, neither the hazard indicator lights
nor the horn operates.
To deactivate:
Press and hold the
andbut-
tons for at least 2 seconds. The hazard
indicator lights will flash three times to con-
firm that the answer back horn feature has
been deactivated.
To activate:
Press and hold the
andbut-
tons for at least 2 seconds once more.
The hazard indicator lights will flash once
and the horn will sound once to confirm
that the horn beep feature has been reac-
tivated.
Deactivating the horn beep feature does
not silence the horn if the alarm is trig-
gered.
3-10Pre-driving checks and adjustments
Page 181 of 492
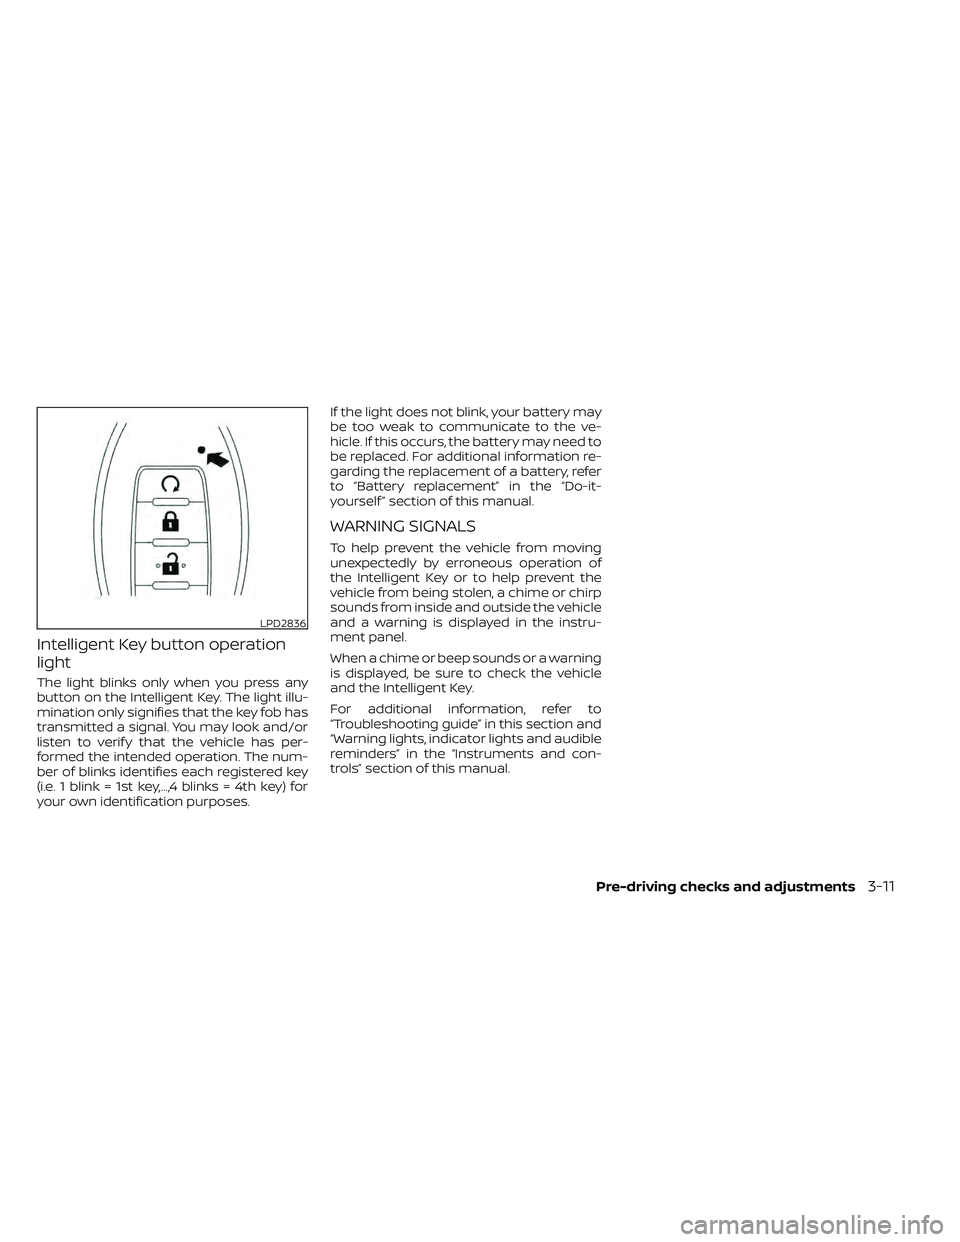
Intelligent Key button operation
light
The light blinks only when you press any
button on the Intelligent Key. The light illu-
mination only signifies that the key fob has
transmitted a signal. You may look and/or
listen to verif y that the vehicle has per-
formed the intended operation. The num-
ber of blinks identifies each registered key
(i.e. 1 blink = 1st key,...,4 blinks = 4th key) for
your own identification purposes.If the light does not blink, your battery may
be too weak to communicate to the ve-
hicle. If this occurs, the battery may need to
be replaced. For additional information re-
garding the replacement of a battery, refer
to “Battery replacement” in the “Do-it-
yourself ” section of this manual.
WARNING SIGNALS
To help prevent the vehicle from moving
unexpectedly by erroneous operation of
the Intelligent Key or to help prevent the
vehicle from being stolen, a chime or chirp
sounds from inside and outside the vehicle
and a warning is displayed in the instru-
ment panel.
When a chime or beep sounds or a warning
is displayed, be sure to check the vehicle
and the Intelligent Key.
For additional information, refer to
“Troubleshooting guide” in this section and
“Warning lights, indicator lights and audible
reminders” in the “Instruments and con-
trols” section of this manual.
LPD2836