2021 LEXUS RX350 warning
[x] Cancel search: warningPage 115 of 508

1153-2. Opening, closing and locking the doors
3
Before driving
■Antenna locationAntennas outside the cabin
Antennas inside the cabin
Antenna outside the luggage compart-
ment
■Effective range (areas within which the
electronic key is detected)When locking or unlocking the doors
The system can be operated when the
electronic key is within about 2.3 ft. (0.7 m)
of an outside door handle. (Only the doors
detecting the key can be operated.)
When starting the engine or changing
engine switch modes
The system can be operated when the
electronic key is inside the vehicle.
■Alarms and warning messages
An alarm sounds and warning messages
are displayed on the multi-information dis-
play to protect against unexpected acci-
dents or theft of the vehicle resulting from
erroneous operation. When a warning mes-
sage is displayed, take appropriate mea-
sures based on the displayed message.
( P.412)
When only an alarm sounds, circumstances
and correction procedures are as follows.
●When an exterior alarm sounds once for
5 seconds
●When an interior alarm sounds continu-
ously
Smart access system with
push-button start
The following operations can be
performed simply by carrying the
electronic key on your person, for
example in your pocket. The driver
should always carry the electronic
key.
Locks and unlocks the doors
( P.99)
Locks and unlocks the back door
( P.104)
Starts and stops the engine
( P.174)
A
B
C
SituationCorrection
procedure
An attempt was made to
lock the vehicle while a
door was open.Close all of the
doors and lock
the doors
again.
A
B
Page 118 of 508

1183-2. Opening, closing and locking the doors
detection area, it may take slightly longer
to unlock the doors after the door handle
is gripped.
●Fingernails may scrape against the door
during operation of the door handle. Be
careful not to injure fingernails or dam-
age the surface of the door.
■When the vehicle is not driven for
extended periods
●To prevent theft of the vehicle, do not
leave the electronic key within 6 ft. (2 m)
of the vehicle.
●The smart access syst em with push-but-
ton start can be deactivated in advance.
●Setting the electronic key to battery-sav-
ing mode helps to reduce key battery
depletion. ( P.116)
■To operate the system properly
Make sure to carry the electronic key when
operating the system. Do not get the elec-
tronic key too close to the vehicle when
operating the system from the outside of the
vehicle.
Depending on the position and holding
condition of the electronic key, the key may
not be detected correctly and the system
may not operate properly. (The alarm may
go off accidentally, or the door lock preven-
tion may not operate.)
■If the smart access system with
push-button start does not operate
properly
●If the doors cannot be locked or unlocked
and the back door cannot be opened,
perform the following.
• Bring the electronic key close to the door handle and perform a lock or unlock
operation.
• Bring the electronic key close to the but- ton on the back door ( P.104) and press
the button.
• Use the wireless remote control.
If the doors cannot be locked or unlocked
by perform the above, use the mechanical
key. ( P.431) However, if the mechanical
key is used while the al arm system is set, the
warning will sound. ( P.68)
●If the engine cannot be started, refer to
P.432
■Customization
Some functions can be customized.
( P.461)
■If the smart access system with
push-button start has been deactivated
in a customized setting
●Locking and unlockin g the doors: Use
the wireless remote control or mechani-
cal key. ( P.99, 104, 431)
●Starting the engine and changing engine
switch modes: P.432
●Stopping the engine: P.176
Page 120 of 508

1203-2. Opening, closing and locking the doors
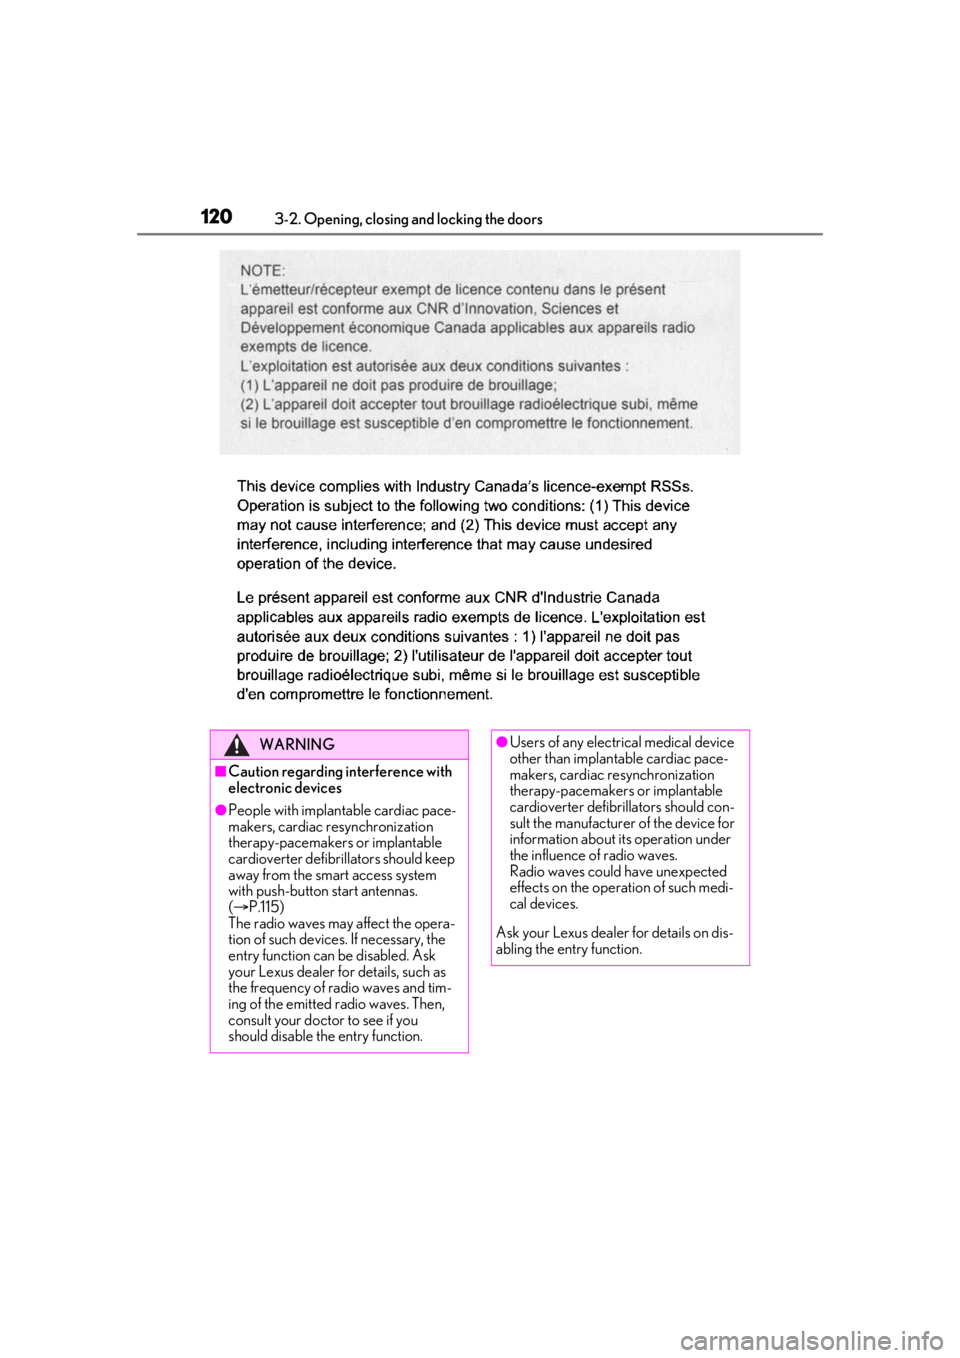
WARNING
■Caution regarding interference with
electronic devices
●People with implantable cardiac pace-
makers, cardiac resynchronization
therapy-pacemakers or implantable
cardioverter defibrillators should keep
away from the smart access system
with push-button start antennas.
( P.115)
The radio waves may affect the opera-
tion of such devices. If necessary, the
entry function can be disabled. Ask
your Lexus dealer for details, such as
the frequency of radio waves and tim-
ing of the emitted radio waves. Then,
consult your doctor to see if you
should disable the entry function.
●Users of any electrical medical device
other than implantable cardiac pace-
makers, cardiac resynchronization
therapy-pacemakers or implantable
cardioverter defibrillators should con-
sult the manufacturer of the device for
information about its operation under
the influence of radio waves.
Radio waves could have unexpected
effects on the operation of such medi-
cal devices.
Ask your Lexus dealer for details on dis-
abling the entry function.
Page 121 of 508

1213-3. Adjusting the seats
3
Before driving
3-3.Adjusting the seats
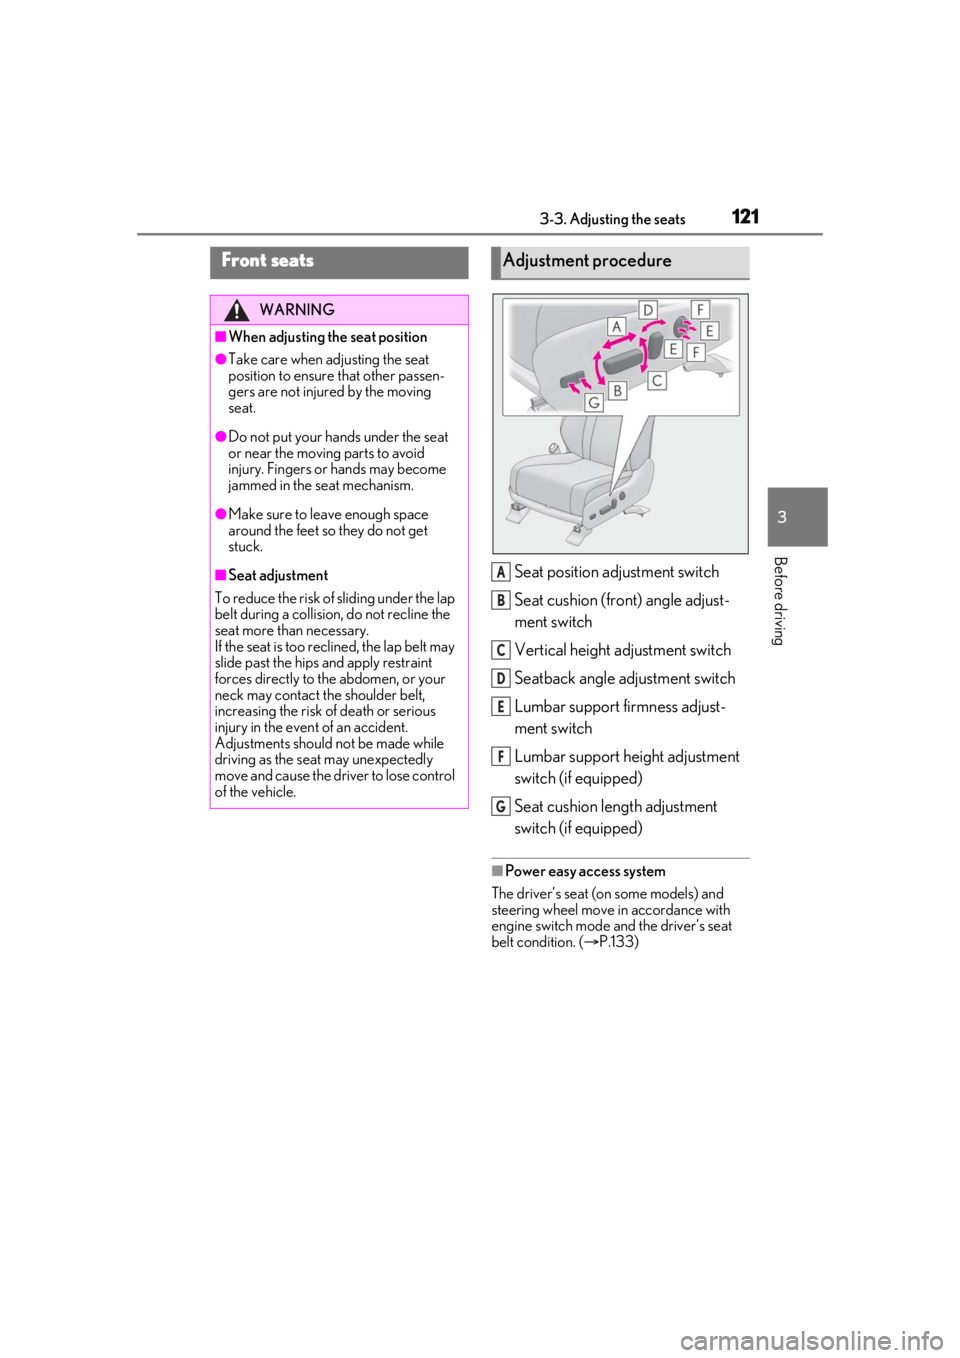
Seat position adjustment switch
Seat cushion (front) angle adjust-
ment switch
Vertical height adjustment switch
Seatback angle adjustment switch
Lumbar support firmness adjust-
ment switch
Lumbar support height adjustment
switch (if equipped)
Seat cushion length adjustment
switch (if equipped)
■Power easy access system
The driver’s seat (on some models) and
steering wheel move in accordance with
engine switch mode and the driver’s seat
belt condition. ( P.133)
Front seats
WARNING
■When adjusting the seat position
●Take care when ad justing the seat
position to ensure that other passen-
gers are not injured by the moving
seat.
●Do not put your hands under the seat
or near the moving parts to avoid
injury. Fingers or hands may become
jammed in the se at mechanism.
●Make sure to leave enough space
around the feet so they do not get
stuck.
■Seat adjustment
To reduce the risk of sliding under the lap
belt during a collision, do not recline the
seat more than necessary.
If the seat is too reclined, the lap belt may
slide past the hips and apply restraint
forces directly to the abdomen, or your
neck may contact the shoulder belt,
increasing the risk of death or serious
injury in the event of an accident.
Adjustments should not be made while
driving as the seat may unexpectedly
move and cause the driver to lose control
of the vehicle.
Adjustment procedure
A
B
C
D
E
F
G
Page 122 of 508

1223-3. Adjusting the seats
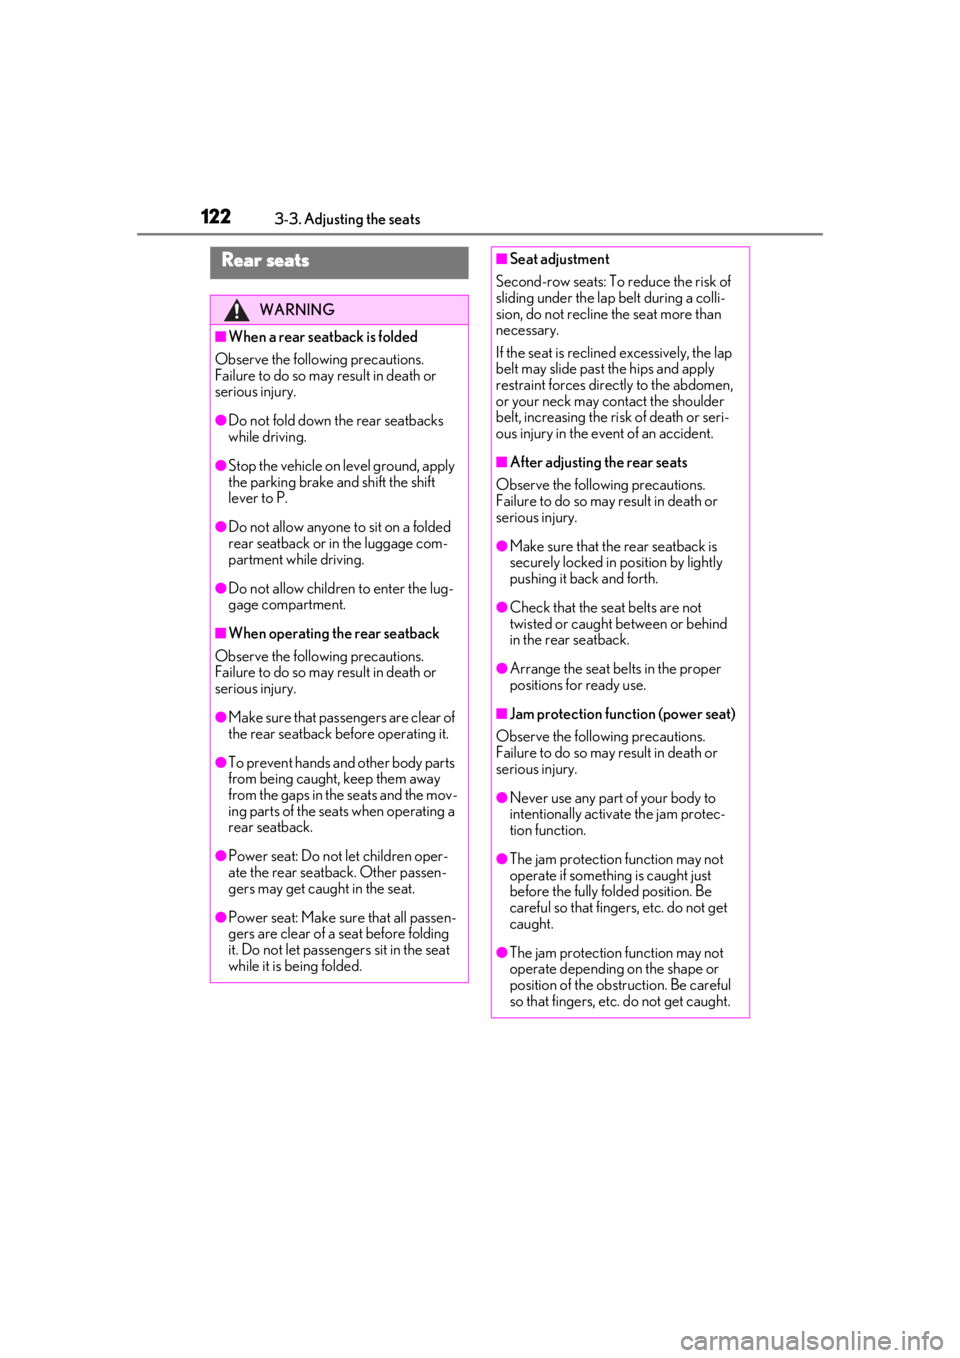
Rear seats
WARNING
■When a rear seatback is folded
Observe the following precautions.
Failure to do so may result in death or
serious injury.
●Do not fold down the rear seatbacks
while driving.
●Stop the vehicle on level ground, apply
the parking brake and shift the shift
lever to P.
●Do not allow anyone to sit on a folded
rear seatback or in the luggage com-
partment while driving.
●Do not allow children to enter the lug-
gage compartment.
■When operating the rear seatback
Observe the following precautions.
Failure to do so may result in death or
serious injury.
●Make sure that passengers are clear of
the rear seatback before operating it.
●To prevent hands and other body parts
from being caught, keep them away
from the gaps in the seats and the mov-
ing parts of the seat s when operating a
rear seatback.
●Power seat: Do not let children oper-
ate the rear seatback. Other passen-
gers may get caught in the seat.
●Power seat: Make sure that all passen-
gers are clear of a seat before folding
it. Do not let passeng ers sit in the seat
while it is being folded.
■Seat adjustment
Second-row seats: To reduce the risk of
sliding under the lap belt during a colli-
sion, do not recline the seat more than
necessary.
If the seat is reclin ed excessively, the lap
belt may slide past the hips and apply
restraint forces directly to the abdomen,
or your neck may contact the shoulder
belt, increasing the ri sk of death or seri-
ous injury in the event of an accident.
■After adjusting the rear seats
Observe the following precautions.
Failure to do so may result in death or
serious injury.
●Make sure that the rear seatback is
securely locked in position by lightly
pushing it back and forth.
●Check that the seat belts are not
twisted or caught between or behind
in the rear seatback.
●Arrange the seat belts in the proper
positions for ready use.
■Jam protection function (power seat)
Observe the following precautions.
Failure to do so may result in death or
serious injury.
●Never use any part of your body to
intentionally activa te the jam protec-
tion function.
●The jam protection function may not
operate if something is caught just
before the fully folded position. Be
careful so that finger s, etc. do not get
caught.
●The jam protection function may not
operate depending on the shape or
position of the obstruction. Be careful
so that fingers, etc. do not get caught.
Page 133 of 508

1333-3. Adjusting the seats
3
Before driving
procedure with two people.)
1Check that the seat is free of obstruc-
tions.
2 Press and hold the side switch of
the luggage compartment side switch
for the seat which the buzzer is sound-
ing.
3 Within 10 seconds of the performing
the above step, press the side
switch of the seat side switch 5 times.
4 When a buzzer sounds 3 times, release
the luggage compartment side switch.
5 Press the side switch of the seat
side switch until the seatback is folded
completely.
A buzzer will sound twice when the opera-
tion is complete.
If the buzzer does not stop sounding even
though the above procedure has been per-
formed, have the vehicle inspected by your
Lexus dealer.
*: If equipped
The seat and steering wheel are auto-
matically adjusted to allow the driver to
enter and exit the vehicle easily.
When all of the following have been
performed, the seat and steering
wheel are automatically adjusted to a
position that allows driver to enter and
exit the vehicle easily.
• The shift lever has been shifted to P.
• The engine switch has been turned off.
WARNING
■Precautions for third-row seat
When operating a third-row seat, make
sure to press and hold the switch until the
third-row seat seatba ck is completely
folded/upright. Do not use a third-row
seat in a position other than the com-
pletely upright position, as doing so may
lead to death or serious injury in an acci-
dent. (If the switch is released while the
seatback is still moving, a buzzer will
sound continuously until the seatback is
completely folded/upright.)
NOTICE
■Before returning th e third-row seat
seatbacks to the upright position
If the luggage cover is installed in the lug-
gage compartment, make sure to
remove it before re turning the third-row
seat seatbacks. ( P.318) Otherwise, the
luggage cover may be damaged.
Driving position memory*
This feature automatically adjusts
the driver’s seat (on some models),
steering wheel, outside rear view
mirrors and head-up display (if
equipped) to make entering and
exiting the vehicle easier or to suit
your preferences.
Up to 3 different driving positions
can be recorded.
Each electronic key can be regis-
tered to recall your preferred driv-
ing position.
Power easy access system
(driver’s side only)
Page 134 of 508

1343-3. Adjusting the seats
• The driver’s seat belt has been unfastened.
When any of the following has been
performed, the seat and steering
wheel automatically return to their
original positions.
• The engine switch has been turned to ACCESSORY mode or IGNI-
TION ON mode.
• The driver’s seat belt has been fas- tened.
■Operation of the power easy access sys-
tem
When exiting the vehicle, the power easy
access system may not operate if the seat is
already close to the rearmost position, etc.
■Customization
Some functions can be customized.
( P.461)
1 Check that the shift lever is in P.
2 Turn the engine switch to IGNI-
TION ON mode.
3 Adjust the driver’s seat, steering
wheel, outside rear view mirrors
and head-up display (if equipped)
to the desired positions.
4 While pressing the “SET” button, or
within 3 seconds after the “SET”
button is pressed, press button “1”,
“2” or “3” until the buzzer sounds.
If the selected button has already been
preset, the previously recorded position will be overwritten.
■Seat positions that can be memorized
(
P.121)
The adjusted positions other than the posi-
tion adjusted by lumb ar support switch can
be recorded.
■In order to correctly use the driving
position memory function
If a seat position is already in the furthest
possible position and the seat is operated in
the same direction, the recorded position
may be slightly differen t when it is recalled.
1Check that the shift lever is in P.
2 Turn the engine switch to IGNI-
TION ON mode.
Recording a driving position into
memoryWARNING
■Seat adjustme nt caution
Take care during seat adjustment so that
the seat does not strike the rear passen-
ger or squeeze your body against the
steering wheel.
Recalling a driving position
Page 136 of 508

1363-3. Adjusting the seats
■Recall procedure
1 Make sure that the doors are
locked before recalling the driving
position. Carry the electronic key
that has been registered to the driv-
ing position, and then unlock and
open the driver’s door using the
smart access system with push-but-
ton start or wireless remote control.
The driving position will move to the
recorded position (not including the steer-
ing wheel and head-up display [if
equipped]). However, the seat will move to
a position slightly behind the recorded
position in order to make entering the vehi-
cle easier.
If the driving position is in a position that
has already been recorded, the seat and
outside rear view mirrors will not move.
2Turn the engine switch to ACCES-
SORY mode or IGNITION ON
mode, or fasten a seat belt.
The seat, steering wheel and head-up dis-
play (if equipped) will move to the
recorded position.
■Recalling the driving position using the
memory recall function
●Different driving positions can be regis-
tered for each electronic key. Therefore,
the driving position that is recalled may
be different depending on the key being
carried.
●If a door other than the driver’s door is
unlocked with the smart access system
with push-button start, the driving posi-
tion cannot be recalled. In this case, press
the driving position button which has
been set.
■Customization
Some functions can be customized.
( P.461)
■Front seats
1 Up
Pull the head restraints up.
2Down
Push the head restra int down while press-
ing the lock release button .
Head restraints
Head restraints are provided for all
seats.
WARNING
■Head restraint precautions
Observe the following precautions
regarding the head re straints. Failure to
do so may result in death or serious
injury.
●Use the head restraints designed for
each respective seat.
●Adjust the head restraints to the cor-
rect position at all times.
●After adjusting the head restraints,
push down on them and make sure
they are locked in position.
●Do not drive with the head restraints
removed.
Adjusting a head restraint verti-
cally
A