Page 138 of 546
3-47
Convenient features of your vehicle
3
Hood
Opening the hood
1. Park the vehicle and set the park-
ing brake.
2. Pull the release lever to unlatch
the hood. The hood should pop
open slightly.3. Go to the front of the vehicle, raise
the hood slightly, push up the sec-
ondary latch (1) inside of the hood
center and lift the hood (2).4. Pull out the support rod and hold
the hood open with the support
rod (1).
E EX
XT
TE
ER
RI
IO
OR
R
F
FE
EA
AT
TU
UR
RE
ES
S
OTLA045032
OTLE048033OTL045245
Grasp the support rod in the
area wrapped in rubber. The
rubber will help prevent you
from being burned by hot
metal when the engine is hot.
The stay rod must be inserted
completely into the hole pro-
vided whenever you inspect
the engine compartment. This
will prevent the hood from
falling and possibly injuring
you.
WARNING
Page 139 of 546

3-48
Convenient features of your vehicle
Closing the hood
1. Before closing the hood, check the
following:
partment must be correctly
installed.
bustible material must be
removed from the engine com-
partment.
2. Return the support rod to its clip to
prevent it from rattling.
3. Lower the hood halfway (lifted
approximately 12 inches (30 cm)
from the closed position) and push
down to securely lock in place.
Then double check to be sure the
hood is secure.
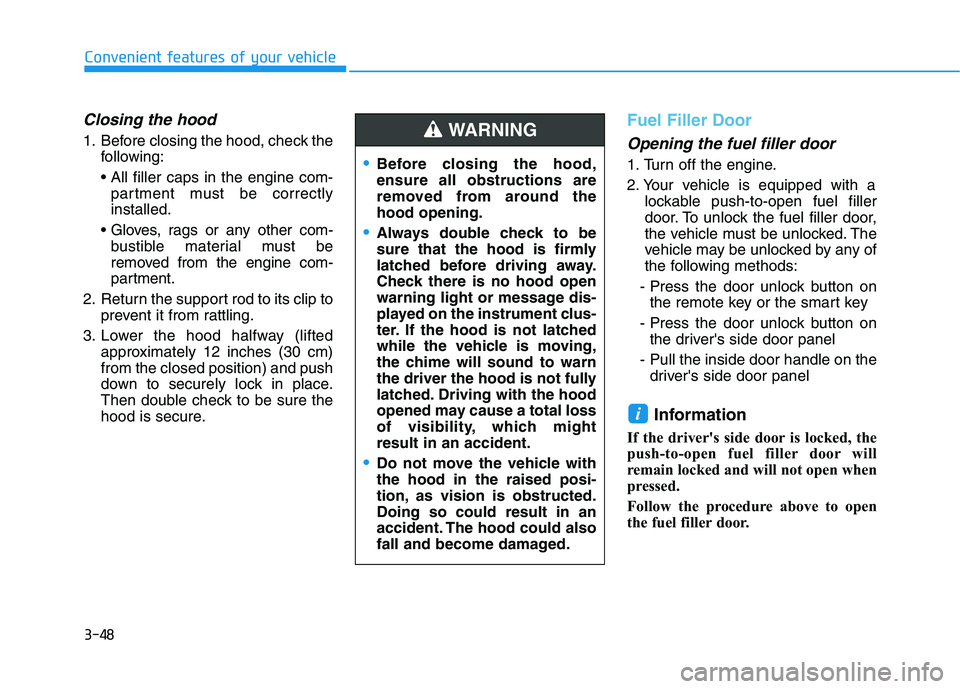
Fuel Filler Door
Opening the fuel filler door
1. Turn off the engine.
2. Your vehicle is equipped with a
lockable push-to-open fuel filler
door. To unlock the fuel filler door,
the vehicle must be unlocked. The
vehicle may be unlocked by any of
the following methods:
- Press the door unlock button on
the remote key or the smart key
- Press the door unlock button on
the driver's side door panel
- Pull the inside door handle on the
driver's side door panel
Information
If the driver's side door is locked, the
push-to-open fuel filler door will
remain locked and will not open when
pressed.
Follow the procedure above to open
the fuel filler door.
i
Before closing the hood,
ensure all obstructions are
removed from around the
hood opening.
Always double check to be
sure that the hood is firmly
latched before driving away.
Check there is no hood open
warning light or message dis-
played on the instrument clus-
ter. If the hood is not latched
while the vehicle is moving,
the chime will sound to warn
the driver the hood is not fully
latched. Driving with the hood
opened may cause a total loss
of visibility, which might
result in an accident.
Do not move the vehicle with
the hood in the raised posi-
tion, as vision is obstructed.
Doing so could result in an
accident. The hood could also
fall and become damaged.
WARNING
Page 153 of 546
3-62
Convenient features of your vehicle
1. Setting
To activate the Smart Liftgate, go to
User Settings Mode and select
Smart Liftgate on the LCD display.
For more details, refer to "LCD
Display" in this chapter.
2. Detect and Alert
The Smart Liftgate detecting area
extends approximately 20-40 in (50-
100 cm) behind the vehicle. If you
are positioned in the detecting area
and are carrying the smart key, the
hazard warning lights will blink and
the chime will sound to alert you that
the smart liftgate will open.
Information
Do not approach the detecting area if
you do not want the liftgate to open.
If you have unintentionally entered
the detecting area and the hazard
warning lights and chime starts to
operate, move away from the area
behind the vehicle with the smart key.
The liftgate will remain closed.
i
OTLE048045
Page 154 of 546

3-63
Convenient features of your vehicle
3
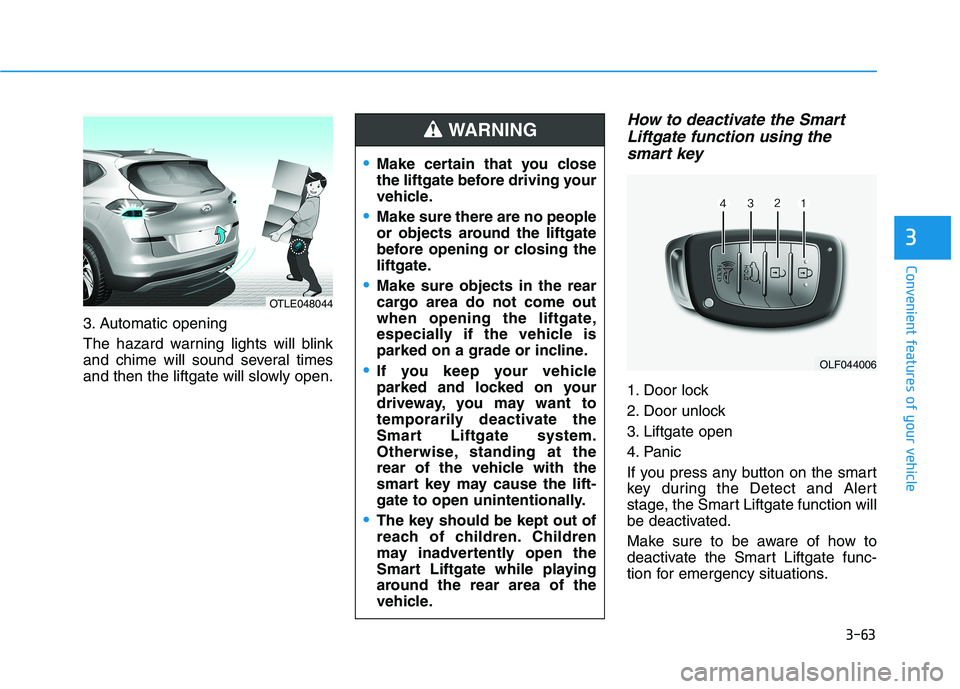
3. Automatic opening
The hazard warning lights will blink
and chime will sound several times
and then the liftgate will slowly open.
How to deactivate the Smart
Liftgate function using the
smart key
1. Door lock
2. Door unlock
3. Liftgate open
4. Panic
If you press any button on the smart
key during the Detect and Alert
stage, the Smart Liftgate function will
be deactivated.
Make sure to be aware of how to
deactivate the Smart Liftgate func-
tion for emergency situations.
OLF044006
Make certain that you close
the liftgate before driving your
vehicle.
Make sure there are no people
or objects around the liftgate
before opening or closing the
liftgate.
Make sure objects in the rear
cargo area do not come out
when opening the liftgate,
especially if the vehicle is
parked on a grade or incline.
If you keep your vehicle
parked and locked on your
driveway, you may want to
temporarily deactivate the
Smart Liftgate system.
Otherwise, standing at the
rear of the vehicle with the
smart key may cause the lift-
gate to open unintentionally.
The key should be kept out of
reach of children. Children
may inadvertently open the
Smart Liftgate while playing
around the rear area of the
vehicle.
WARNING
OTLE048044
Page 155 of 546

3-64
Convenient features of your vehicle
Information
• If you press the door unlock button
(2), the Smart Liftgate function will
be deactivated temporarily. But, if
you do not open any door for 30 sec-
onds, the Smart Liftgate function
will be activated again.
• If you press the liftgate open button
(3) for more than 1 second, the lift-
gate opens.
• The Smart Liftgate function will
still be activated if you press the
door lock button (1) or liftgate open
button (3) on the smart key as long
as the Smart Liftgate is not already
in the Detect and Alert stage.
• In case you have deactivated the
Smart Liftgate function by pressing
the smart key button and opened a
door, the Smart Liftgate function
can be activated again by closing
and locking all doors.
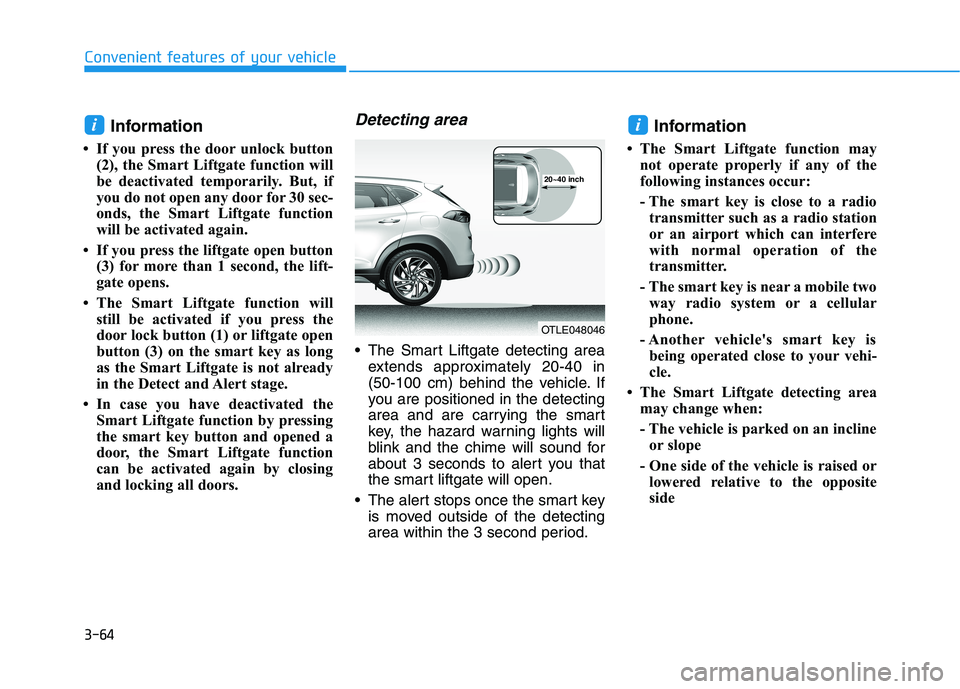
Detecting area
The Smart Liftgate detecting area
extends approximately 20-40 in
(50-100 cm) behind the vehicle. If
you are positioned in the detecting
area and are carrying the smart
key, the hazard warning lights will
blink and the chime will sound for
about 3 seconds to alert you that
the smart liftgate will open.
The alert stops once the smart key
is moved outside of the detecting
area within the 3 second period.
Information
• The Smart Liftgate function may
not operate properly if any of the
following instances occur:
- The smart key is close to a radio
transmitter such as a radio station
or an airport which can interfere
with normal operation of the
transmitter.
- The smart key is near a mobile two
way radio system or a cellular
phone.
- Another vehicle's smart key is
being operated close to your vehi-
cle.
• The Smart Liftgate detecting area
may change when:
- The vehicle is parked on an incline
or slope
- One side of the vehicle is raised or
lowered relative to the opposite
side
ii
OTLE048046
20~40 inch
Page 156 of 546
3-65
Convenient features of your vehicle
I IN
NS
ST
TR
RU
UM
ME
EN
NT
T
C
CL
LU
US
ST
TE
ER
R
3
1. Tachometer
2. Speedometer
3. Engine coolant temperature gauge
4. Fuel gauge
5. Warning and indicator lights
6. LCD display (including Trip computer)
OTL048600N/OTL048640N
■ ■
Type A
The actual cluster in the vehicle may dif-
fer from the illustration.
■ ■
Type B
Page 157 of 546
3-66
Convenient features of your vehicle
Instrument Cluster Control
Adjusting instrument cluster
illumination
When the vehicle's parking lights or
headlights are on, press the illumina-
tion control button to adjust the
brightness of the instrument panel
illumination.
When pressing the illumination con-
trol button, the interior switch illumi-
nation intensity is also adjusted. The brightness of the instrument
panel illumination is displayed.
If the brightness reaches the maxi-
mum or minimum level, a chime
will sound.
OTLE048070
OTL045150L
Never adjust the instrument
cluster while driving. Doing so
could lead to driver distraction
which may cause an accident
and lead to vehicle damage,
serious injury, or death.
WARNING
Page 159 of 546

3-68
Convenient features of your vehicle
If the gauge pointer moves
beyond the normal range area
toward the "H" position, it indi-
cates overheating that may dam-
age the engine.
Do not continue driving with an
overheated engine. If your vehicle
overheats, refer to "If the Engine
Overheats" in chapter 6.
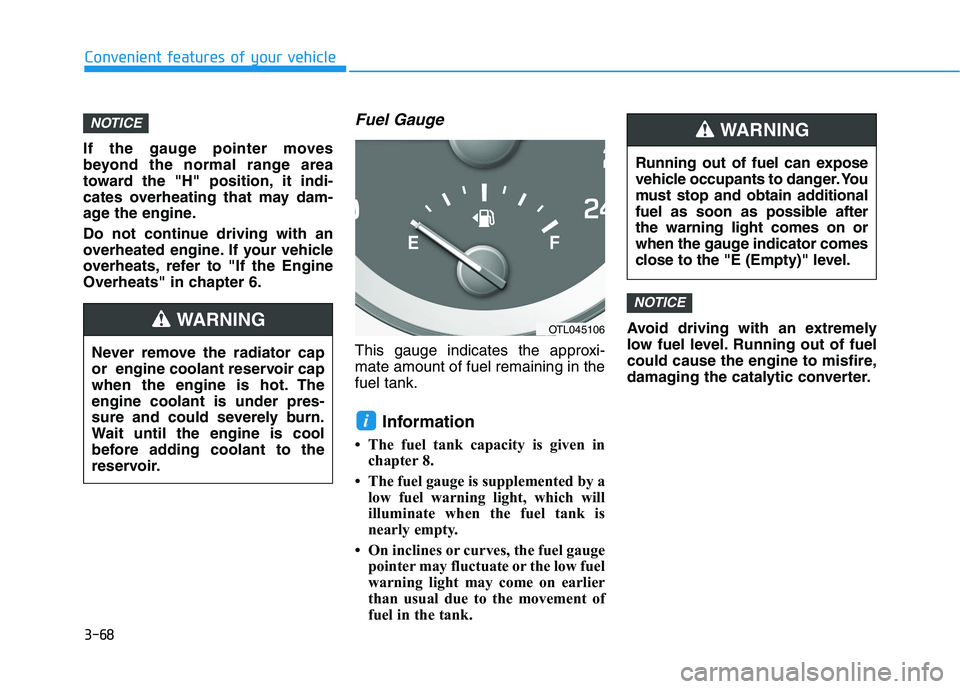
Fuel Gauge
This gauge indicates the approxi-
mate amount of fuel remaining in the
fuel tank.
Information
• The fuel tank capacity is given in
chapter 8.
• The fuel gauge is supplemented by a
low fuel warning light, which will
illuminate when the fuel tank is
nearly empty.
• On inclines or curves, the fuel gauge
pointer may fluctuate or the low fuel
warning light may come on earlier
than usual due to the movement of
fuel in the tank.Avoid driving with an extremely
low fuel level. Running out of fuel
could cause the engine to misfire,
damaging the catalytic converter.
NOTICE
i
NOTICE
Running out of fuel can expose
vehicle occupants to danger. You
must stop and obtain additional
fuel as soon as possible after
the warning light comes on or
when the gauge indicator comes
close to the "E (Empty)" level.
WARNING
Never remove the radiator cap
or engine coolant reservoir cap
when the engine is hot. The
engine coolant is under pres-
sure and could severely burn.
Wait until the engine is cool
before adding coolant to the
reservoir.
WARNINGOTL045106