2021 HYUNDAI TUCSON HYBRID reset
[x] Cancel search: resetPage 194 of 630
05
5-37
ThefT-alarm sysTem
This system helps to protect your vehicle
and valuables. The horn will sound and
the hazard warning lights will blink
continuously if any of the following
occur:
- A door is opened without using the smart ke
y.
- The liftga
te is opened without using
the smart key.
- The engine hood is opened.
The alarm continues f
or 30 seconds, then
the system resets. To turn off the alarm,
unlock the doors with the smart key.
The Theft Alarm System automatically
sets 30 seconds after you lock the
doors and the liftgate. For the system to
activate, you must lock the doors and
the liftgate from outside the vehicle with
the smart key or by touching the touch
sensor on the outside of the door handle
with the smart key in your possession.
The hazard warning lights will blink and
the chime will sound once to indicate the
system is armed.
Once the security system is set, opening
any door, the liftgate, or the hood
without using the smart key will cause
the alarm to activate.
The Theft Alarm System will not set if the
hood, the liftgate, or any door is not fully
closed. If the system will not set, check
the hood, the liftgate, or the doors are
fully closed.
Do not attempt to alter this system or
add other devices to it. Information
• Do not lock the doors until all
passengers have left the vehicle. If the
remaining passenger leaves the vehicle
when the system is armed, the alarm
will be activated.
• If the vehicle is not disarmed with the
smart key, open the doors by using the
mechanical key and start the engine by
directly pressing the Engine Start/Stop
button with the smart key.
• If the system is disarmed by unlocking
the vehicle, but neither a door or the
liftgate is opened within 30 seconds, the
doors will relock and the system will
rearm automatically.
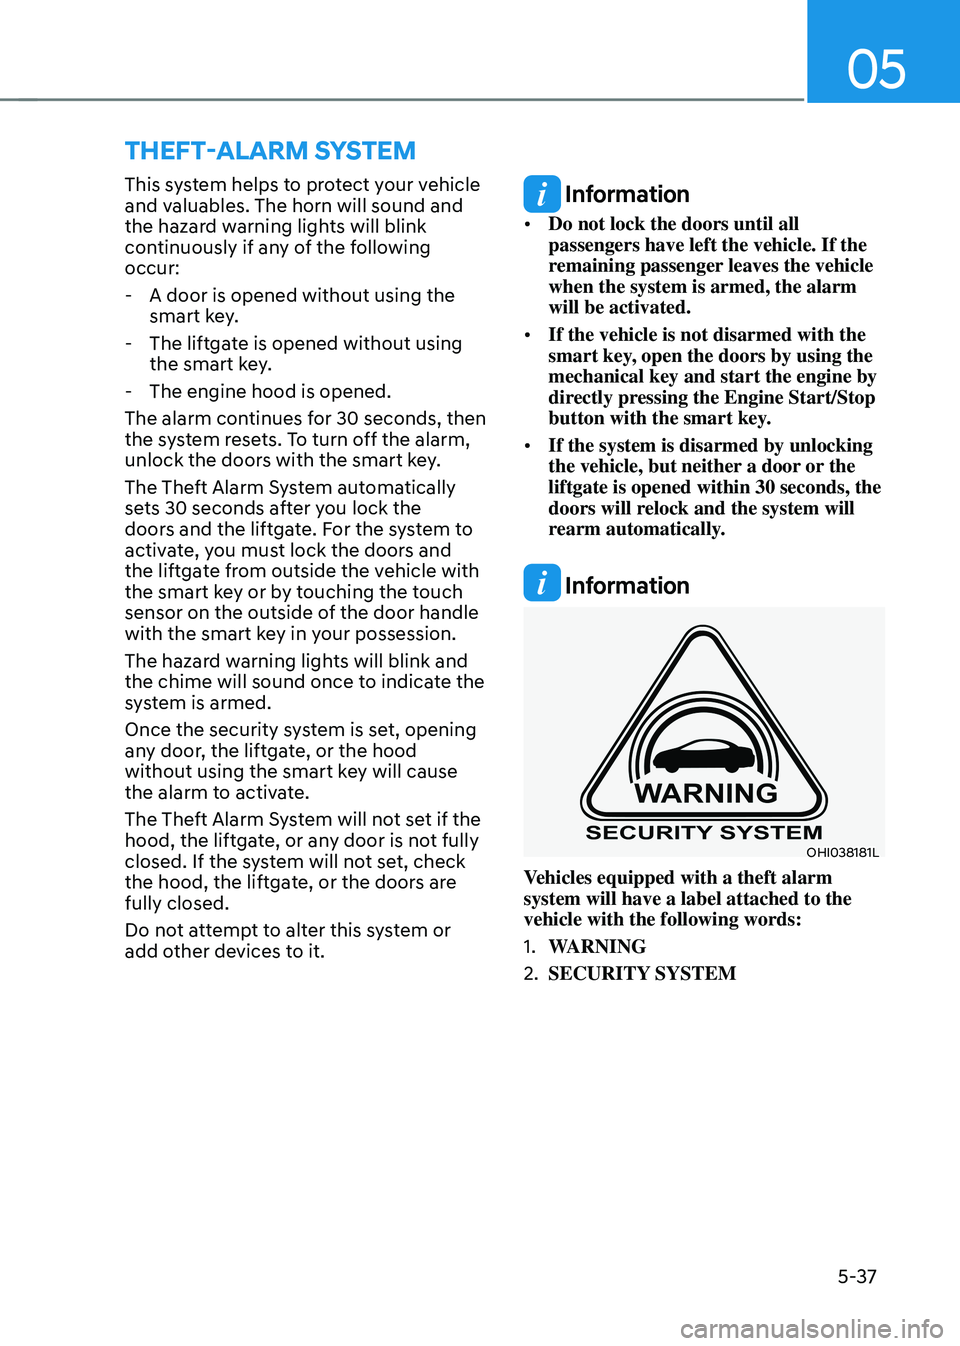
Information
OHI038181L
Vehicles equipped with a theft alarm
system will have a label attached to the
vehicle with the following words:
1.
WARNING
2.
SECURITY SYSTEM
Page 196 of 630
05
5-39
Recalling memory positions
1. Make sure that the vehicle is in the ON
position and the gear selector is in P
(Park).
2.
Press the desir
ed button (1 or 2). The
system will beep once and the driver’s
seat position and side view mirror
position will be automatically adjusted
to the stored positions.
3.
‘Driver 1 (
or 2) settings applied’ will
appear on the cluster LCD display.
Information
• Note that while the memory settings
are being recalled, if you press the
SET button or the corresponding IMS
memory button (1 or 2) for which the
settings are being recalled, the IMS will
temporarily deactivate. If you select
the alternate IMS memory button (1 or
2), the IMS will activate according to
the settings of the alternate button.
For example, if you press the SET
button or the number 1 button with the
number 1 setting in operation, the IMS
will temporarily deactivate.
If you press the number 2 button, then
the IMS memory settings according to
number 2 will activate.
• If you adjust the driver seat settings
or side mirror settings while the IMS
is recalling the stored positions, the
memory settings will not be applied.
Resetting the system
Follow the below procedures to reset the
Integrated Memory System (IMS) if it is
not operating properly:
Resetting the Integrated Memory
System (IMS)
1. Make sure that the vehicle is in Park
(P) and the engine is ON. Open the
driv
er’s door.
2.
Adjus
t the driver’s seat and seatback
angle to the most forward positions.
3.
Press the SET butt
on and push
the driver’s seat switch forward
simultaneously for about 2 seconds.
Page 197 of 630

Convenient features
5-40
While resetting integrated memory
system
1. Resetting starts with a notification
sound.
2.
The driver’
s seat and seatback is
adjusted to the rearward position with
the notification sound.
3.
The driver’
s seat and seatback is
re-adjusted to the default position
(central position) with the notification
sound.
However, in the following cases, the
resetting procedure and the notification
sound may stop.
• The memory button is pressed.
• The seat control switch is operated.
• The gear is shifted out of P (Park).
• The driving speed exceeds
2 mph (3 km/h).
• The driver’s door is closed.
NOTICE
• While integrated memory system
is being reset, if the resetting
and notification sound stops
incompletely, restart the resetting
procedure again.
• Before performing the IMS memory
reset operation, make sure there are
no objects on or around the driver’s
seat.
Seat Easy Access Operation (if
equipped)
The system will move the driver’s seat
automatically as follows:
• Vehicles equipped with Driver’s Power
Seat and Smart Key
- The driver’
s seat will move rearward
when the Engine Start/Stop button
is pressed to turn the engine OFF.
- The driver’
s seat will move forward
when the Engine Start/Stop button
is pressed to the ACC or engine
START position.
Note that Seat Easy Access operation
may be limited when the driver’s seat
position setting is already close to the
maximum rearward travel position.
You can enable or disable the Seat Easy
Access feature in the User Settings menu
on the LCD display or the navigation
infotainment screen on some models.
‘Convenience
→ Sea
t
E
asy
A
ccess
→ Off/
N
ormal/Extended’.
For more details, refer to “LCD Display”
In chapter 4.
CAUTION
The driver should be aware and be
cautious to avoid injury or damage
when using this feature if there are
objects or passengers in the driver’s
side rear seat or seat floor.
In case of emergency or to stop
movement of the front seat when the
Seat Easy Access is operating, press the
SET button or any of the driver’s seat
control switches.
Page 215 of 630
Convenient features
5-58
Power windows
The ignition switch must be in the ON
position to be able to raise or lower
the windows. Each door has a Power
Window switch to control that door’s
window. The driver has a Power Window
Lock switch which can block the
operation of passenger windows. The
power windows will operate for about
3 minutes after the ignition is turned
OFF or if the ignition is placed in the
ACC position, as long as the front doors
remain closed.
If the front doors are opened, battery
power is turned OFF and the Power
Windows will not operate.
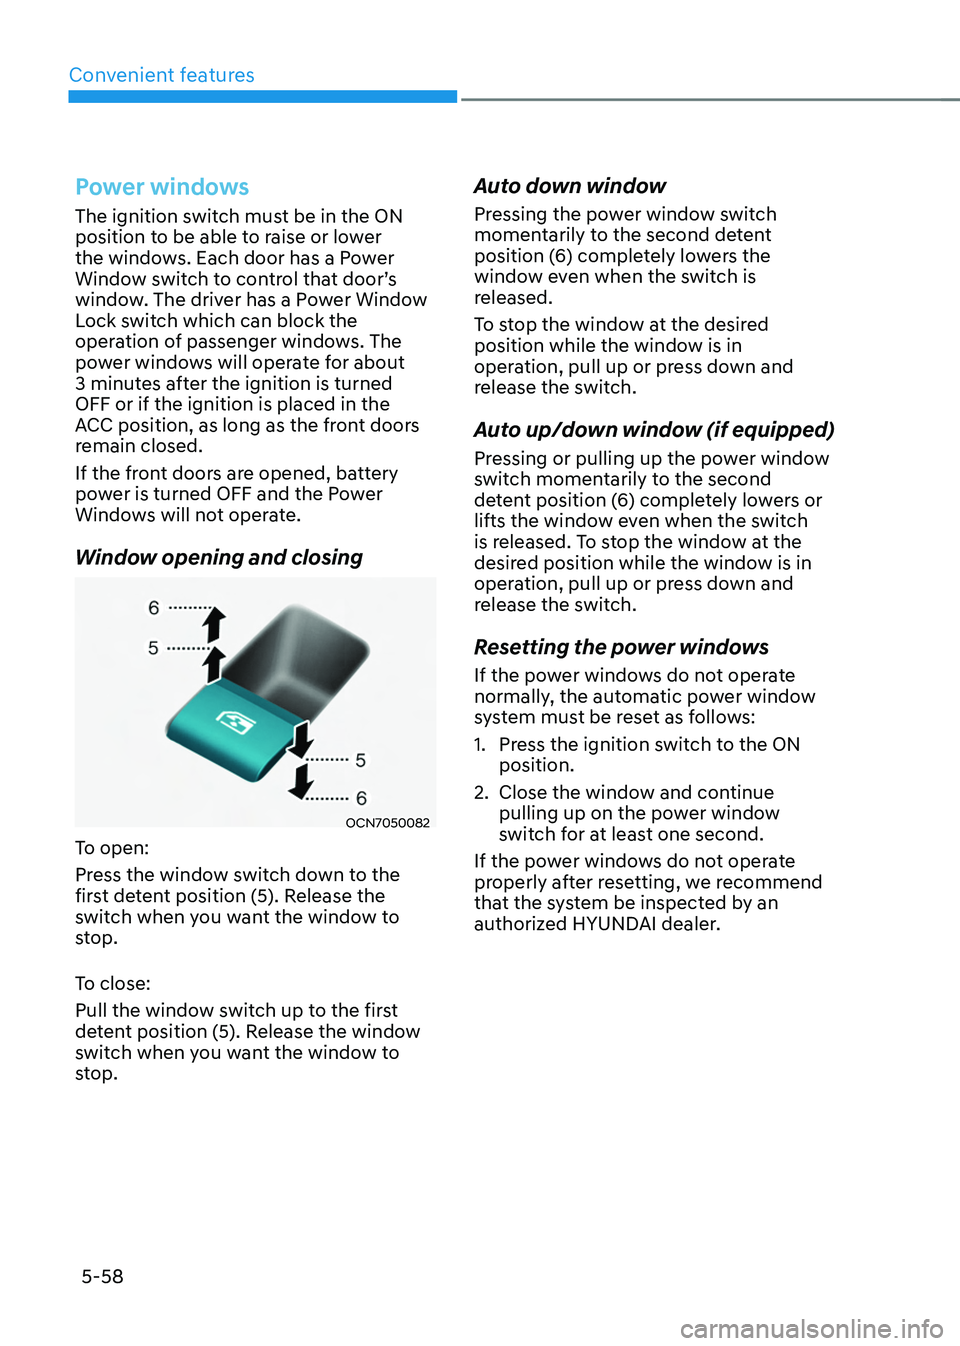
Window opening and closing
OCN7050082
To open:
Press the window switch down to the
first detent position (5). Release the
switch when you want the window to
stop.
To close:
Pull the window switch up to the first
detent position (5). Release the window
switch when you want the window to
stop.
Auto down window
Pressing the power window switch
momentarily to the second detent
position (6) completely lowers the
window even when the switch is
released.
To stop the window at the desired
position while the window is in
operation, pull up or press down and
release the switch.
Auto up/down window (if equipped)
Pressing or pulling up the power window
switch momentarily to the second
detent position (6) completely lowers or
lifts the window even when the switch
is released. To stop the window at the
desired position while the window is in
operation, pull up or press down and
release the switch.
Resetting the power windows
If the power windows do not operate
normally, the automatic power window
system must be reset as follows:
1.
Press the ignition s
witch to the ON
position.
2.
Close the window and con
tinue
pulling up on the power window
switch for at least one second.
If the power windows do not operate
properly after resetting, we recommend
that the system be inspected by an
authorized HYUNDAI dealer.
Page 222 of 630
05
5-65
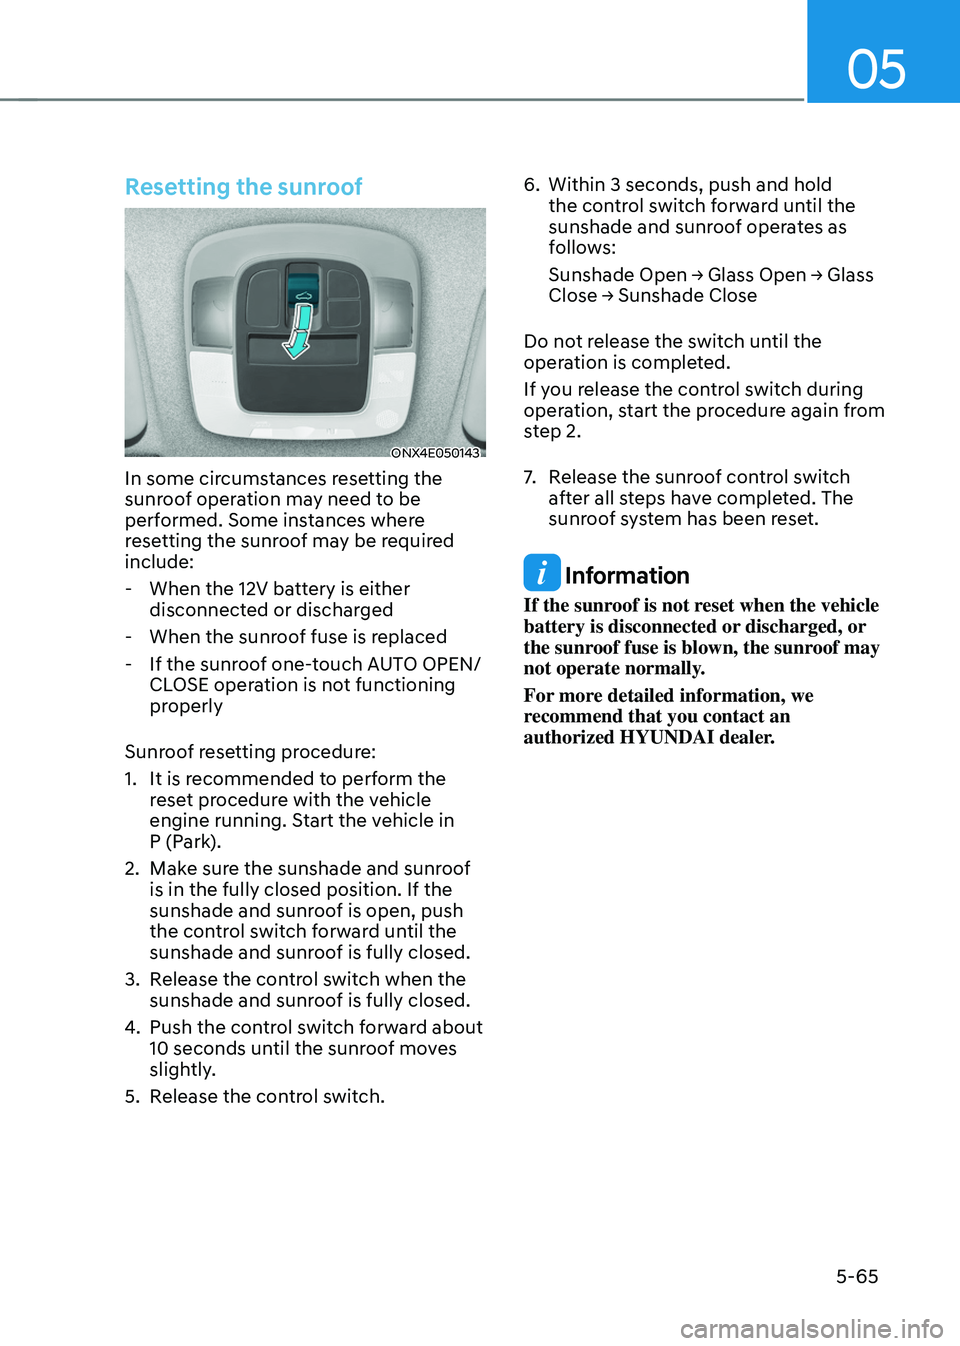
Resetting the sunroof
ONX4E050143
In some circumstances resetting the
sunroof operation may need to be
performed. Some instances where
resetting the sunroof may be required
include:
- When the 12V batt
ery is either
disconnected or discharged
- When the sunroo
f fuse is replaced
- If the sunroo
f one-touch AUTO OPEN/
CLOSE operation is not functioning
properly
Sunroof resetting procedure:
1.
It is recommended t
o perform the
reset procedure with the vehicle
engine running. Start the vehicle in
P (Park).
2.
Make sur
e the sunshade and sunroof
is in the fully closed position. If the
sunshade and sunroof is open, push
the control switch forward until the
sunshade and sunroof is fully closed.
3.
Release the con
trol switch when the
sunshade and sunroof is fully closed.
4.
Push the contr
ol switch forward about
10 seconds until the sunroof moves
slightly.
5.
Release the con
trol switch. 6.
Within 3 seconds, push and hold
the contr
ol switch forward until the
sunshade and sunroof operates as
follows:
Sunshade
Open → Glass Open → Glass Close → Sunshade Close
Do no
t release the switch until the
operation is completed.
If you release the control switch during
operation, start the procedure again from
step 2.
7. Release the sunr oof control switch
after all steps have completed. The
sunroof system has been reset.
Information
If the sunroof is not reset when the vehicle
battery is disconnected or discharged, or
the sunroof fuse is blown, the sunroof may
not operate normally.
For more detailed information, we
recommend that you contact an
authorized HYUNDAI dealer.
Page 231 of 630
Convenient features
5 -74
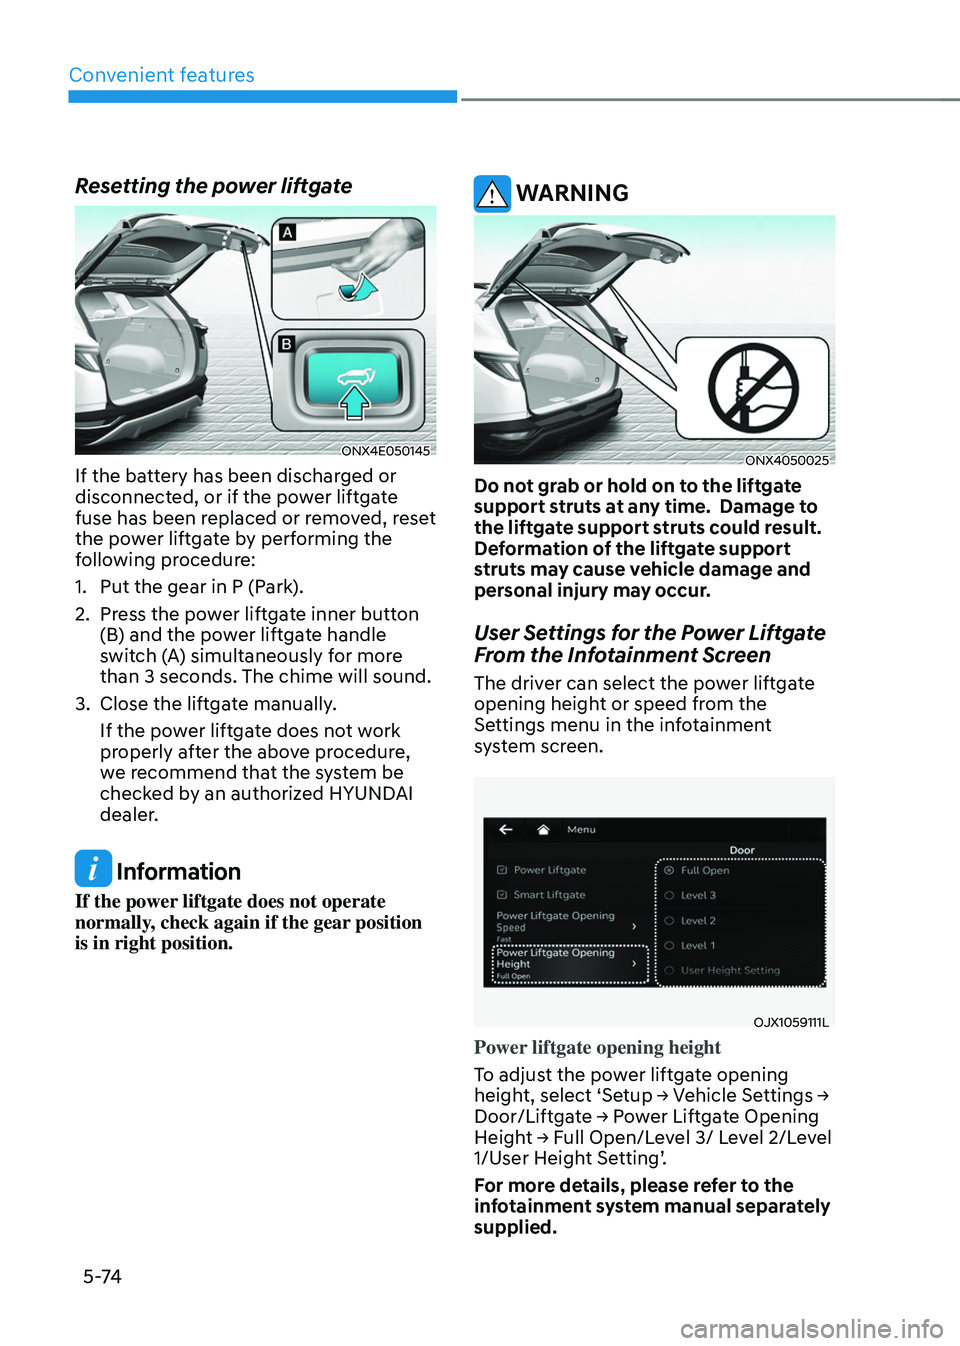
Resetting the power liftgate
ONX4E050145
If the battery has been discharged or
disconnected, or if the power liftgate
fuse has been replaced or removed, reset
the power liftgate by performing the
following procedure:
1.
Put the gear in P (Park
).
2.
Press the po
wer liftgate inner button
(B) and the power liftgate handle
switch (A) simultaneously for more
than 3 seconds. The chime will sound.
3.
Close the liftga
te manually.
If the power liftgate does not work
properly after the above procedure,
we recommend that the system be
checked by an authorized HYUNDAI
dealer.
Information
If the power liftgate does not operate
normally, check again if the gear position
is in right position.
WARNING
ONX4050025
Do not grab or hold on to the liftgate
support struts at any time. Damage to
the liftgate support struts could result.
Deformation of the liftgate support
struts may cause vehicle damage and
personal injury may occur.
User Settings for the Power Liftgate
From the Infotainment Screen
The driver can select the power liftgate
opening height or speed from the
Settings menu in the infotainment
system screen.
OJX1059111L
Power liftgate opening height
To adjust the power liftgate opening
height,
select ‘Se
tup
→ V
ehicle
Se
ttings
→ Door/Liftga
te
→ P
ower
Lift
gate
Opening Heigh
t
→ F
ull
Open/L
evel
3/ L
evel
2/L
evel
1/User H
eight Setting’.
For more details, please refer to the
infotainment system manual separately
supplied.
Page 259 of 630
Convenient features
5-102
Adjusting the driver and passenger side
temperature individually
• Press the SYNC button (indicator
light OFF) again to adjust the driver
and passenger side temperature
individually.
Temperature conversion
If the battery has been discharged or
disconnected, the temperature mode
display will reset to Fahrenheit.
To change the temperature unit from °C
to °F or °F to °C :
- Instrumen
t cluster or infotainment
system screen
Go
t
o
Se
tup
→ Unit → T
emperature
unit.
The t
emperature unit on both the cluster
LCD display and the climate control
screen will change.Air intake control
This is used to select the outside (fresh)
air position or recirculated air position.
To change the air intake control position,
push the control button.
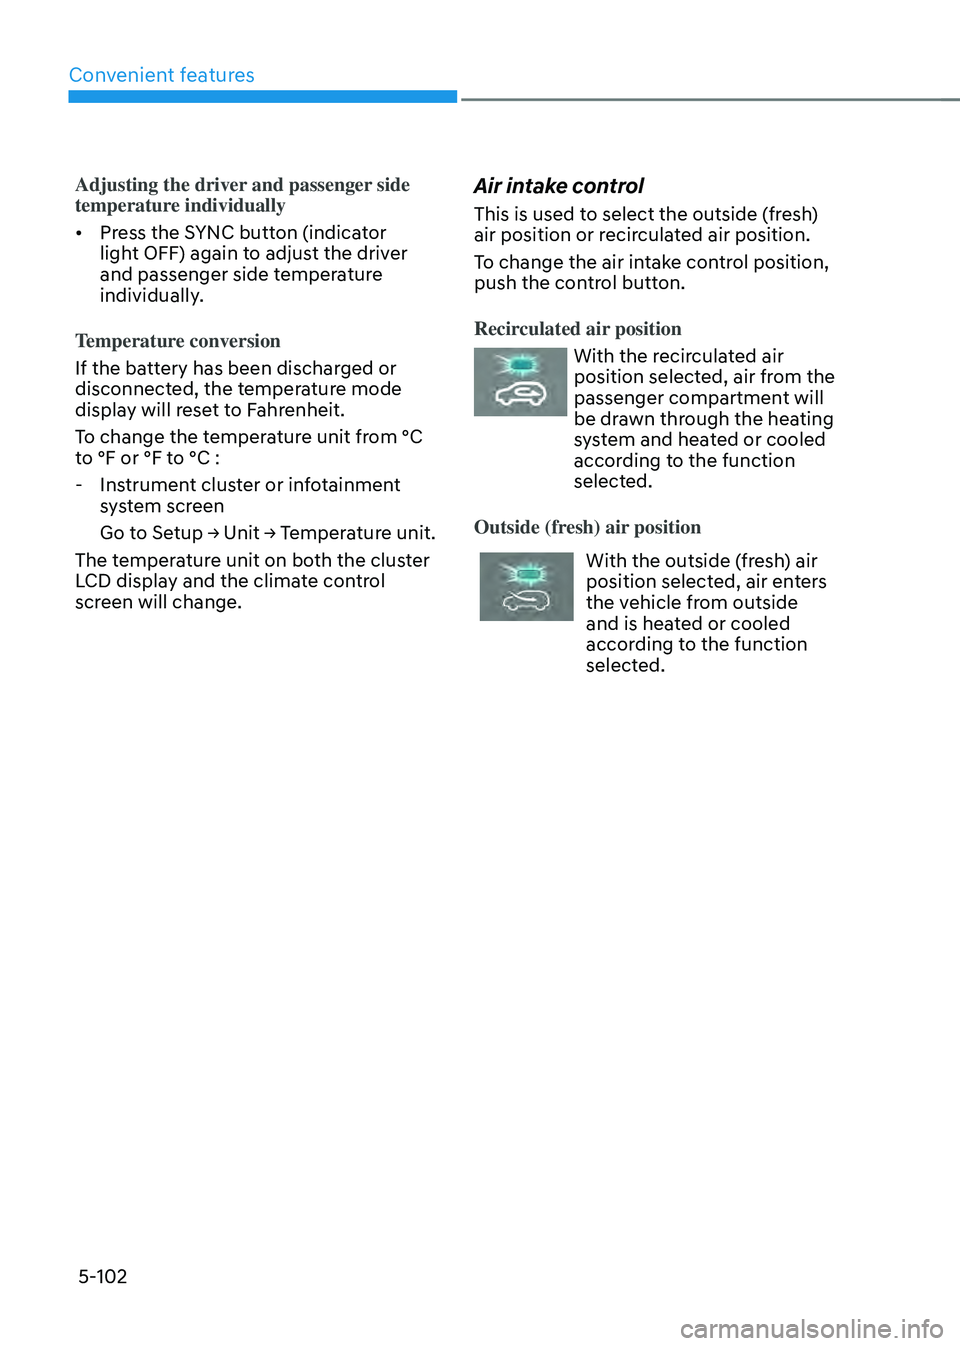
Recirculated air position
With the recirculated air
position selected, air from the
passenger compartment will
be drawn through the heating
system and heated or cooled
according to the function
selected.
Outside (fresh) air position
With the outside (fresh) air
position selected, air enters
the vehicle from outside
and is heated or cooled
according to the function
selected.
Page 268 of 630
05
5-111
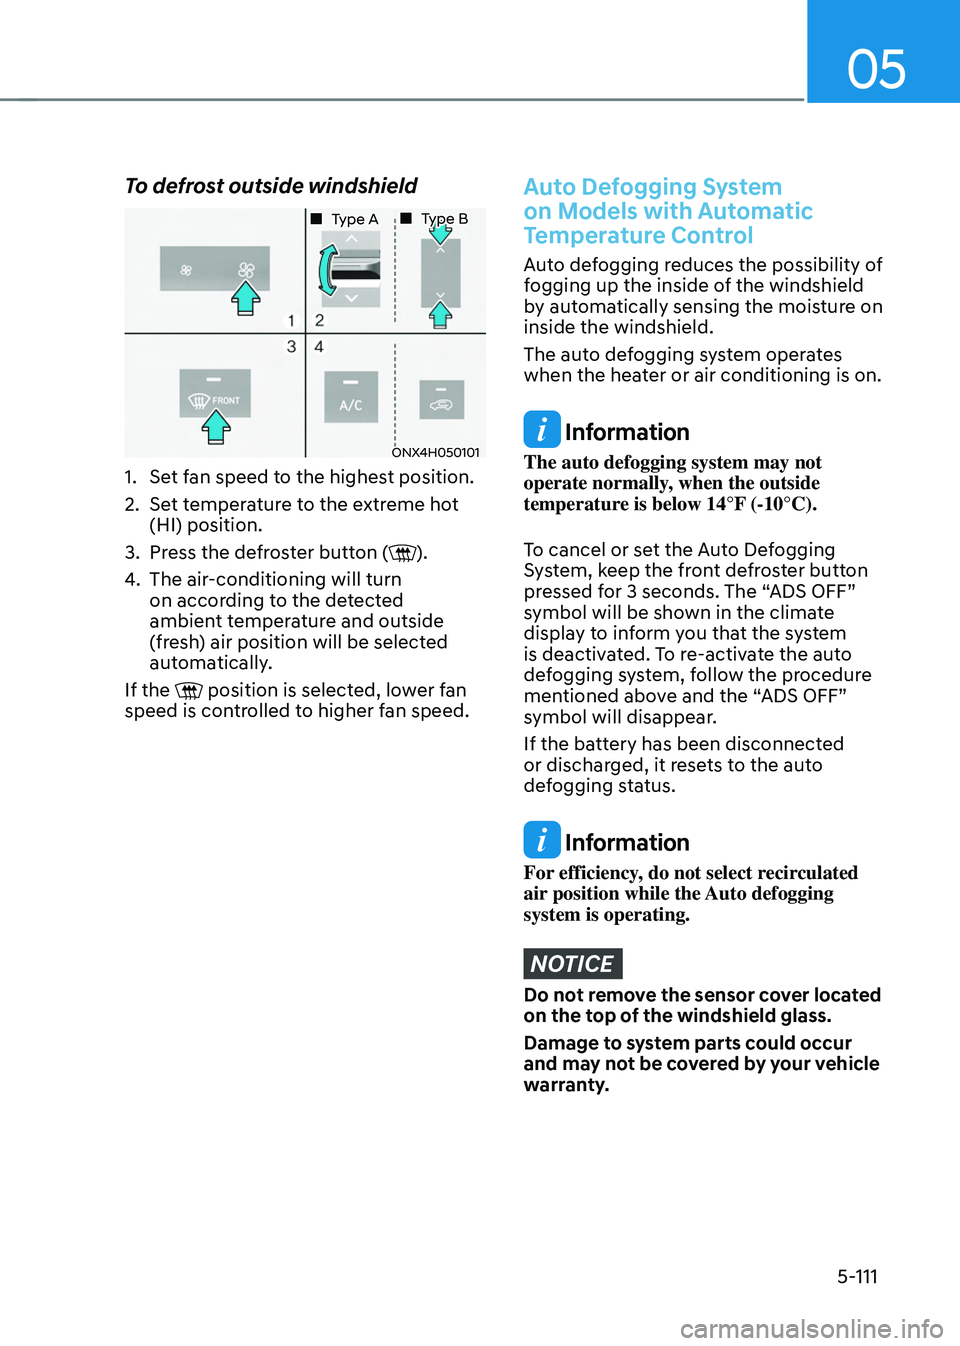
To defrost outside windshield
ONX4H050101
„„ Type A„„ Type B
1. Set fan speed to the highest position.
2.
Set t
emperature to the extreme hot
(HI) position.
3.
Press the de
froster button (
).
4.
The air-conditioning will turn
on accor
ding to the detected
ambient temperature and outside
(fresh) air position will be selected
automatically.
If the
position is selected, lower fan
speed is controlled to higher fan speed.
Auto Defogging System
on Models with Automatic
Temperature Control
Auto defogging reduces the possibility of
fogging up the inside of the windshield
by automatically sensing the moisture on
inside the windshield.
The auto defogging system operates
when the heater or air conditioning is on.
Information
The auto defogging system may not
operate normally, when the outside
temperature is below 14°F (-10°C).
To cancel or set the Auto Defogging
System, keep the front defroster button
pressed for 3 seconds. The “ADS OFF”
symbol will be shown in the climate
display to inform you that the system
is deactivated. To re-activate the auto
defogging system, follow the procedure
mentioned above and the “ADS OFF”
symbol will disappear.
If the battery has been disconnected
or discharged, it resets to the auto
defogging status.
Information
For efficiency, do not select recirculated
air position while the Auto defogging
system is operating.
NOTICE
Do not remove the sensor cover located
on the top of the windshield glass.
Damage to system parts could occur
and may not be covered by your vehicle
warranty.