Page 151 of 636

05
5 -7
When the remote key does not work
correctly, open and close the door
with the mechanical key. If you have
a problem with the remote key, it is
recommended that you contact an
authorized HYUNDAI dealer.
If the remote key is in close proximity to
your mobile phone, the signal could be
blocked by your mobile phone’s normal
operational signals.
This is especially important when the
phone is active such as making and
receiving calls, text messaging, and/ or
sending/receiving emails.
Avoid placing the remote key and your
mobile phone in the same location and
always try to maintain an adequate
distance between the two devices.
Information
This device complies with Part 15 of the
FCC rules.
Operation is subject to the following three
conditions:
1.
This device may not cause harmful
interference.
2.
This device must accept any
interference r
eceived, including
interference that may cause undesired
operation.
3.
Changes or modifications not expr
essly
approved by the party responsible
for compliance could void the user’s
authority to operate the device.
NOTICE
Keep the remote key away from
electromagnetic materials that block
electromagnetic waves to the key
surface.
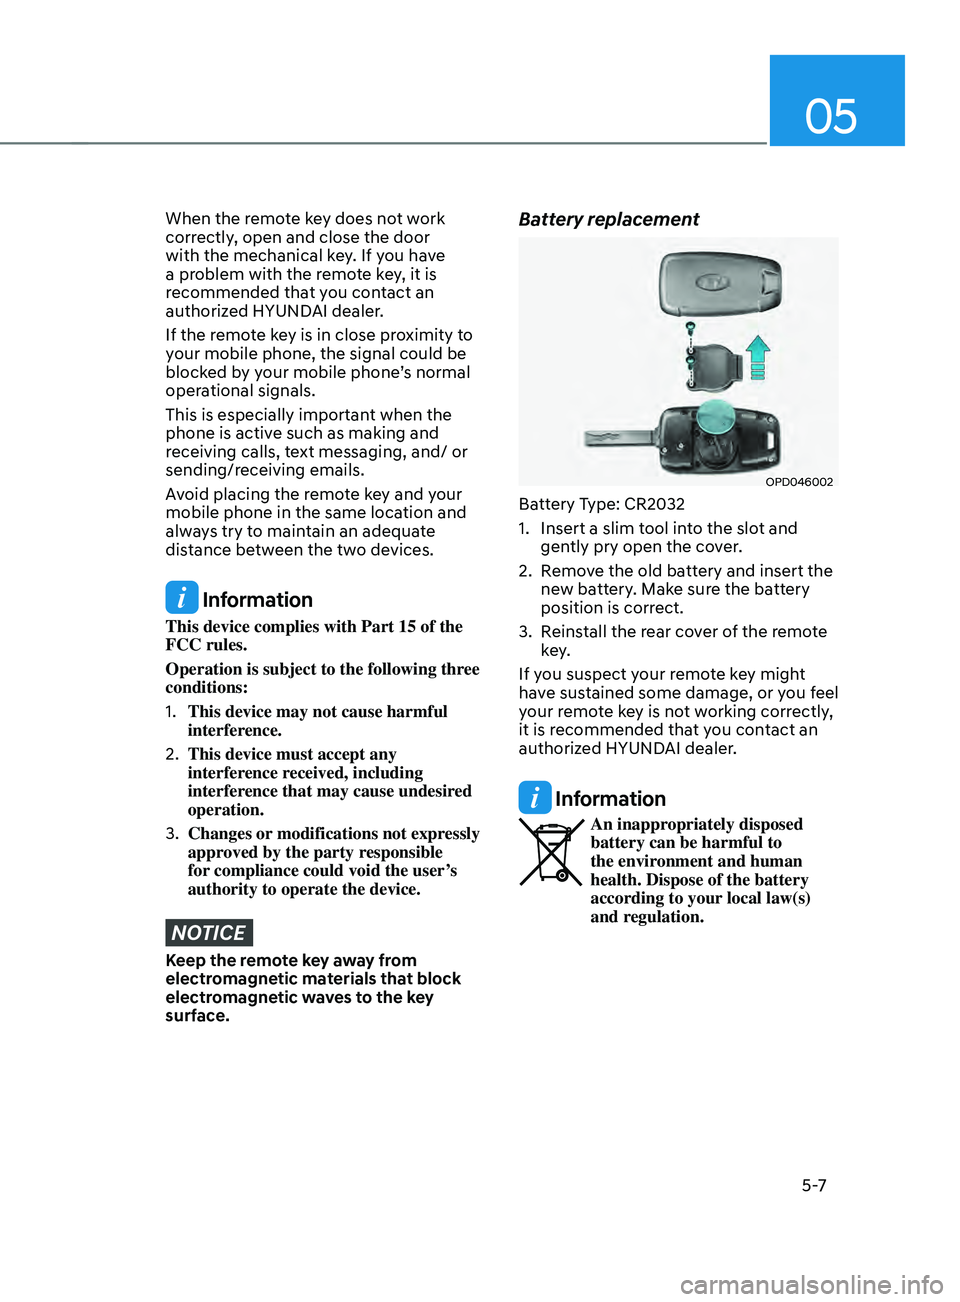
Battery replacement
OPD046002
Battery Type: CR2032
1.
Insert a slim tool in
to the slot and
gently pry open the cover.
2.
Remo
ve the old battery and insert the
new battery. Make sure the battery
position is correct.
3.
Reins
tall the rear cover of the remote
key.
If you suspect your remote key might
have sustained some damage, or you feel
your remote key is not working correctly,
it is recommended that you contact an
authorized HYUNDAI dealer.
Information
An inappropriately disposed
battery can be harmful to
the environment and human
health. Dispose of the battery
according to your local law(s)
and regulation.
Page 510 of 636

Driver assistance system
7-128
• When remotely moving forward
using method (2), it is recognized
as a parking situation, and will
immediately control the steering
wheel according to the condition
ahead to assist with entering the
parking space and aligning the
vehicle. However, performance
may reduce depending on the
pedestrians, animals, shape of
objects, location, etc. around the
vehicle.
• For moving remotely in reverse,
both method (1) and (2) aligns the
steering wheel first, and then will
only move the vehicle straight.
• When remotely moving forward or
in reverse is completed, the vehicle
will automatically shift to P (Park)
and engage EPB (Electronic Parking
Brake). CAUTION
• When using Remote Remote
Forward/Backward function, make
sure that all passengers have gotten
out of the vehicle.
• If the vehicle’s battery is discharged
or Remote Smart Parking Assist
malfunctions when parked in a
narrow parking space, Remote
Forward/Backward function will not
operate. Always park your vehicle in
a space wide enough for you to get in
or out of your vehicle.
• Please note that depending on the
parking space, you may not be able
to exit from the space you have
entered by using Remote Forward/
Backward function.
• After parking, the surrounding may
change due to the movement of
surrounding vehicles. If this occurs,
Remote Forward/Backward function
may not operate.
• Before leaving the vehicle, close
windows and sunroofs, and make
sure the engine is off before locking
the doors.
Page 514 of 636

Driver assistance system
7-132
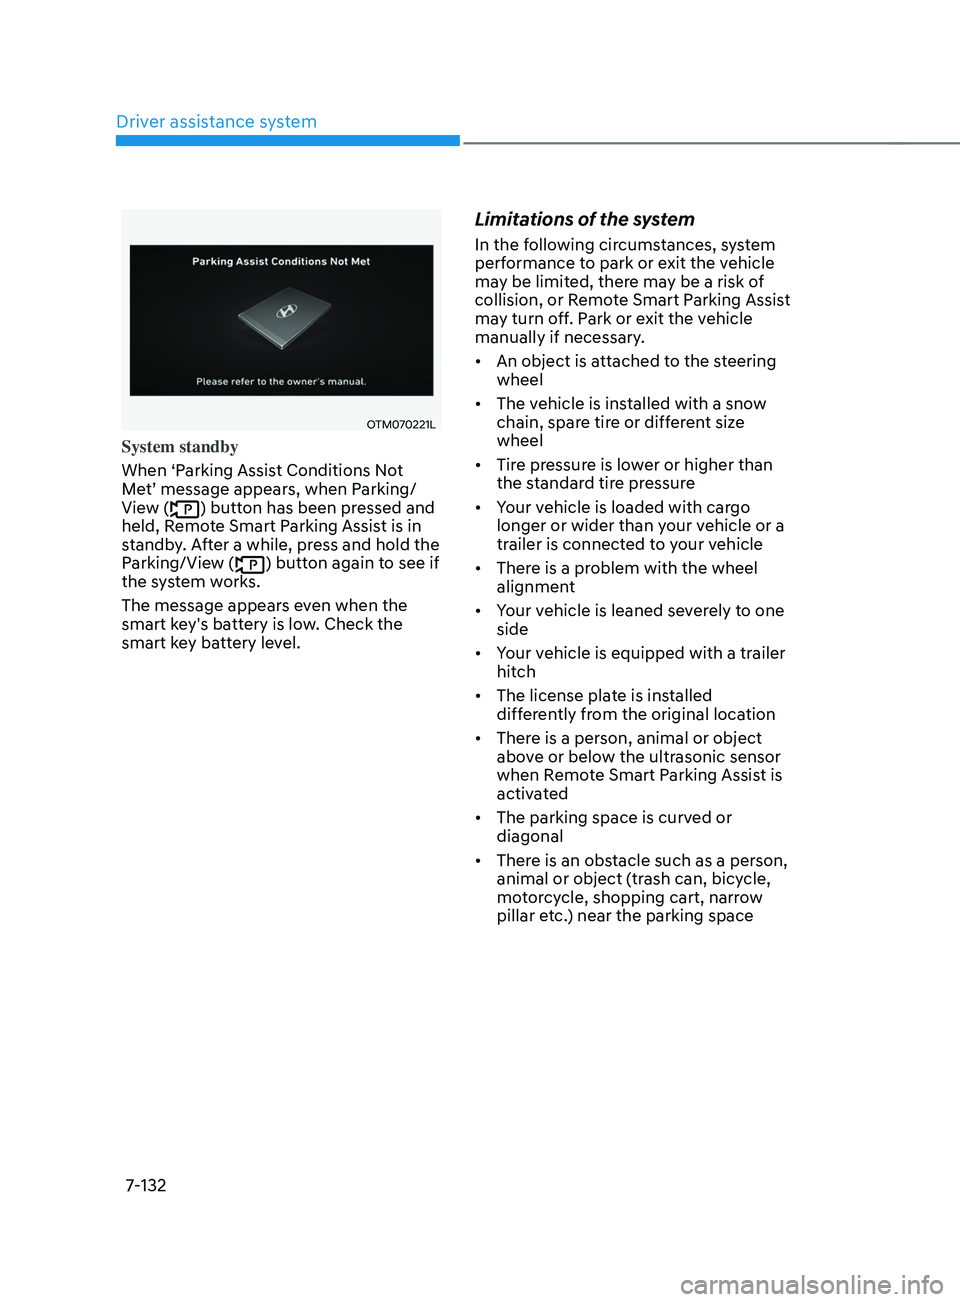
OTM070221L
System standby
When ‘Parking Assist Conditions Not
Met’ message appears, when Parking/
View (
) button has been pressed and
held, Remote Smart Parking Assist is in
standby. After a while, press and hold the
Parking/View (
) button again to see if
the system works.
The message appears even when the
smart key's battery is low. Check the
smart key battery level.
Limitations of the system
In the following circumstances, system
performance to park or exit the vehicle
may be limited, there may be a risk of
collision, or Remote Smart Parking Assist
may turn off. Park or exit the vehicle
manually if necessary.
• An object is attached to the steering
wheel
• The vehicle is installed with a snow
chain, spare tire or different size
wheel
• Tire pressure is lower or higher than
the standard tire pressure
• Your vehicle is loaded with cargo
longer or wider than your vehicle or a
trailer is connected to your vehicle
• There is a problem with the wheel
alignment
• Your vehicle is leaned severely to one
side
• Your vehicle is equipped with a trailer
hitch
• The license plate is installed
differently from the original location
• There is a person, animal or object
above or below the ultrasonic sensor
when Remote Smart Parking Assist is
activated
• The parking space is curved or
diagonal
• There is an obstacle such as a person,
animal or object (trash can, bicycle,
motorcycle, shopping cart, narrow
pillar etc.) near the parking space
Page 546 of 636

Emergency situations
8-28
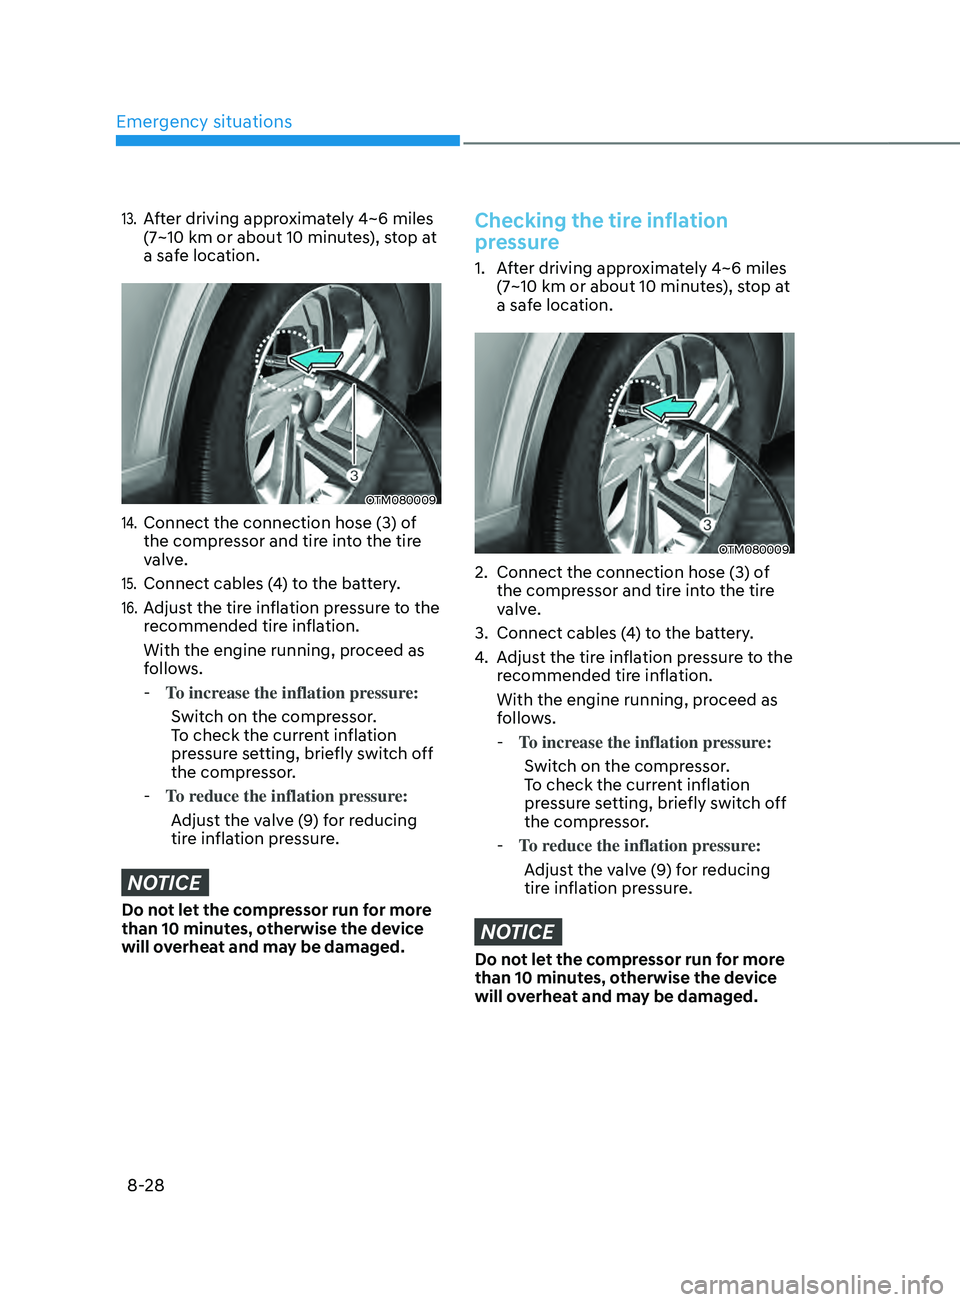
13. After driving approximately 4~6 miles
(7~10 km or about 10 minutes), stop at
a safe location.
OTM080009
14. Connect the connection hose (3) of
the compressor and tire into the tire
valve.
15. Connect cables (4) to the battery.
16. Adjust the tire inflation pressure to the
recommended tire inflation.
With the engine running, proceed as
follows.
-To incr
ease the inflation pressure:
Switch on the compressor.
To check the current inflation
pressure setting, briefly switch off
the compressor.
- To r
educe the inflation pressure:
Adjust the valve (9) for reducing
tire inflation pressure.
NOTICE
Do not let the compressor run for more
than 10 minutes, otherwise the device
will overheat and may be damaged.
Checking the tire inflation
pressure
1. After driving approximately 4~6 miles
(7~10 km or about 10 minut es), stop at
a safe location.
OTM080009
2. Connect the connection hose (3) o f
the compressor and tire into the tire
valve.
3.
Connect cables (4
) to the battery.
4.
Adjus
t the tire inflation pressure to the
recommended tire inflation.
With the engine running, proceed as
follows.
- To incr
ease the inflation pressure:
Switch on the compressor.
To check the current inflation
pressure setting, briefly switch off
the compressor.
- To r
educe the inflation pressure:
Adjust the valve (9) for reducing
tire inflation pressure.
NOTICE
Do not let the compressor run for more
than 10 minutes, otherwise the device
will overheat and may be damaged.