2021 HYUNDAI IONIQ ELECTRIC light
[x] Cancel search: lightPage 269 of 546
3-119
Convenient features of your vehicle
3
Air conditioning
All HYUNDAI Air Conditioning
Systems are filled with environmen-
tally friendly R-134a refrigerant.
1. Start the vehicle.
2. Push the air conditioning button.
3. Set the mode to the Face Levelmode.
4. Set the air intake control to the recirculated air position. However,
prolonged operation of the recircu-
lated air position will excessively
dry the air. In this case, change theair position.
5. Adjust the fan speed control and temperature control to maintain
maximum comfort.
When maximum cooling is desired,
set the temperature control to the
extreme left position then set the fanspeed control to the highest speed.
Air conditioning system operation
tips
If the vehicle has been parked in direct sunlight during hot weather,
open the windows for a short time
to let the hot air inside the vehicle
escape.
After sufficient cooling has been achieved, switch back from therecirculated air to the fresh outsideair position.
To help reduce moisture inside of the windows on rainy or humid
days, decrease the humidity inside
the vehicle by operating the airconditioning system with the win-
dows and sunroof closed.
Use the air conditioning system every month only for a few minutes
to ensure maximum system per-
formance. If you operate air conditioner
excessively, the difference between
the temperature of the outside airand that of the windshield could
cause the outer surface of the
windshield to fog up, causing loss
of visibility. In this case, set the
mode selection knob or button to
the position and fan speed
control to the lower speed.
Page 276 of 546
3-126
Convenient features of your vehicleS
S TT OO RRAA GG EE CC OO MM PPAA RRTTMM EENN TT
To avoid possible theft, do not
leave valuables in the storage
compartments.
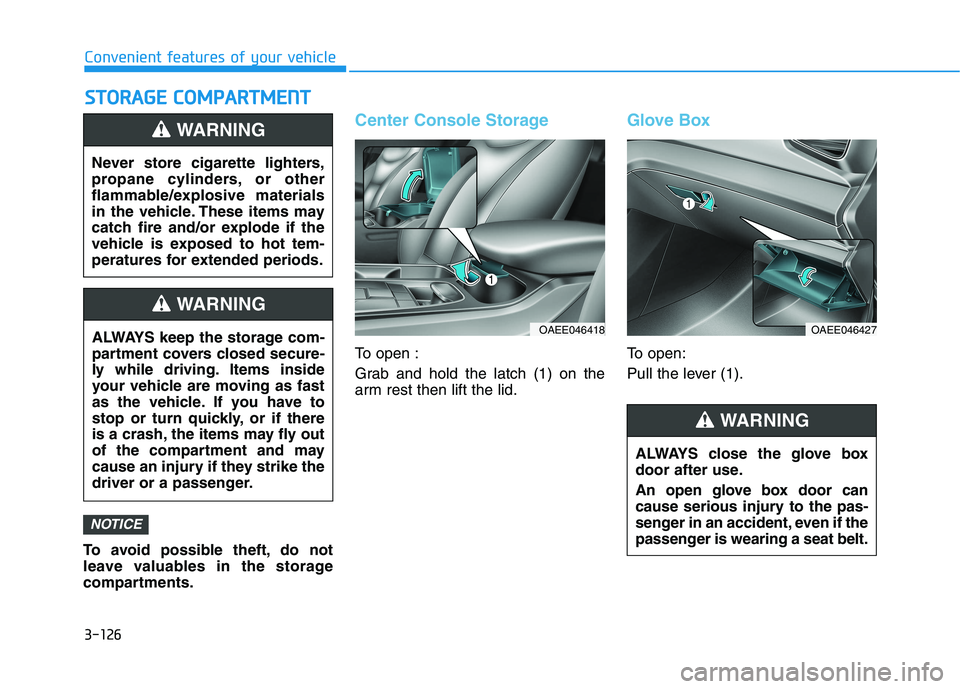
Center Console Storage
To open :
Grab and hold the latch (1) on the
arm rest then lift the lid.
Glove Box
To open:
Pull the lever (1).
NOTICE
Never store cigarette lighters,
propane cylinders, or other
flammable/explosive materials
in the vehicle. These items may
catch fire and/or explode if the
vehicle is exposed to hot tem-
peratures for extended periods.
WARNING
ALWAYS keep the storage com-
partment covers closed secure-
ly while driving. Items inside
your vehicle are moving as fast
as the vehicle. If you have to
stop or turn quickly, or if there
is a crash, the items may fly out
of the compartment and may
cause an injury if they strike the
driver or a passenger.
WARNING
OAEE046418
ALWAYS close the glove box
door after use.
An open glove box door can
cause serious injury to the pas-
senger in an accident, even if the
passenger is wearing a seat belt.
WARNING
OAEE046427
Page 278 of 546
3-128
Convenient features of your vehicle
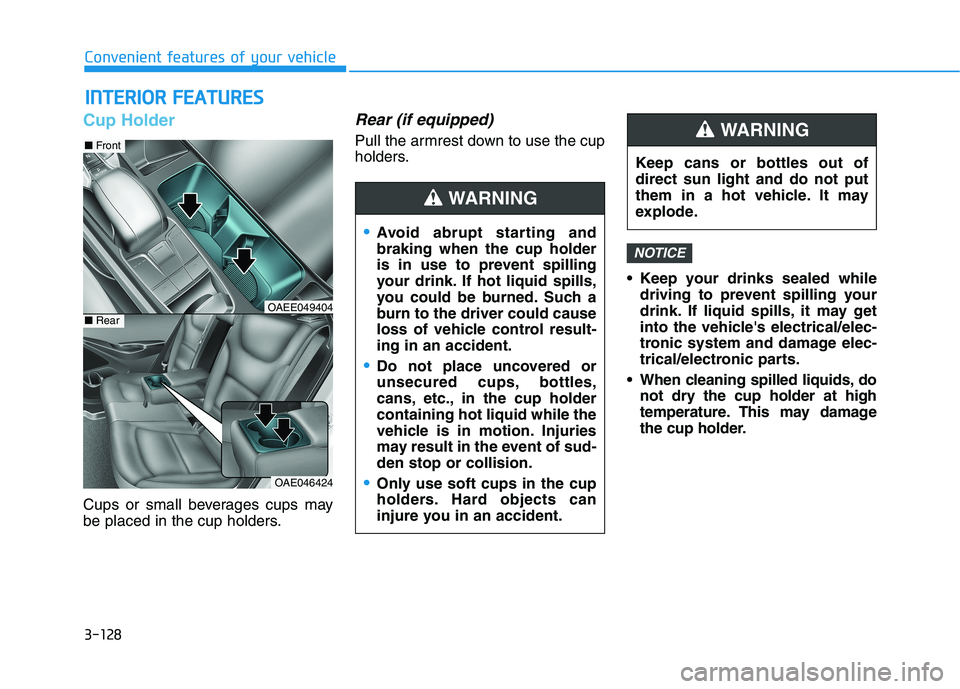
Cup Holder
Cups or small beverages cups may
be placed in the cup holders.
Rear (if equipped)
Pull the armrest down to use the cup
holders. Keep your drinks sealed whiledriving to prevent spilling your
drink. If liquid spills, it may get
into the vehicle's electrical/elec-
tronic system and damage elec-
trical/electronic parts.
When cleaning spilled liquids, do not dry the cup holder at high
temperature. This may damage
the cup holder.
NOTICE
IINN TTEERR IIOO RR FF EE AA TTUU RREESS
OAE046424
■ Front
■RearOAEE049404
Avoid abrupt starting and braking when the cup holder
is in use to prevent spilling
your drink. If hot liquid spills,
you could be burned. Such a
burn to the driver could cause
loss of vehicle control result-ing in an accident.
Do not place uncovered or
unsecured cups, bottles,
cans, etc., in the cup holdercontaining hot liquid while the
vehicle is in motion. Injuries
may result in the event of sud-den stop or collision.
Only use soft cups in the cup
holders. Hard objects can
injure you in an accident.
WARNING
Keep cans or bottles out of direct sun light and do not put
them in a hot vehicle. It may
explode.
WARNING
Page 281 of 546
3-131
Convenient features of your vehicle
3
To charge a cellular phone
The wireless cellular phone charging
system charges only the Qi-enabled
cellular phones ( ). Read the label
on the cellular phone accessory
cover or visit your cellular phone
manufacturer’s website to check
whether your cellular phone supports
the Qi technology.
The wireless charging process starts
when you put a Qi-enabled cellularphone on the wireless charging unit.
1. Remove other items, including thesmart key, from the wireless charg-
ing unit. If not, the wireless charg-
ing process may be interrupted.Place the cellular phone on thecenter of charging pad.
2. The indicator light is orange when the cellular phone is charging. The
indicator light turns green whenphone charging is completed.
3. You can turn ON or OFF the wire- less charging function in the user
settings mode on the instrument
cluster. (For further information,
refer to the "LCD Display Modes"
in this chapter.) If your cellular phone is not charging:
- Slightly change the position of the
cellular phone on the charging pad.
- Make sure the indicator light is orange.
The indicator light will blink orange
for 10 seconds if there is a malfunc-tion in the wireless charging system.
In this case, temporarily stop the
charging process, and re-attempt to
wirelessly charge your cellular phoneagain.
The system warns you with a mes-
sage on the LCD display if the cellu-lar phone is still on the wireless
charging unit after the POWER but-ton is in the OFF position and thefront door is opened. Information
For some manufacturer's cellular
phones, the system may not warn you
even though the cellular phone is left
on the wireless charging unit. This is
due to the particular characteristic of
the cellular phone and not a malfunc-
tion of the wireless charging. The wireless cellular phone
charging system may not sup-
port certain cellular phones,
which are not verified for the Qi
specification ( ).
When placing your cellular phone on the charging mat,
position the phone in the middle
of the mat for optimal charging
performance. If your cell phone
is off to the side, the charging
rate may be less and in some
cases the cell phone may experi-ence higher heat conduction.
In some cases, the wireless charging may stop temporarily
when the Smart Key is used,
either when starting the vehicle
or locking/unlocking the doors,etc.
When charging certain cellular phones, the charging indicator
may not change to green when
the cell phone is fully charged.
(Continued)
NOTICE
i
Page 282 of 546
3-132
Convenient features of your vehicle
(Continued)
The wireless charging processmay temporarily stop, when tem-
perature abnormally increasesinside the wireless cellular
phone charging system. The
wireless charging process
restarts, when temperature falls
to a proper level.
The wireless charging process may temporarily stop when
there is any metallic item, such
as a coin, between the wireless
cellular phone charging system
and a cellular phone.
For certain cellular phone with their own protection, the wire-
less charging speed maydecrease and the wireless
charging may stop.
If the cellular phone has a thick cover, the wireless charging may
not be possible.
If the cell phone is not complete- ly contacting the charging pad,
wireless charging may not oper-
ate properly.
(Continued)(Continued)
Some magnetic items like credit
cards, phone cards or rail tickets
may be damaged if left with the
cellular phone during the charg-
ing process.
If the cellular phone without the wireless charging function orthe metallic items are placed on
the charging pad, it may cause
slight noise. This noise does not
affect the cellular phone and the
vehicle, because this noise is anoperating sound during deter-
mining the item on the chargingpad.
If the POWER button is in the OFF position, the charging alsostops.Clock
Vehicles with Audio system
Select the [SETUP]button on the
audio system ➟Select [Date/Time].
Set time: Set the time displayed on the audio screen.
Time format: Choose between 12- hour and 24-hour time formats.
Do not adjust the clock while
driving, you may lose your
steering control and cause an
accident that results in severe
personal injury or death.
WARNING
Page 291 of 546
Driving your vehicle
Before driving .......................................................5-3Before Entering the Vehicle ...........................................5-3
Before Starting ..................................................................5-3
Power button ..........................................................5-5 POWER Button Positions.................................................5-6
Starting the Vehicle ..........................................................5-8
Turning Off the Vehicle ...................................................5-9
Reduction gear .....................................................5-10 Reduction Gear Operation ............................................5-10
Parking ...............................................................................5-12
LCD Display Messages ...................................................5-12
Good Driving Practices ..................................................5-15
Paddle shifter (regenerative braking control) ... 5-16
One Pedal Driving ...........................................................5-17
Smart regeneration system with
smart cruise control system...............................5-18 System Setting .................................................................5-18
Activating the Smart Regeneration System .............5-18
Cancelling the Smart Regeneration System .............5-19
Resuming the Smart Regeneration System ..............5-20
Disabling the Smart Regeneration System ...............5-20
Vehicle-to-Vehicle Front Recognition
- Front Radar Sensor ....................................................5-20 Warning Message............................................................5-21
Limitations of the System .............................................5-21 Braking system ...................................................5-25
Power Brakes ...................................................................5-25
Disc Brake Wear Indicator ............................................5-26
Electronic Parking Brake (EPB)...................................5-26
Auto Hold ..........................................................................5-31
Anti-lock Brake System (ABS) ....................................5-35
Electronic Stability Control (ESC)................................5-37
Vehicle Stability Management (VSM).........................5-41
Hill-Start Assist Control (HAC) ....................................5-42
Good Braking Practices ................................................5-43
Drive Mode Integrated Control System ...........5-44 Drive mode ........................................................................5-44
Initial setting for each Drive Mode ............................5-44
Forward Collision-Avoidance assist (FCA) .....5-45 System setting and activation......................................5-45
FCA warning message and brake control .................5-47
FCA sensor (Front view camera+ Front radar) .......5-50
System malfunction ........................................................5-52
Limitations of the system .............................................5-54
Lane Keeping Assist (LKA) .................................5-61 LKA operation ..................................................................5-63
Warning light and message ..........................................5-66
Limitations of the System .............................................5-67
LKA system function change .......................................5-69
5
Page 293 of 546
5-3
Driving your vehicle
5
Before Entering the Vehicle
• Be sure all windows, outside mir-ror(s), and outside lights are clean
and unobstructed.
Remove frost, snow, or ice.
Visually check the tires for uneven wear and damage.
Check under the vehicle for any sign of leaks.
Be sure there are no obstacles behind you if you intend to back up.
Before Starting
Make sure the hood, the tailgate,and the doors are securely closed
and locked.
Adjust the position of the seat and steering wheel.
Adjust the inside and outer side view mirrors.
Verify all the lights work.
Fasten your seat belt. Check that all passengers have fastened their
seat belts.
Check the gauges and indicators in the instrument panel and the mes-
sages on the instrument display
when the POWER button is in theON position.
Check that any items you are car- rying are stored properly or fas-
tened down securely.
BBEEFFOO RREE DD RRIIVV IINN GG
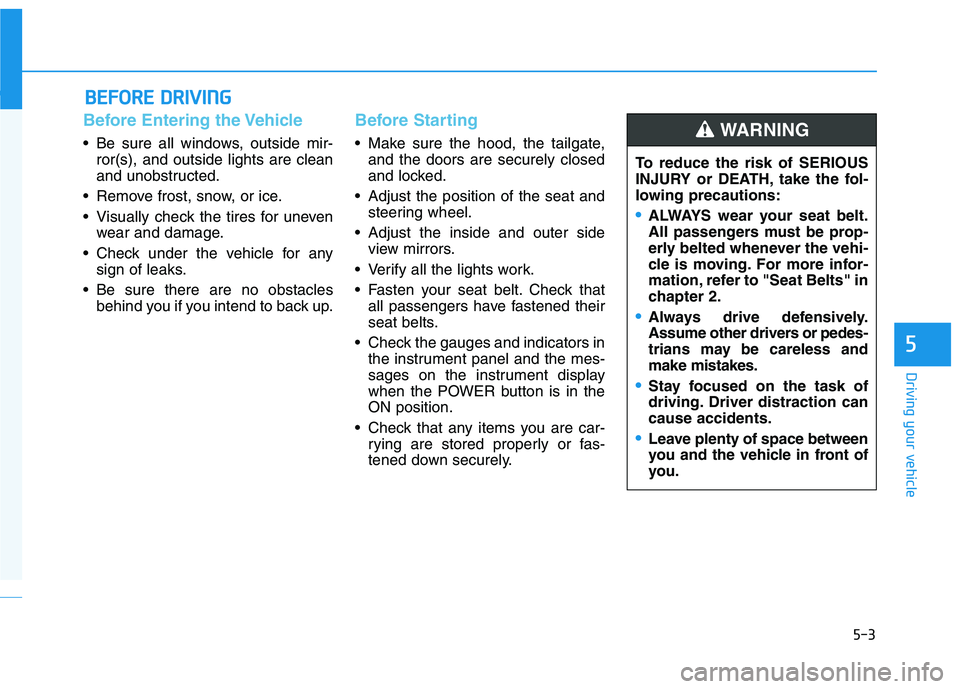
To reduce the risk of SERIOUS
INJURY or DEATH, take the fol-
lowing precautions:
•ALWAYS wear your seat belt.
All passengers must be prop-
erly belted whenever the vehi-
cle is moving. For more infor-
mation, refer to "Seat Belts" in
chapter 2.
Always drive defensively.
Assume other drivers or pedes-
trians may be careless andmake mistakes.
Stay focused on the task of
driving. Driver distraction cancause accidents.
Leave plenty of space between
you and the vehicle in front of
you.
WARNING
Page 297 of 546
5-7
Driving your vehicle
5
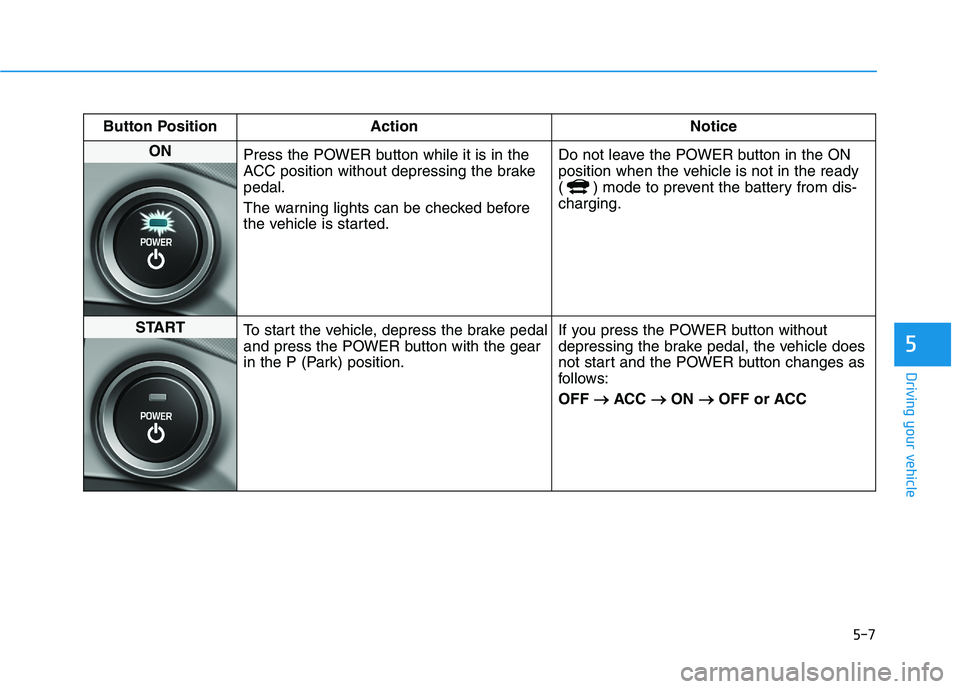
Button Position ActionNotice
ON
Press the POWER button while it is in the
ACC position without depressing the brakepedal.
The warning lights can be checked before
the vehicle is started. Do not leave the POWER button in the ON
position when the vehicle is not in the ready
( ) mode to prevent the battery from dis-charging.
START
To start the vehicle, depress the brake pedal
and press the POWER button with the gear
in the P (Park) position. If you press the POWER button without
depressing the brake pedal, the vehicle does
not start and the POWER button changes as
follows: OFF
�
�
ACC ��
ON ��
OFF or ACC