2021 HYUNDAI ELANTRA HYBRID display
[x] Cancel search: displayPage 219 of 555
Convenient Features
5-66
Smart Trunk release
(if equipped)
OCN7H050011
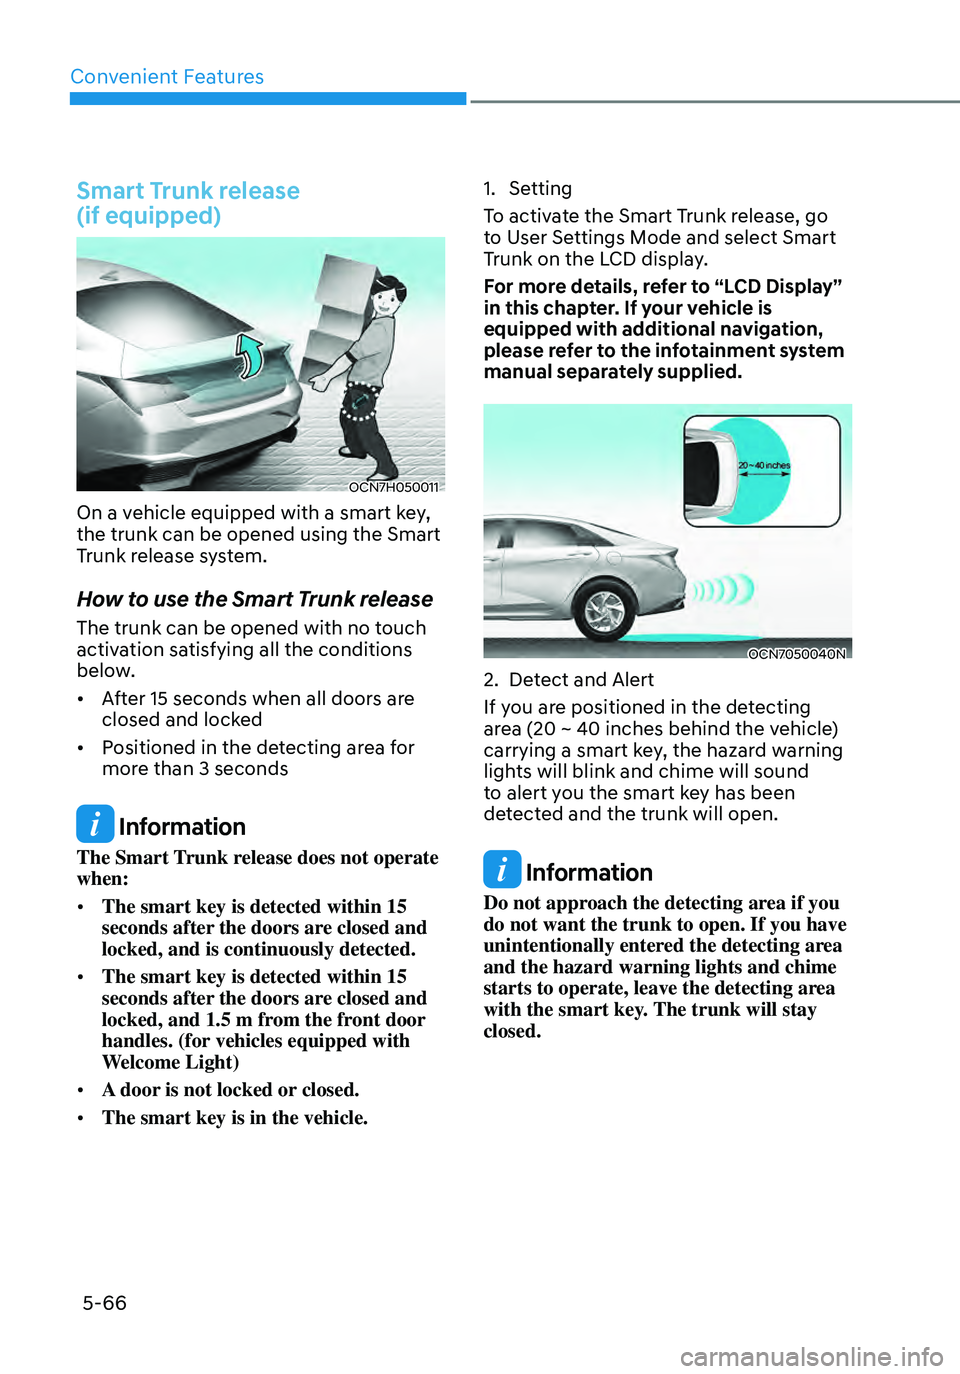
On a vehicle equipped with a smart key,
the trunk can be opened using the Smart
Trunk release system.
How to use the Smart Trunk release
The trunk can be opened with no touch
activation satisfying all the conditions
below.
• After 15 seconds when all doors are
closed and locked
• Positioned in the detecting area for
more than 3 seconds
Information
The Smart Trunk release does not operate
when:
• The smart key is detected within 15
seconds after the doors are closed and
locked, and is continuously detected.
• The smart key is detected within 15
seconds after the doors are closed and
locked, and 1.5 m from the front door
handles. (for vehicles equipped with
Welcome Light)
• A door is not locked or closed.
• The smart key is in the vehicle.
1. Setting
To activate the Smart Trunk release, go
to User Settings Mode and select Smart
Trunk on the LCD display.
For more details, refer to “LCD Display”
in this chapter. If your vehicle is
equipped with additional navigation,
please refer to the infotainment system
manual separately supplied.
OCN7050040N
2. Detect and Alert
If you are positioned in the detecting
area (20 ~ 40 inches behind the vehicle)
carrying a smart key, the hazard warning
lights will blink and chime will sound
to alert you the smart key has been
detected and the trunk will open.
Information
Do not approach the detecting area if you
do not want the trunk to open. If you have
unintentionally entered the detecting area
and the hazard warning lights and chime
starts to operate, leave the detecting area
with the smart key. The trunk will stay
closed.
Page 227 of 555
Convenient Features
5 -74
ODN8A059204
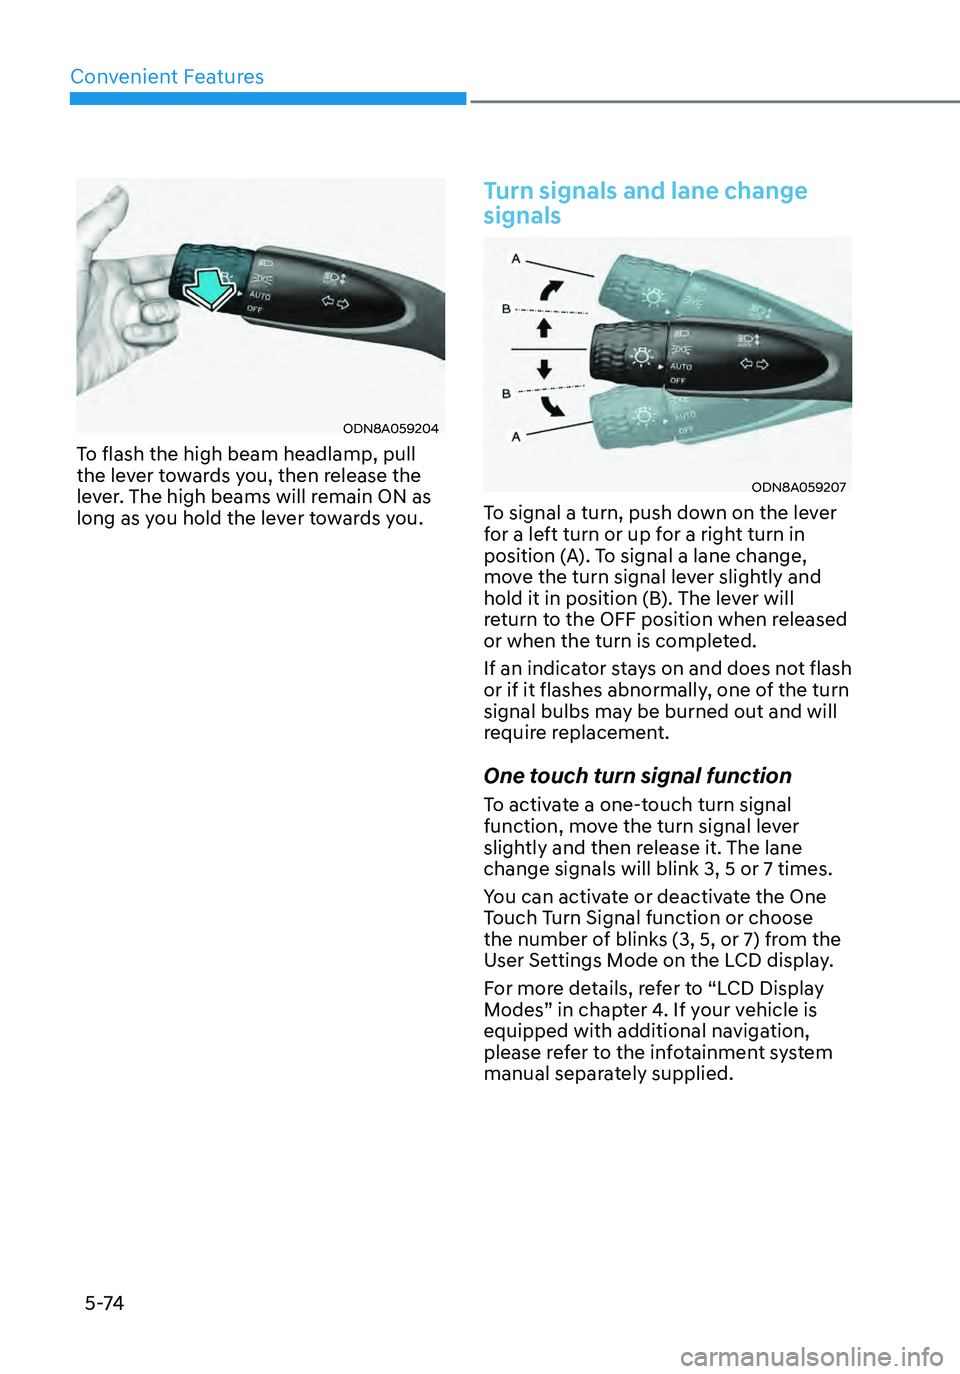
To flash the high beam headlamp, pull
the lever towards you, then release the
lever. The high beams will remain ON as
long as you hold the lever towards you.
Turn signals and lane change
signals
ODN8A059207
To signal a turn, push down on the lever
for a left turn or up for a right turn in
position (A). To signal a lane change,
move the turn signal lever slightly and
hold it in position (B). The lever will
return to the OFF position when released
or when the turn is completed.
If an indicator stays on and does not flash
or if it flashes abnormally, one of the turn
signal bulbs may be burned out and will
require replacement.
One touch turn signal function
To activate a one-touch turn signal
function, move the turn signal lever
slightly and then release it. The lane
change signals will blink 3, 5 or 7 times.
You can activate or deactivate the One
Touch Turn Signal function or choose
the number of blinks (3, 5, or 7) from the
User Settings Mode on the LCD display.
For more details, refer to “LCD Display
Modes” in chapter 4. If your vehicle is
equipped with additional navigation,
please refer to the infotainment system
manual separately supplied.
Page 228 of 555
05
5-75
Battery saver function
The purpose of this feature is to
help prevent the battery from being
discharged. The system automatically
turns off the parking lamp when the
driver turns the vehicle off and opens the
driver-side door.
With this feature, the parking lamps will
turn off automatically if the driver parks
on the side of road at night.
If necessary, to keep the lamps on when
the vehicle is turned off, perform the
following:
(1) Open the driver-side door.
(2) Turn the parking lamps OFF and ON
again using the headlamp switch on
the steering column.
Headlamp delay function
(if equipped)
If you place the ignition switch in the
ACC or OFF position with the headlamps
ON, the headlamps (and/or parking
lamps) remain on for about 5 minutes.
However, with the engine off if the
driver’s door is opened and closed, the
headlamps (and/or parking lamps) are
turned off after 15 seconds.
The headlamps (and/or parking lamps)
can be turned off by pressing the lock
button on the remote key or smart key
twice or turning the light switch to the
OFF or AUTO position. However, if you
turn the light switch to the AUTO position
when it is dark outside, the headlamps
will not be turned off.
You can activate or deactivate the
Headlamp Delay function from the User
Settings Mode in the LCD display.
For more details, refer to “LCD Display
Modes” in chapter 4. If your vehicle is
equipped with additional navigation,
please refer to the infotainment system
manual separately supplied.
NOTICE
If the driver exits the vehicle through
another door besides the driver
door, the battery saver function
does not operate and the headlamp
delay function does not turn OFF
automatically.
This may cause the battery to
discharge. To avoid battery discharge,
turn OFF the headlamps manually from
the headlamp switch before exiting the
vehicle.
Page 230 of 555
05
5-77
Function operation
Display and control
• After selecting ‘High Beam Assist’
in the Settings menu, High Beam
Assist will operate by following the
procedure below.
-Place the headlamp switch in
the AUTO position and push
the headlamp lever towards the
instrument cluster. The High Beam
Assist (
) indicator light will illuminate on the cluster and the
system will be enabled.
-When the system is enabled, high
beam will turn on when vehicle
speed is above 25 mph (40 km/h).
When vehicle speed is below 15
mph (25 km/h), high beam will not
turn on.
-The High Beam () indicator light will illuminate on the cluster when
high beam is on.
• When High Beam Assist is operating, if
the headlamp lever or switch is used,
the system operates as follow:
-If the headlamp lever is pulled
towards you when the high beam
is off, the high beam will turn on
without High Beam Assist canceled.
When you let go of the headlamp
lever, the lever will move to the
middle and the high beam will turn
off.
-If the headlamp lever is pulled
towards you when the high beam is
on by High Beam Assist, low beam
will be on and the system will turn
off.
-If the headlamp switch is placed
from AUTO to another position
(headlamp/position/off), High
Beam Assist will turn off and the
corresponding lamp will turn on. •
When High Beam Assist is operating,
high beam switches to low beam if
any of the following conditions occur:
-When the headlamp of an
oncoming vehicle is detected.
-When the tail lamp of a vehicle in
front is detected.
-When the headlamp or tail lamp of a
motorcycle or a bicycle is detected.
-When the surrounding ambient light
is bright enough that high beams
are not required.
-When streetlights or other lights are
detected.
Function malfunction and
limitations
Function malfunction
„„Type A„„Type B
OTM050218N/OTM050218L
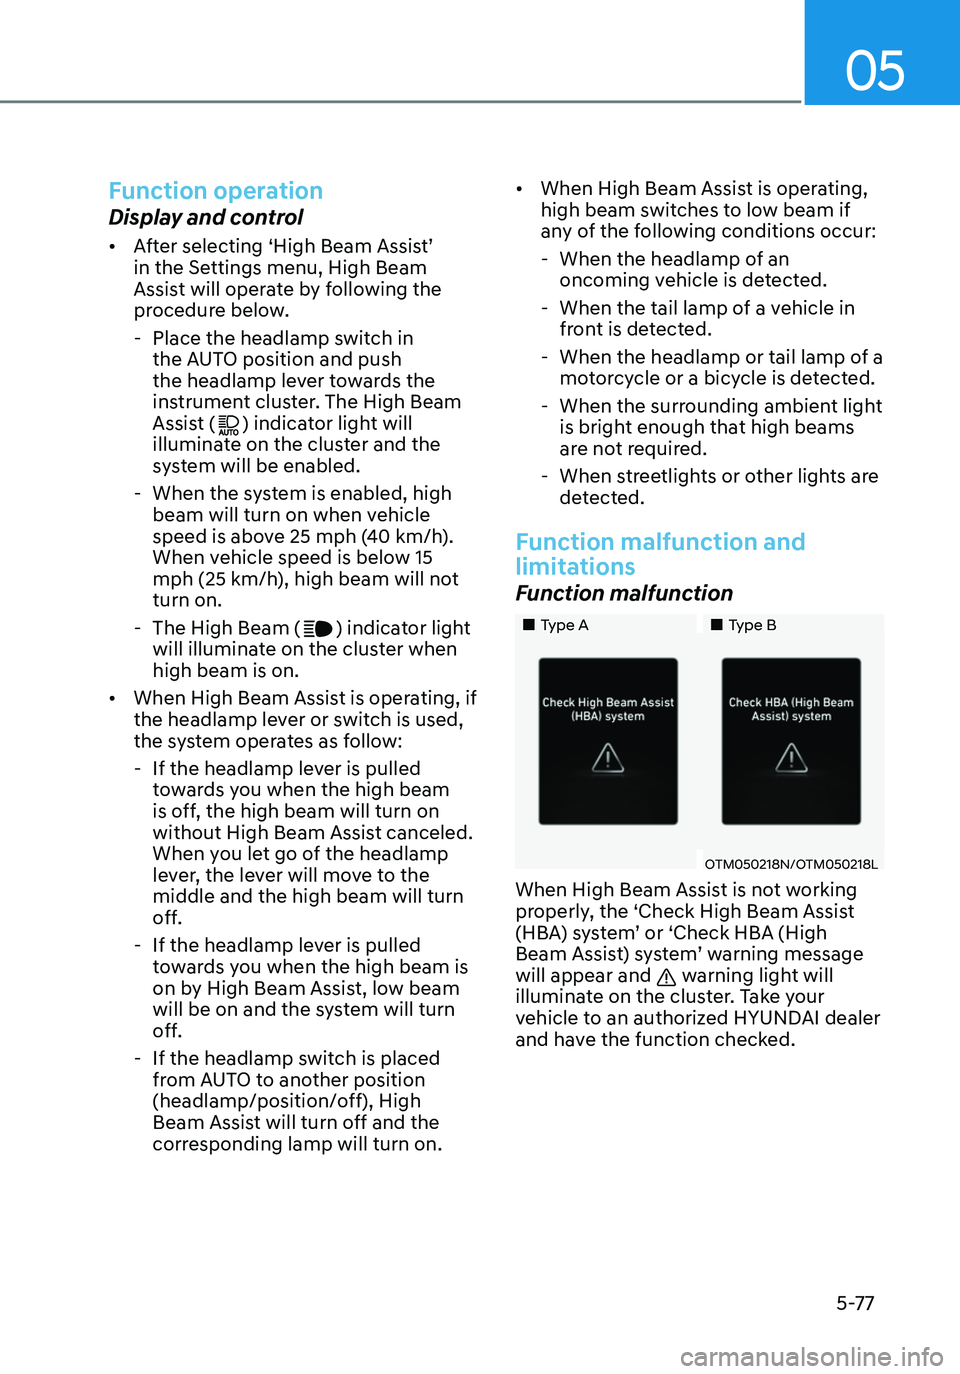
When High Beam Assist is not working
properly, the ‘Check High Beam Assist
(HBA) system’ or ‘Check HBA (High
Beam Assist) system’ warning message
will appear and
warning light will
illuminate on the cluster. Take your
vehicle to an authorized HYUNDAI dealer
and have the function checked.
Page 235 of 555
Convenient Features
5-82
Welcome system (if equipped)
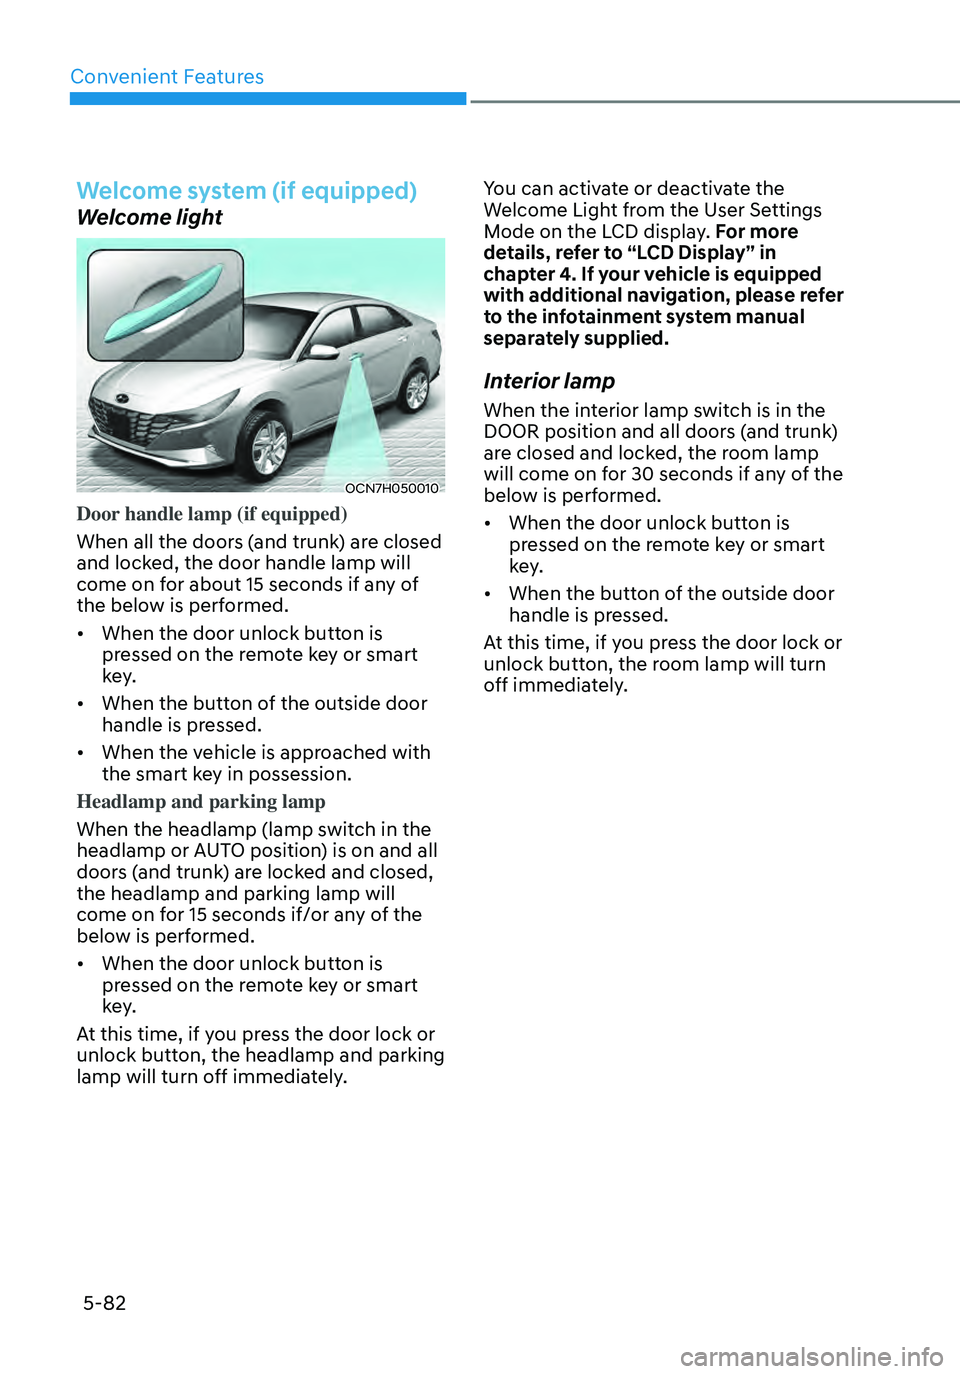
Welcome light
OCN7H050010
Door handle lamp (if equipped)
When all the doors (and trunk) are closed
and locked, the door handle lamp will
come on for about 15 seconds if any of
the below is performed.
• When the door unlock button is
pressed on the remote key or smart
key.
• When the button of the outside door
handle is pressed.
• When the vehicle is approached with
the smart key in possession.
Headlamp and parking lamp
When the headlamp (lamp switch in the
headlamp or AUTO position) is on and all
doors (and trunk) are locked and closed,
the headlamp and parking lamp will
come on for 15 seconds if/or any of the
below is performed.
• When the door unlock button is
pressed on the remote key or smart
key.
At this time, if you press the door lock or
unlock button, the headlamp and parking
lamp will turn off immediately. You can activate or deactivate the
Welcome Light from the User Settings
Mode on the LCD display. For more
details, refer to “LCD Display” in
chapter 4. If your vehicle is equipped
with additional navigation, please refer
to the infotainment system manual
separately supplied.
Interior lamp
When the interior lamp switch is in the
DOOR position and all doors (and trunk)
are closed and locked, the room lamp
will come on for 30 seconds if any of the
below is performed.
•
When the door unlock button is
pressed on the remote key or smart
key.
• When the button of the outside door
handle is pressed.
At this time, if you press the door lock or
unlock button, the room lamp will turn
off immediately.
Page 244 of 555
05
5-91
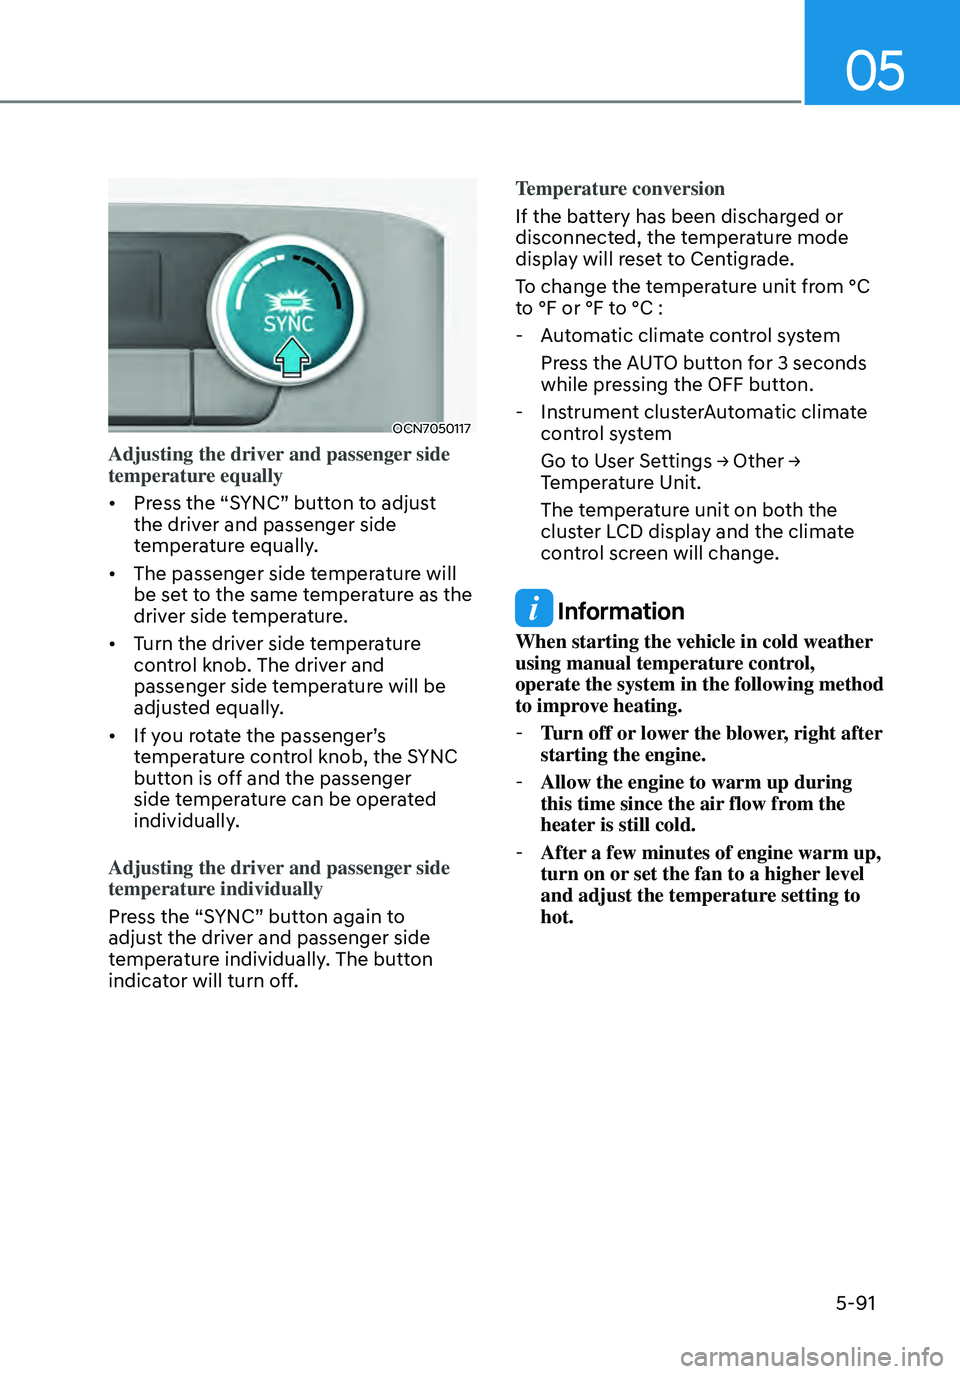
OCN7050117
Adjusting the driver and passenger side
temperature equally
• Press the “SYNC” button to adjust
the driver and passenger side
temperature equally.
• The passenger side temperature will
be set to the same temperature as the
driver side temperature.
• Turn the driver side temperature
control knob. The driver and
passenger side temperature will be
adjusted equally.
• If you rotate the passenger’s
temperature control knob, the SYNC
button is off and the passenger
side temperature can be operated
individually.
Adjusting the driver and passenger side
temperature individually
Press the “SYNC” button again to
adjust the driver and passenger side
temperature individually. The button
indicator will turn off. Temperature conversion
If the battery has been discharged or
disconnected, the temperature mode
display will reset to Centigrade.
To change the temperature unit from °C
to °F or °F to °C :
-
Automatic climate control system
Press the AUTO button for 3 seconds
while pressing the OFF button.
-Instrument clusterAutomatic climate
control system
Go to User Settings → Other → Temperature Unit.
The temperature unit on both the
cluster LCD display and the climate
control screen will change.
Information
When starting the vehicle in cold weather
using manual temperature control,
operate the system in the following method
to improve heating.
-Turn off or lower the blower, right after
starting the engine.
-Allow the engine to warm up during
this time since the air flow from the
heater is still cold.
-After a few minutes of engine warm up,
turn on or set the fan to a higher level
and adjust the temperature setting to
hot.
Page 258 of 555
05
5-105
CAUTION
To prevent damage to the Power
Outlets:
• Use the power outlet only when the
engine is running and remove the
accessory plug after use. Using the
accessory plug for prolonged periods
of time with the engine off could
cause the battery to discharge.
• Only use 12V electric accessories
which are less than 15 A in electric
capacity.
• Adjust the air-conditioner or heater
to the lowest operating level when
using the power outlet.
• Close the cover when not in use.
• Some electronic devices can
cause electronic interference
when plugged into a vehicle’s
power outlet. These devices may
cause excessive audio static and
malfunctions in other electronic
systems or devices used in your
vehicle.
• Push the plug in as far as it will go. If
good contact is not made, the plug
may overheat and the fuse may open.
• Plug in battery equipped electrical/
electronic devices with reverse
current protection. The current
from the battery may flow into the
vehicle’s electrical/electronic system
and cause system malfunction.
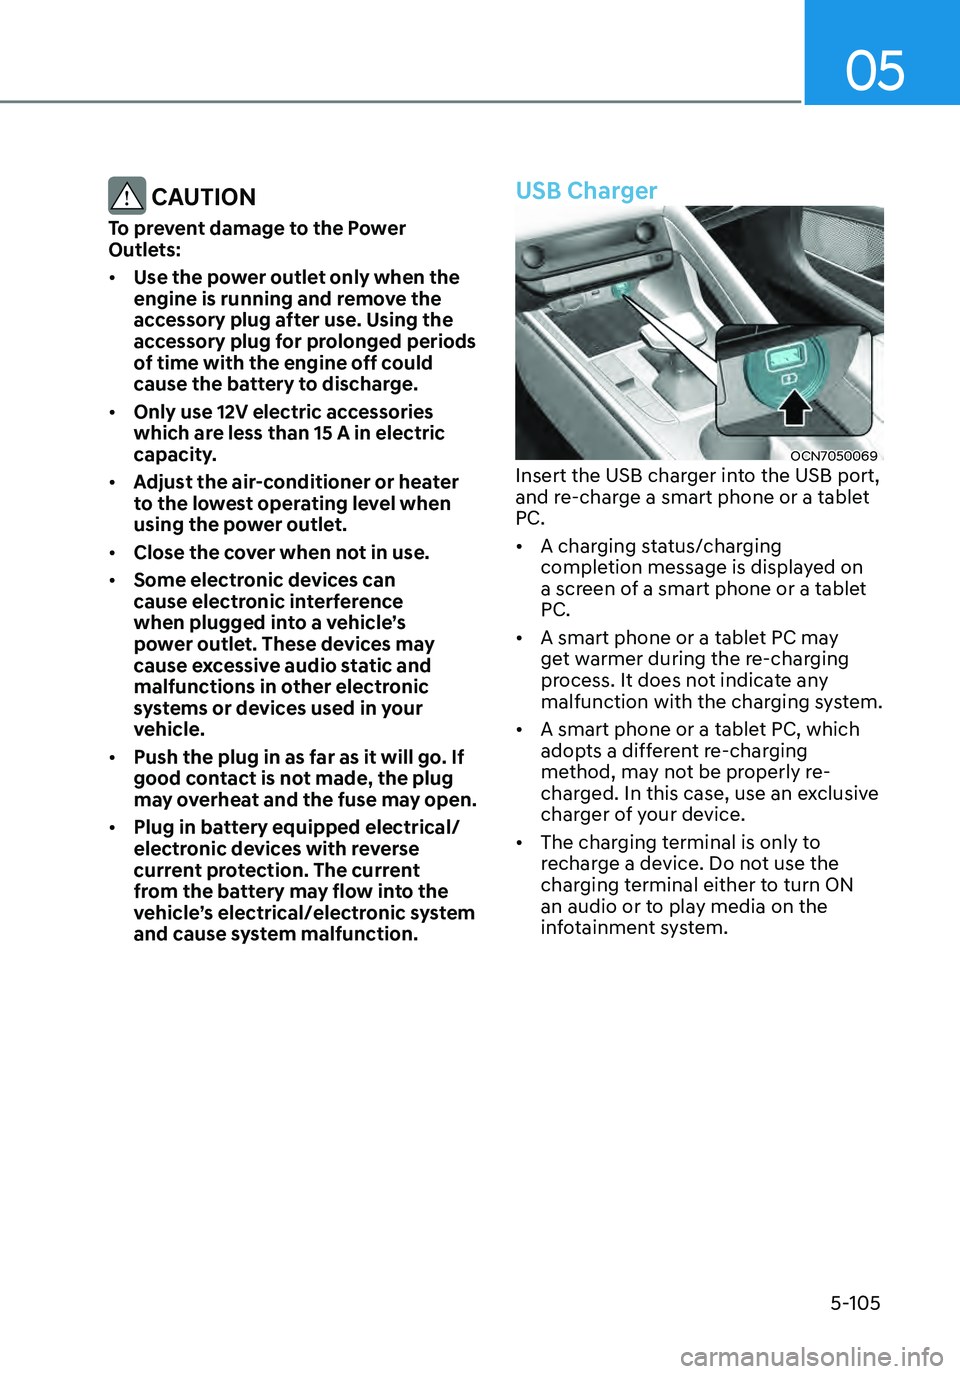
USB Charger
OCN7050069Insert the USB charger into the USB port,
and re-charge a smart phone or a tablet
PC.
• A charging status/charging
completion message is displayed on
a screen of a smart phone or a tablet
PC.
• A smart phone or a tablet PC may
get warmer during the re-charging
process. It does not indicate any
malfunction with the charging system.
• A smart phone or a tablet PC, which
adopts a different re-charging
method, may not be properly re-
charged. In this case, use an exclusive
charger of your device.
• The charging terminal is only to
recharge a device. Do not use the
charging terminal either to turn ON
an audio or to play media on the
infotainment system.
Page 259 of 555
![HYUNDAI ELANTRA HYBRID 2021 Owners Manual Convenient Features
5-106
Wireless Cellular Phone
Charging System (if equipped)
OCN7050070
[A] : Charging pad
There is a wireless cellular phone charger
inside the front console.
The system is ava HYUNDAI ELANTRA HYBRID 2021 Owners Manual Convenient Features
5-106
Wireless Cellular Phone
Charging System (if equipped)
OCN7050070
[A] : Charging pad
There is a wireless cellular phone charger
inside the front console.
The system is ava](/manual-img/35/56094/w960_56094-258.png)
Convenient Features
5-106
Wireless Cellular Phone
Charging System (if equipped)
OCN7050070
[A] : Charging pad
There is a wireless cellular phone charger
inside the front console.
The system is available when all doors
are closed, and when the ignition switch
is in the ON position.
To charge a cellular phone
The wireless cellular phone charging
system charges only the Qi-enabled
cellular phones. Read the label on the
cellular phone accessory cover or visit
your cellular phone manufacturer’s
website to check whether your cellular
phone supports the Qi technology.
The wireless charging process starts
when you put a Qi-enabled cellular
phone on the wireless charging unit.
1. Remove other items, including the
smart key, from the wireless charging
unit. If not, the wireless charging
process may be interrupted. Place the
cellular phone on the center of the
charging pad (
).
2. When charging starts, a charging
icon is displayed on the infotainment
system screen. However, depending
on the infotainment system screen,
the wireless charging icon may not be
displayed. See the infotainment web
manual for details.
3. You can turn ON or OFF the wireless
charging function in the user settings
mode on the instrument cluster. For
further information, refer to the “LCD
Display Modes” in this chapter.
The system warns you with a message
on the LCD display if the cellular phone
is still on the wireless charging unit after
the engine is turned OFF and the front
door is opened.