2021 GENESIS GV80 turn signal
[x] Cancel search: turn signalPage 21 of 632

02
2-9
Light bulbBulb typeWattage
Front Headlamp
Low
LEDLED
High, Low beam assist LEDLED
Turn signal lamp LEDLED
Parking lamp LEDLED
Daytime Running Lamp (DRL) LEDLED
Puddle lamp LEDLED
Rear Stop lamp
LEDLED
Tail lamp LEDLED
Turn signal lamp LEDLED
Reverse lamp LEDLED
License plate lamp LEDLED
Fog lamp LEDLED
High mounted stop lamp LEDLED
Interior First row lamp
LEDLED
Second row room lamp (without sunroof),
Third row room lamp (Type A) LED
LED
Second row personal lamp (with sunroof) LEDLED
Third row room lamp (Type B) LEDLED
Vanity mirror lamp LEDLED
Glove box lamp LEDLED
Handle lamp / Mood lamp / Door courtesy
lamp LED
LED
Luggage compartment lamp LEDLED
BULB WATTAGE
Page 90 of 632

03
3-61
WARNING
If your SRS malfunctions, the air bag
may not inflate properly during an
accident increasing the risk of serious
injury or death.
If any of the following conditions occur,
your SRS is malfunctioning:
• The light does not turn on for
approximately three to six seconds
when the Engine Start/Stop button is
in the ON position.
• The light stays on after illuminating
for approximately three to six
seconds.
• The light comes on while the vehicle
is in motion.
• The light blinks when the engine is
running.
Have an authorized retailer of Genesis
Branded products inspect the SRS
as soon as possible if any of these
conditions occur. During a moderate to severe frontal
collision, sensors will detect the
vehicle’s rapid deceleration. If the rate of
deceleration is high enough, the control
unit will inflate the front air bags, at the
time and with the force needed.
The front air bags help protect the driver
and front passenger by responding to
frontal impacts in which seat belts alone
cannot provide adequate restraint. When
needed, the side air bags help provide
protection in the event of a side impact
or rollover by supporting the side upper
body area.
• Air bags are activated (able to
inflate if necessary) only when the
Engine Start/Stop button is in the
ON or START position, and it can be
activated within about 3 minutes after
the engine is turned off.
• Air bags inflate in the event of certain
frontal or side collisions to help
protect the occupants from serious
physical injury.
• There is no single speed at which the
air bags will inflate. Generally, air bags
are designed to inflate based upon the
severity of a collision and its direction.
These two factors determine whether
the sensors produce an electronic
deployment/inflation signal.
• The front air bags will completely
inflate and deflate in an instant. It is
virtually impossible for you to see the
air bags inflate during an accident. It is
much more likely that you will simply
see the deflated air bags hanging out
of their storage compartments after
the collision.
Page 107 of 632

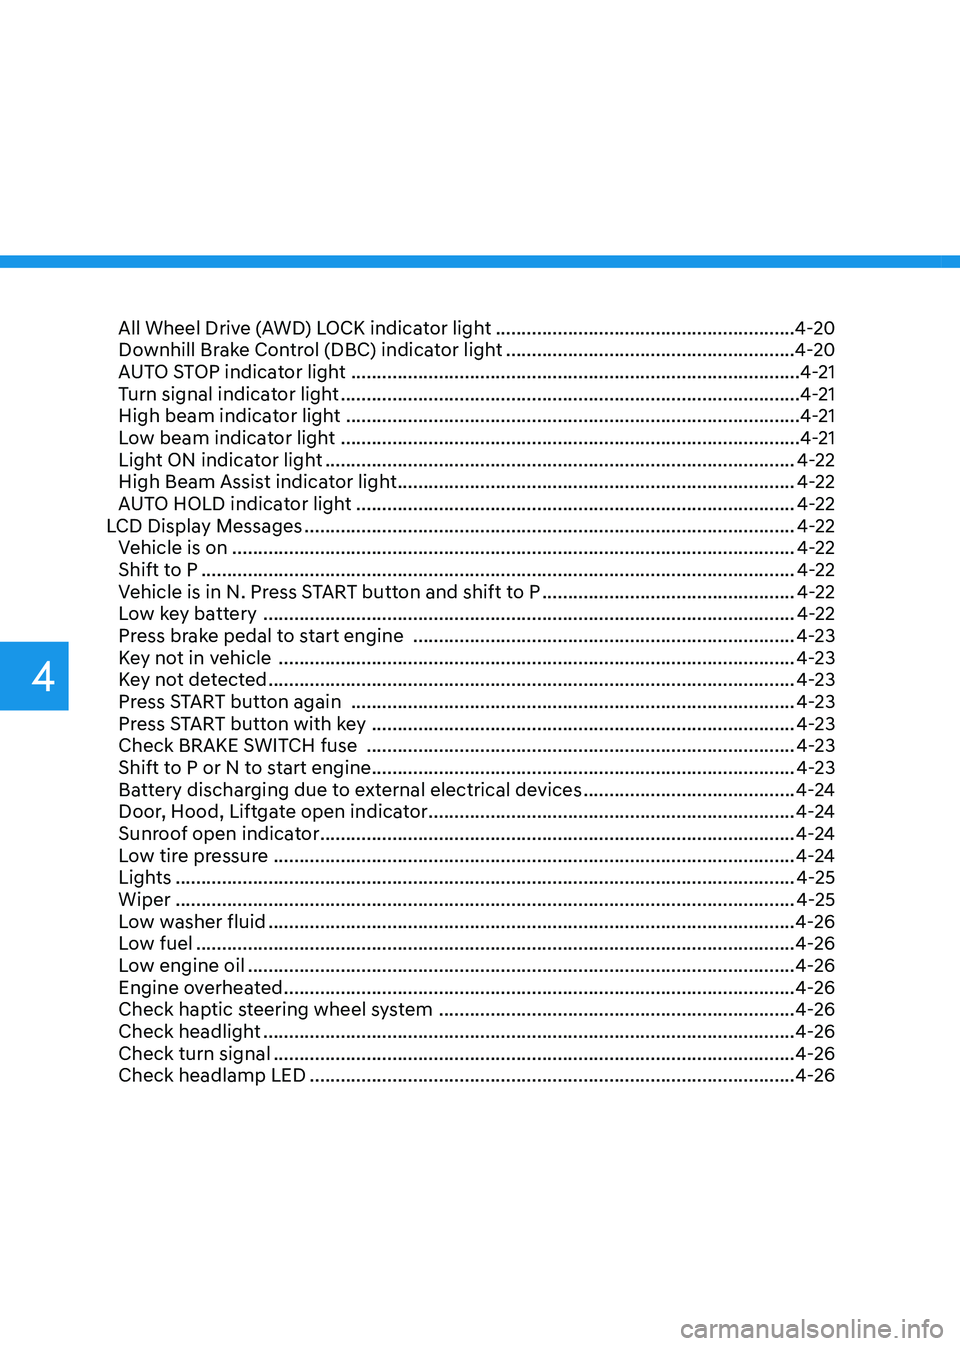
All Wheel Drive (AWD) LOCK indicator light ..........................................................4-20
Downhill Brake Control (DBC) indicator light ........................................................4-20
AUTO STOP indicator light ........................................................................\
...............4-21
Turn signal indicator light ........................................................................\
.................4-21
High beam indicator light ........................................................................\
................4-21
Low beam indicator light ........................................................................\
.................4-21
Light ON indicator light ........................................................................\
...................4-22
High Beam Assist indicator light ........................................................................\
.....4-22
AUTO HOLD indicator light ........................................................................\
.............4-22
LCD Display Messages ........................................................................\
.......................4-22
Vehicle is on ........................................................................\
.....................................4-22
Shift to P ........................................................................\
...........................................4-22
Vehicle is in N. Press START button and shift to P .................................................4-22
Low key battery ........................................................................\
...............................4-22
Press brake pedal to start engine ........................................................................\
..4-23
Key not in vehicle ........................................................................\
............................4-23
Key not detected ........................................................................\
..............................4-23
Press START button again ........................................................................\
..............4-23
Press START button with key ........................................................................\
..........4-23
Check BRAKE SWITCH fuse ........................................................................\
...........4-23
Shift to P or N to start engine ........................................................................\
..........4-23
Battery discharging due to external electrical devices
.........................................4-24
Door, Hood, Liftgate open indicator .......................................................................4-24
Sunroof open indicator ........................................................................\
....................4-24
Low tire pressure ........................................................................\
.............................4-24
Lights ........................................................................\
................................................4-25
Wiper ........................................................................\
................................................4-25
Low washer fluid ........................................................................\
..............................4-26
Low fuel ........................................................................\
............................................4-26
Low engine oil ........................................................................\
..................................4-26
Engine overheated ........................................................................\
...........................4-26
Check haptic steering wheel system .....................................................................4-26
Check headlight ........................................................................\
...............................4-26
Check turn signal ........................................................................\
.............................4-26
Check headlamp LED ........................................................................\
......................4-26
4
Page 126 of 632

04
4-21
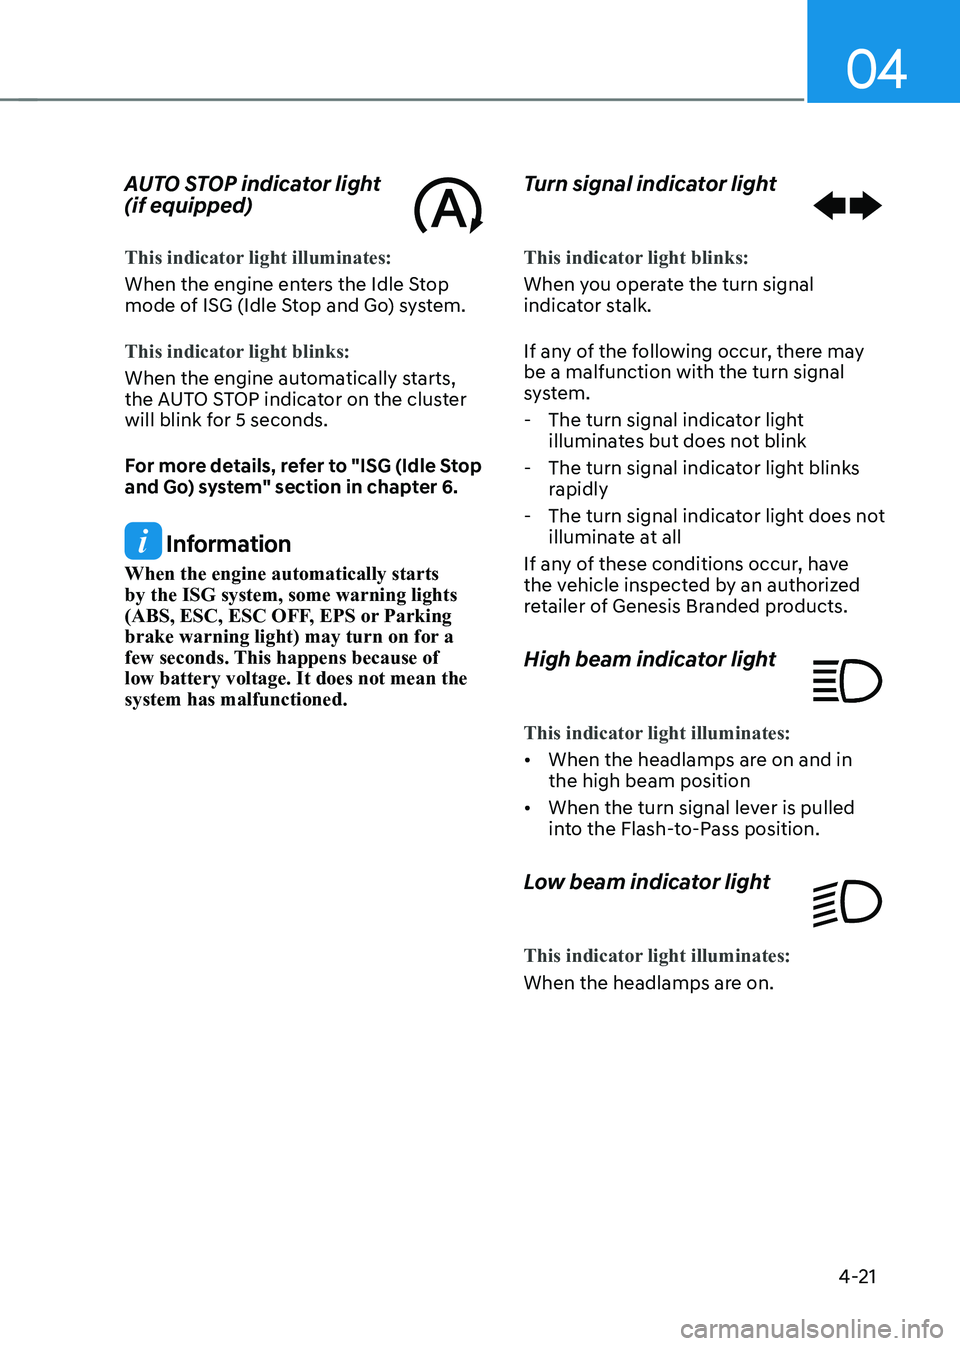
AUTO STOP indicator light
(if equipped)
This indicator light illuminates:
When the engine enters the Idle Stop
mode of ISG (Idle Stop and Go) system.
This indicator light blinks:
When the engine automatically starts,
the AUTO STOP indicator on the cluster
will blink for 5 seconds.
For more details, refer to "ISG (Idle Stop
and Go) system" section in chapter 6.
Information
When the engine automatically starts
by the ISG system, some warning lights
(ABS, ESC, ESC OFF, EPS or Parking
brake warning light) may turn on for a
few seconds. This happens because of
low battery voltage. It does not mean the
system has malfunctioned.
Turn signal indicator light
This indicator light blinks:
When you operate the turn signal
indicator stalk.
If any of the following occur, there may
be a malfunction with the turn signal
system.
-The turn signal indicator light
illuminates but does not blink
-The turn signal indicator light blinks
rapidly
-The turn signal indicator light does not
illuminate at all
If any of these conditions occur, have
the vehicle inspected by an authorized
retailer of Genesis Branded products.
High beam indicator light
This indicator light illuminates:
• When the headlamps are on and in
the high beam position
• When the turn signal lever is pulled
into the Flash-to-Pass position.
Low beam indicator light
This indicator light illuminates:
When the headlamps are on.
Page 131 of 632

Instrument Cluster
4-26
Low washer fluid
This message is displayed if the washer
fluid level in the reservoir is nearly empty.
Have the washer fluid reservoir refilled.
Low fuel
This message is displayed if the fuel tank
is almost out of fuel.
When this message is displayed, the low
fuel level warning light in the cluster will
come on.
It is recommended to look for the nearest
fueling station and refuel as soon as
possible.
Low engine oil (if equipped)
This warning message is displayed when
the engine oil level should be checked.
If this warning message is displayed,
check the engine oil level as soon as
possible and add engine oil as required.
Slowly pour the recommended oil little
by little into a funnel.
Use only the specified engine oil. (Refer
to "Recommended Lubricants and
Capacities“ section in chapter 2.)
Do not overfill the engine oil. Make sure
the oil level is not above F (Full) mark on
the dipstick.
Information
After adding engine oil, if you travel
approximately 31~62 miles (50~100 km)
after the engine warms up, the warning
message should disappear.
If the warning message remains on, have
the vehicle inspected by an authorized
retailer of Genesis Branded products as
soon as possible.
Engine overheated
This message is displayed when the
engine coolant temperature is above
approximately 248°F (120°C). This means
that the engine is overheated and may
be damaged.
If your vehicle is overheated, refer to
“Overheating” section in chapter 8.
Check haptic steering wheel system
This message is displayed if there is a
problem with the haptic steering wheel
system. Have the vehicle inspected by an
authorized retailer of Genesis Branded
products.
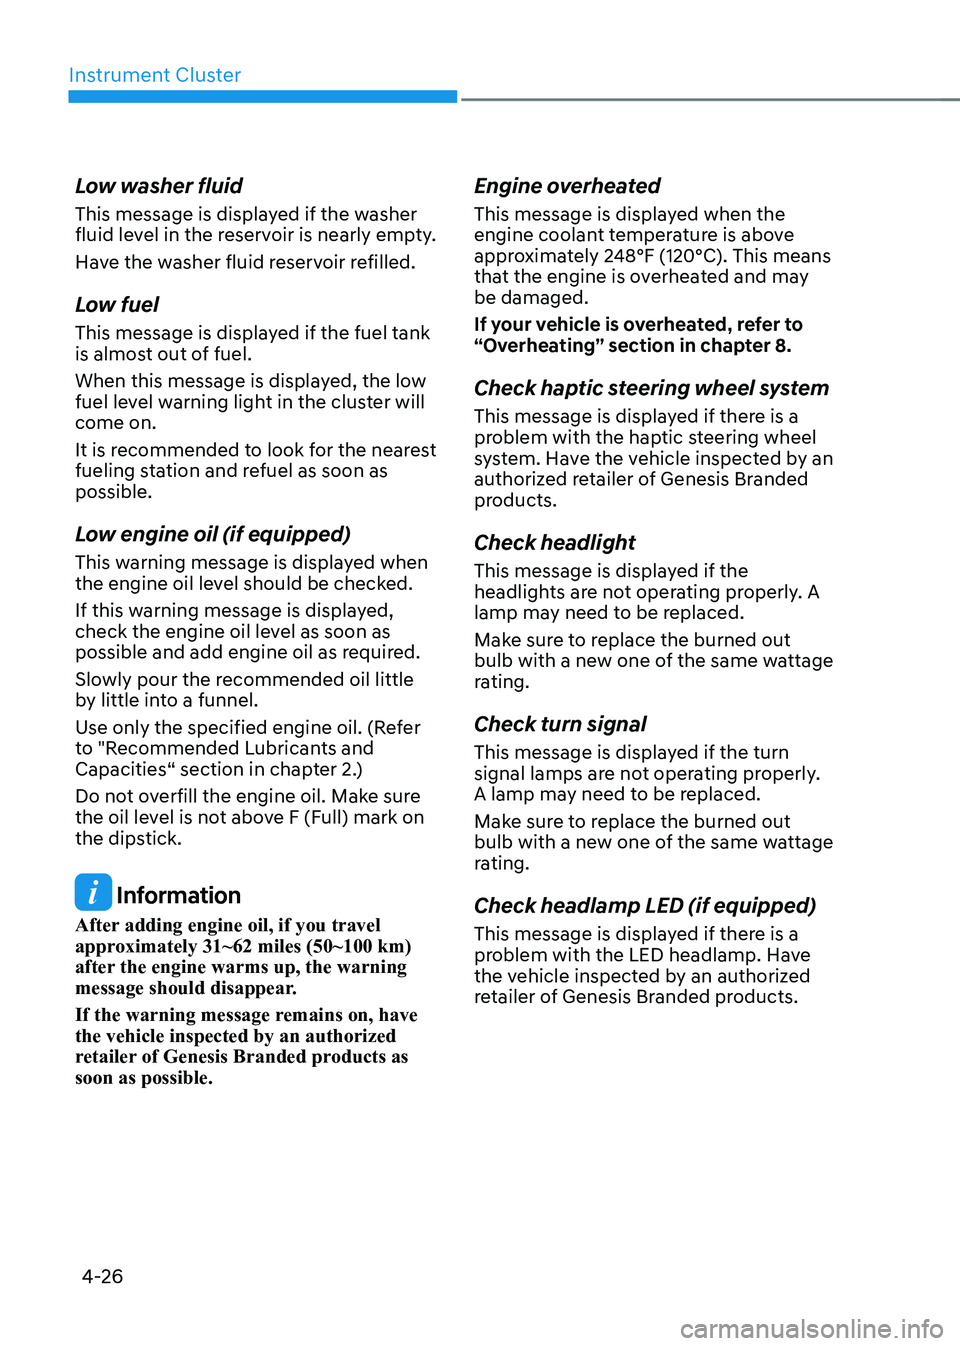
Check headlight
This message is displayed if the
headlights are not operating properly. A
lamp may need to be replaced.
Make sure to replace the burned out
bulb with a new one of the same wattage
rating.
Check turn signal
This message is displayed if the turn
signal lamps are not operating properly.
A lamp may need to be replaced.
Make sure to replace the burned out
bulb with a new one of the same wattage
rating.
Check headlamp LED (if equipped)
This message is displayed if there is a
problem with the LED headlamp. Have
the vehicle inspected by an authorized
retailer of Genesis Branded products.
Page 188 of 632

Convenient Features
5-46
7. Return to the vehicle and firmly press,
hold for two seconds and release the
HomeLink button up to three times.
Do not press the HomeLink button
rapidly. At this point programming
is complete and your device should
operate when the HomeLink button is
pressed and released.
Information
• Some garage door openers require to
press the programmed button on the
mirror up to three times right after
the programming is just completed to
operate the garage door.
• The indicator (4) is turned ON in
Orange and flashes for about 60
seconds, during the programing mode
and if a programing is not succeeded
within the 60 seconds, the programing
mode will be abort.
HomeLink® should now activate your
rolling code equipped device. Gate operator & Canadian programming
During programming, your handheld
transmitter may automatically stop
transmitting. Continue to press the
Integrated HomeLink® Wireless Control
System button while you press and re-
press (“cycle”) your handheld transmitter
every two seconds until the frequency
signal has been learned. The indicator
light will flash slowly and then rapidly
after several seconds upon successful
training.
ORG3050209NORG3050209N
Operating HomeLink®
1. Press and release one of the
HomeLink buttons (1, 2 or 3) that
programed.
2. The HomeLink indicator (4) will
operate as below:
-
Indicates Green and is continuously
ON (Fixed Code Garage Door
Opener)
-Flashes in Green rapidly (Rolling
Code Garage Door Opener)
Page 220 of 632

Convenient Features
5-78
Turn signals and lane change signals
OJX1059065OJX1059065
To signal a turn, push down on the lever
for a left turn or up for a right turn in
position (A).
If an indicator stays on and does not flash
or if it flashes abnormally, one of the turn
signal bulbs may be burned out and will
require replacement.
One touch turn signal
To use One Touch Turn Signal push the
turn signal lever up or down to position
(B) and then release it.
The lane change signals will blink 3, 5 or
7 times.
You can enable the One Touch Turn
Signal function or choose the number
of blinking by selecting ‘Setup → Vehicle
Settings → Lights → One Touch Turn Signal
(or One-touch indicator) → 3 flashes/5
flashes/7 flashes/Off’ in the infotainment
system screen.
See additional information in supplied
Infotainment Manual.
Battery saver function
The purpose of this feature is to prevent
the battery from being discharged.
The system automatically turns off the
position lamp when the driver turns the
vehicle off and opens the driver-side
door.
With this feature, the position lamps will
turn off automatically if the driver parks
on the side of road at night.
If necessary, to keep the lamps on when
the vehicle is turned off, perform the
following:
(1) Open the driver-side door.
(2) Turn the position lamps OFF and ON
again using the headlamp switch on
the steering column.
Page 251 of 632

05
5-109
Auto Defogging System
OJX1059073OJX1059073
Auto defogging helps reduce the
possibility of fogging up the inside of the
windshield by automatically sensing the
moisture on inside the windshield.
The auto defogging system operates
when the heater or air conditioning is on.
Information
The auto defogging system may not
operate normally, when the outside
temperature is below 14 °F (-10 °C).
When the Auto Defogging System operates, the indicator
will illuminate.
If a high amount of humidity is detected
in the vehicle, the Auto Defogging
System will be enabled. The following
steps will be performed automatically:
Step 1) Air conditioning will turn ON.
Step 2) Air intake control will change to
Fresh mode.
Step 3) Mode will change to defrost to
direct airflow to the windshield.
Step 4) Fan speed will be set to MAX.
If the air conditioning is off or
Recirculation mode is manually selected
while Auto Defogging System is ON, the
Auto Defogging System indicator will
blink 3 times to signal that the manual
operation has been canceled.
CLIMATE CONTROL ADDITIONAL FEATURES