Page 168 of 796

INTERIOR MIRROR
PRECAUTIONS
WARNING: Do not adjust the
mirrors when your vehicle is moving. This
could result in the loss of control of your
vehicle, serious personal injury or death.
Note: Do not clean the mirror housing or
glass with harsh abrasives, fuel or other
petroleum-based cleaning products.
MANUALLY DIMMING THE
INTERIOR MIRROR
Pull the tab below the mirror toward you
to reduce glare at night.
AUTO-DIMMING INTERIOR
MIRROR
(IF EQUIPPED)
WHAT IS THE AUTO-DIMMING
INTERIOR MIRROR
The mirror dims to reduce the effect of
bright light from behind. It returns to
normal when the bright light from behind
is no longer present or if you shift into
reverse (R).
AUTO-DIMMING INTERIOR
MIRROR LIMITATIONS
Do not block the sensors on the front and
back of the mirror.
Note: A rear center passenger or raised rear
center head restraint could prevent light
from reaching the sensor.
164
F-150 (TFD) Canada/United States of America, enUSA, Edition date: 202104, Second-Printing Interior Mirror
Page 169 of 796
ADJUSTING THE EXTERIOR
MIRRORS
WARNING: Do not adjust the
mirrors when your vehicle is moving. This
could result in the loss of control of your
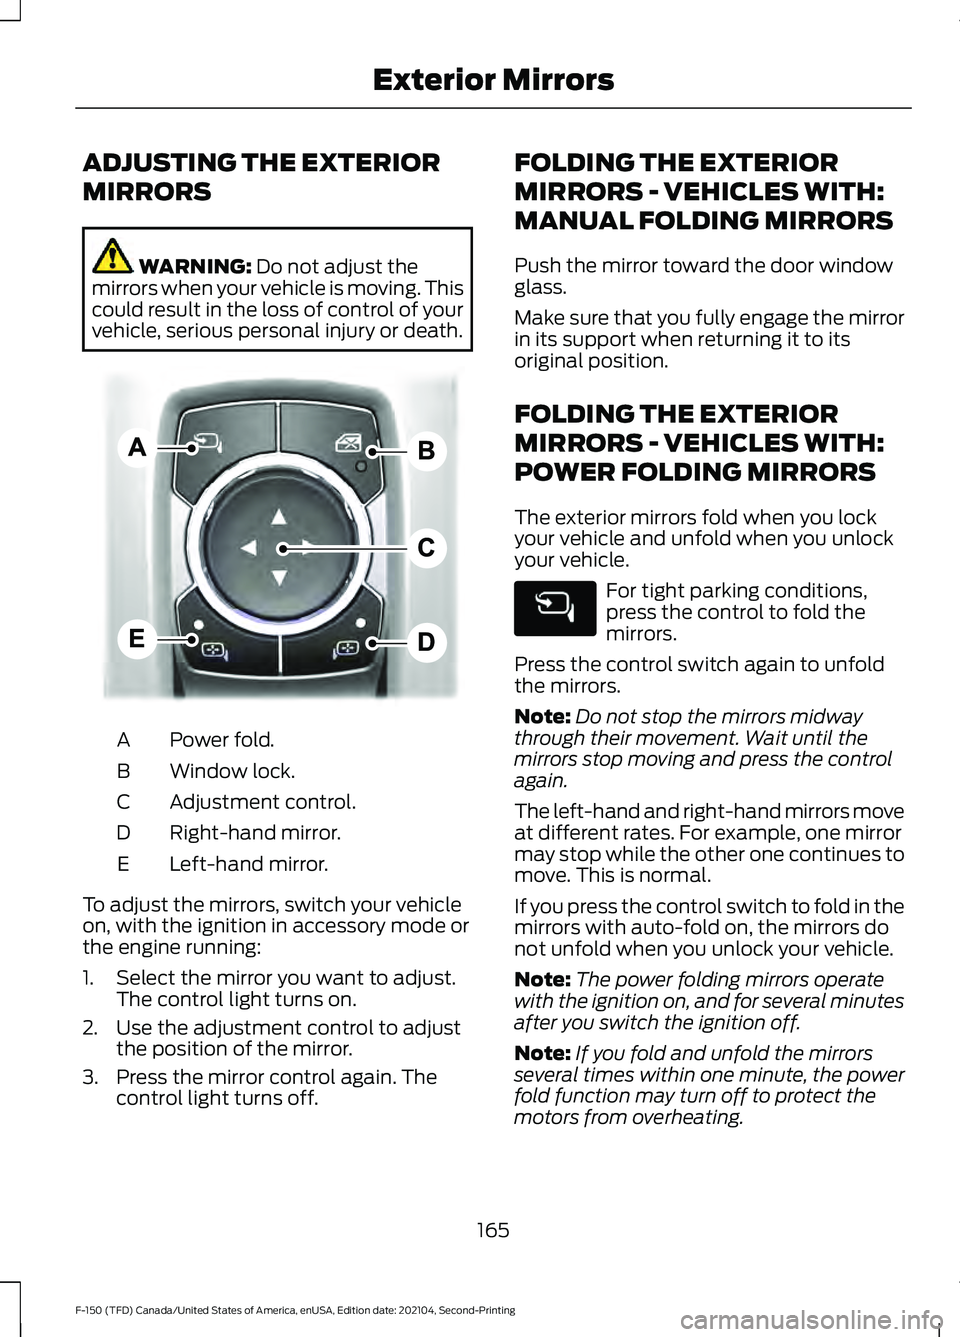
vehicle, serious personal injury or death. Power fold.
A
Window lock.
B
Adjustment control.
C
Right-hand mirror.
D
Left-hand mirror.
E
To adjust the mirrors, switch your vehicle
on, with the ignition in accessory mode or
the engine running:
1. Select the mirror you want to adjust. The control light turns on.
2. Use the adjustment control to adjust the position of the mirror.
3. Press the mirror control again. The control light turns off. FOLDING THE EXTERIOR
MIRRORS - VEHICLES WITH:
MANUAL FOLDING MIRRORS
Push the mirror toward the door window
glass.
Make sure that you fully engage the mirror
in its support when returning it to its
original position.
FOLDING THE EXTERIOR
MIRRORS - VEHICLES WITH:
POWER FOLDING MIRRORS
The exterior mirrors fold when you lock
your vehicle and unfold when you unlock
your vehicle.
For tight parking conditions,
press the control to fold the
mirrors.
Press the control switch again to unfold
the mirrors.
Note: Do not stop the mirrors midway
through their movement. Wait until the
mirrors stop moving and press the control
again.
The left-hand and right-hand mirrors move
at different rates. For example, one mirror
may stop while the other one continues to
move. This is normal.
If you press the control switch to fold in the
mirrors with auto-fold on, the mirrors do
not unfold when you unlock your vehicle.
Note: The power folding mirrors operate
with the ignition on, and for several minutes
after you switch the ignition off.
Note: If you fold and unfold the mirrors
several times within one minute, the power
fold function may turn off to protect the
motors from overheating.
165
F-150 (TFD) Canada/United States of America, enUSA, Edition date: 202104, Second-Printing Exterior MirrorsE311081
Page 179 of 796
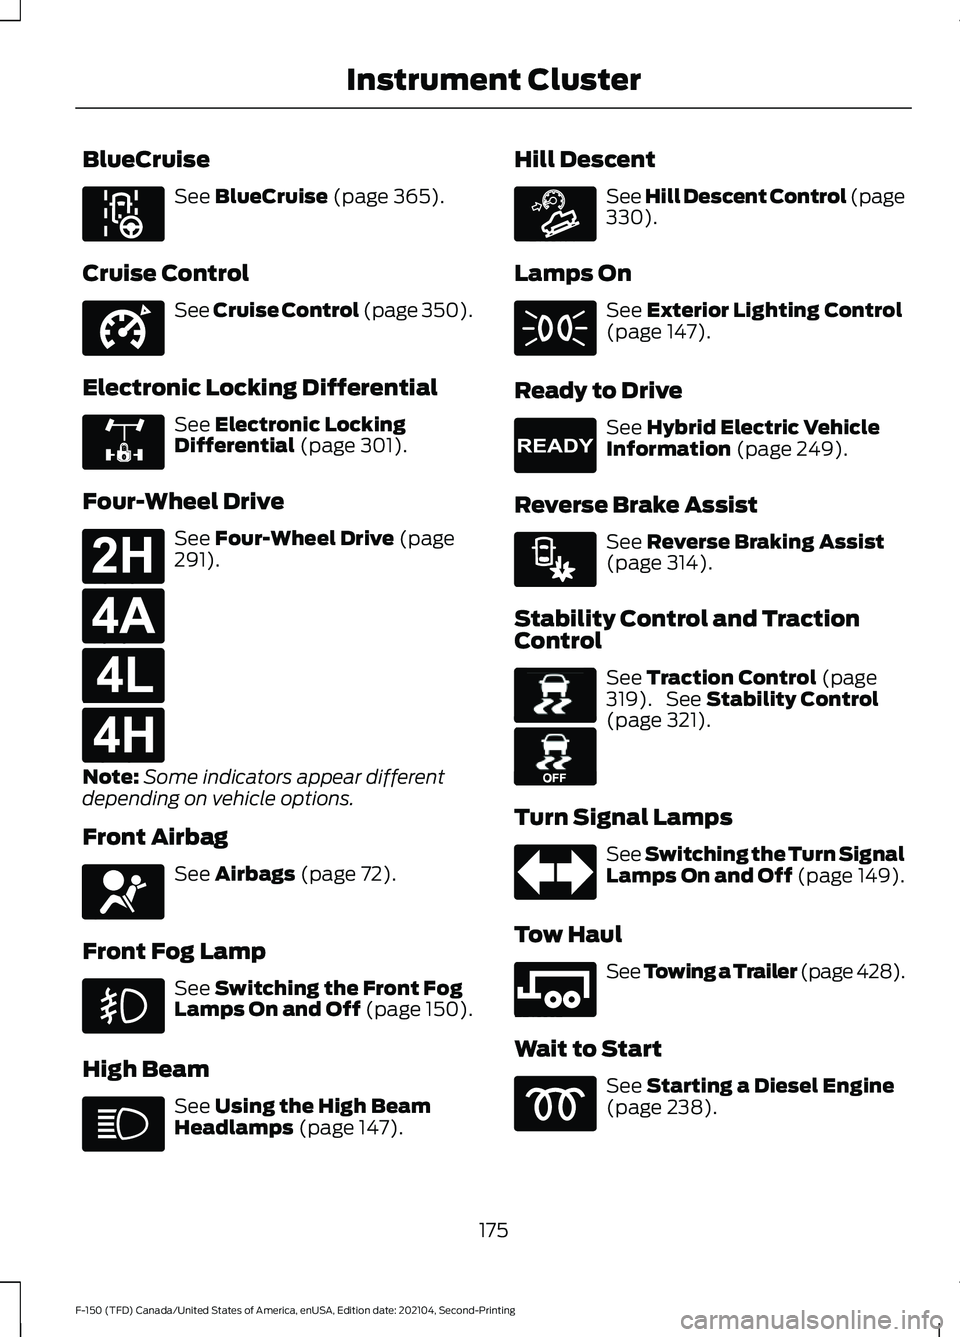
BlueCruise
See BlueCruise (page 365).
Cruise Control See Cruise Control (page 350).
Electronic Locking Differential See
Electronic Locking
Differential (page 301).
Four-Wheel Drive See
Four-Wheel Drive (page
291).
Note: Some indicators appear different
depending on vehicle options.
Front Airbag See
Airbags (page 72).
Front Fog Lamp See
Switching the Front Fog
Lamps On and Off (page 150).
High Beam See
Using the High Beam
Headlamps (page 147). Hill Descent See Hill Descent Control
(page
330).
Lamps On See
Exterior Lighting Control
(page 147).
Ready to Drive See
Hybrid Electric Vehicle
Information (page 249).
Reverse Brake Assist See
Reverse Braking Assist
(page 314).
Stability Control and Traction
Control See
Traction Control (page
319). See Stability Control
(page 321).
Turn Signal Lamps See Switching the Turn Signal
Lamps On and Off (page 149).
Tow Haul See
Towing a Trailer (page 428).
Wait to Start See
Starting a Diesel Engine
(page 238).
175
F-150 (TFD) Canada/United States of America, enUSA, Edition date: 202104, Second-Printing Instrument ClusterE297977 E332905 E325779 E181778 E181781 E181780 E181779 E67017 E163171 E224090 E293490 E138639 E130458 E246592
Page 181 of 796
Lamps On
See Exterior Lighting Control
(page 147).
Police Engine Idle See Police Engine Idle Feature.
Ready to Drive See
Hybrid Electric Vehicle
Information (page 249).
Reverse Brake Assist See
Reverse Braking Assist
(page 314).
Stability Control and Traction
Control See
Traction Control (page
319). See Stability Control
(page 321).
Turn Signal Lamps See Switching the Turn Signal
Lamps On and Off (page 149).
Tow Haul See
Towing a Trailer (page 428).
Wait to Start See
Starting a Diesel Engine
(page 238).
177
F-150 (TFD) Canada/United States of America, enUSA, Edition date: 202104, Second-Printing Instrument Cluster E224045 E224090 E293490 E138639 E130458 E246592
Page 184 of 796

TRIP COMPUTER - VEHICLES
WITH: 4.2 INCH SCREEN
ACCESSING THE TRIP COMPUTER
Using Select Screens
1. Select Select Screens.
2. Use the controls on the steering wheel
to navigate the menu. See
Customizing the Instrument Cluster
Display
(page 180).
Using the Home Screen
Once screens have been added, use the
controls on the steering wheel to view each
trip screen.
RESETTING THE TRIP COMPUTER
1. Use the controls on the steering wheel
to navigate the home screen.
2. Select
Trip 1 or Trip 2.
3. Press and hold the OK button for a few
seconds.
Note: This Trip resets every time you start
your vehicle.
TRIP COMPUTER - VEHICLES
WITH: 8 INCH SCREEN/12.3
INCH SCREEN
ACCESSING THE TRIP COMPUTER
1. Select
Trip/Fuel.
2. Select
This Trip, Trip 1 or Trip 2.
RESETTING THE TRIP COMPUTER
1. Select
Trip/Fuel.
2. Select
Trip 1 or Trip 2. 3.
Press and hold the OK button for a few
seconds.
Note: This Trip resets every time you start
your vehicle.
CUSTOMIZING THE
INSTRUMENT CLUSTER
DISPLAY
Adding Screens Using MyView
1. Using the information display controls on the steering wheel, select
MyView.
2. Select
Configure MyView.
3. Select a screen.
4. Press the
OK button.
Note: The number of screens you can add
is limited. If the selected screen does not
appear you must deselect screens from the
MyView menu.
Adding Screens Using Select
Screens
1. Select
Select Screens.
2. Use the controls on the steering wheel
to highlight a screen to add.
3. Press the
OK button.
Note: The number of screens you can add
is limited. If the selected screen does not
appear you must deselect screens from the
Select Screens menu.
Configuring Gauges
1. Select
Settings.
2. Select
Configure Gauges.
3. Select to swap or change left-hand side and right-hand side gauges.
180
F-150 (TFD) Canada/United States of America, enUSA, Edition date: 202104, Second-Printing Instrument Cluster Display
Page 192 of 796
DIRECTING THE FLOW OF AIR
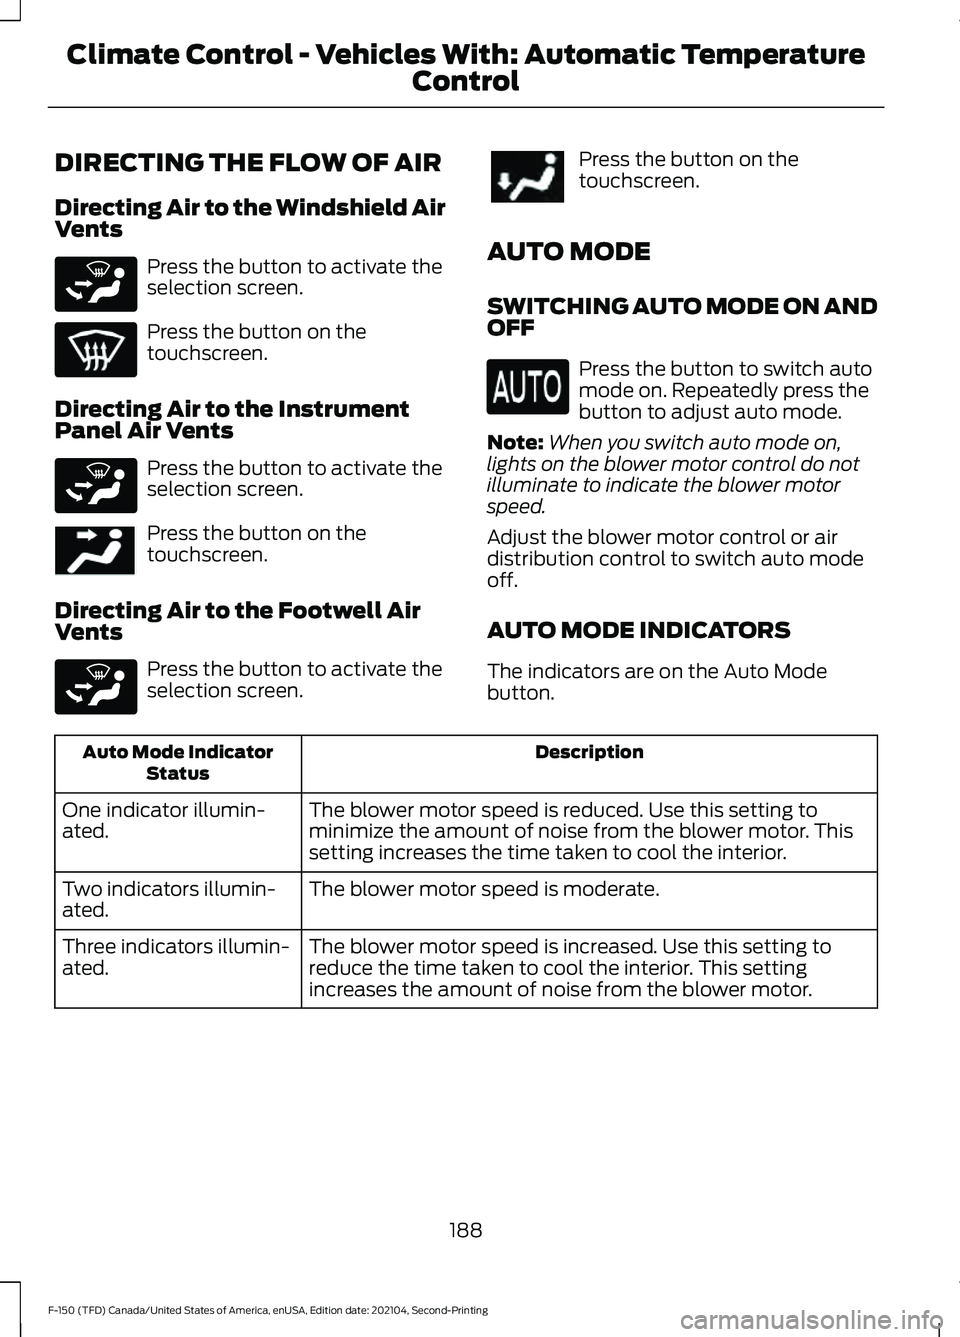
Directing Air to the Windshield Air
Vents
Press the button to activate the
selection screen.
Press the button on the
touchscreen.
Directing Air to the Instrument
Panel Air Vents Press the button to activate the
selection screen.
Press the button on the
touchscreen.
Directing Air to the Footwell Air
Vents Press the button to activate the
selection screen. Press the button on the
touchscreen.
AUTO MODE
SWITCHING AUTO MODE ON AND
OFF Press the button to switch auto
mode on. Repeatedly press the
button to adjust auto mode.
Note: When you switch auto mode on,
lights on the blower motor control do not
illuminate to indicate the blower motor
speed.
Adjust the blower motor control or air
distribution control to switch auto mode
off.
AUTO MODE INDICATORS
The indicators are on the Auto Mode
button. Description
Auto Mode Indicator
Status
The blower motor speed is reduced. Use this setting to
minimize the amount of noise from the blower motor. This
setting increases the time taken to cool the interior.
One indicator illumin-
ated.
The blower motor speed is moderate.
Two indicators illumin-
ated.
The blower motor speed is increased. Use this setting to
reduce the time taken to cool the interior. This setting
increases the amount of noise from the blower motor.
Three indicators illumin-
ated.
188
F-150 (TFD) Canada/United States of America, enUSA, Edition date: 202104, Second-Printing Climate Control - Vehicles With: Automatic Temperature
ControlE265283 E265283 E244097 E265283
Page 196 of 796
Note:
When you switch maximum cooling
off, air conditioning remains on.
SWITCHING THE HEATED
REAR WINDOW ON AND OFF Press the button to clear the rear
window of thin ice and fog. The
heated rear window turns off
after a short period of time.
Note: Do not use harsh chemicals, razor
blades or other sharp objects to clean or
remove decals from the inside of the heated
rear window as this could cause damage to
the heated rear window grid lines not
covered by the vehicle Warranty.
SETTING THE BLOWER MOTOR
SPEED Note:
Lights on the control illuminate to
indicate the blower motor speed.
Note: When you switch the blower motor
off, air conditioning turns off and the
windows could fog up.
SWITCHING THE HEATED
MIRRORS ON AND OFF Press the button. SETTING THE TEMPERATURE
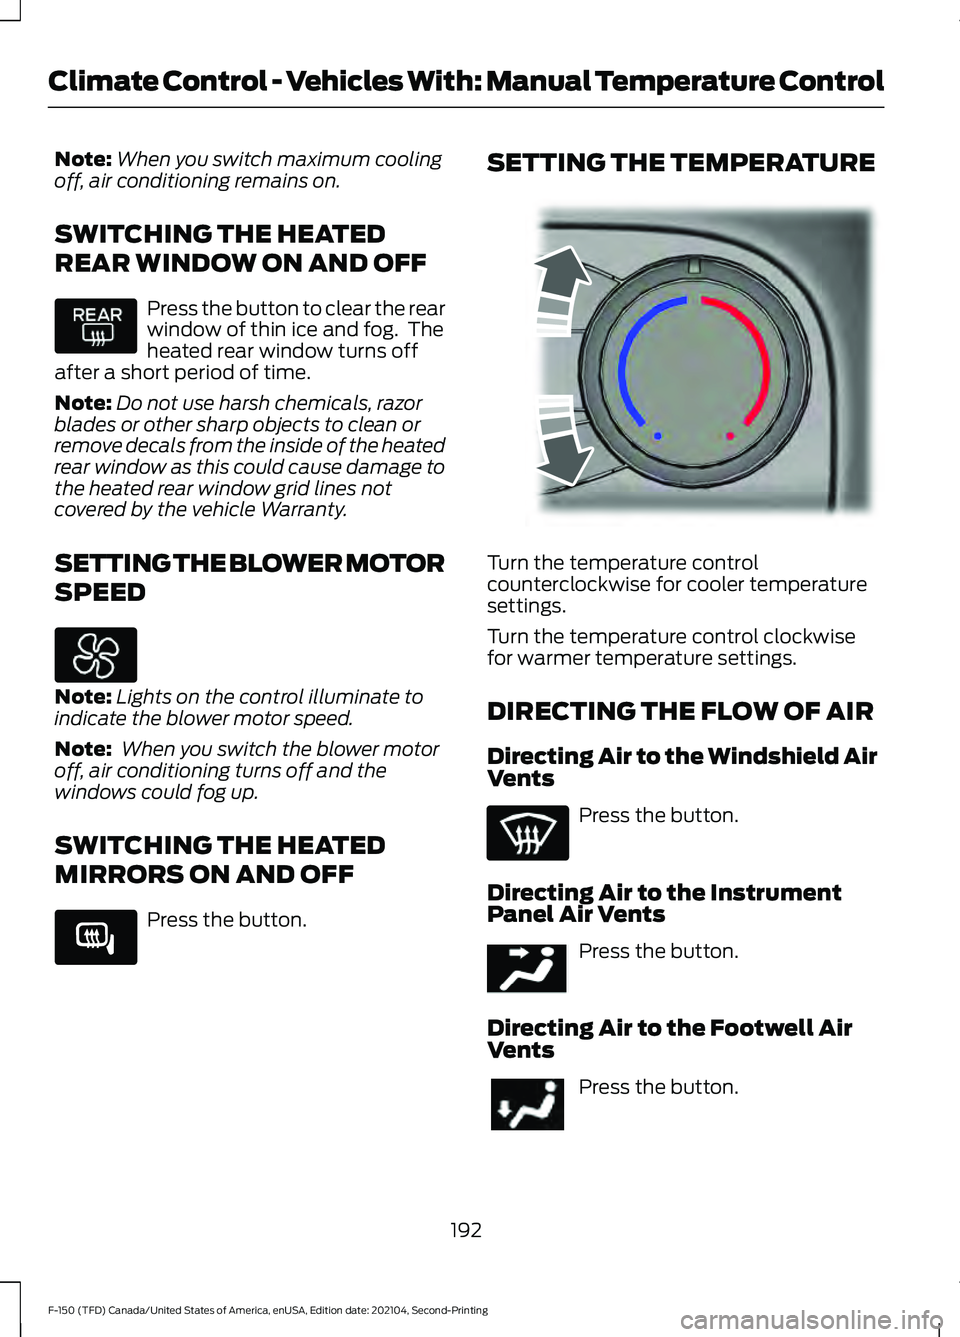
Turn the temperature control
counterclockwise for cooler temperature
settings.
Turn the temperature control clockwise
for warmer temperature settings.
DIRECTING THE FLOW OF AIR
Directing Air to the Windshield Air
Vents
Press the button.
Directing Air to the Instrument
Panel Air Vents Press the button.
Directing Air to the Footwell Air
Vents Press the button.
192
F-150 (TFD) Canada/United States of America, enUSA, Edition date: 202104, Second-Printing Climate Control - Vehicles With: Manual Temperature Control E266189 E244106 E244097
Page 199 of 796
FRONT SEAT PRECAUTIONS
WARNING: Sitting improperly, out
of position or with the seatback reclined
too far can take weight off the seat
cushion and affect the decision of the
passenger sensing system, resulting in
serious injury or death in the event of a
crash. Always sit upright against your
seat back, with your feet on the floor. WARNING: Do not recline the seat
backrest too far as this can cause the
occupant to slide under the seatbelt,
resulting in personal injury in the event
of a crash. WARNING:
Do not place objects
higher than the top of the seat backrest.
Failure to follow this instruction could
result in personal injury or death in the
event of a sudden stop or crash. WARNING: Do not adjust the driver
seat or seat backrest when your vehicle
is moving. This may result in sudden seat
movement, causing the loss of control
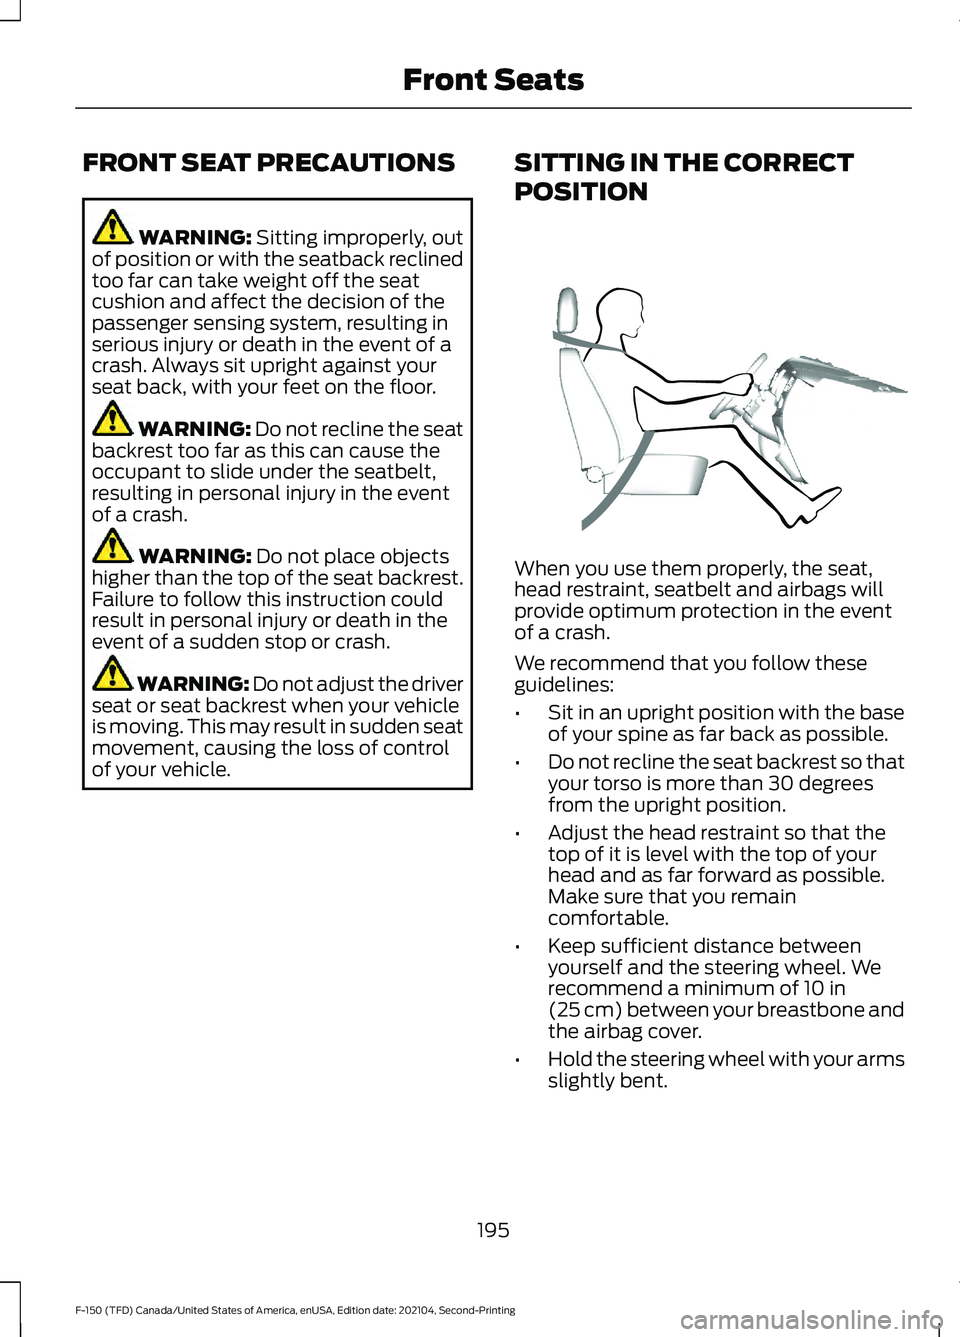
of your vehicle. SITTING IN THE CORRECT
POSITION When you use them properly, the seat,
head restraint, seatbelt and airbags will
provide optimum protection in the event
of a crash.
We recommend that you follow these
guidelines:
•
Sit in an upright position with the base
of your spine as far back as possible.
• Do not recline the seat backrest so that
your torso is more than 30 degrees
from the upright position.
• Adjust the head restraint so that the
top of it is level with the top of your
head and as far forward as possible.
Make sure that you remain
comfortable.
• Keep sufficient distance between
yourself and the steering wheel. We
recommend a minimum of
10 in
(25 cm) between your breastbone and
the airbag cover.
• Hold the steering wheel with your arms
slightly bent.
195
F-150 (TFD) Canada/United States of America, enUSA, Edition date: 202104, Second-Printing Front SeatsE68595