2021 FORD F-150 center console
[x] Cancel search: center consolePage 233 of 796
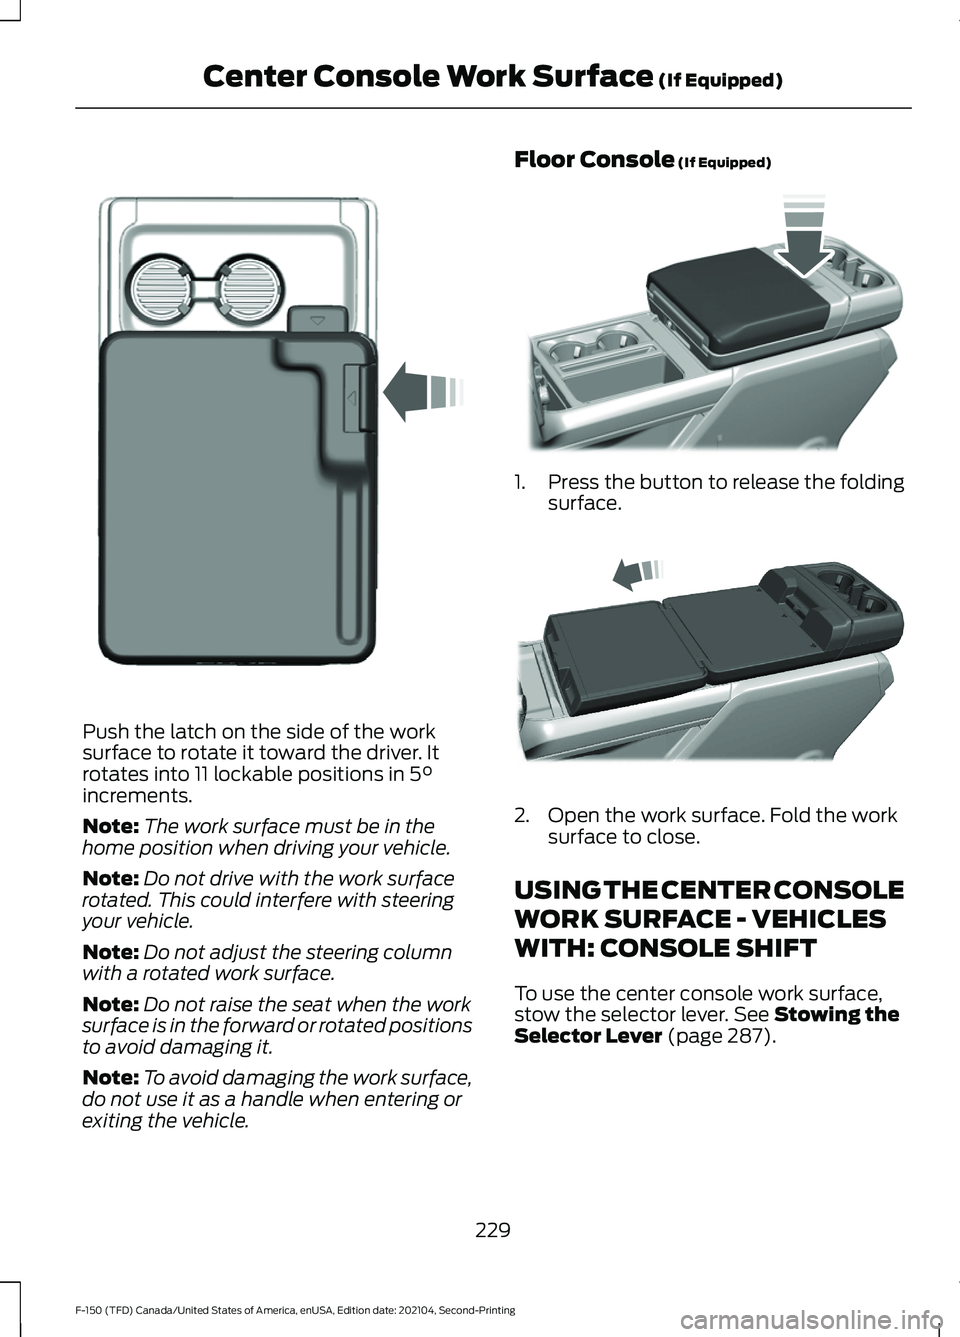
Push the latch on the side of the work
surface to rotate it toward the driver. It
rotates into 11 lockable positions in 5°
increments.
Note: The work surface must be in the
home position when driving your vehicle.
Note: Do not drive with the work surface
rotated. This could interfere with steering
your vehicle.
Note: Do not adjust the steering column
with a rotated work surface.
Note: Do not raise the seat when the work
surface is in the forward or rotated positions
to avoid damaging it.
Note: To avoid damaging the work surface,
do not use it as a handle when entering or
exiting the vehicle. Floor Console
(If Equipped)
1.
Press the button to release the folding
surface. 2. Open the work surface. Fold the work
surface to close.
USING THE CENTER CONSOLE
WORK SURFACE - VEHICLES
WITH: CONSOLE SHIFT
To use the center console work surface,
stow the selector lever.
See Stowing the
Selector Lever (page 287).
229
F-150 (TFD) Canada/United States of America, enUSA, Edition date: 202104, Second-Printing Center Console Work Surface
(If Equipped)E331800 E346160 E327043
Page 234 of 796
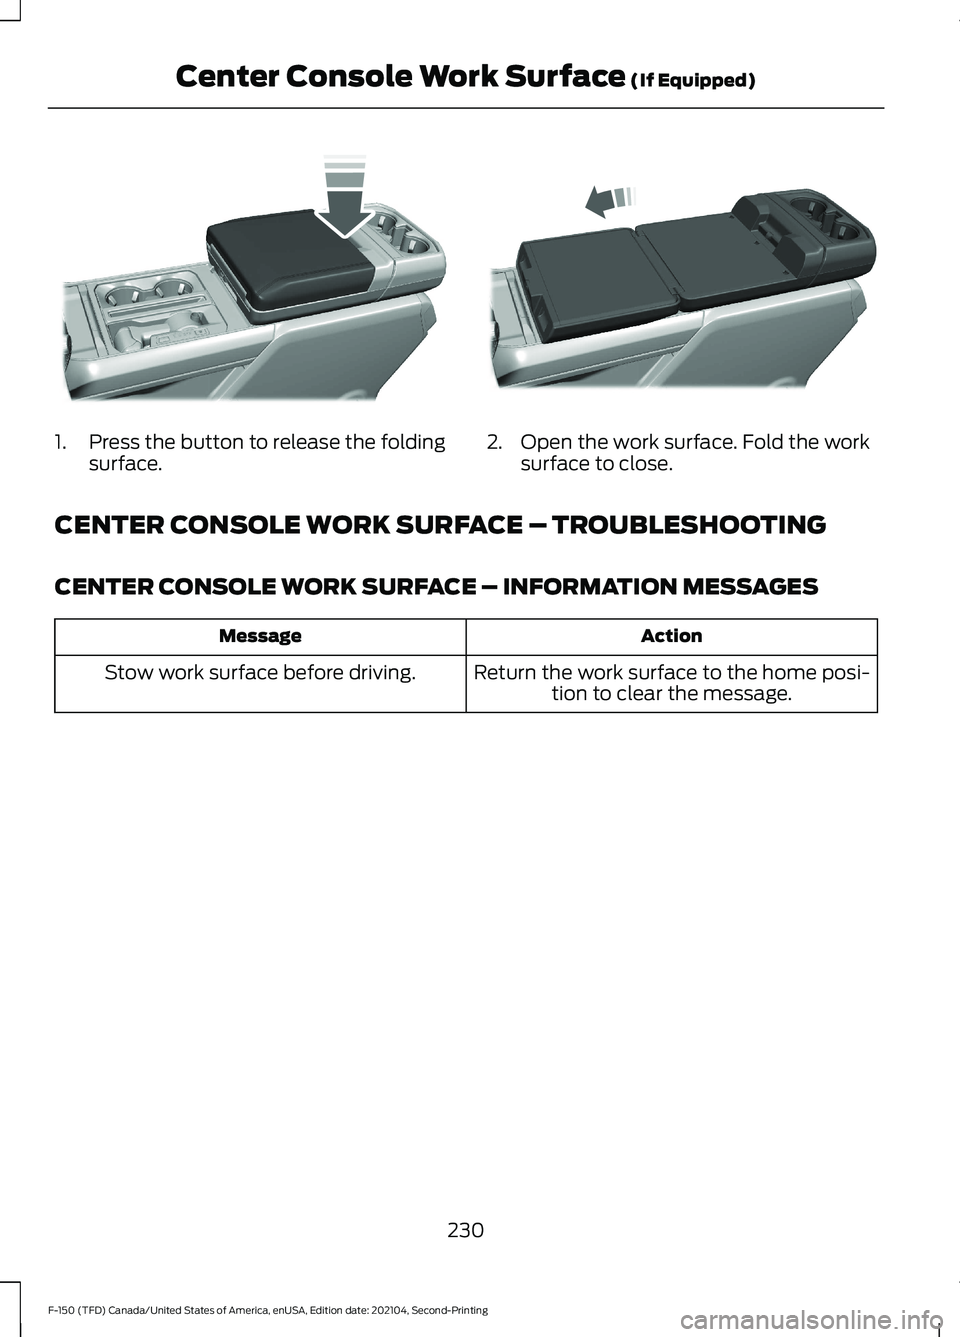
1.
Press the button to release the folding
surface. 2. Open the work surface. Fold the work
surface to close.
CENTER CONSOLE WORK SURFACE – TROUBLESHOOTING
CENTER CONSOLE WORK SURFACE – INFORMATION MESSAGES Action
Message
Return the work surface to the home posi-tion to clear the message.
Stow work surface before driving.
230
F-150 (TFD) Canada/United States of America, enUSA, Edition date: 202104, Second-Printing Center Console Work Surface (If Equipped)E327042 E327043
Page 235 of 796
WHAT IS THE WIRELESS
ACCESSORY CHARGER
The wireless accessory charger allows you
to charge one compatible Qi wireless
charging device on the charging area.
WIRELESS ACCESSORY
CHARGER PRECAUTIONS
WARNING: Wireless charging
devices can affect the operation of
implanted medical devices, including
cardiac pacemakers. If you have any
implanted medical devices, we
recommend that you consult with your
physician.
Keep the charging area clean and remove
foreign objects prior to charging a device.
Do not place items with a magnetic strip
or radio-frequency identification chip, for
example passports, parking tickets,
transportation passes or credit cards, near
the charging area when charging a device.
Damage could occur to the magnetic strip
or radio-frequency identification chip.
Do not place metal objects, for example
remote controls, coins and candy
wrappers, on or near the charging area
when charging a device. Metal objects may
heat up and degrade the charging
performance, in addition to causing
interruptions in charging.
Charging could be interrupted, degraded,
or could stop if any of the following occur:
• The system detects a foreign object.
• The device is misaligned on the
charging area.
• The device moves on the active
charging area when the vehicle is in
motion. •
The vehicle ambient temperature is too
high.
• You attempt to charge a non-Qi
compatible device on the wireless
charger.
Note: During charging, the device and the
charger could heat up, this is normal. If the
battery gets hotter than usual, the device
may stop charging.
LOCATING THE WIRELESS
ACCESSORY CHARGER The charging area is on the
center console or in the media
bin below the instrument panel.
CHARGING A WIRELESS
DEVICE
Place the device on the center of the
charging surface with the charging side
down. The charging stops after your device
reaches a full charge.
You can use the charger when the vehicle
is in accessory mode, when the vehicle is
running, or when SYNC is on. Displays on the status bar when
wireless charging is in progress.
Note: The charging performance may be
affected if your device is in a case. It may be
necessary to remove the case to wirelessly
charge your device.
Note: Software and firmware updates may
affect device compatibility, including the
use of unofficial software or firmware. You
should verify charging functionality with your
specific devices in-vehicle.
231
F-150 (TFD) Canada/United States of America, enUSA, Edition date: 202104, Second-Printing Wireless Accessory Charger
(If Equipped)E297549
Page 286 of 796
Note:
In order to activate manual mode
your vehicle must be in drive (D).
This position allows you to change gears
up or down as preferred using + or -
buttons on the shifter lever.
To return to the normal drive (D) position,
press the (M) button again to exit manual
mode.
SHIFTING YOUR VEHICLE INTO
GEAR
Console Shifter
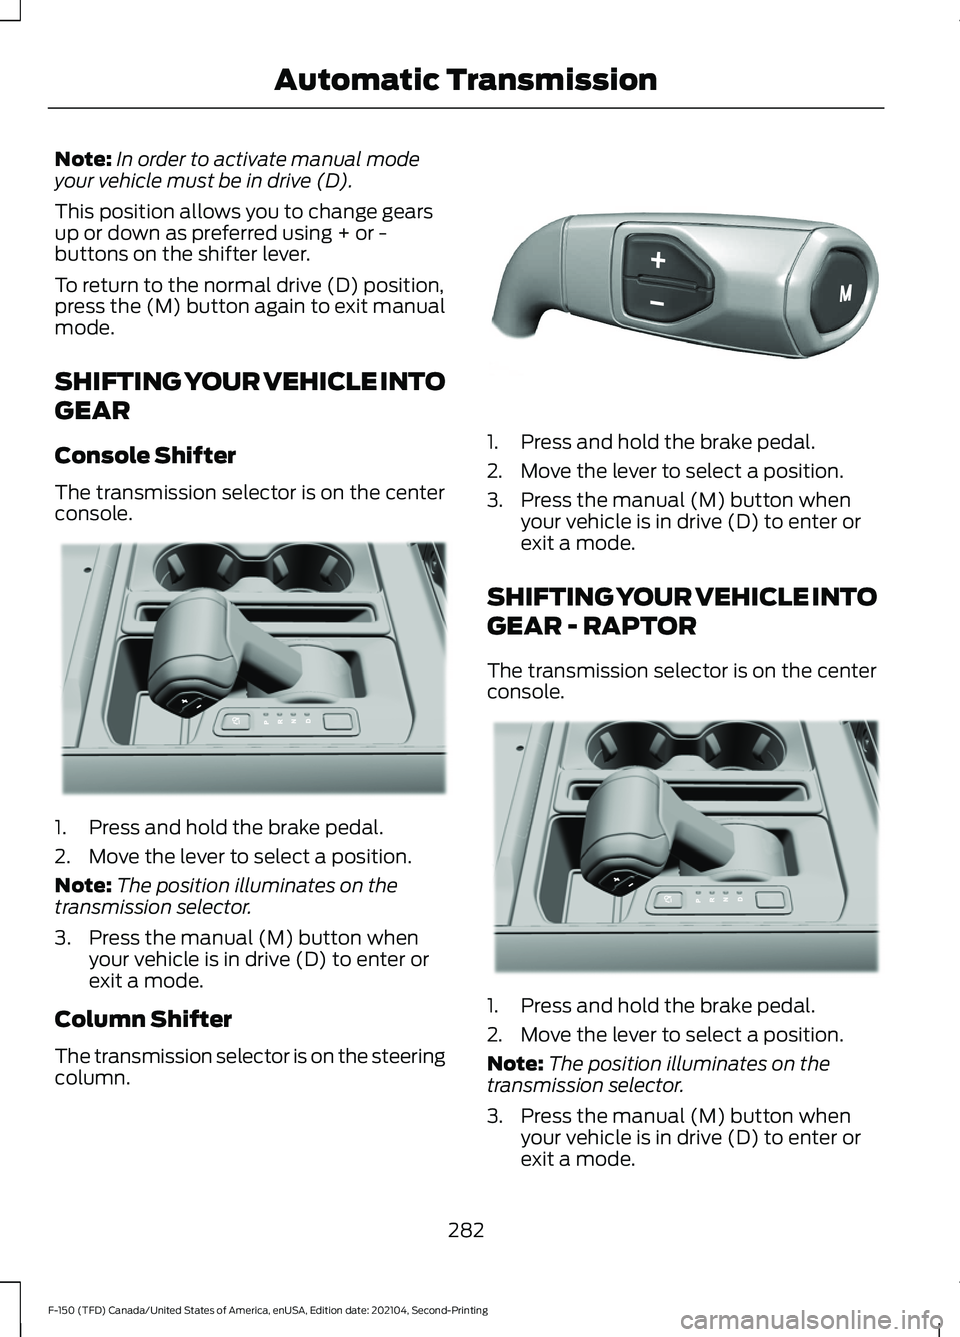
The transmission selector is on the center
console. 1. Press and hold the brake pedal.
2. Move the lever to select a position.
Note:
The position illuminates on the
transmission selector.
3. Press the manual (M) button when your vehicle is in drive (D) to enter or
exit a mode.
Column Shifter
The transmission selector is on the steering
column. 1. Press and hold the brake pedal.
2. Move the lever to select a position.
3. Press the manual (M) button when
your vehicle is in drive (D) to enter or
exit a mode.
SHIFTING YOUR VEHICLE INTO
GEAR - RAPTOR
The transmission selector is on the center
console. 1. Press and hold the brake pedal.
2. Move the lever to select a position.
Note:
The position illuminates on the
transmission selector.
3. Press the manual (M) button when your vehicle is in drive (D) to enter or
exit a mode.
282
F-150 (TFD) Canada/United States of America, enUSA, Edition date: 202104, Second-Printing Automatic TransmissionE311503 E327267 E311503
Page 288 of 796
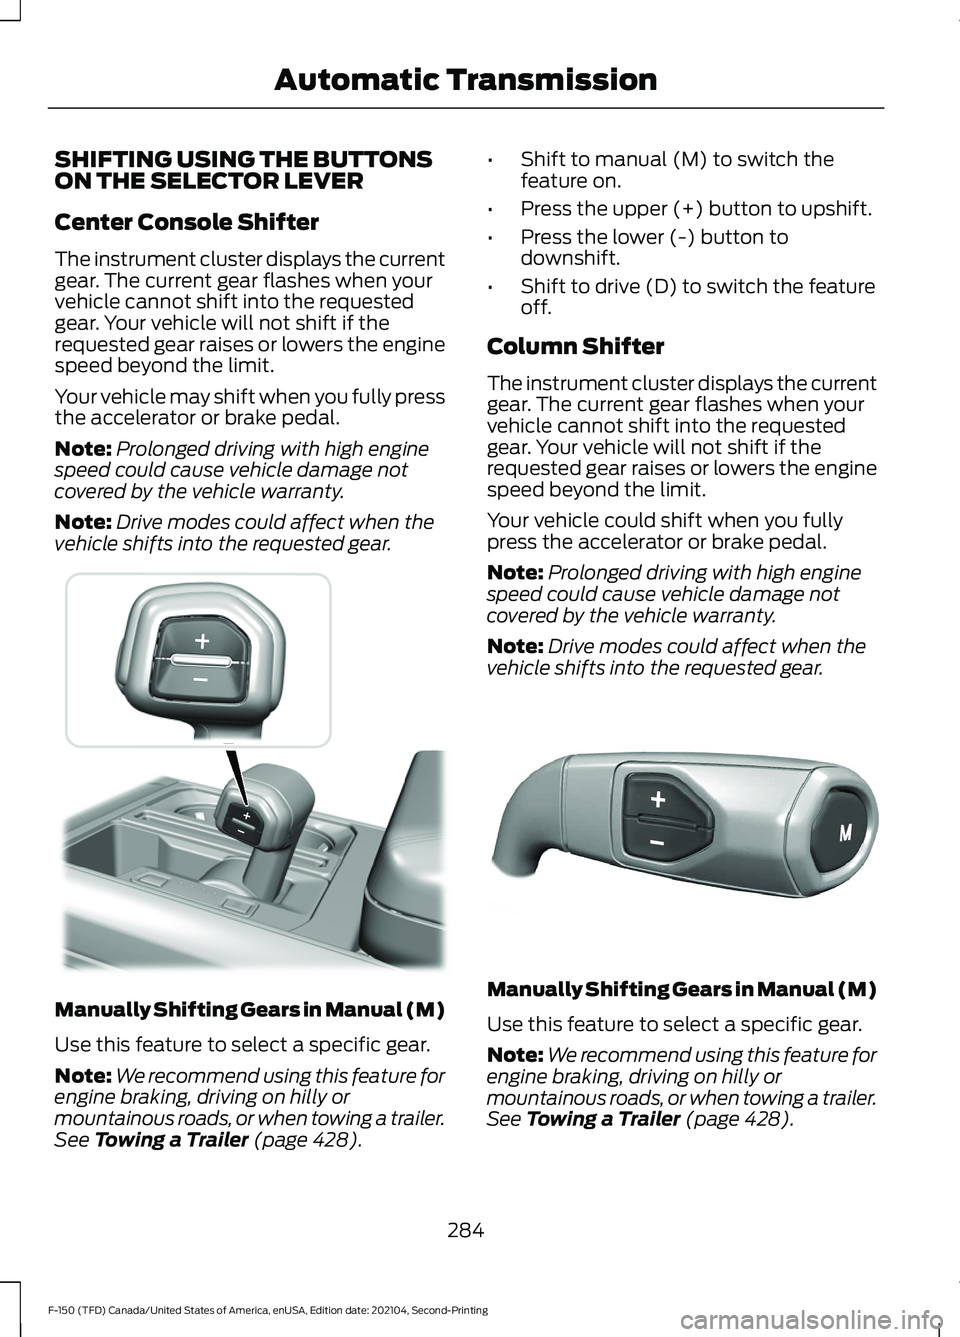
SHIFTING USING THE BUTTONS
ON THE SELECTOR LEVER
Center Console Shifter
The instrument cluster displays the current
gear. The current gear flashes when your
vehicle cannot shift into the requested
gear. Your vehicle will not shift if the
requested gear raises or lowers the engine
speed beyond the limit.
Your vehicle may shift when you fully press
the accelerator or brake pedal.
Note:
Prolonged driving with high engine
speed could cause vehicle damage not
covered by the vehicle warranty.
Note: Drive modes could affect when the
vehicle shifts into the requested gear. Manually Shifting Gears in Manual (M)
Use this feature to select a specific gear.
Note:
We recommend using this feature for
engine braking, driving on hilly or
mountainous roads, or when towing a trailer.
See Towing a Trailer (page 428). •
Shift to manual (M) to switch the
feature on.
• Press the upper (+) button to upshift.
• Press the lower (-) button to
downshift.
• Shift to drive (D) to switch the feature
off.
Column Shifter
The instrument cluster displays the current
gear. The current gear flashes when your
vehicle cannot shift into the requested
gear. Your vehicle will not shift if the
requested gear raises or lowers the engine
speed beyond the limit.
Your vehicle could shift when you fully
press the accelerator or brake pedal.
Note: Prolonged driving with high engine
speed could cause vehicle damage not
covered by the vehicle warranty.
Note: Drive modes could affect when the
vehicle shifts into the requested gear. Manually Shifting Gears in Manual (M)
Use this feature to select a specific gear.
Note:
We recommend using this feature for
engine braking, driving on hilly or
mountainous roads, or when towing a trailer.
See Towing a Trailer (page 428).
284
F-150 (TFD) Canada/United States of America, enUSA, Edition date: 202104, Second-Printing Automatic Transmission E311242 E327267
Page 376 of 796
Note:
Your vehicle has diagnostic checks
that continuously monitor all systems for
proper operation. If a drive mode is
unavailable due to a system fault, your
vehicle defaults to normal mode and the
driveline remains in the four-wheel drive
setting that was last selected prior to the
system fault.
Note: Your vehicle reverts to normal mode
each time it is started. If you shut your
vehicle off in a drive mode other than
normal mode, at startup the instrument
cluster screen displays a pop-up asking if
you would like to return to your last used
drive mode. If you select yes to the pop-up,
your vehicle returns to the last selected drive
mode and the default four-wheel driveline
setting associated with that drive mode. If
you select no, your vehicle remains in normal
mode and the default four-wheel driveline
setting associated with that drive mode. If
you do not select yes or no the pop up
message times out, your vehicle remains in
normal mode, and the four-wheel driveline
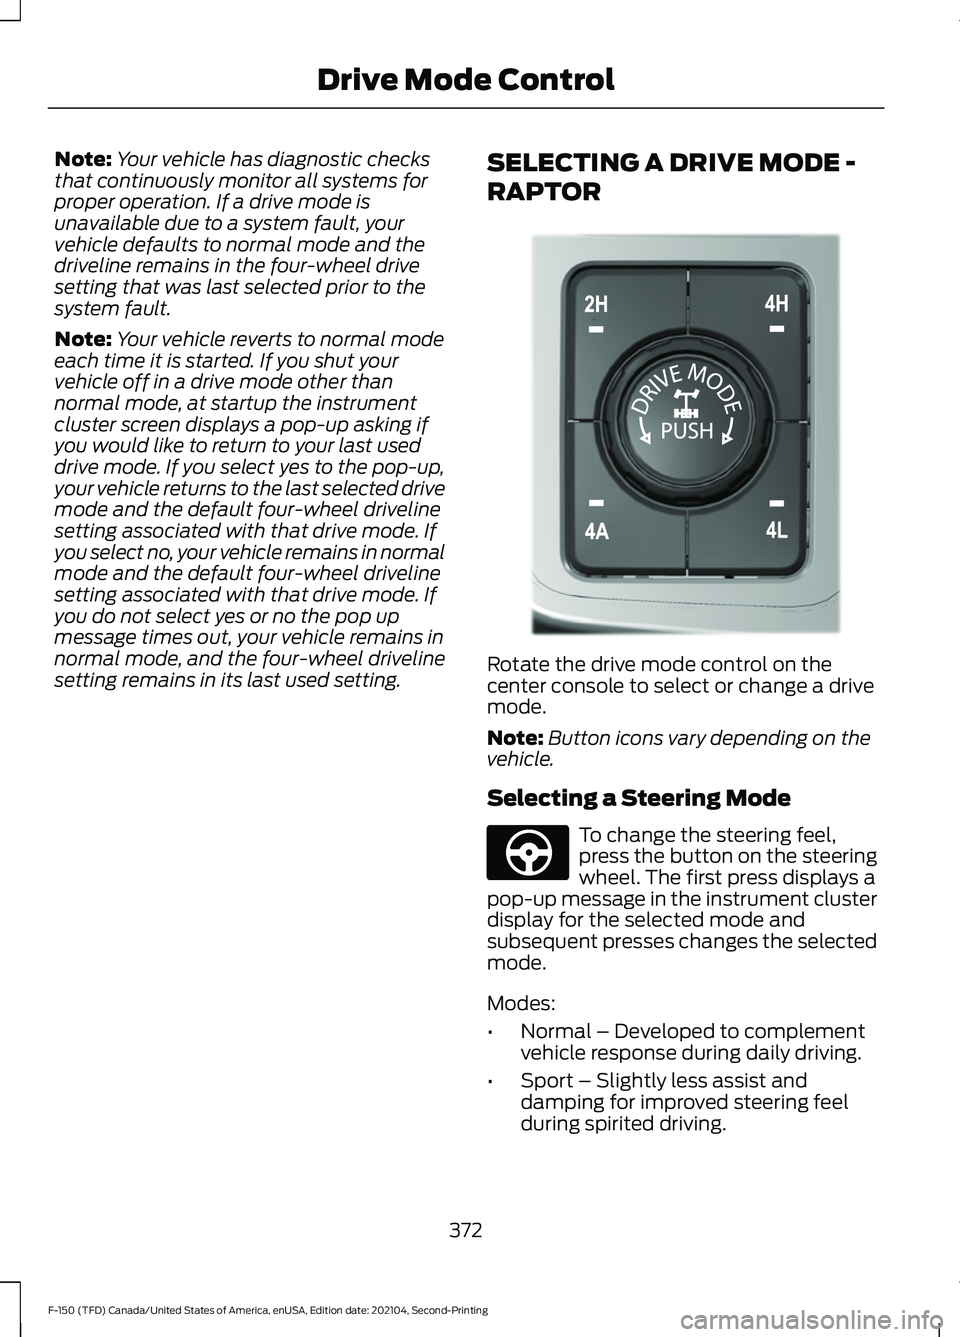
setting remains in its last used setting. SELECTING A DRIVE MODE -
RAPTOR Rotate the drive mode control on the
center console to select or change a drive
mode.
Note:
Button icons vary depending on the
vehicle.
Selecting a Steering Mode To change the steering feel,
press the button on the steering
wheel. The first press displays a
pop-up message in the instrument cluster
display for the selected mode and
subsequent presses changes the selected
mode.
Modes:
• Normal – Developed to complement
vehicle response during daily driving.
• Sport – Slightly less assist and
damping for improved steering feel
during spirited driving.
372
F-150 (TFD) Canada/United States of America, enUSA, Edition date: 202104, Second-Printing Drive Mode ControlE308146 E347142
Page 377 of 796
•
Comfort – Slightly more assist for
driver preference and daily driving ease.
• Off-road – Similar assist to Normal
with added damping for improved
control during off-road driving.
After selecting the desired setting, you may
feel a soft feedback bump in the steering
wheel when the changeover occurs.
Note: If you disconnect or remove the
battery, the steering system defaults to
normal.
Selecting a Suspension Mode To change the suspension feel,
press the button on the steering
wheel. The first press displays a
pop-up message in the instrument cluster
display for the selected mode and
subsequent presses changes the selected
mode.
Modes:
• Normal – Default factory setting.
• Sport – Slightly stiffer suspension with
emphasis on handling and control.
• Off-road – Maximizes shock
performance in extreme off-road
environments.
Selecting an Exhaust Mode To change the exhaust sound,
press the button on the steering
wheel. The first press displays a
pop-up message in the instrument cluster
display for the selected mode and
subsequent presses changes the selected
mode.
Modes:
• Normal – Default setting provides a
balance of comfort and feedback.
• Sport – Slightly louder than normal for
spirited driving. •
Baja – Loudest setting for off-road use
only. Maximum exhaust noise under all
driving conditions.
• Quiet – Quietest setting for maximum
comfort under all driving conditions.
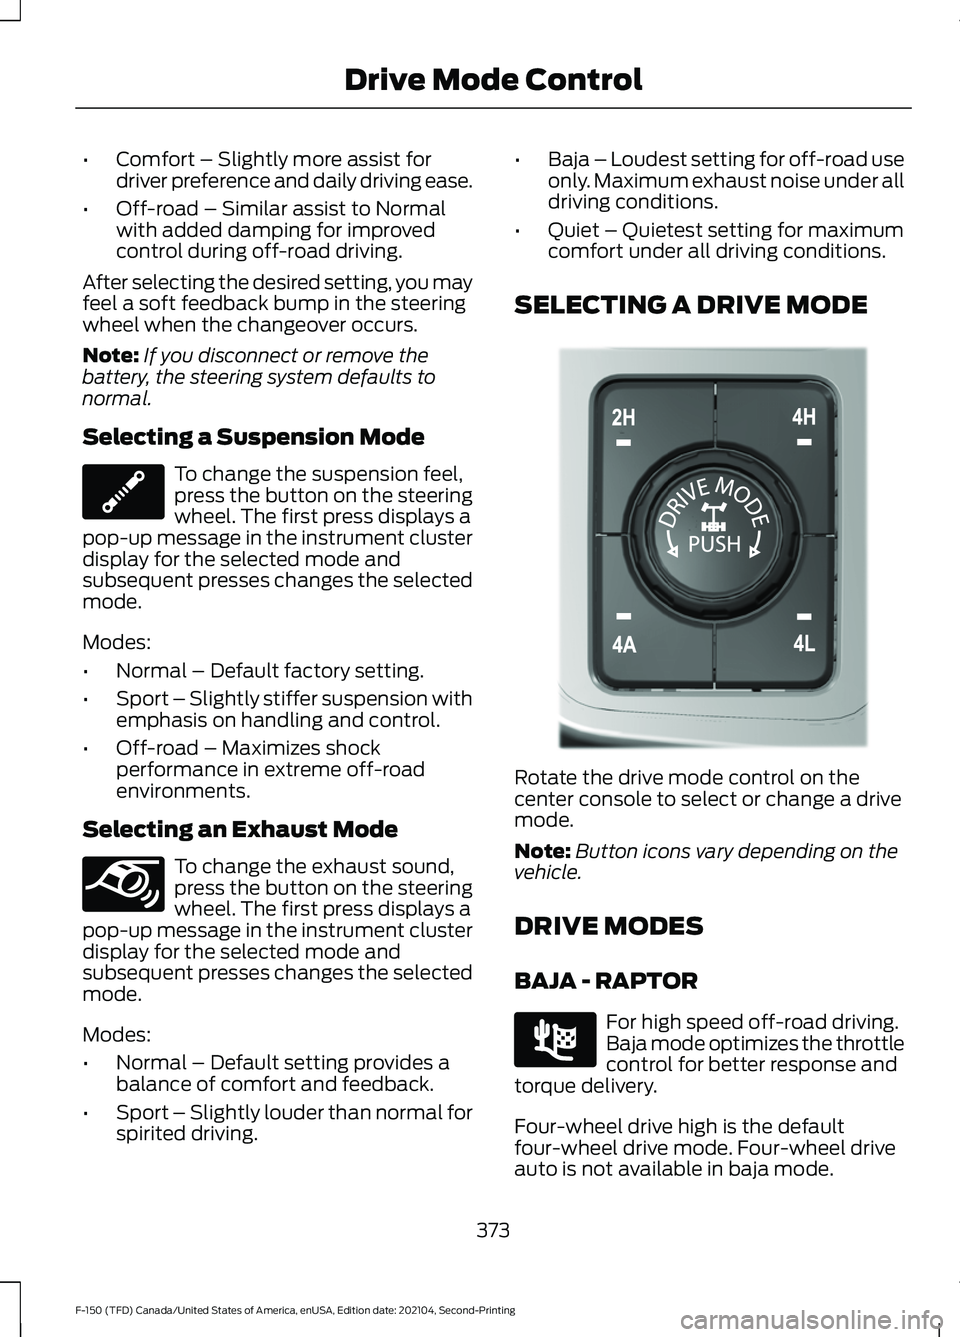
SELECTING A DRIVE MODE Rotate the drive mode control on the
center console to select or change a drive
mode.
Note:
Button icons vary depending on the
vehicle.
DRIVE MODES
BAJA - RAPTOR For high speed off-road driving.
Baja mode optimizes the throttle
control for better response and
torque delivery.
Four-wheel drive high is the default
four-wheel drive mode. Four-wheel drive
auto is not available in baja mode.
373
F-150 (TFD) Canada/United States of America, enUSA, Edition date: 202104, Second-Printing Drive Mode ControlE347107 E347131 E308146 E225314
Page 774 of 796

Blind Spot Information System.............389
Blind Spot Information System –
Troubleshooting............................................ 392
Blind Spot Information System With Trailer Coverage.......................................................... 390
Blind Spot Information System Indicators.....................................................392
Blind Spot Information System Limitations..................................................389
Blind Spot Information System Precautions................................................389
Blind Spot Information System Requirements............................................389
Blind Spot Information System – Troubleshooting........................................392
Blind Spot Information System – Information Messages................................ 392
Blind Spot Information System With Trailer Coverage........................................390
Blind Spot Information System With Trailer
Coverage Limitations.................................. 390
Selecting a Trailer.............................................. 392
Setting a Trailer Length.................................... 391
What Is Blind Spot Information System with Trailer Coverage............................................ 390
BlueCruise Alerts
.........................................368
BlueCruise Automatic Cancellation...............................................368
BlueCruise......................................................365 BlueCruise – Troubleshooting......................369
BlueCruise Indicators
.................................368
BlueCruise Limitations..............................366
BlueCruise Precautions
.............................365
BlueCruise Requirements........................366
BlueCruise Settings.....................................367
BlueCruise – Troubleshooting................369 BlueCruise – Information Messages..........369
Bluetooth®....................................................648
Body Control Module Fuse Box.............499 Accessing the Body Control Module Fuse
Box..................................................................... 499
Identifying the Fuses in the Body Control Module Fuse Box.......................................... 499
Locating the Body Control Module Fuse Box..................................................................... 499
Bonnet Lock See: Opening and Closing the Hood..........503
Booster Seats
.................................................60 Brake Fluid Specification.........................309
Brake Over Accelerator.............................308
Brake Over Accelerator - Raptor...........308
Brake Precautions
.......................................308
Brakes..............................................................308 Anti-Lock Braking System............................. 308
Brakes – Troubleshooting............................... 310
Brakes – Troubleshooting.........................310 Brakes – Frequently Asked
Questions......................................................... 310
Brakes – Warning Lamps................................ 310
Breaking-In.....................................................476
C
Calculating Payload
.....................................415
Calculating the Load Limit........................415
Canceling the Set Speed...........................351
Canceling the Set Speed - Raptor........324
Capacities and Specifications................574
Catalytic Converter......................................279 Catalytic Converter –
Troubleshooting............................................ 279
Catalytic Converter Precautions............279
Catalytic Converter – Troubleshooting........................................279
C
atalytic Converter – Warning
Lamps................................................................ 279
Center Console Work Surface.................228 C
enter Console Work Surface –
Troubleshooting............................................ 230
Center Console Work Surface – Troubleshooting........................................230
Center Console Work Surface – Information Messages......................................................... 230
Center Display Limitations.......................637
Center Display Overview
...........................637
Center Display Precautions......................637
Changing a Flat Tire...................................566
Changing a Road Wheel...........................566
Changing the 12V Battery..........................519
Changing the Fuel Filter - Diesel............519
Changing the Fuel Filter - Gasoline.......519
Changing the Remote Control Battery - Police Responder.........................................91
Changing the Remote Control Battery - Vehicles With: Flip Key..............................94
770
F-150 (TFD) Canada/United States of America, enUSA, Edition date: 202104, Second-Printing Index