2021 FORD EXPLORER automatic transmission
[x] Cancel search: automatic transmissionPage 221 of 577
Vehicles with Automatic Transmission
You cannot turn the system on or off.
When you switch the ignition on, the
system automatically turns on.
AUTO HOLD
WARNING: The system does not
replace the parking brake. When you
leave your vehicle, always apply the
parking brake. WARNING:
You must remain in
your vehicle when the system turns on.
At all times, you are responsible for
controlling your vehicle, supervising the
system and intervening, if required.
Failure to take care may result in the loss
of control of your vehicle, serious
personal injury or death. WARNING:
The system turns off if
there is a malfunction or if you
excessively rev the engine.
The system is designed to apply the brakes
to hold your vehicle at a standstill after you
stop your vehicle and release the brake
pedal. This could be beneficial in certain
situations, for example when waiting on a
hill or in traffic.
Switching Auto Hold On and Off Press the button on the center
console. The button illuminates
when you switch the system on.
Note: You can only switch the system on
after you close the driver door, and start the
engine.
Note: The system remembers the last
setting when you start your vehicle. Make sure you switch the system off before
towing with your vehicle or before using an
automatic car wash.
Using Auto Hold
1. Use the brakes to bring your vehicle to
a complete stop. The auto hold active
indicator illuminates in the information
display.
2. Release the brake pedal. The system holds your vehicle at a standstill. The
auto hold active indicator remains
illuminated in the information display.
Note: The system only activates if you
apply enough brake pressure. If your vehicle
is on a steep slope, you might need to press
the brake pedal harder before the system
activates.
Note: Under certain conditions, the system
could apply the electric parking brake. The
brake system warning lamp illuminates. The
electric parking brake releases when you
press the accelerator pedal. See Electric
Parking Brake (page 215).
Note: If auto-start-stop turns off the
engine, auto hold remains active.
Note: The system deactivates if you shift
into reverse (R) and press the brake pedal.
3. Pull away in the normal manner. The system releases the brakes and the
auto hold active indicator turns off.
Auto Hold Indicator
The auto hold indicator illuminates in the
information display when the system is on
and is either active or unavailable. Illuminates when the system is
active. Your vehicle remains
stationary after you release the
brake pedal.
218
Explorer (CTW), enUSA, Edition date: 202007, Second-Printing BrakesE297843 E197933
Page 231 of 577
WHAT IS HILL DESCENT
CONTROL
WARNING: Hill descent control
cannot control descent in all surface
conditions and circumstances, such as
ice or extremely steep grades. Hill
descent control is a driver assist system
and cannot substitute for good judgment
by the driver. Failure to do so may result
in loss of vehicle control, crash or serious
injury. WARNING:
The system does not
replace the parking brake. When you
leave your vehicle, always apply the
parking brake and shift the transmission
into park (P) for automatic transmission
or first gear for manual transmission.
Note: The system does not function below
3 mph (5 km/h)
.
Hill descent control allows the driver to set
and maintain vehicle speed while
descending steep slopes in various surface
conditions.
The system can maintain vehicle speeds
on downhill slopes between
3– 20 mph
(5– 32 km/h). Above 20 mph (32 km/h),
the system remains on but the descent
speed cannot be set or maintained.
The system requires a cool down interval
after a period of sustained use. The
amount of time that the system can
remain active before cooling varies with
conditions. The system provides a warning
in the message center and a tone sounds
when the system is about to disengage for
cooling. At this time, manually apply the
brakes as needed to maintain descent
speed. SWITCHING HILL DESCENT
CONTROL ON AND OFF Press the button on the center
console. A light illuminates in the
control and a tone sounds when
the system is active.
SETTING THE HILL DESCENT
SPEED WARNING:
The system does not
replace the parking brake. When you
leave your vehicle, always apply the
parking brake and shift the transmission
into park (P) for automatic transmission
or first gear for manual transmission. WARNING:
The system does not
control speed in low traction conditions
or extremely steep slopes. The system
is designed to be an aid and does not
relieve you of your responsibility to drive
with due care and attention. Failure to
follow this instruction could result in
personal injury.
To increase the descent speed, press the
accelerator pedal until you reach the speed
you prefer.
To decrease the descent speed, press the
brake pedal until you reach the speed you
prefer.
When you reach the speed you prefer,
either by accelerating or decelerating,
remove your feet from the pedals. The
system maintains the chosen vehicle
speed.
228
Explorer (CTW), enUSA, Edition date: 202007, Second-Printing Hill Descent Control
(If Equipped)
Page 233 of 577

PRINCIPLE OF OPERATION
WARNING: To help avoid personal
injury, always use caution when in
reverse (R) and when using the sensing
system. WARNING:
The system may not
detect objects with surfaces that absorb
reflection. Always drive with due care
and attention. Failure to take care may
result in a crash. WARNING: Traffic control systems,
inclement weather, air brakes, external
motors and fans may affect the correct
operation of the sensing system. This
may cause reduced performance or false
alerts. WARNING:
The system may not
detect small or moving objects,
particularly those close to the ground.
Note: If your vehicle has MyKey ™, the
sensing system cannot be switched off
when a MyKey ™ is present.
See Principle
of Operation (page 64).
Note: Keep the sensors on the bumper or
fascia free from snow, ice and large
accumulations of dirt. If the sensors are
covered, the system ’s accuracy can be
affected. Do not clean the sensors with
sharp objects.
Note: If your vehicle sustains damage to
the bumper or fascia, leaving it misaligned
or bent, the sensing zone may be altered
causing inaccurate measurement of
obstacles or false alerts. Note:
Certain add-on devices installed
around the bumper or fascia may create
false alerts. For example, large trailer
hitches, bike or surfboard racks, license plate
brackets, bumper covers or any other device
that may block the normal detection zone
of the system. Remove the add-on device
to prevent false alerts.
Note: When you connect a trailer to your
vehicle, the rear parking aid may detect the
trailer and therefore provide an alert. Disable
the rear parking aid when you connect a
trailer to prevent the alert.
The sensing system warns the driver of
obstacles within a certain range of your
vehicle. The system turns on automatically
whenever you switch the ignition on.
You can switch the system off through the
touchscreen, information display or from
the pop-up message that appears once
you shift the transmission into reverse (R).
If your vehicle has a parking aid button, you
can switch the system off by pressing the
button.
If a fault is present in the system, a warning
message appears in the information
display. See Information Messages
(page 121).
REAR PARKING AID WARNING:
The system may not
detect objects with surfaces that absorb
reflection. Always drive with due care
and attention. Failure to take care may
result in a crash. WARNING:
The system may not
detect small or moving objects,
particularly those close to the ground.
230
Explorer (CTW), enUSA, Edition date: 202007, Second-Printing Parking Aids
Page 268 of 577
The design of the system is to detect
vehicles that could have entered the blind
spot zone. The detection area is on both
sides of your vehicle, extending rearward
from the exterior mirrors to approximately
13 ft (4 m) beyond the rear bumper. The
detection area extends to approximately
59 ft (18 m)
beyond the rear bumper when
the vehicle speed is greater than 30 mph
(48 km/h) to alert you of faster
approaching vehicles.
Note: The system does not prevent contact
with other vehicles. It does not detect
parked vehicles, pedestrians, animals or
other infrastructures.
Using the Blind Spot Information
System
Vehicles with Automatic Transmission
The system turns on when all of the
following occur:
• You start your vehicle.
• You shift into drive (D).
• The vehicle speed is greater than
6 mph (10 km/h)
.
Note: The system does not operate in park
(P) or reverse (R).
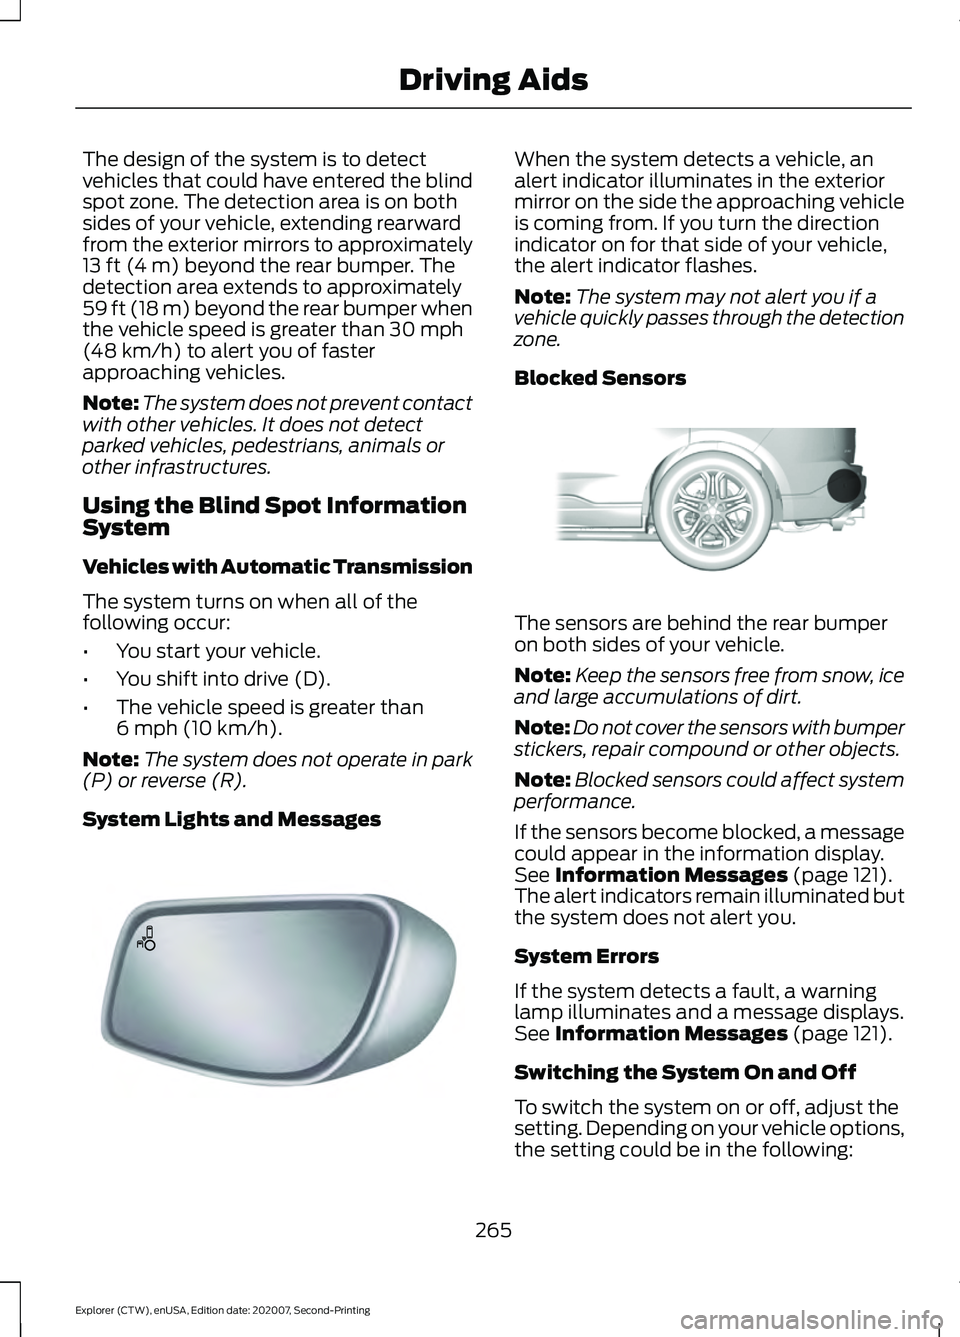
System Lights and Messages When the system detects a vehicle, an
alert indicator illuminates in the exterior
mirror on the side the approaching vehicle
is coming from. If you turn the direction
indicator on for that side of your vehicle,
the alert indicator flashes.
Note:
The system may not alert you if a
vehicle quickly passes through the detection
zone.
Blocked Sensors The sensors are behind the rear bumper
on both sides of your vehicle.
Note:
Keep the sensors free from snow, ice
and large accumulations of dirt.
Note: Do not cover the sensors with bumper
stickers, repair compound or other objects.
Note: Blocked sensors could affect system
performance.
If the sensors become blocked, a message
could appear in the information display.
See
Information Messages (page 121).
The alert indicators remain illuminated but
the system does not alert you.
System Errors
If the system detects a fault, a warning
lamp illuminates and a message displays.
See
Information Messages (page 121).
Switching the System On and Off
To switch the system on or off, adjust the
setting. Depending on your vehicle options,
the setting could be in the following:
265
Explorer (CTW), enUSA, Edition date: 202007, Second-Printing Driving AidsE142442 E205199
Page 282 of 577
Note:
Using deep snow/sand mode on dry,
hard surfaces could produce some vibration,
driveline bind up, and potential excessive
tire wear. This mode is for slippery and loose
surfaces.
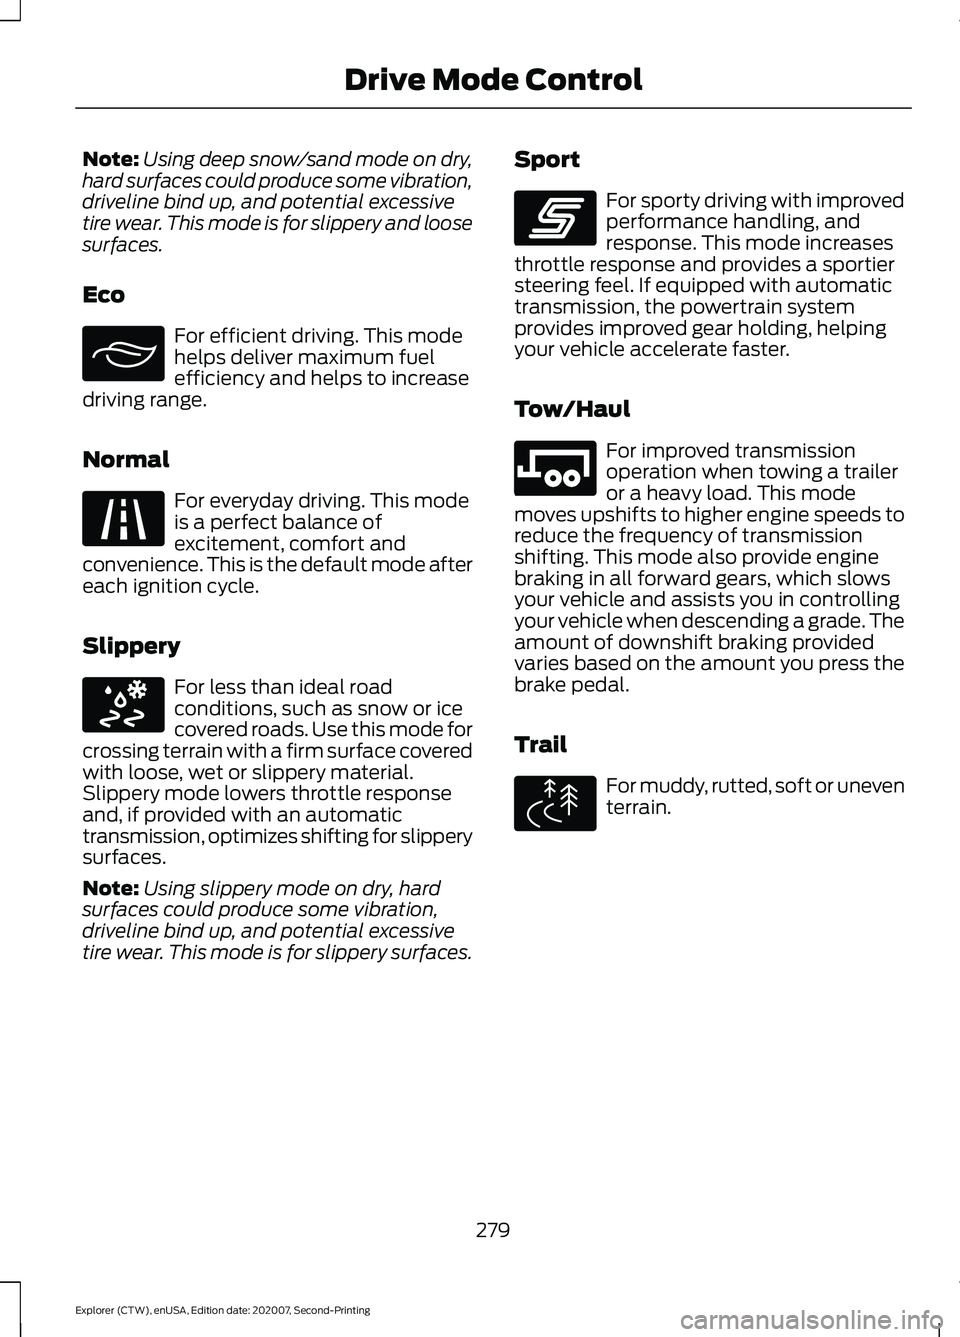
Eco For efficient driving. This mode
helps deliver maximum fuel
efficiency and helps to increase
driving range.
Normal For everyday driving. This mode
is a perfect balance of
excitement, comfort and
convenience. This is the default mode after
each ignition cycle.
Slippery For less than ideal road
conditions, such as snow or ice
covered roads. Use this mode for
crossing terrain with a firm surface covered
with loose, wet or slippery material.
Slippery mode lowers throttle response
and, if provided with an automatic
transmission, optimizes shifting for slippery
surfaces.
Note: Using slippery mode on dry, hard
surfaces could produce some vibration,
driveline bind up, and potential excessive
tire wear. This mode is for slippery surfaces. Sport For sporty driving with improved
performance handling, and
response. This mode increases
throttle response and provides a sportier
steering feel. If equipped with automatic
transmission, the powertrain system
provides improved gear holding, helping
your vehicle accelerate faster.
Tow/Haul For improved transmission
operation when towing a trailer
or a heavy load. This mode
moves upshifts to higher engine speeds to
reduce the frequency of transmission
shifting. This mode also provide engine
braking in all forward gears, which slows
your vehicle and assists you in controlling
your vehicle when descending a grade. The
amount of downshift braking provided
varies based on the amount you press the
brake pedal.
Trail For muddy, rutted, soft or uneven
terrain.
279
Explorer (CTW), enUSA, Edition date: 202007, Second-Printing Drive Mode ControlE295413 E225310 E295414 E246593 E246592 E295419
Page 296 of 577
Before Towing a Trailer
Practice turning, stopping and backing up
to get the feel of your vehicle-trailer
combination before starting on a trip.
When turning, make wider turns so the
trailer wheels clear curbs and other
obstacles.
When Towing a Trailer
•
Do not drive faster than 70 mph
(113 km/h) during the first 500 mi
(800 km).
• Do not make full-throttle starts.
• Check your hitch, electrical connections
and trailer wheel lug nuts thoroughly
after you have traveled 50 mi (80 km).
• When stopped in congested or heavy
traffic during hot weather, place the
gearshift in park (P) to aid engine and
transmission cooling and to help A/C
performance.
• Turn off the speed control with heavy
loads or in hilly terrain. The speed
control may turn off automatically
when you are towing on long, steep
grades.
• Shift to a lower gear when driving down
a long or steep hill. Do not apply the
brakes continuously, as they may
overheat and become less effective.
• If your transmission is equipped with a
Grade Assist or Tow/Haul feature, use
this feature when towing. This provides
engine braking and helps eliminate
excessive transmission shifting for
optimum fuel economy and
transmission cooling.
• Allow more distance for stopping with
a trailer attached. Anticipate stops and
brake gradually.
• Avoid parking on a grade. However, if
you must park on a grade:
1. Turn the steering wheel to point your vehicle tires away from traffic flow. 2. Set your vehicle parking brake.
3. Place the automatic transmission in
park (P).
4. Place wheel chocks in front and back of the trailer wheels. (Chocks not
included with vehicle.)
Launching or Retrieving a Boat or
Personal Watercraft (PWC)
Note: Disconnect the wiring to the trailer
before backing the trailer into the water.
Note: Reconnect the wiring to the trailer
after
removing the trailer from the water.
When backing down a ramp during boat
launching or retrieval:
• Do not allow the static water level to
rise above the bottom edge of the rear
bumper.
• Do not allow waves to break higher
than
6 in (15 cm) above the bottom
edge of the rear bumper.
Exceeding these limits may allow water to
enter vehicle components:
• Causing internal damage to the
components.
• Affecting driveability, emissions, and
reliability.
Replace the rear axle lubricant anytime
the rear axle has been submerged in water.
Water may have contaminated the rear
axle lubricant, which is not normally
checked or changed unless a leak is
suspected or other axle repair is required.
293
Explorer (CTW), enUSA, Edition date: 202007, Second-Printing Towing
Page 297 of 577
TOWING THE VEHICLE ON
FOUR WHEELS
Emergency Towing
WARNING: If your vehicle has a
steering wheel lock make sure the
ignition is in the accessory or on position
when being towed.
If your vehicle becomes inoperable without
access to wheel dollies or a vehicle
transport trailer, it can be flat-towed with
all wheels on the ground, regardless of the
powertrain and transmission configuration,
under the following conditions:
• Your vehicle is facing forward for
towing in a forward direction.
• Refer to the Manual Park Release
procedure. See
Automatic
Transmission (page 201). Failing to
do so could result in damage to the
transmission.
• Maximum speed is 35 mph (56 km/h).
• Maximum distance is
50 mi (80 km).
Note: If you are unsure of the vehicle ’s
configuration, contact an authorized dealer.
Recreational Towing - Front-Wheel
Drive Vehicles
(If Equipped)
You cannot recreational tow your vehicle
with all wheels on the ground because
vehicle or transmission damage could
occur. Place the front wheels on a
two-wheel tow dolly. If you are using a tow
dolly, follow the instructions specified by
the equipment provider. Recreational Towing - Rear-Wheel
Drive Vehicles
(If Equipped)
You cannot recreational tow your vehicle
with all wheels on the ground because
vehicle or transmission damage could
occur. We recommend towing your vehicle
with all four wheels off the ground, such
as when using a car-hauling trailer.
Otherwise, you cannot recreational tow
your vehicle.
Recreational Towing - All-Wheel
and Four-Wheel Drive Vehicles
(If
Equipped)
You cannot recreational tow your vehicle
with all wheels on the ground because
vehicle or transmission damage could
occur. We recommend towing your vehicle
with all four wheels off the ground, such
as when using a car-hauling trailer.
Otherwise, you cannot recreational tow
your vehicle.
294
Explorer (CTW), enUSA, Edition date: 202007, Second-Printing Towing
Page 303 of 577
4. You can attempt to start the vehicle
by pressing the brake pedal and
START/STOP, or press START/STOP
without pressing the brake pedal.
5. If the vehicle does not start, repeat steps 1 through 4.
JUMP STARTING THE VEHICLE WARNING:
Batteries normally
produce explosive gases which can
cause personal injury. Therefore, do not
allow flames, sparks or lighted
substances to come near the battery.
When working near the battery, always
shield your face and protect your eyes.
Always provide correct ventilation. WARNING:
Keep batteries out of
reach of children. Batteries contain
sulfuric acid. Avoid contact with skin,
eyes or clothing. Shield your eyes when
working near the battery to protect
against possible splashing of acid
solution. In case of acid contact with skin
or eyes, flush immediately with water for
a minimum of 15 minutes and get prompt
medical attention. If acid is swallowed,
call a physician immediately. WARNING:
Use only adequately
sized cables with insulated clamps.
Preparing Your Vehicle
Do not attempt to push-start your
automatic transmission vehicle.
Note: Attempting to push-start a vehicle
with an automatic transmission may cause
transmission damage.
Note: Use only a 12-volt supply to start your
vehicle. Note:
Do not disconnect the battery of the
disabled vehicle as this could damage the
vehicle electrical system.
Park the booster vehicle close to the hood
of the disabled vehicle, making sure the
two vehicles do not touch.
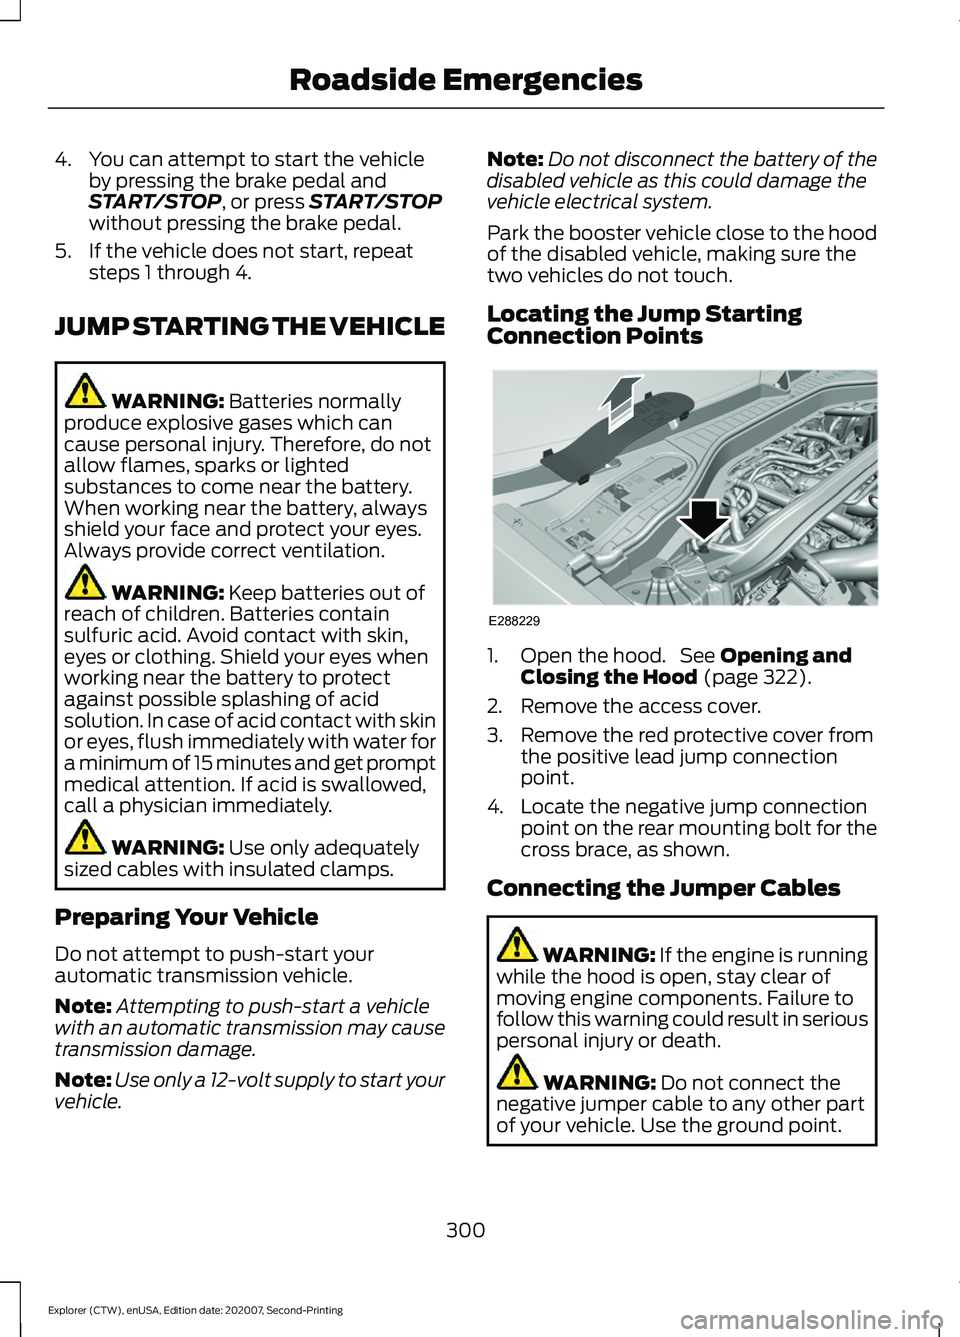
Locating the Jump Starting
Connection Points 1. Open the hood. See
Opening and
Closing the Hood (page 322).
2. Remove the access cover.
3. Remove the red protective cover from the positive lead jump connection
point.
4. Locate the negative jump connection point on the rear mounting bolt for the
cross brace, as shown.
Connecting the Jumper Cables WARNING: If the engine is running
while the hood is open, stay clear of
moving engine components. Failure to
follow this warning could result in serious
personal injury or death. WARNING:
Do not connect the
negative jumper cable to any other part
of your vehicle. Use the ground point.
300
Explorer (CTW), enUSA, Edition date: 202007, Second-Printing Roadside EmergenciesE288229